Tinnit is a tin-plating solution for coating copper PC boards. It dissolves in water and plates boards without electricity (which standard electroplating requires). The silvery coating prevents the copper from oxidizing, and also takes solder more easily than even clean, bare copper.
I’ve had an unopened package in my PCB-making kit for about eighteen years now. The problem is, once mixed, it has only a six-month shelf life, and I’ve never expected to make enough boards within six months to be worth using up the package.
Yesterday I finally took the plunge, and I’m rather impressed. Everything I did all day worked out pretty well . . . so let me get to the Tinnit in my usual roundabout way. ![]()
Stepper Driver on 24-30V
I borrowed a DC power supply from the class lab to test my stepper driver on 24V and 30V load supply. I had got up to 2300 steps per second on 18V, and I hit 2700 steps per second at 24V and ran out of speed on my controller. I’m not using the Arduino’s PWM outputs yet, and 2700 steps / second seems to be about as fast as my program goes using software-based stepping.
I’ve been running the motor in half-step mode because it’s noticeably smoother, at least at lower speeds. But that also means I only get half the motion for each step signal I send. For the sake of testing top speed, I rejumpered the driver board for full-stepping and tried again.
The motor was immediately jerky and twitchy, like it had been with inductive sense resistors. Not only was the top speed drastically lower, but it took great care to ramp up to the top attainable speed. I jumpered back to half-stepping — and the problem didn’t go away. I checked all my connections, measured parts of the circuit, swapped the motor, put a scope on the sense resistor terminals — no go.
I broke it. Still don’t know how.
I’d been planning to build another driver board soon anyway, to drive a second axis prototype. With my first board misbehaving, I could also use the second board to help troubleshoot the first.
I also had a list of changes to make — things that were inconvenient about my first A3977 breakout board. I updated my layout Saturday with (among other things) nice jumpers for option settings, better grouping of signal inputs and outputs, and less reliance on having to solder leads on both top and bottom sides to carry signals through unplated vias.
Hand-Drilling and Etching the PCB

Normally I’d use Joel’s CNC machine to drill my board, but the timing didn’t work out this weekend. Instead, to prepare for hand-drilling, I taped together two sheets of my thin double-sided board stock with a printout of the top-side copper pattern and used a center punch to mark the holes.
Alas, I was a bit overzealous with the center punch.

The dimples went through both boards in the stack. Yeah, thin board stock.
I drilled the holes carefully with a #71 bit, then used a hammer to flatten the dimples on the anvil surface of my bench vise. Apparently I did a good enough job, because I made a nearly flawless two-sided iron-on transfer on glossy paper (not even bothering with Press ‘n’ Peel Blue), using the paper towel between the iron and the board again to distribute the pressure.
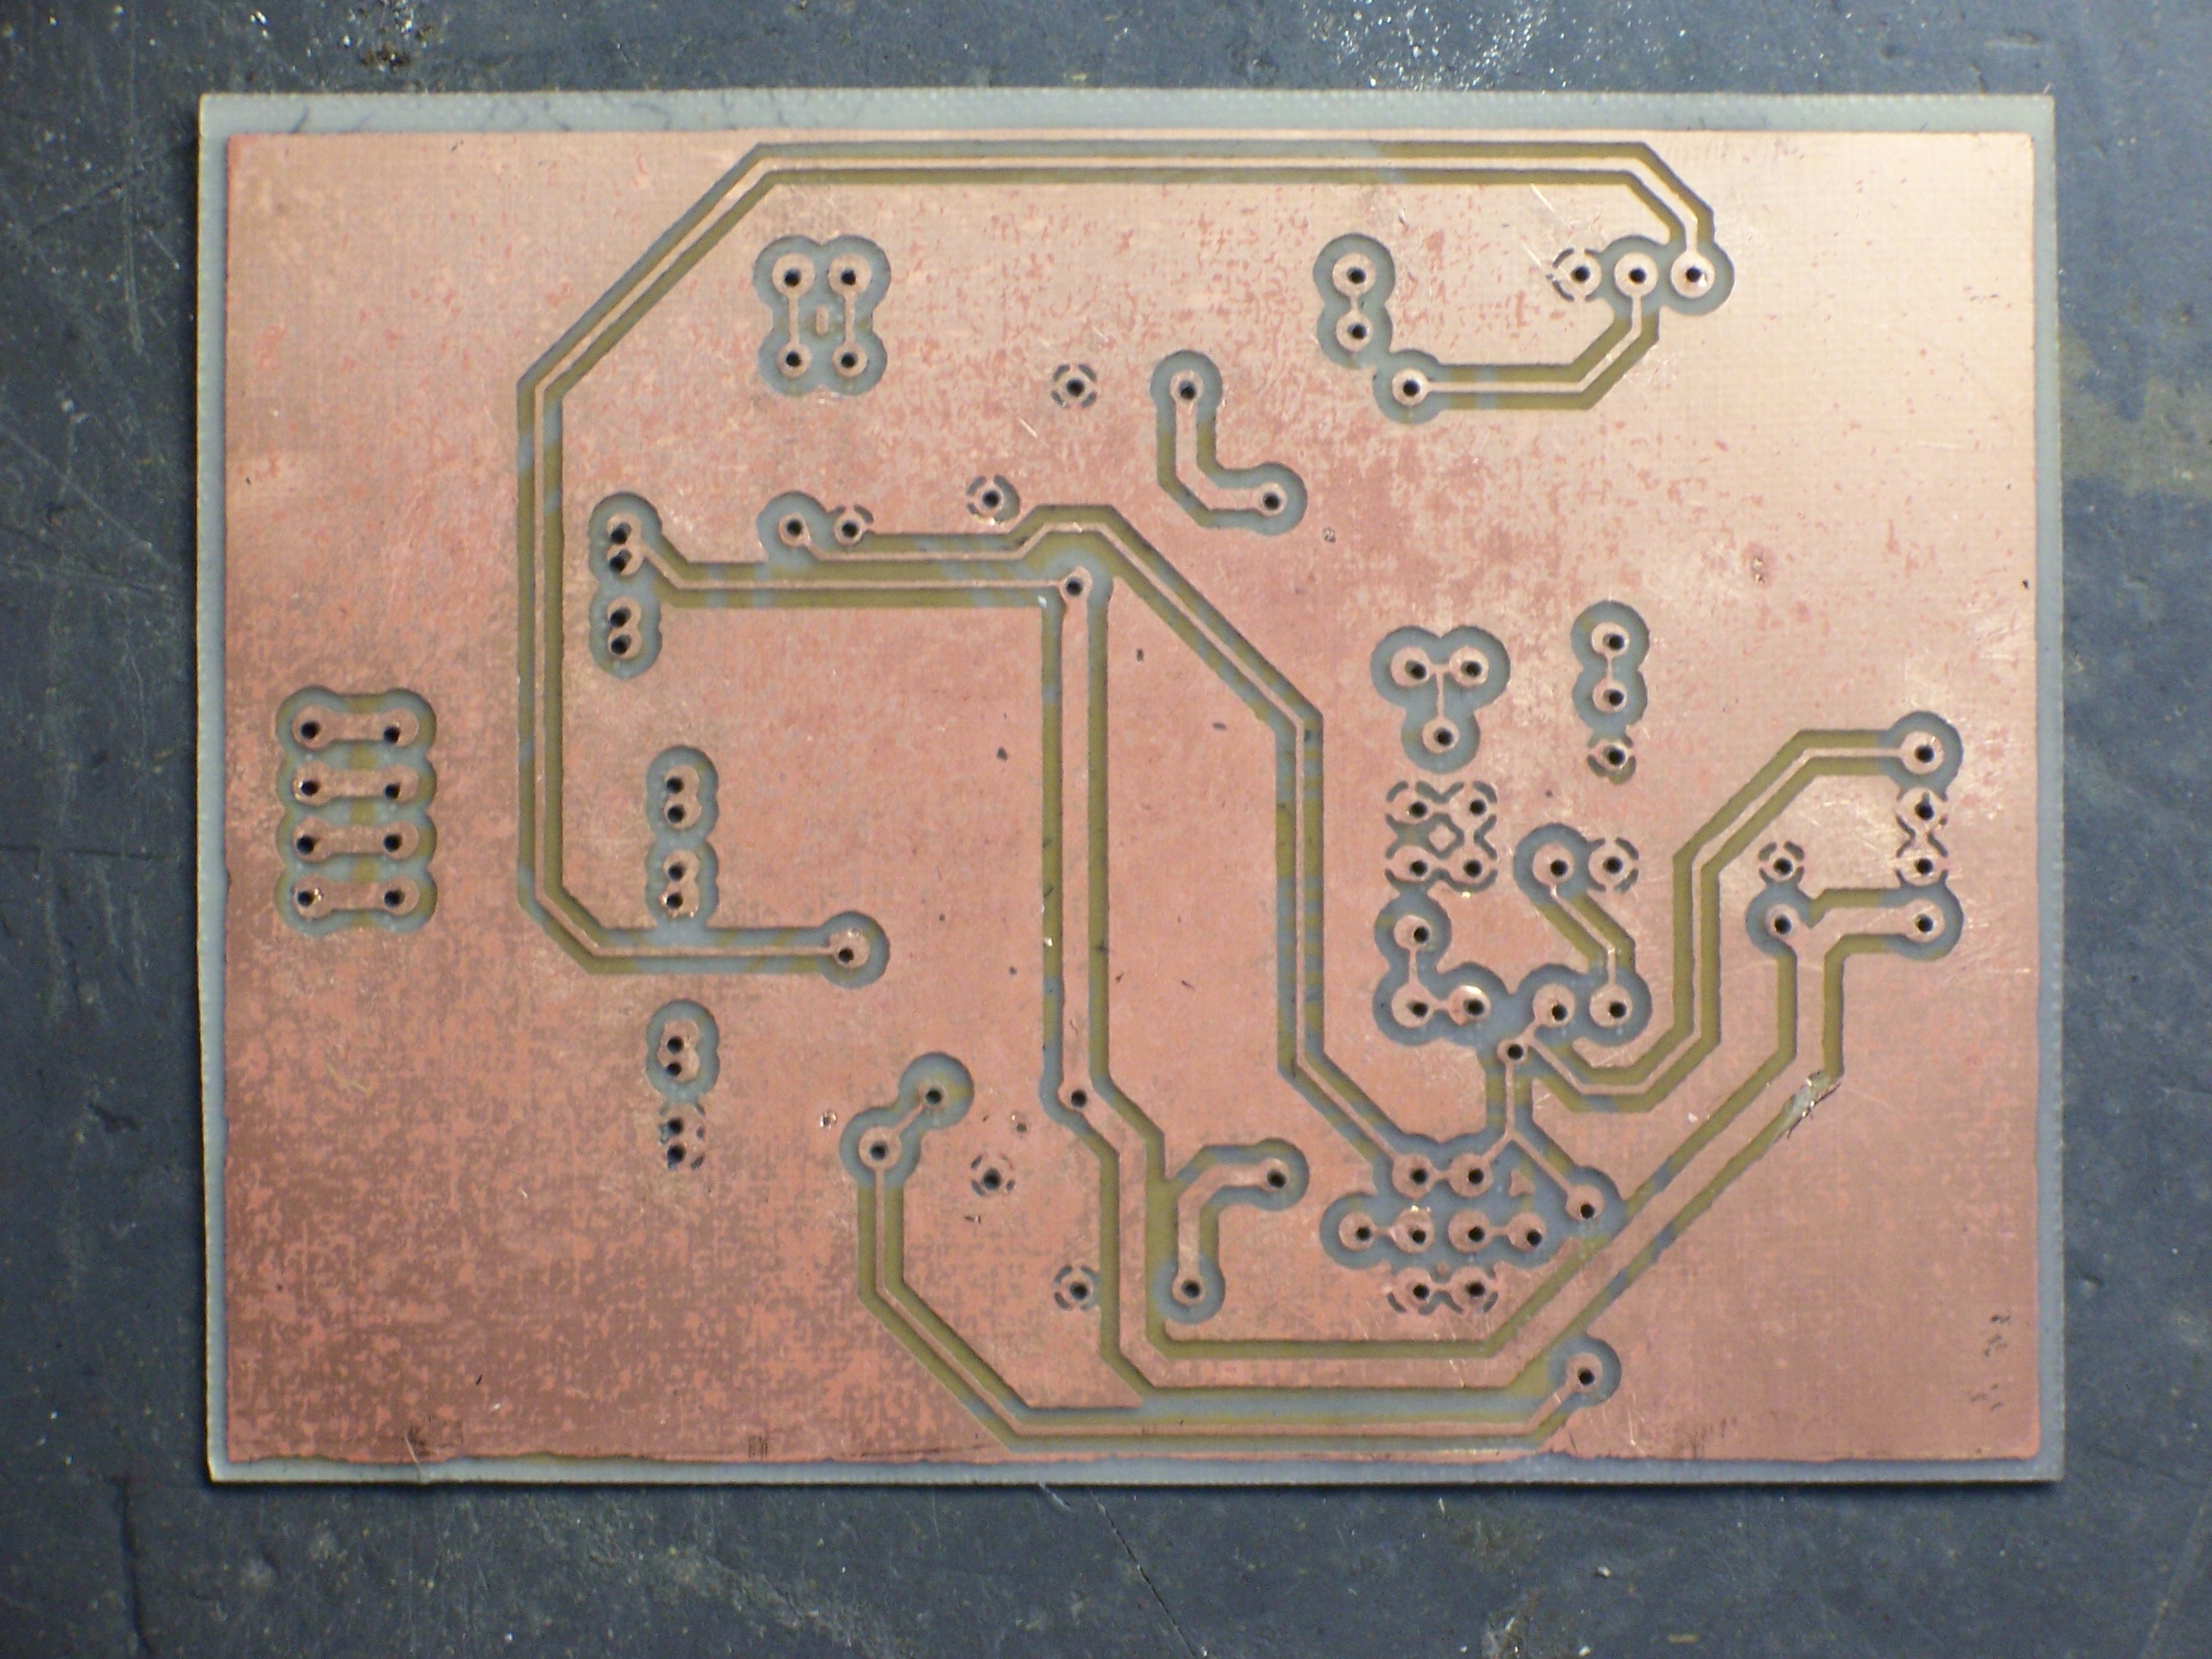
The board came out as nicely as any I’ve done. I used 16 mil traces and 40 mil isolation, so it wasn’t particularly challenging. Still, it etched very cleanly.
I did have a little trouble with pockmarks in some of the large copper areas. They don’t impact the performance — just the appearance. I could perhaps have sanded and polished the board to make it prettier; maybe next time.
Tinnit
On each of the last two PC boards I made, after partially populating the board, I really wished I had tried using the Tinnit. And I’m making more boards now — I know I’ll make at least one more stepper driver board (for the third axis), and probably lots of other things, in the next six months. So it seemed like a good time to try it.
The instructions say to mix the Tinnit powder package with 12 oz of hot water, then add enough water to make a pint. To plate a board, heat the solution to 120-140°F in a pyrex container, then dunk the board for 35-40 minutes, agitating every five. Store the leftover solution in a metal-free container.
Well, my package had two smaller powder packets in it, and it wasn’t clear whether that was two doses or two parts of a single dose. Nor could I find any help online. I took a chance and poured in both packets; and when the second packet caused it to start foaming, it was clear that they weren’t the same and both packets were in fact required.
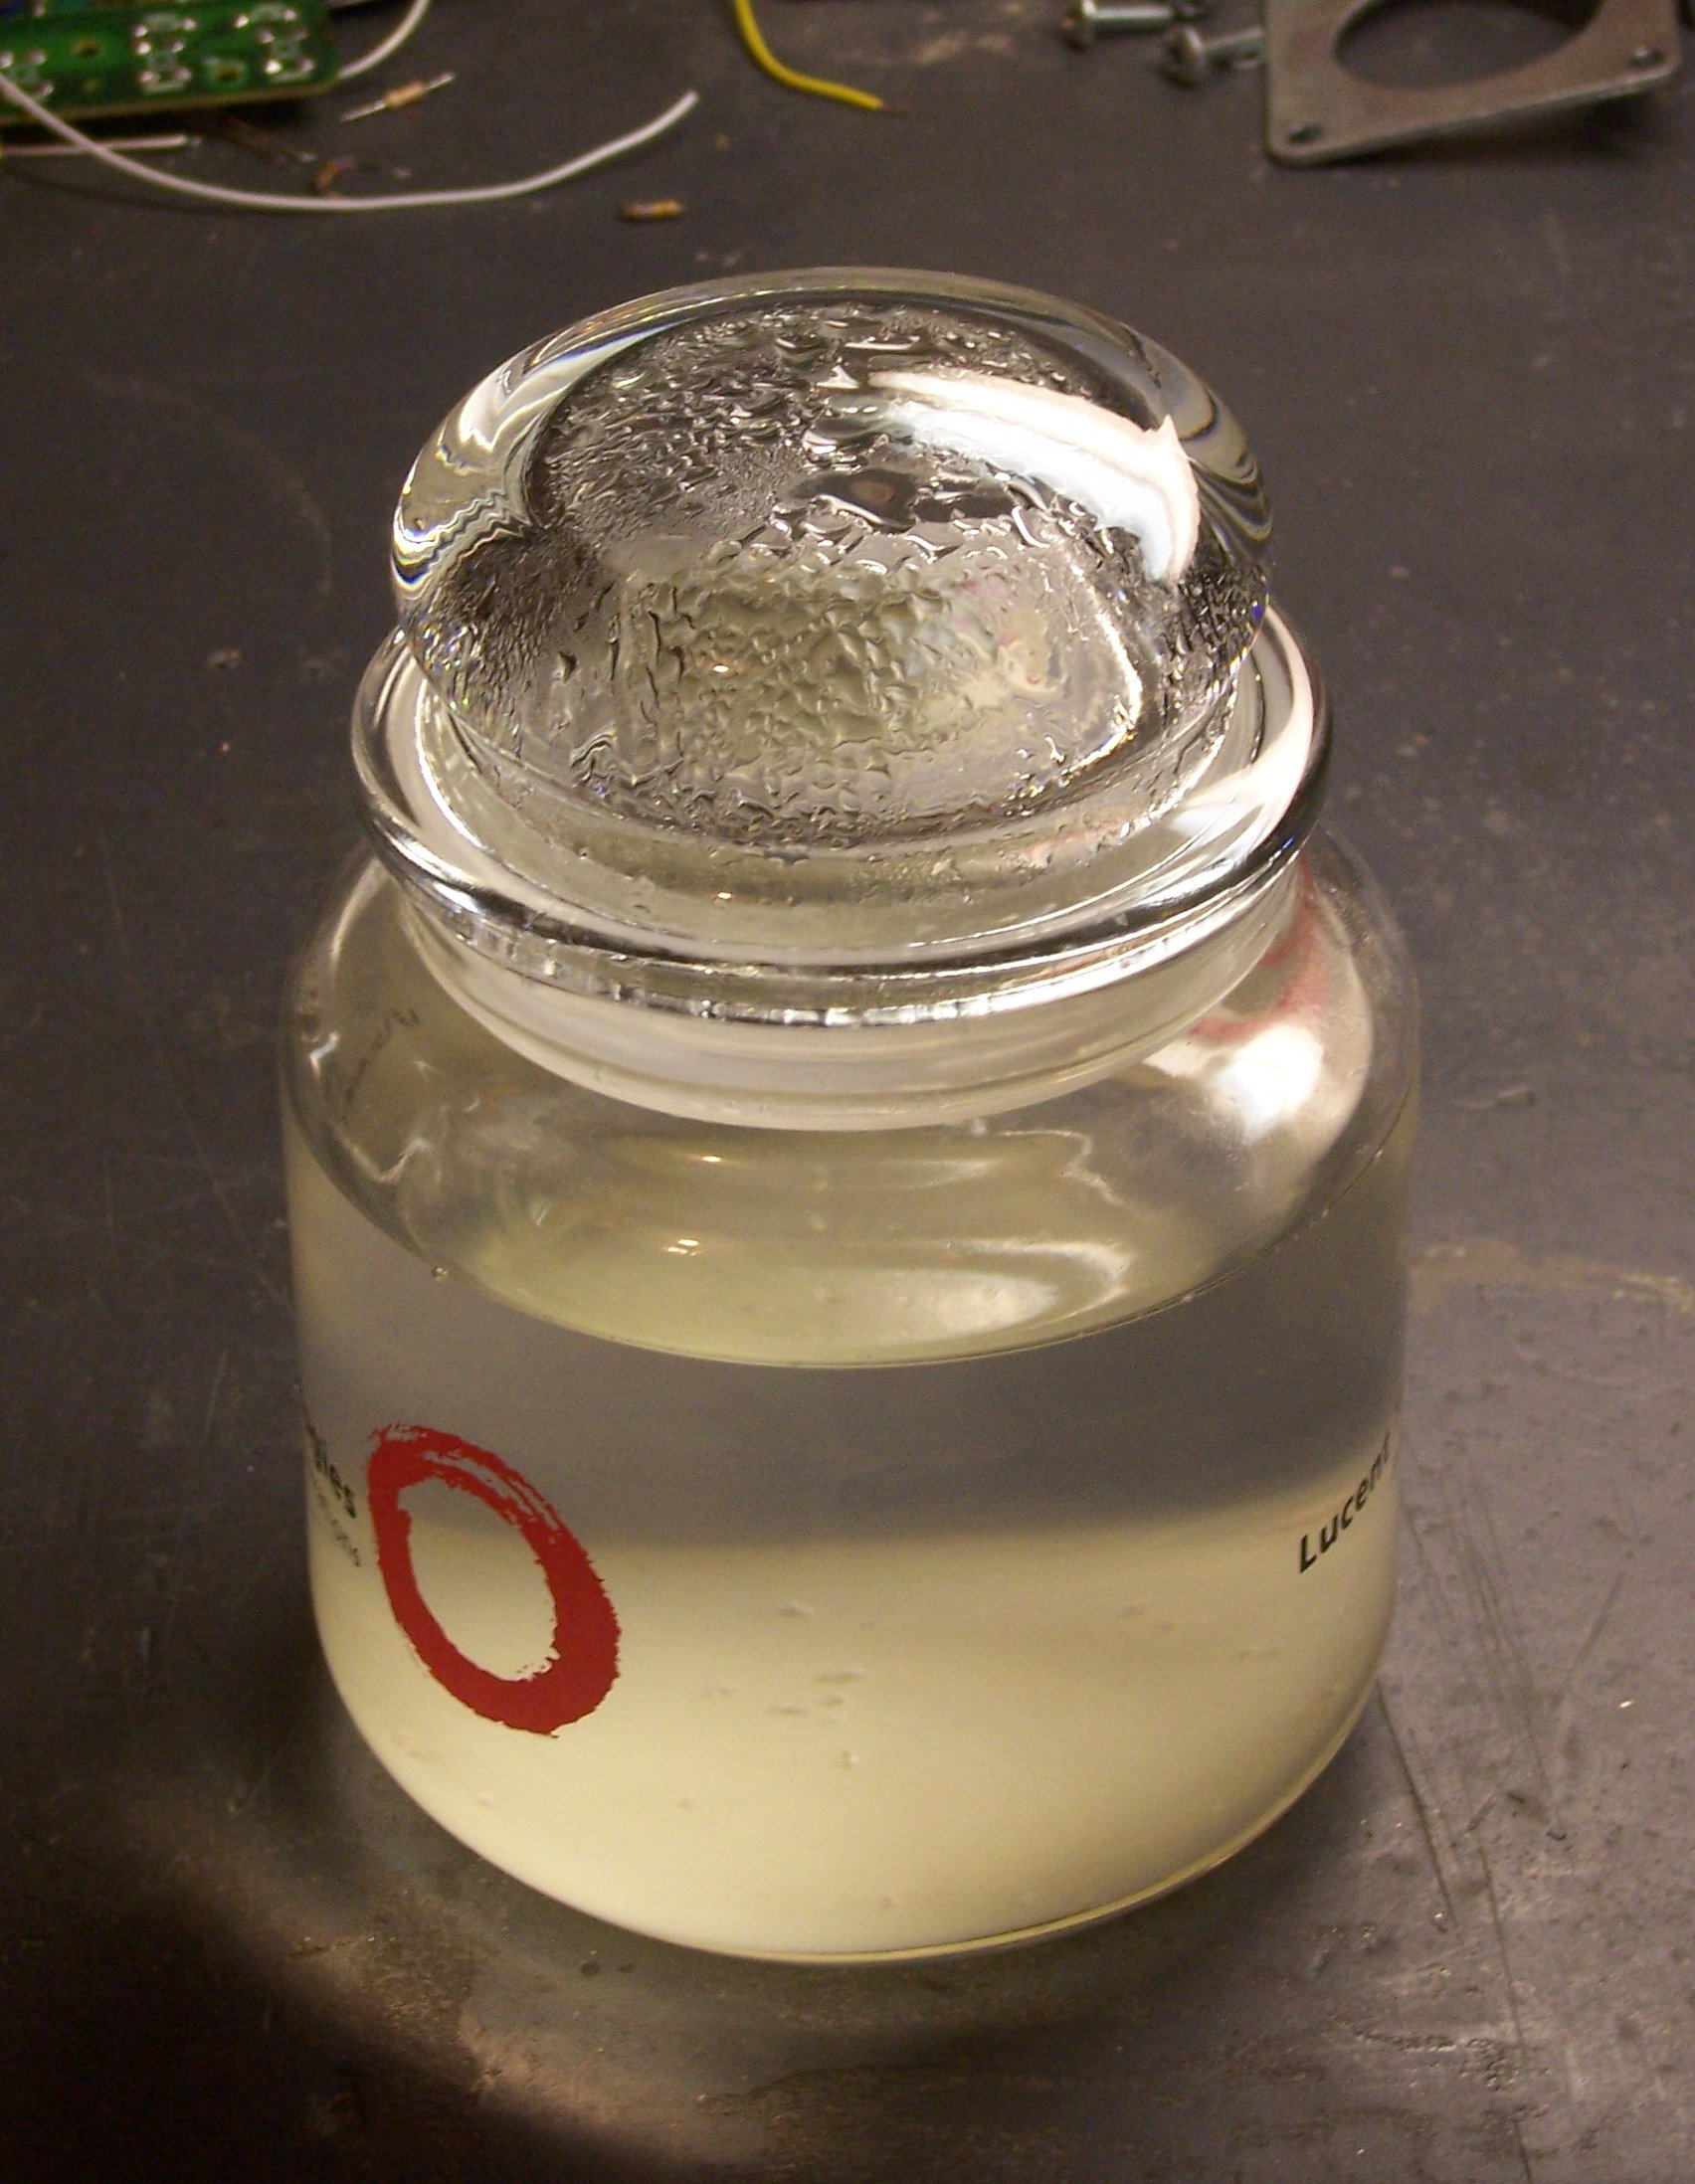
I mixed the solution in a glass candy jar that I got from a vendor about eight years ago. The jar was just big enough to dunk yesterday’s PC board, so I sidestepped a search for an appropriate separate pyrex container for heating the solution. I put the whole jar (minus the lid) onto a stove burner turned to low and checked the temperature and stirred frequently (with a plastic spoon). It’s not obvious from this picture, but there’s a flaky white precipitate at the bottom of the jar that only went fully into solution at about 130°F.
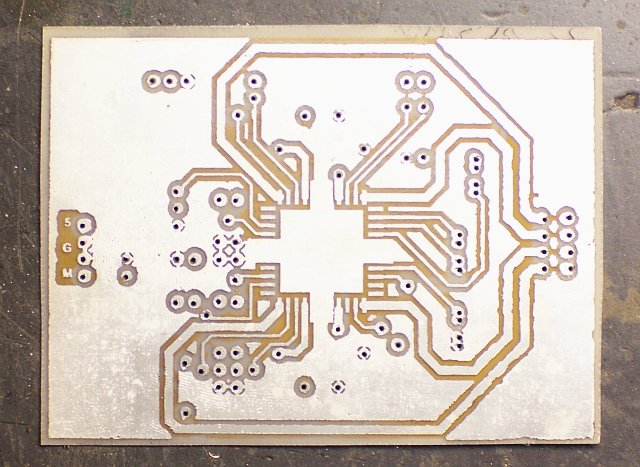
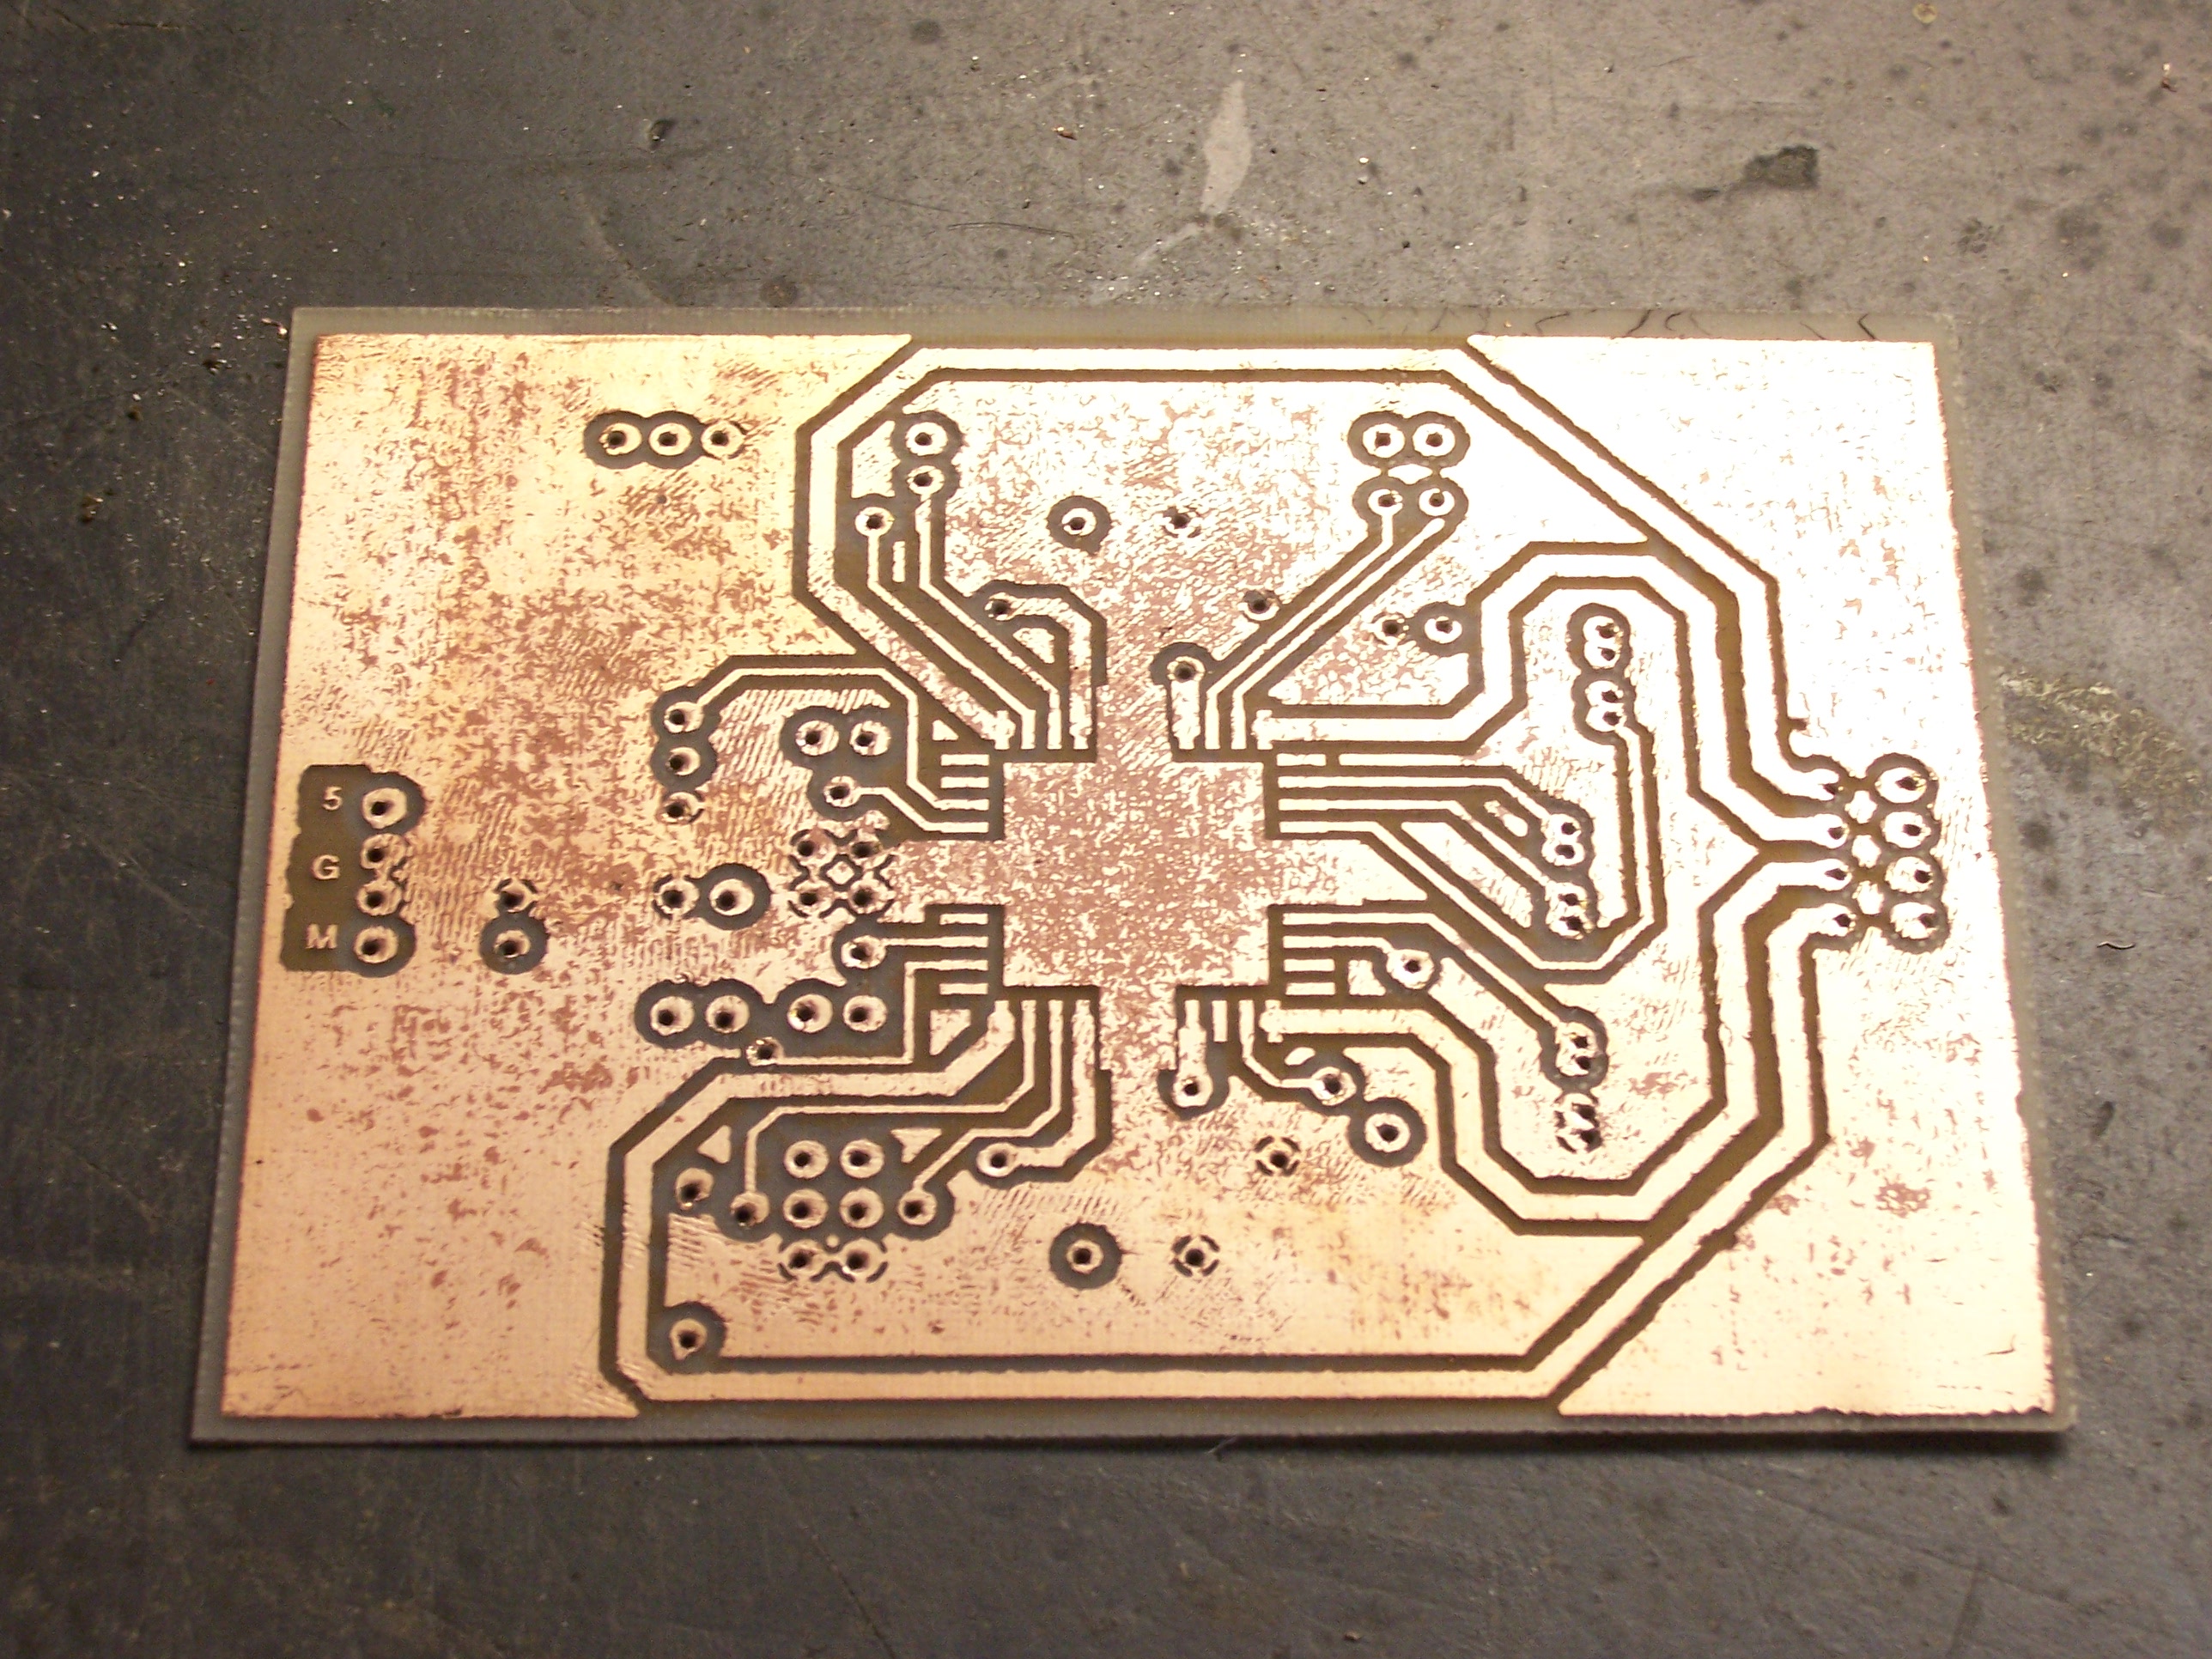
The board started turning silvery almost immediately, and coverage didn’t change visibly from about ten minutes in solution until forty minutes when I took it out. I washed and scrubbed it pretty thoroughly, and it still smells like salts.
The result is very shiny and silvery. The pockmarks are still visible — Tinnit (and electroplating in general) doesn’t cover to enough depth to smooth a rough surface — but the board looks pretty good.
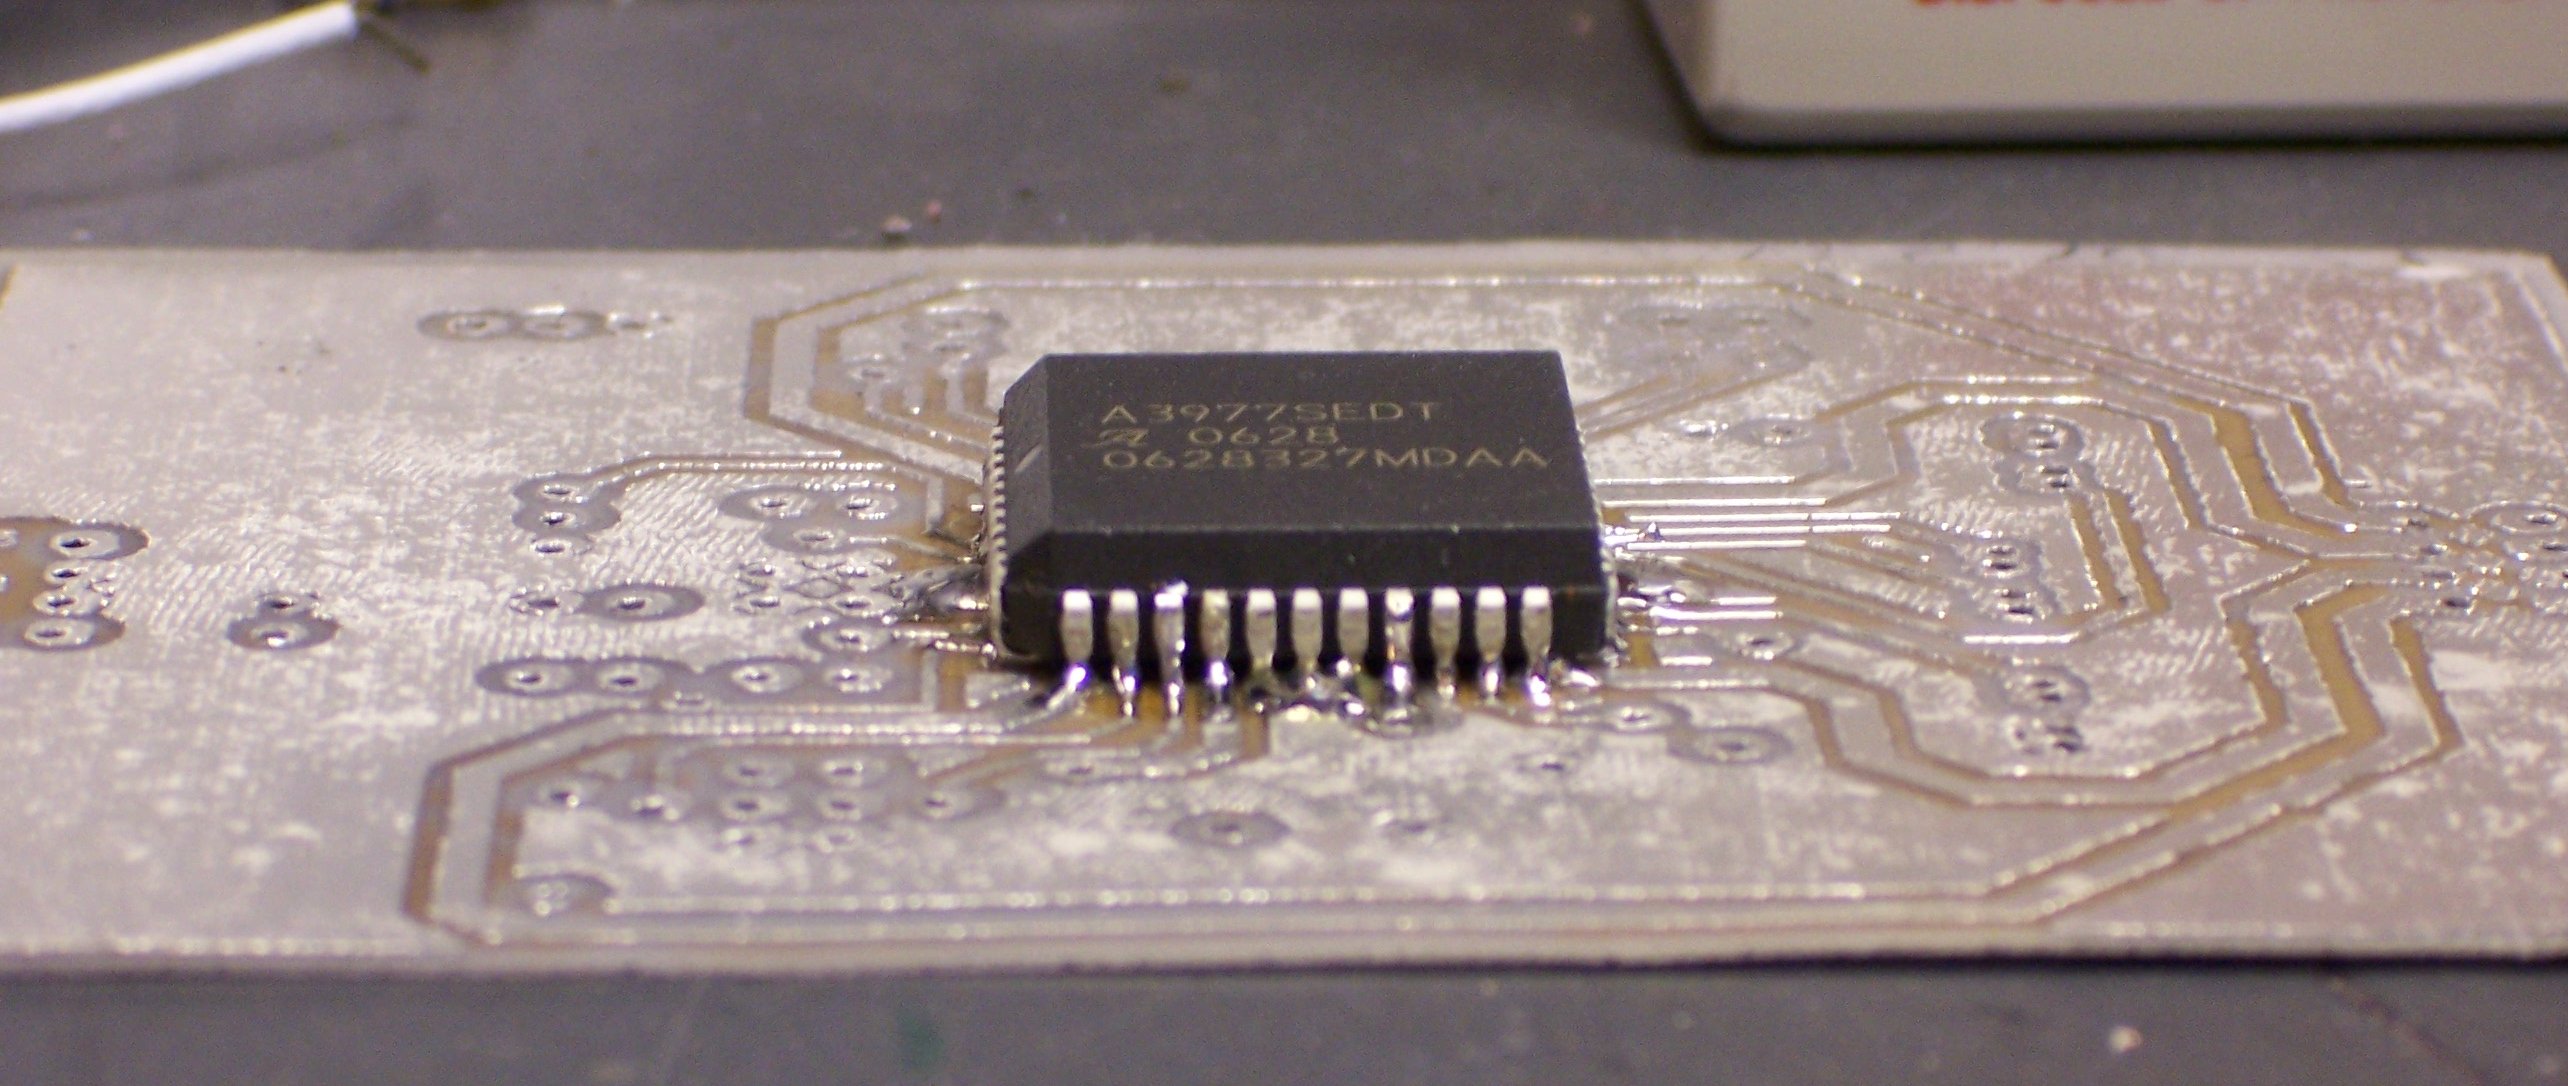
I’m particularly impressed by how much of a difference it makes in soldering. I know it’s easier to solder tinned components, but clean copper takes solder reasonably well. Still, this was amazingly easier to solder. When I built my first A3977 breakout board, I was flowing solder across multiple PLCC leads and cleaning up solder bridges; last night, I was able to solder individual leads with my SMT soldering tip.

As I was stuffing jumpers and headers, I noticed how monochromatic the board was without the resistors and capacitors installed yet. I finished all the black, silver, and white components and stopped for the evening. Tonight I expect to add the passives and hopefully get the board up and running.
What about drilling the holes from the copper side AFTER transfer (and even etching?) rather than before?
I’m just starting to make circuit boards (improving the transfer process right now) so I’m asking for myself as well…
If you’re making a single-sided board and hand-drilling the holes, drilling them after etching is absolutely the right way to go. You know exactly where the holes should be, and you put ‘em in the right place.
When I go over to my friend’s house and use his CNC drill machine or hopefully soon when I start to use my own, I think it’s easier to line up the transfer with the holes before ironing a single-sided board than it is to line up the machine with where the holes are supposed to go. With a really good machine, you should be able to position it carefully — but even the rotation of the board has to be perfect or your registration will be off at one end.
With a double-sided board, I don’t know how to align the transfer on both sides unless the holes are already there to register against.
DS boards are easy to make if you etch it in two steps.
I first drill the holes using a CNC.
I cover one side with clear box tape and put the toner artwork on the side to be etched.
After the first side is etched I cover it with box tape and apply the artwork to the other (after I removing the tape from the previous step)
Ah one more thing. Forget the clothes iron. A laminator makes the transfer nearly foolproof. Harbor Freight has this on on sale for $13.
http://www.harborfreight.com/cpi/ctaf/displayitem.taf?Itemnumber=93478
Also if you have not tried the pulsarPro transfer paper it is worth doing.
3v0, thanks for the suggestions.
It’s actually not that hard for me to align the paper I’m using with the pre-drilled holes, doing both sides at once. I hold it up to the light, get one side, tape it in place; then poke a couple of holes in the paper with a pin to be able to see through and align the other side. Worked well enough for me. Plus I don’t think I could stand having to etch twice, and take twice as long.
I’m open to the idea of using a heat press. I’m a little concerned that the laminator’s rollers might pull my iron-ons a little bit out of alignment on the way through. But more to the point, (1) I’m interested in seeing how good results I can get using supplies that just about everyone already has around the home; and (2) I don’t like etching anyway, and hope to switch to CNC routing soon.
Of course, those are just my own preferences, not any kind of statement about what works or doesn’t. Your ideas certainly have merit for someone who enjoys etching more than I do.
The Harbor Freight laminator does not put out enough heat. Too bad the form factor is great for smaller boards.
There in no problem with the pattern shifting in a laminator. I use 3M blue painters tape to hold it in place. Same tape works in laser printer.
If you run the board through the laminator too many times it will spread the pattern a wee bit. I use 3 to 4 passes but 2 would be enought. Never had a problem resulting from it. Did some testing and it turns out that the laser printer can be more of a problem is thsi regard. You crank up the darkness to get a dense image but that cause it to distort a bit. Pulsar has some green foil that you can place on top the toner once it is one the board. It should let you use a less dense image setting. But I use .01 lines and even run 2 traces (not often) between IC pads without problems as it is.
My goal is to make the best boards I can with as little pain as possible.
Regarding CNC routing.
Do you use the pcb-gode with Eagle to route your boards?
I use it to create the drill file for use on the CNC.
I could be wrong but I think you can get more detail (finer lines etc) with chemical etching.
Also if you are making more the one board the chemical etch is faster.
The HF laminator did work with the very thin single sides paper cut PCB from Electronic Goldmine. Failed on thicker .021(IIRC) DS stock. Need to do more testing to be sure.
Also if you have not been there there is some good electronic discussion at
http://www.electro-tech-online.com/
I do not much care for forums but this and the EDA board are good electronic ones.