I have a working prototype of the tilt menu system for the LED puck, albeit square instead of round, and missing the select button.
It started a couple of weekends ago at Cort’s house, where we made some breakout boards for two Analog Devices ADXL202 MEMS accelerometers I have. Sparkfun used to have a great-looking breakout board for them, but it had the filter capacitors on board and I really wanted them off-board for easier prototyping and testing different signal bandwidths.
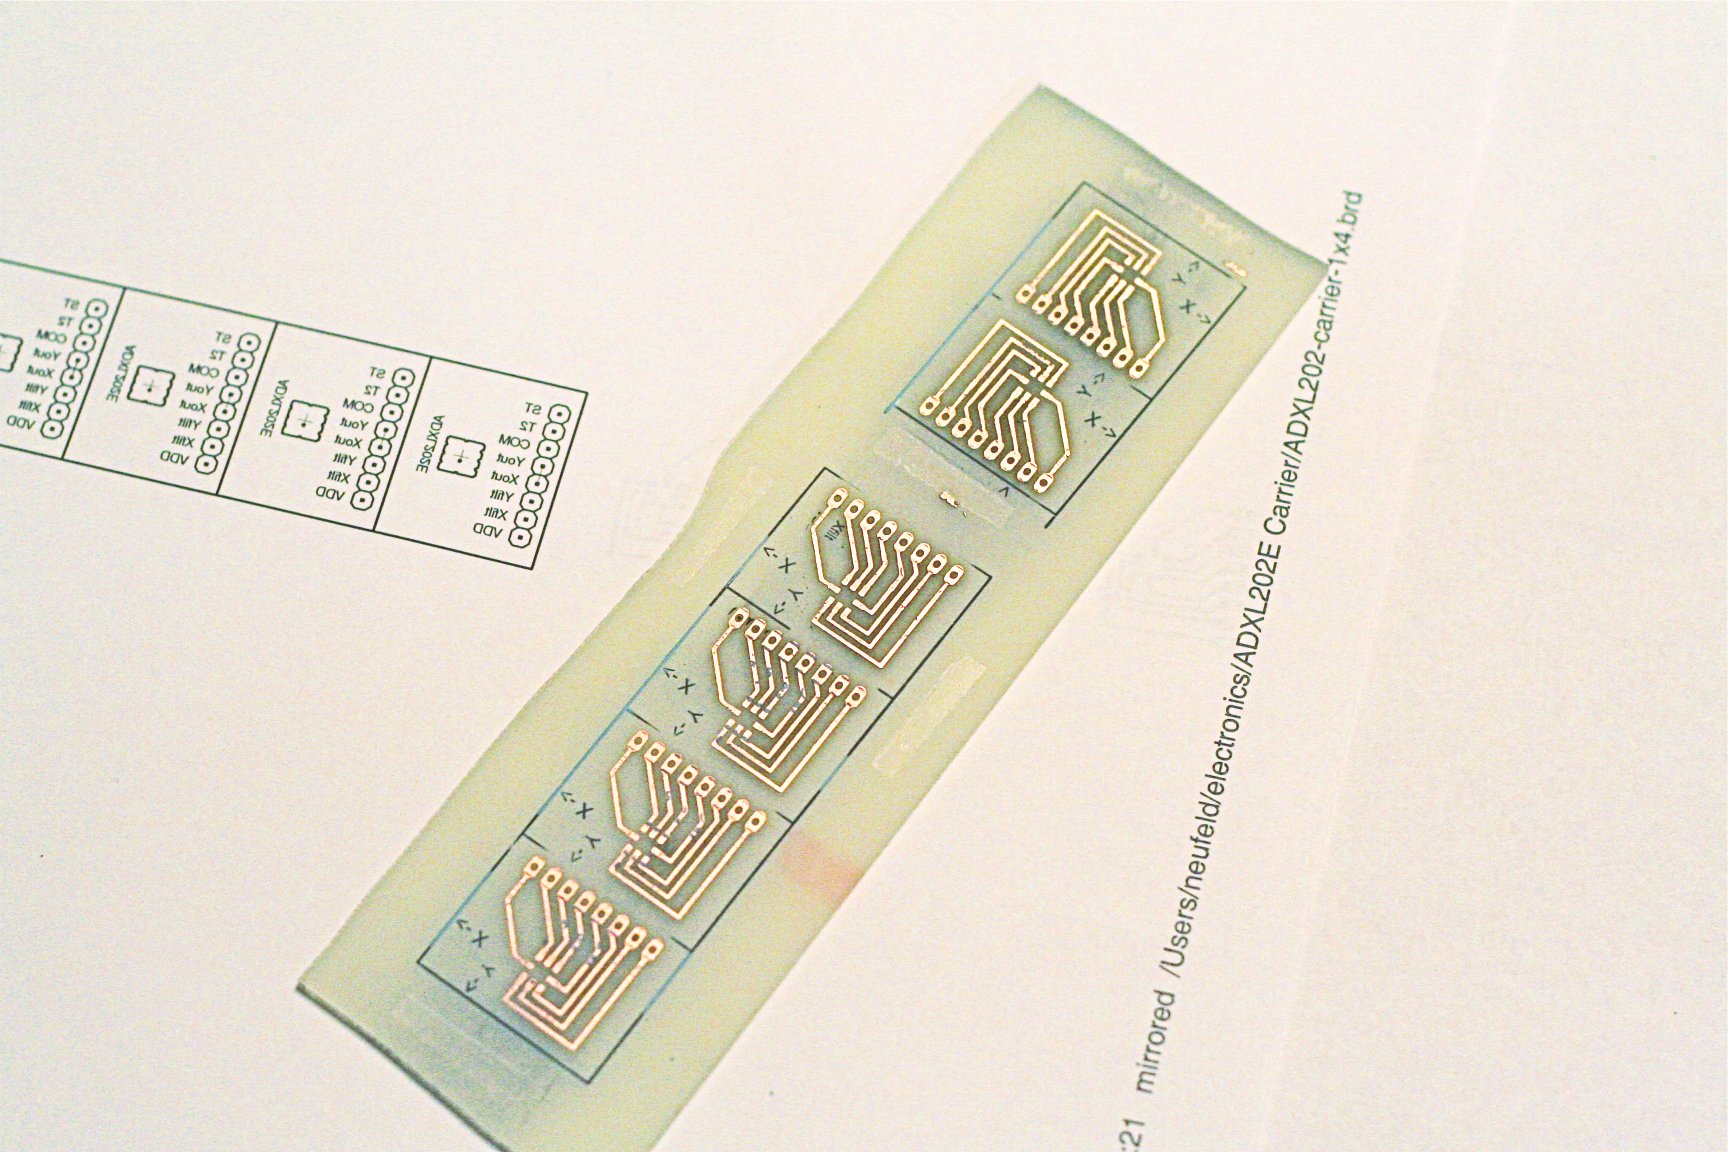
We did iron-on toner transfer etch resist, using Cort’s heat press. We also did toner transfer for the silkscreen-layer labels.
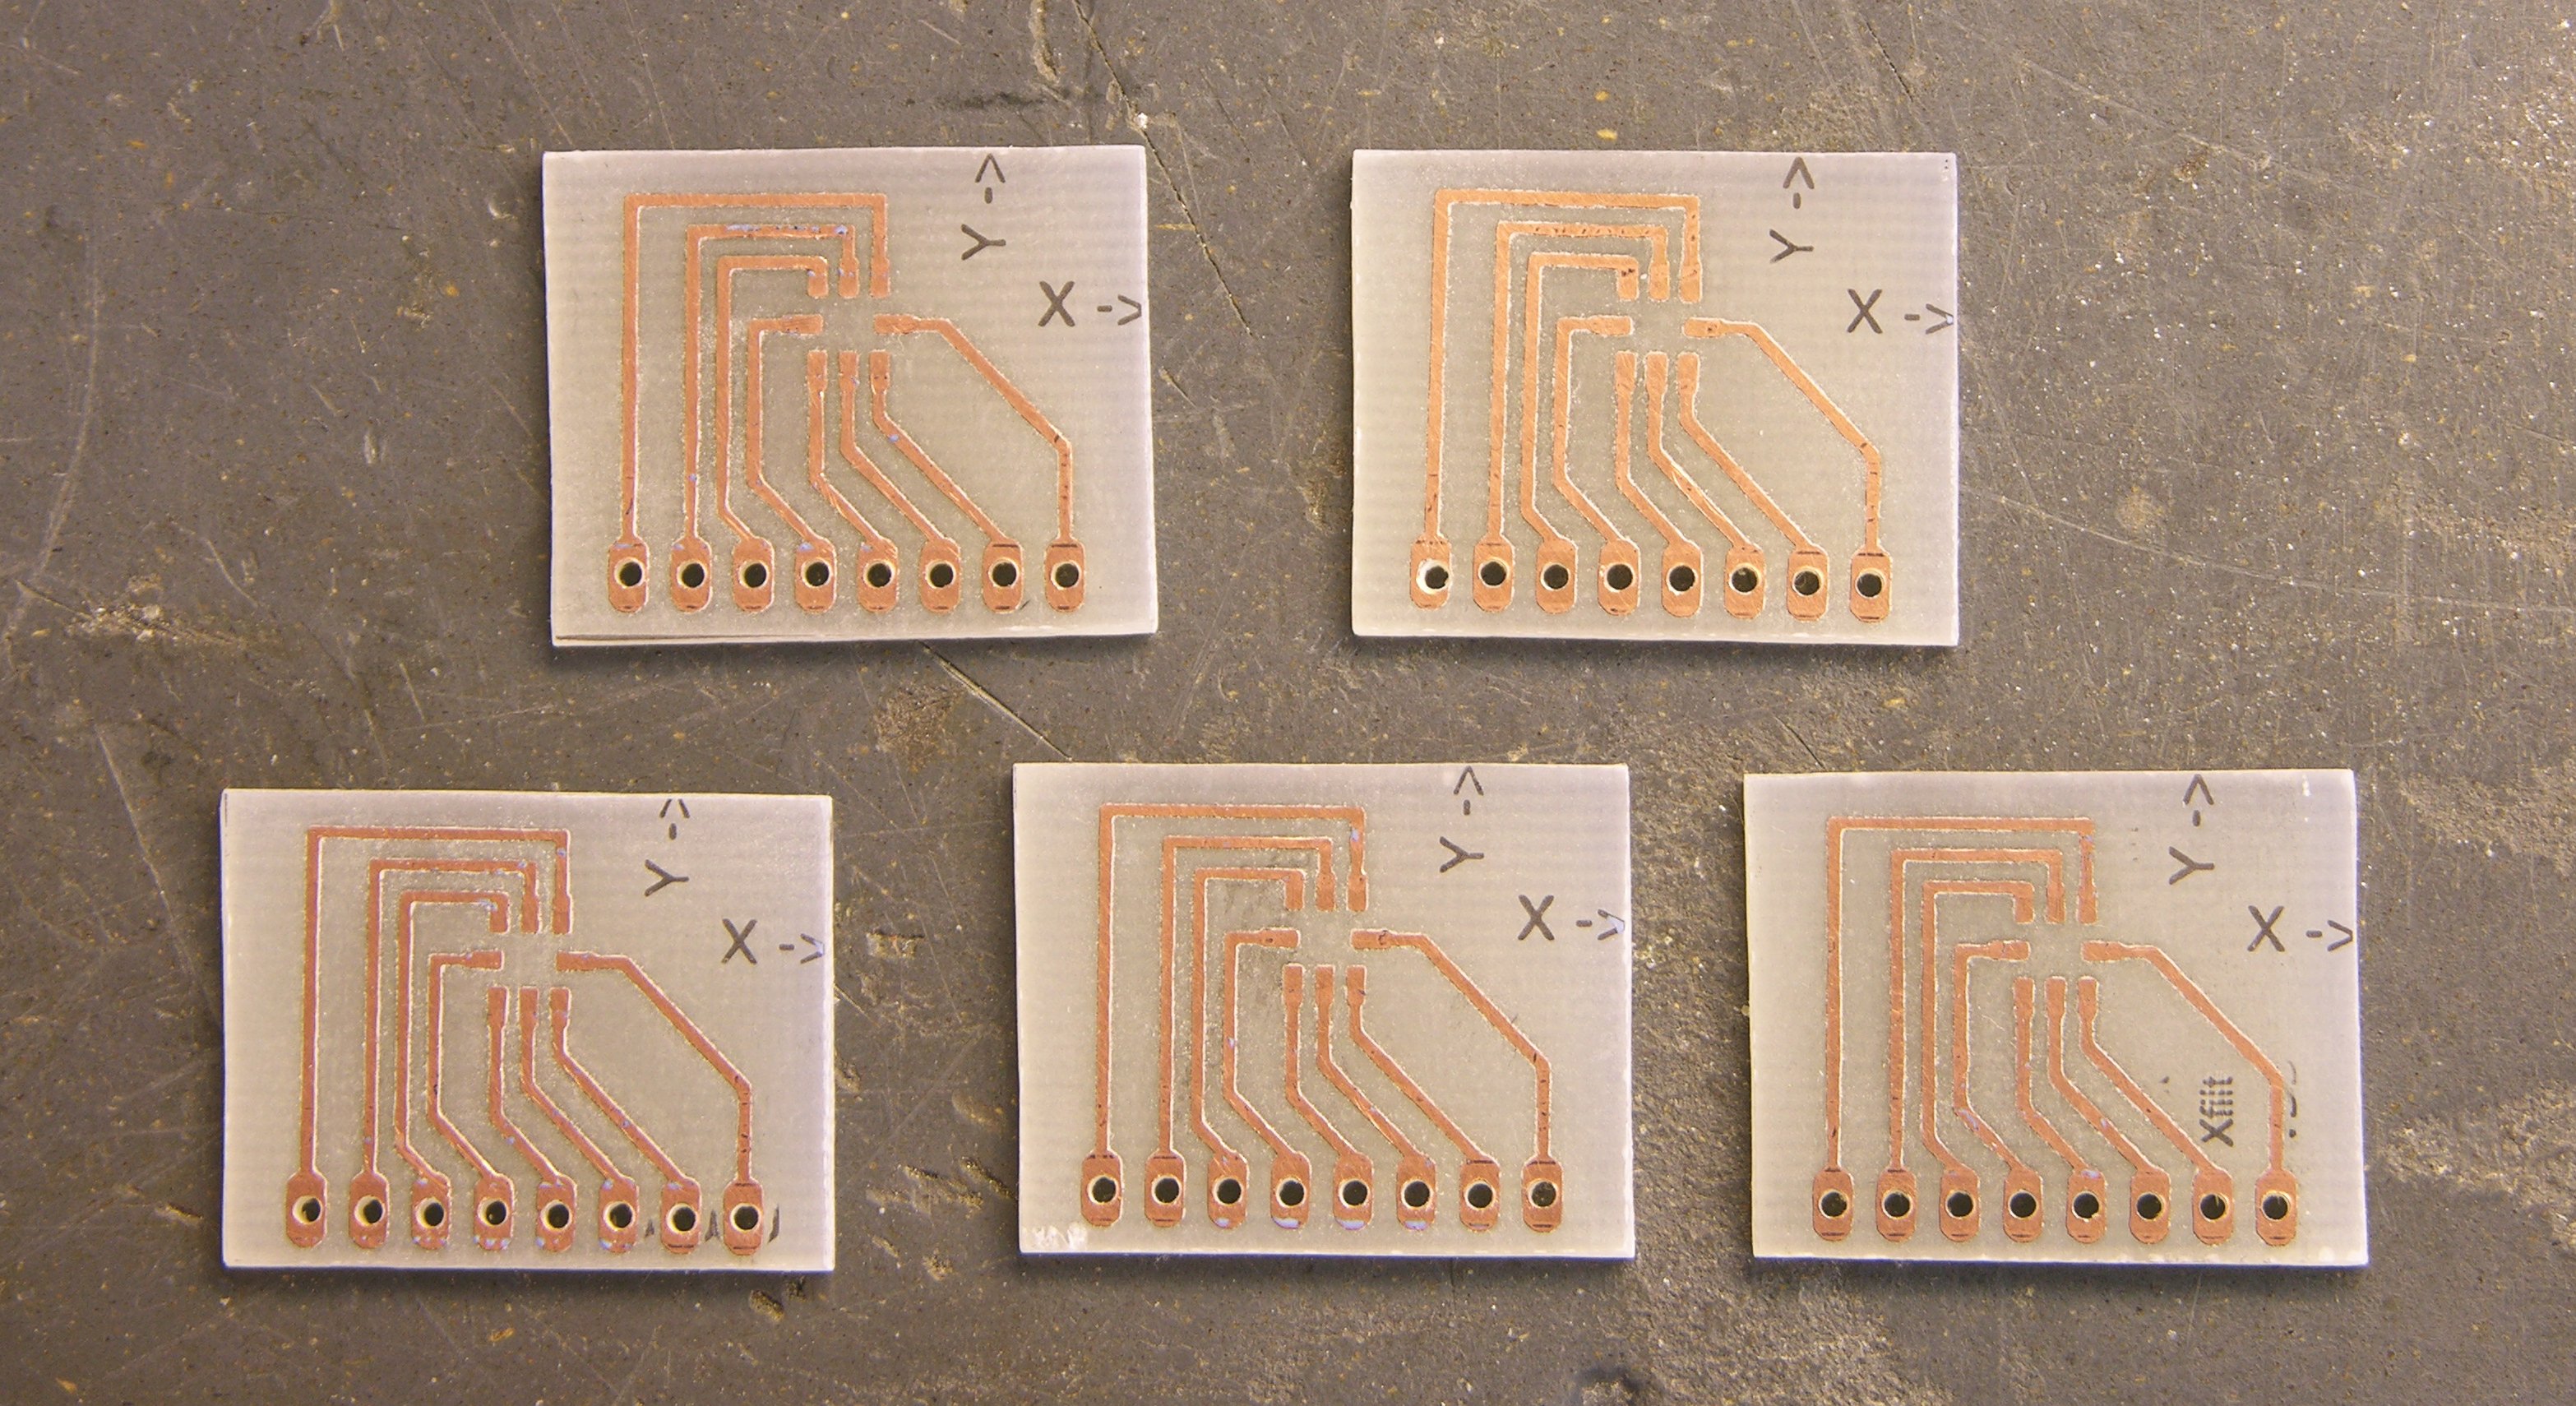
The boards came out very nicely, although the straightness of my hacksaw job leaves something to be desired. Besides indicating the positive directions of the X and Y axes, the silkscreen layer also had labels for the individual header pins; but they didn’t stick at all well going up and down the edges of the copper traces, so I scraped ‘em off. Ditto the pin-1 indicator for the LCC chip.

Here’s the board I’ve assembled, with header pins hand-labelled.
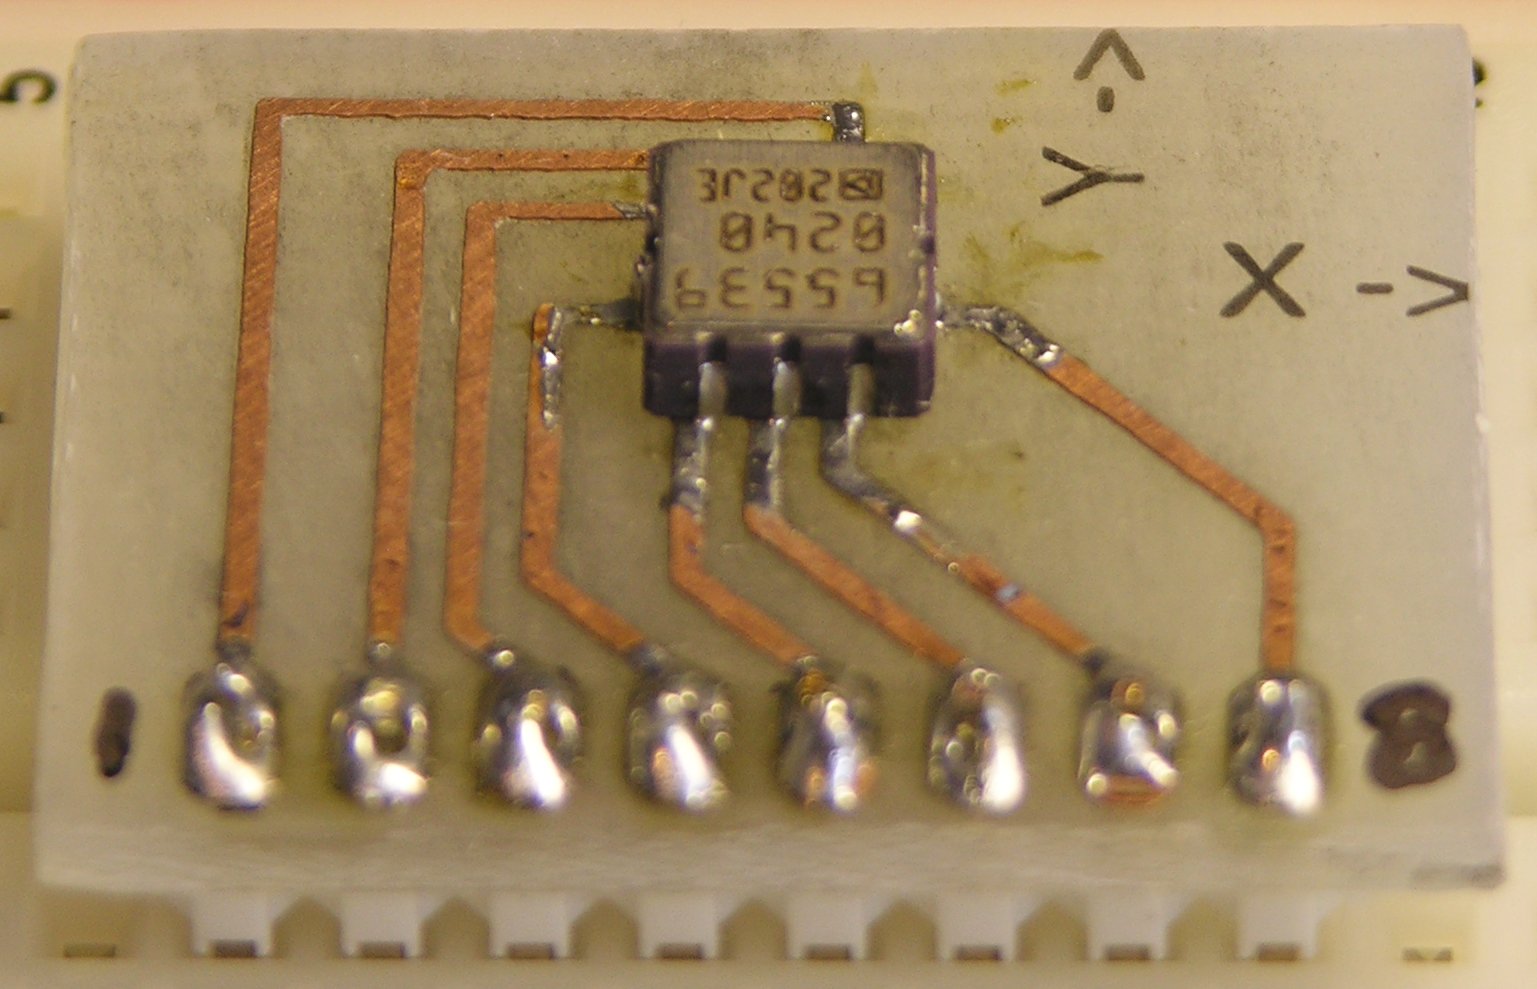
I used the Sparkfun SMT soldering method — slop solder on and wick off as much as you can. It leaves enough between the chip and the traces to make good contact, while eliminating solder bridges.
This was a bit interesting to position while soldering. Because it’s an accelerometer / tilt-sensing chip, I wanted its orientation as closely aligned as possible with the orientation of the carrier board. Absolute position doesn’t matter; but if it were rotated relative to the board, its readings wouldn’t align with the tilt of the project it was part of.
I knew I wanted to hold it securely in place while soldering, rather than tacking down a corner and hoping it was rotated about right while soldering the remaining pins. I thought about using a hemostat, but Cort’s was way too strong and would have crushed the chip. I ended up using a needlenose vise-grip, backing it off far enough to just barely grip the chip. I still worried about crushing it; but I was careful enough, as the accelerometer still works.
Tilt Menu Software and Prototype
The whole idea of tilt-menu-based control comes from reader Kevin Reid‘s suggestion:
Accelerometer-based control!
1. Press single control button.
2. Tilt puck such that the LED indicating the relevant function is lit.
3. Release button.
I don’t know whether that’s the exact mechanism (press/release) I’d like to use, but I love the overall idea. To clarify one point, the top of the puck will be rounded/domed, so tilting the puck will light the LED that’s “on top,” like an air bubble floating inside a liquid-filled dome.
With the accelerometer breakout board completed, I was able to prototype the system.
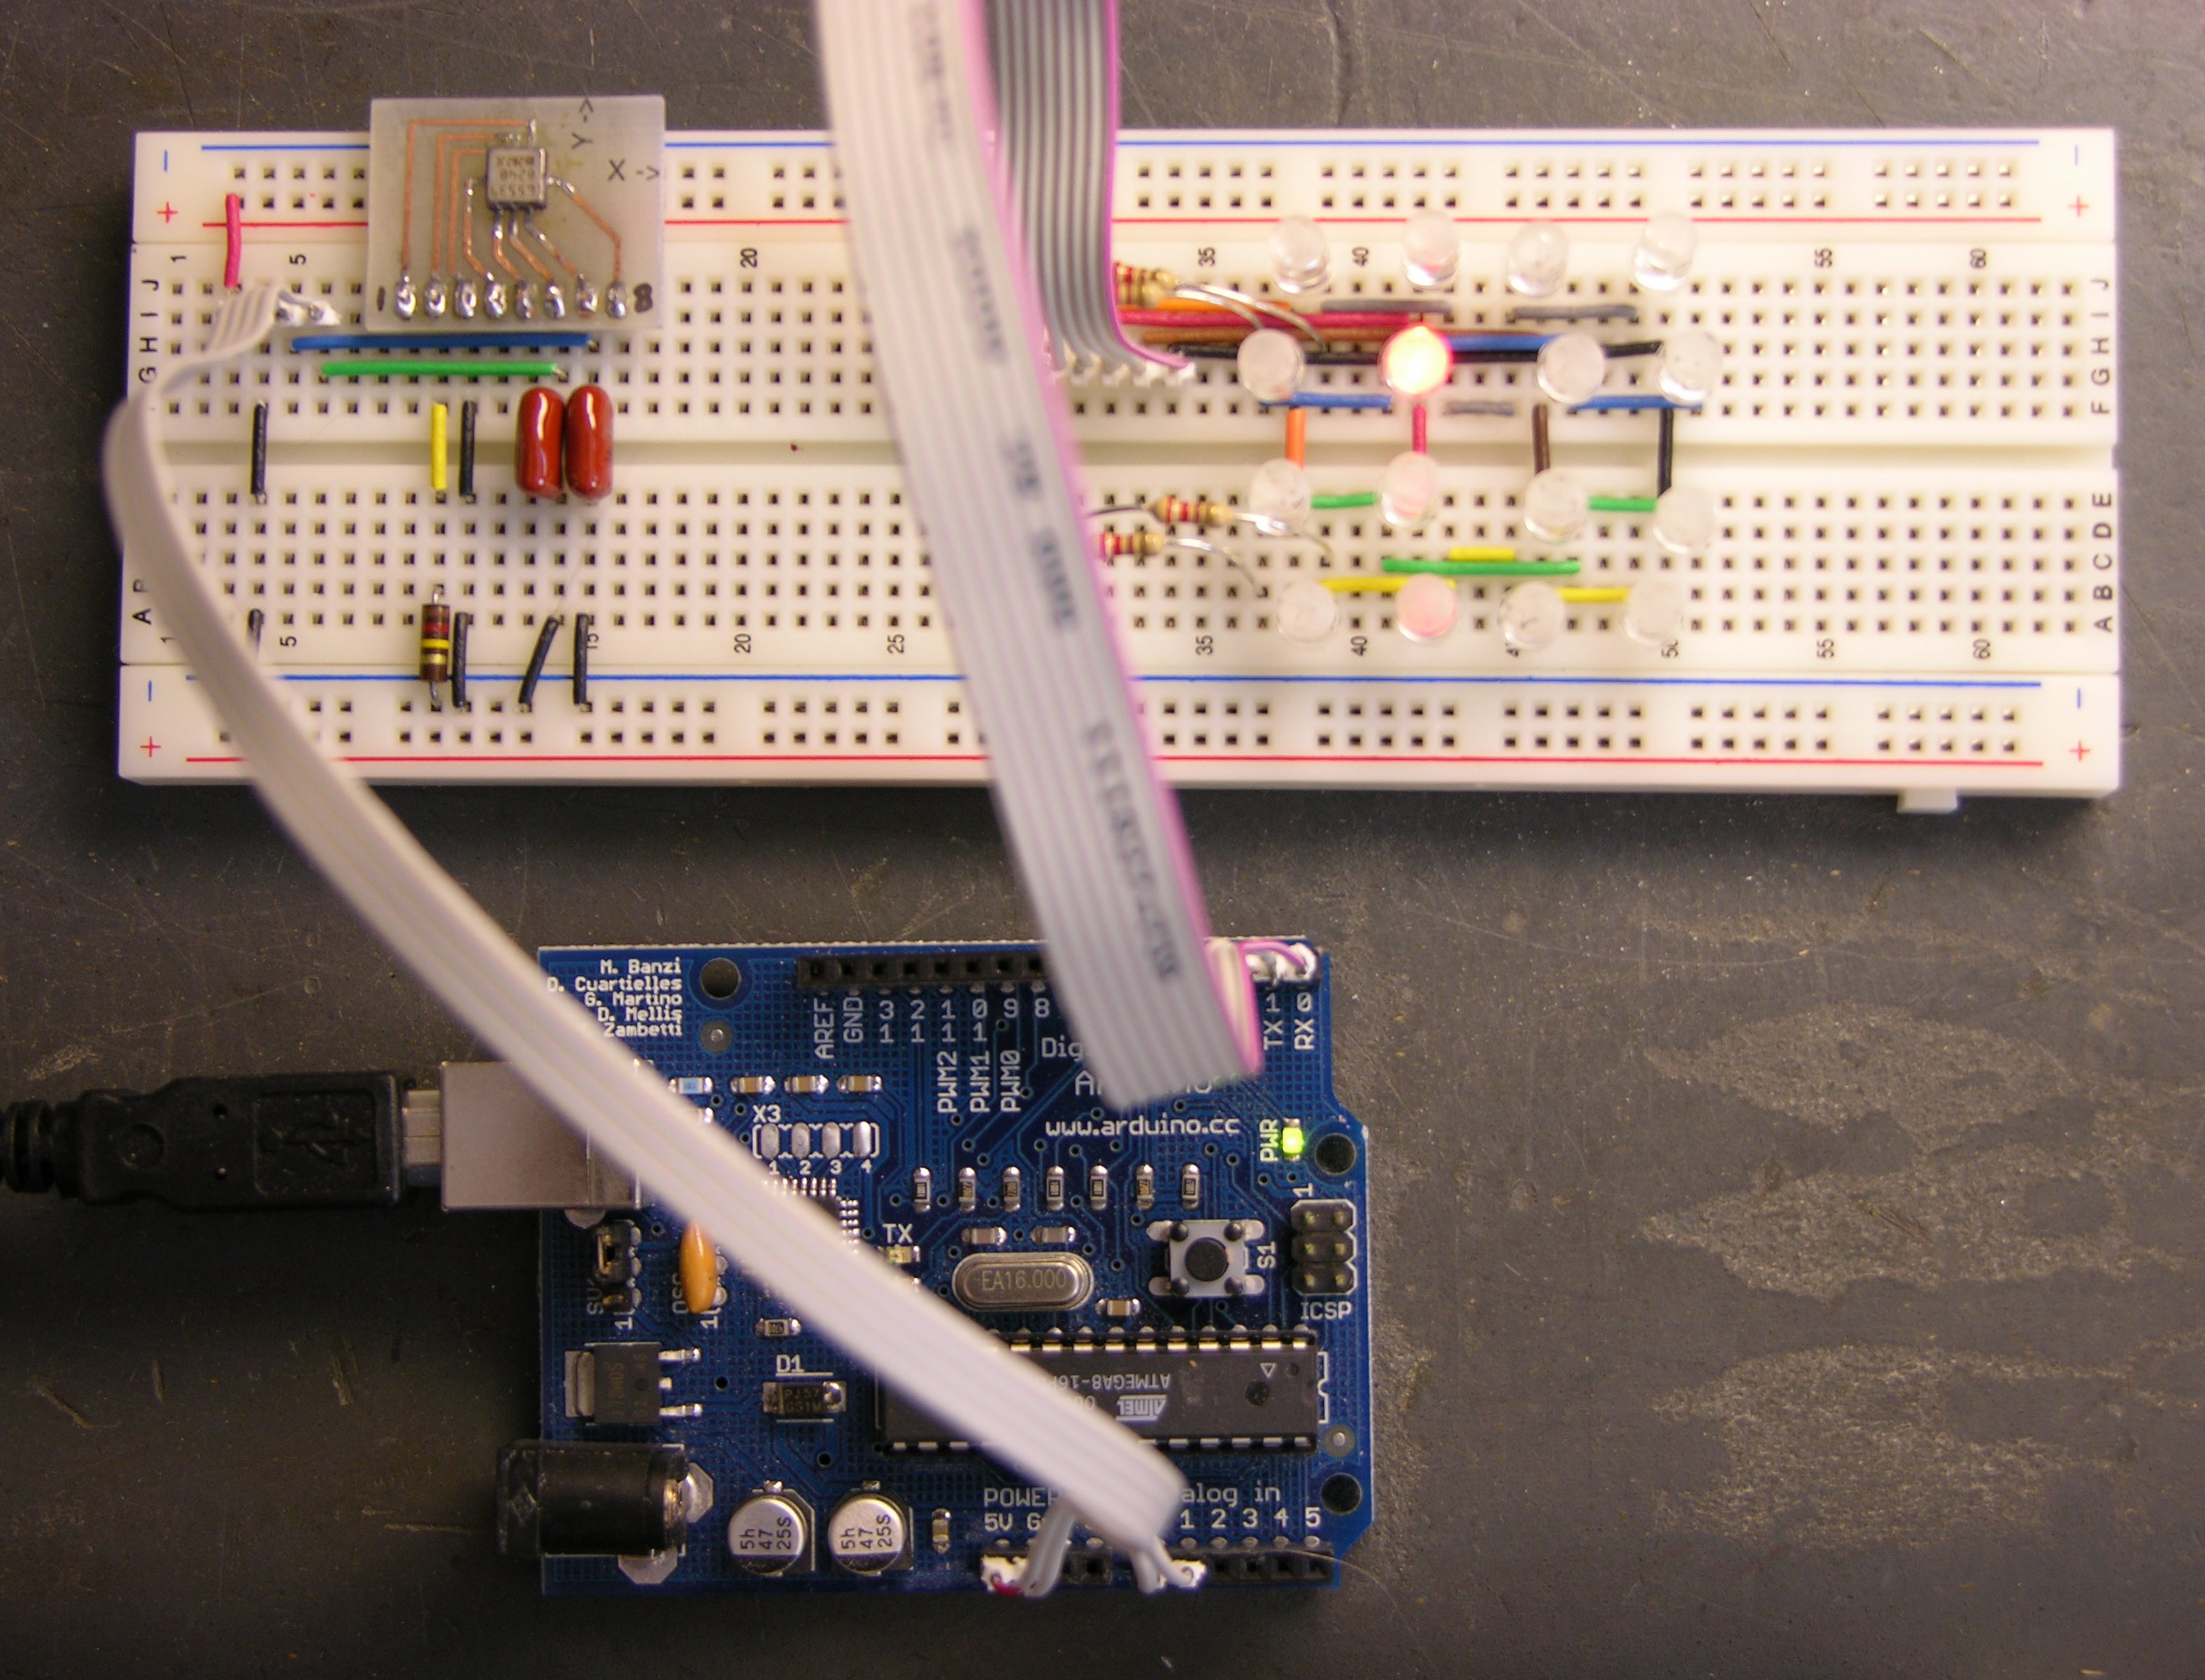
The Arduino at the bottom is the brains. The accelerometer is at the left end of the breadboard with fairly large signal-filtering capacitors — I sized them for about 50 discrete readings per second, which I think should be more than enough (and is still far fewer than the device is capable of). Note that I’m using the accelerometer’s analog outputs and the Arduino’s A/D inputs; I didn’t feel like measuring pulse length from the ADXL’s digital outputs.
The LED matrix at the right end of the breadboard is kind of ugly, at least to implement on a breadboard (as well as hard to see in this picture). I intend to use an Allegro MicroSystems A6276 16-bit serial-in, parallel-out, constant-current LED driver for the real thing . . . but I can’t find where I put mine, so I just hacked together a row/column drive straight out of the Arduino.
The Arduino code is nothing special, but here it is:
It reads the analog inputs to get the X/Y tilt, translates from the scale of the A/D converters into the size of the LED matrix, and drives the row/column outputs. I added hysteresis that (although simple) does a fantastic job of keeping the LEDs from flicking back and forth when you’re on the fence between two adjacent ones. And I used tristating on the LED matrix drive because it made more sense to me to float unused lines than to flip them to the opposite value.
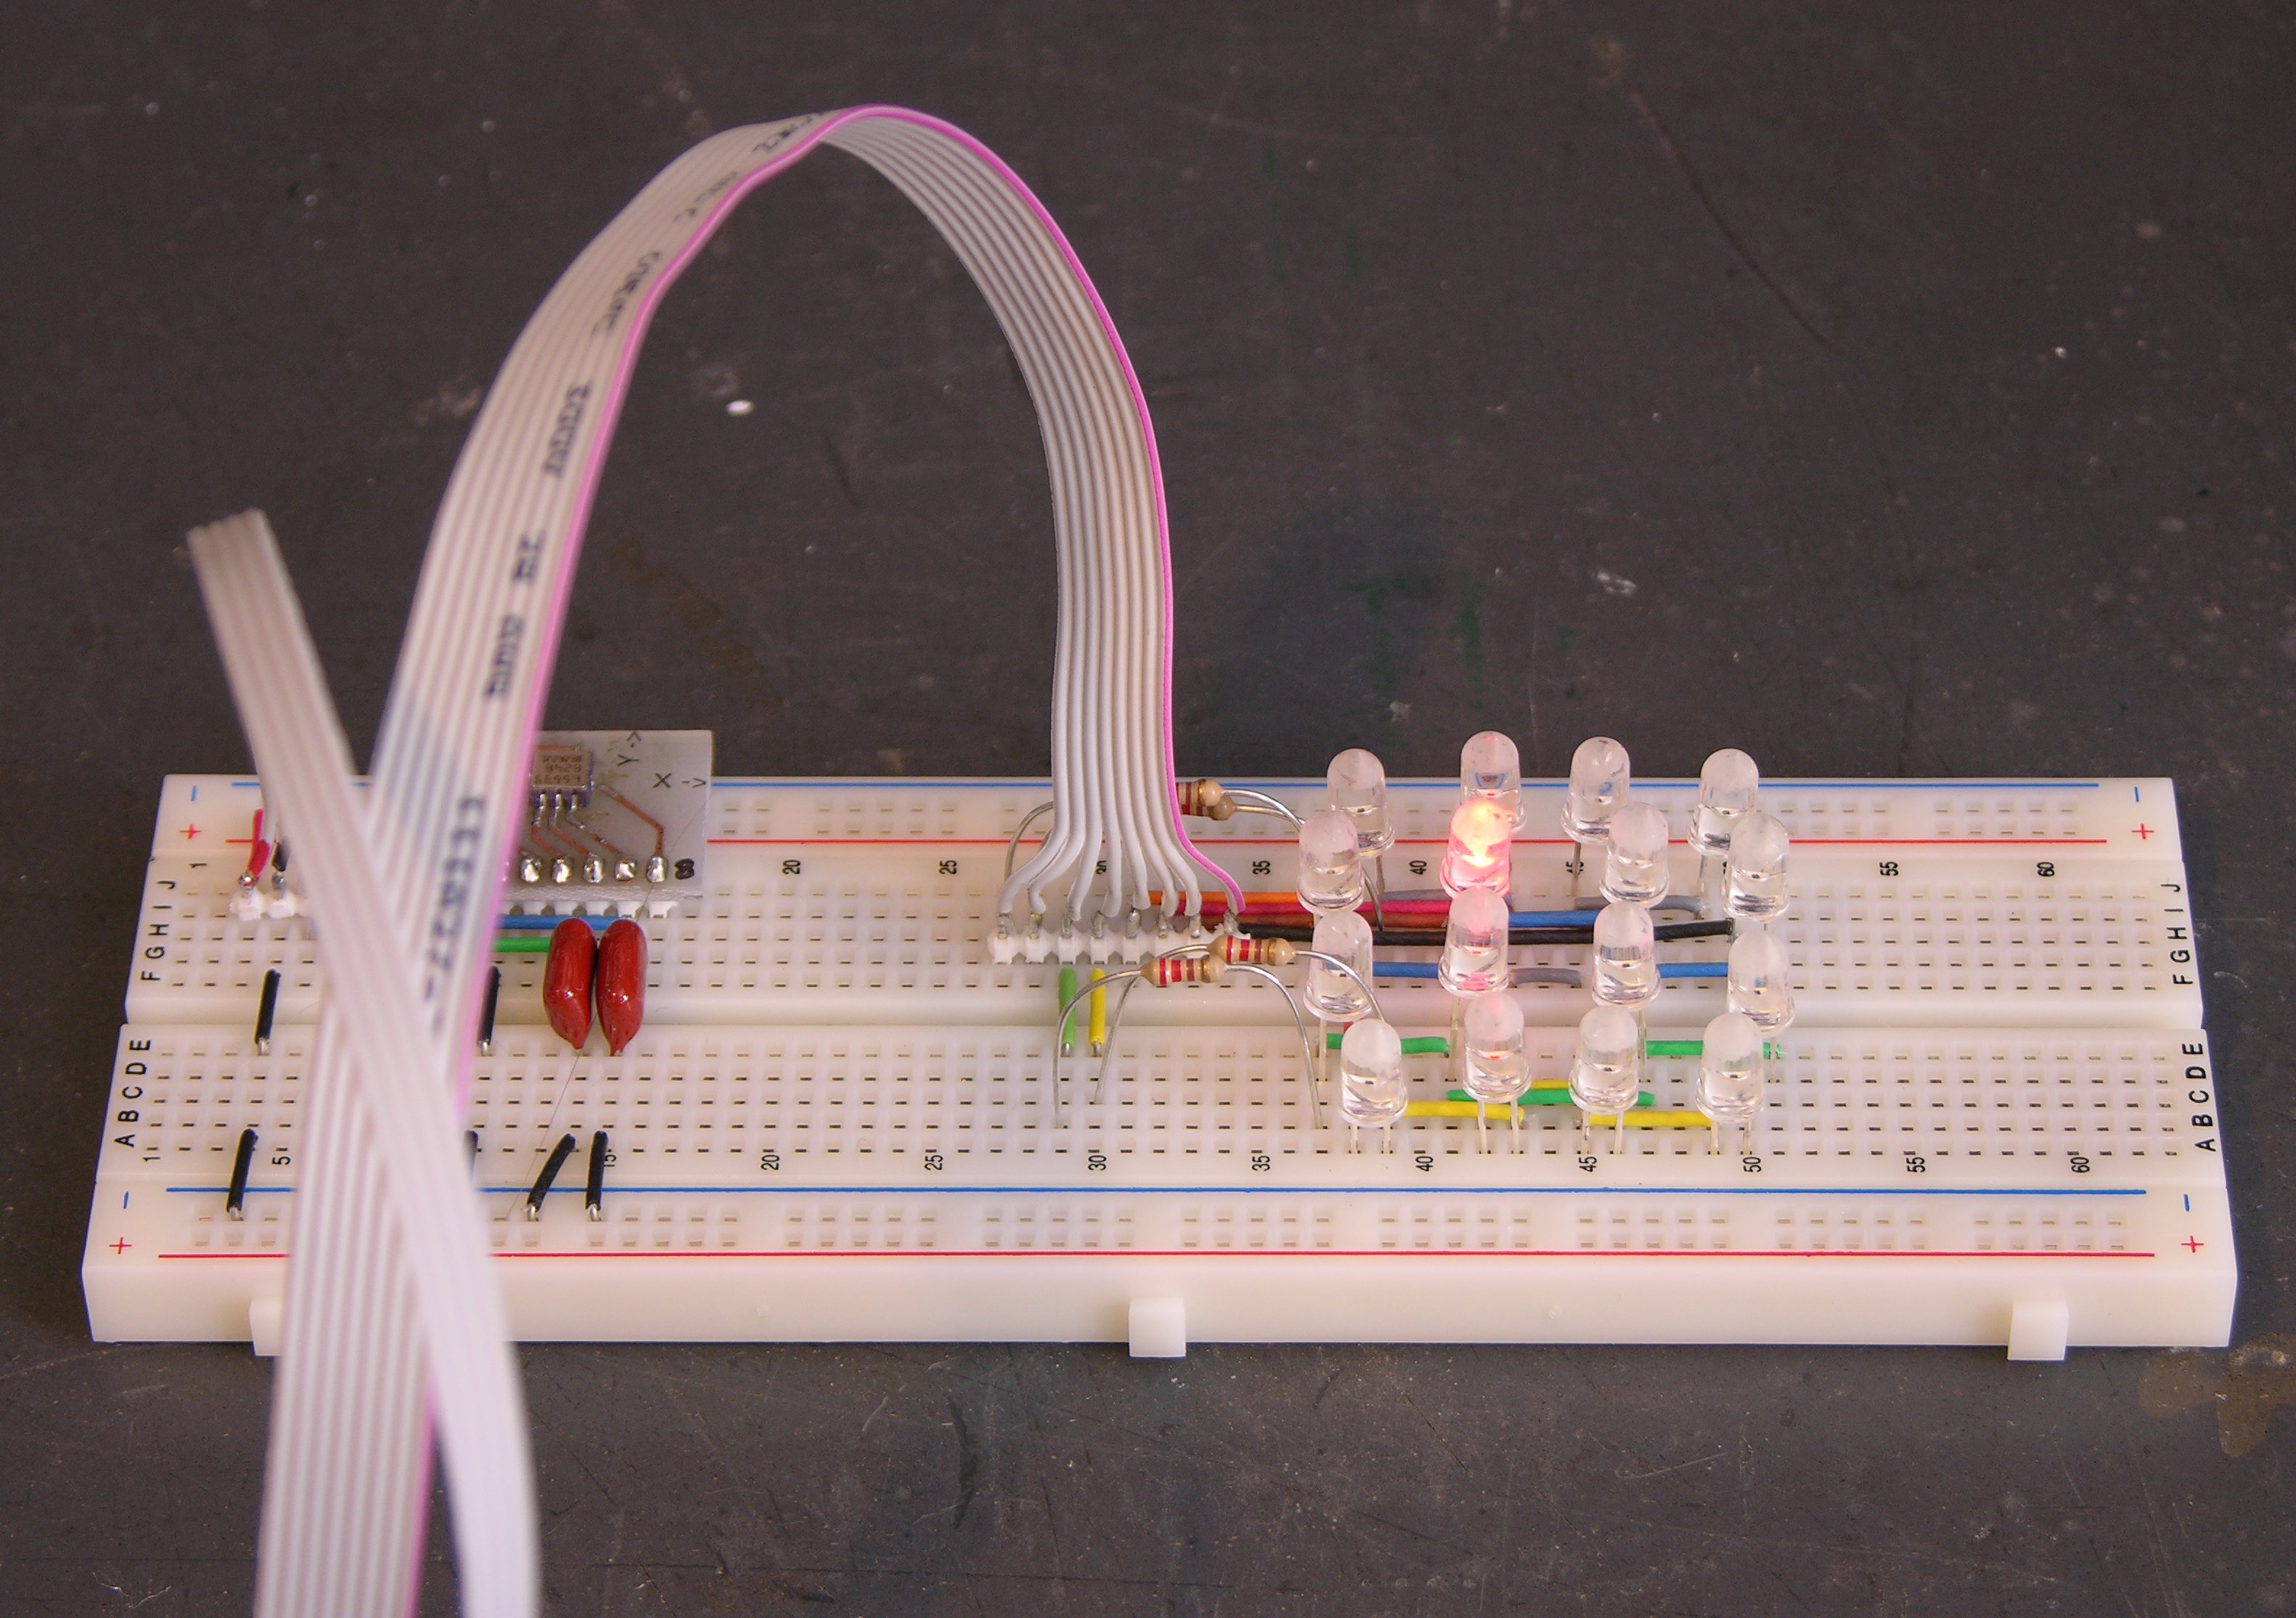
Here’s what it looks like sitting on a flat surface. One of the four center LEDs is lit — it turns out to be always the same one, as I haven’t calibrated the accelerometer readings for perfect level yet and it lists a bit to one corner. Note that one of the envisioned modes for the puck is a bubble level; and in that mode, I think I’d flash the four center LEDs to indicate when the puck is perfectly level.
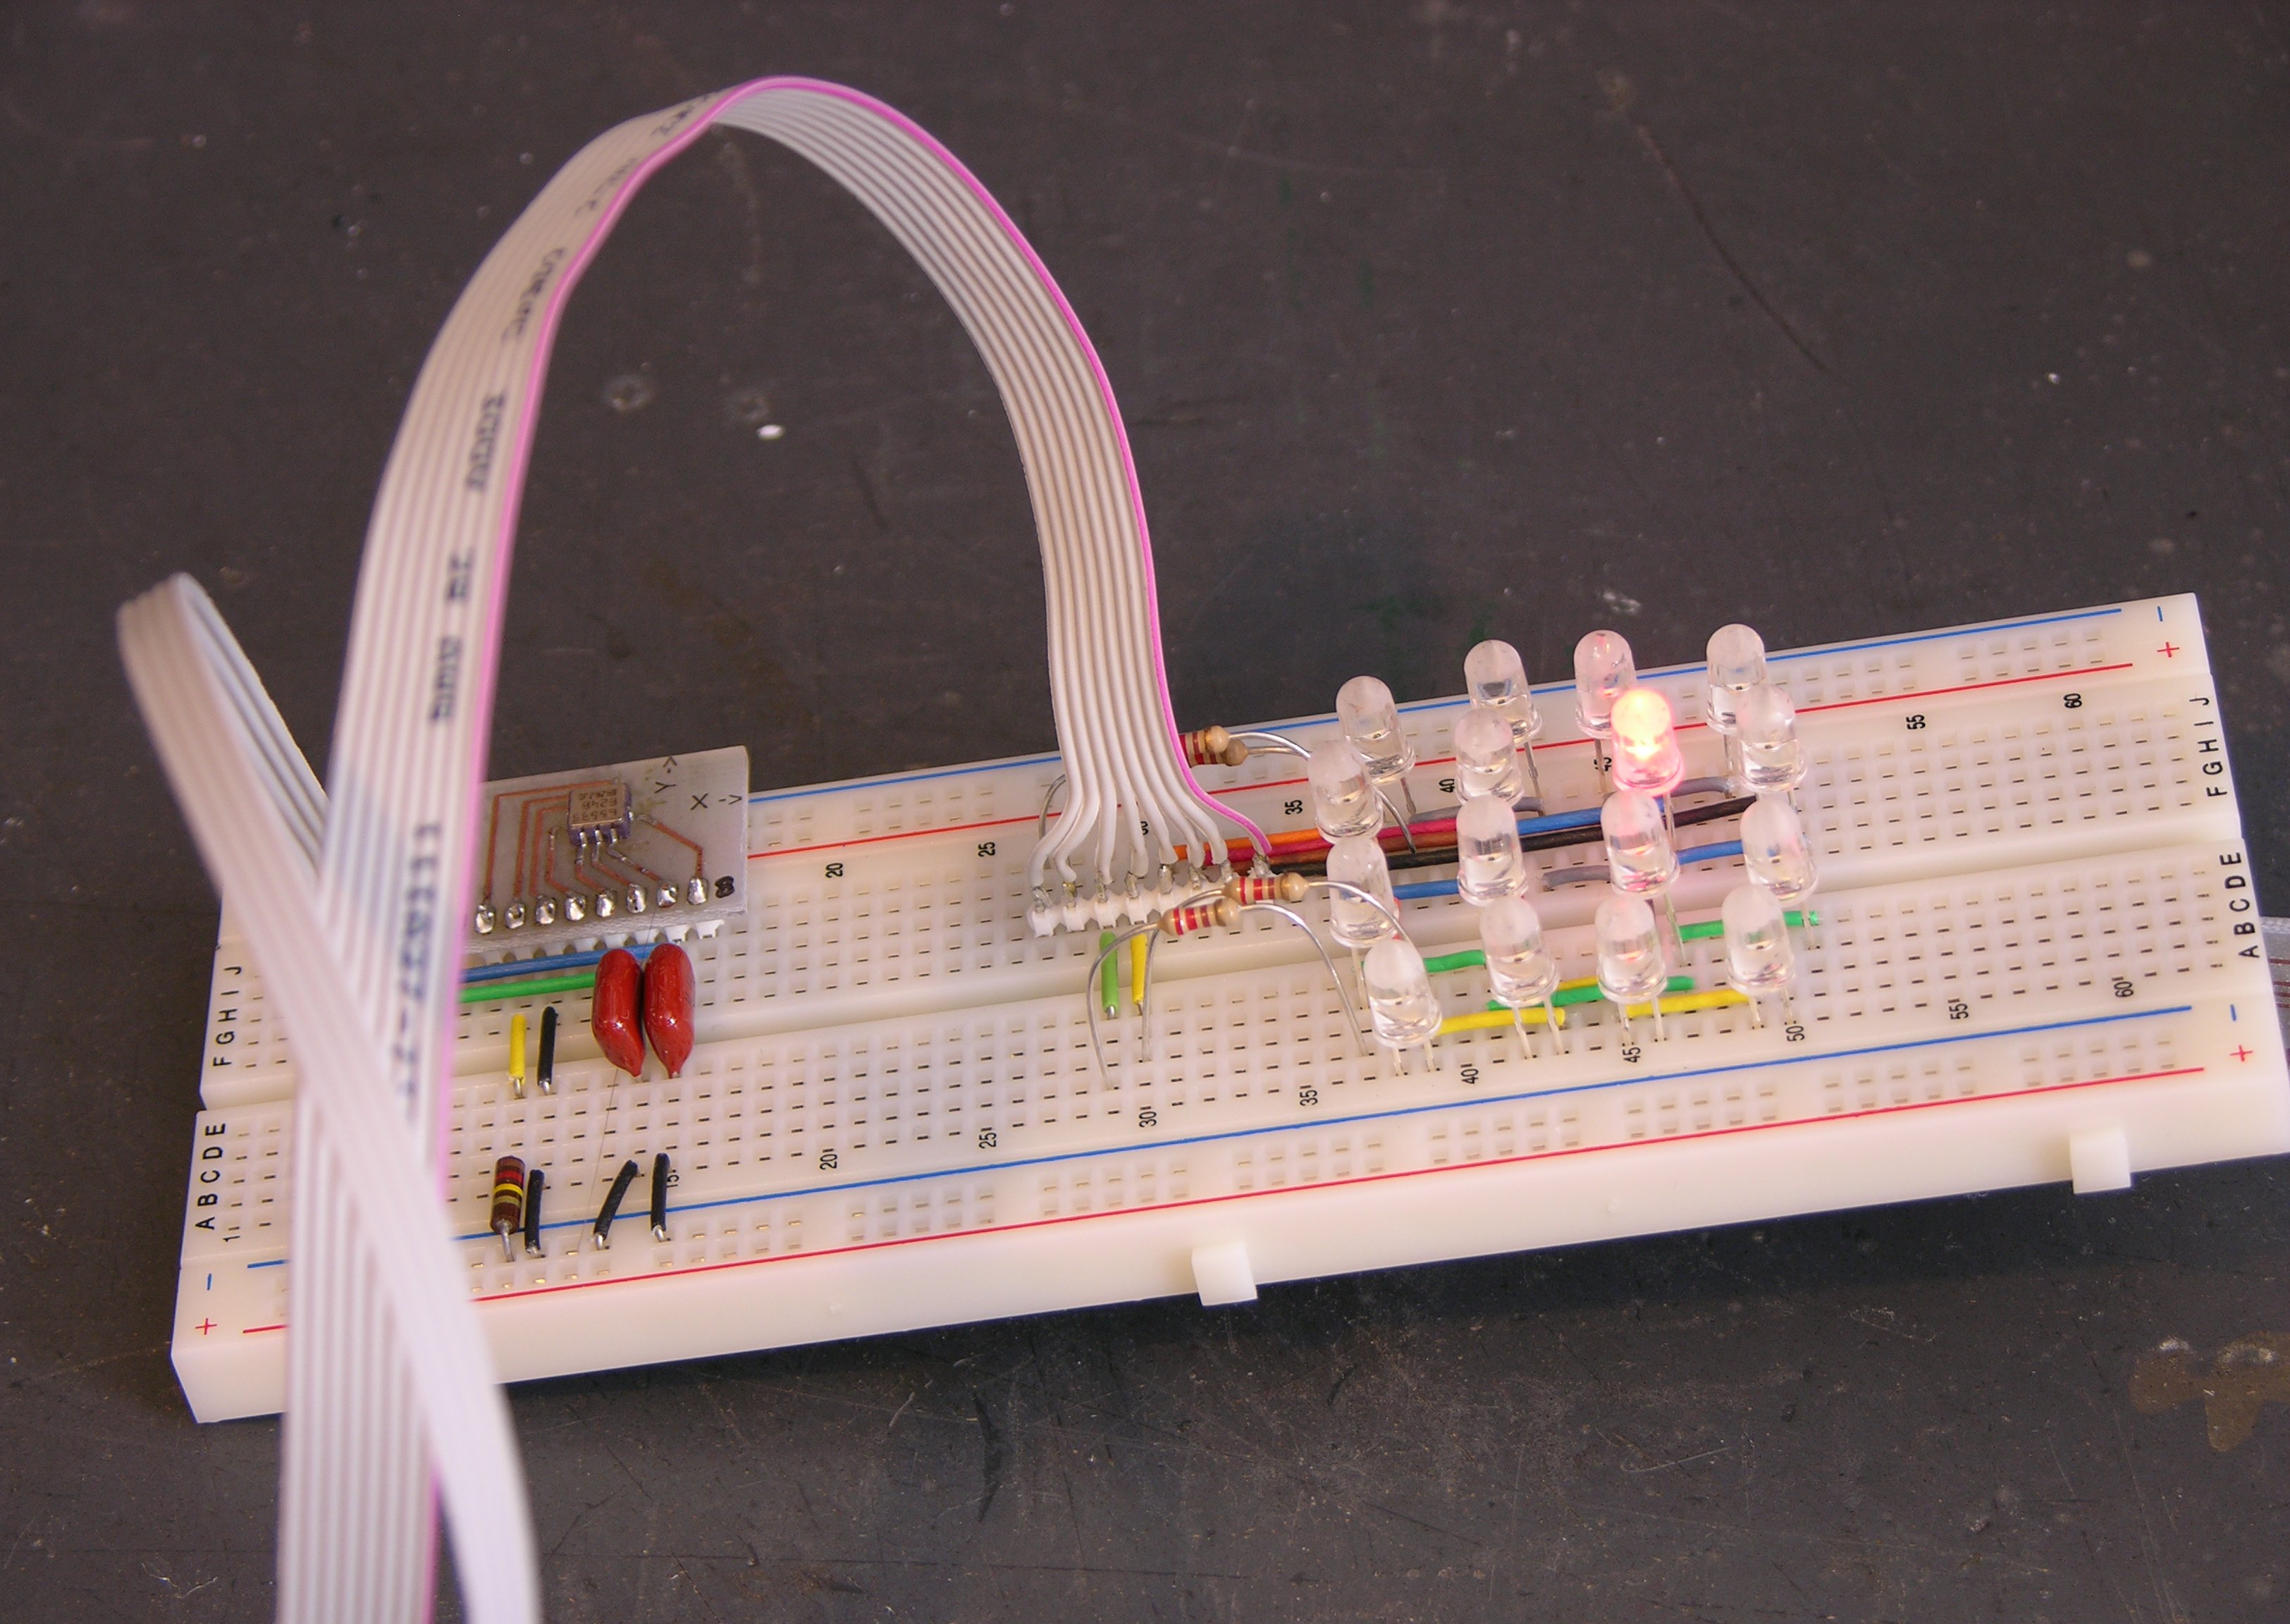
Tilted a little bit, a different LED is “uppermost” and lights.
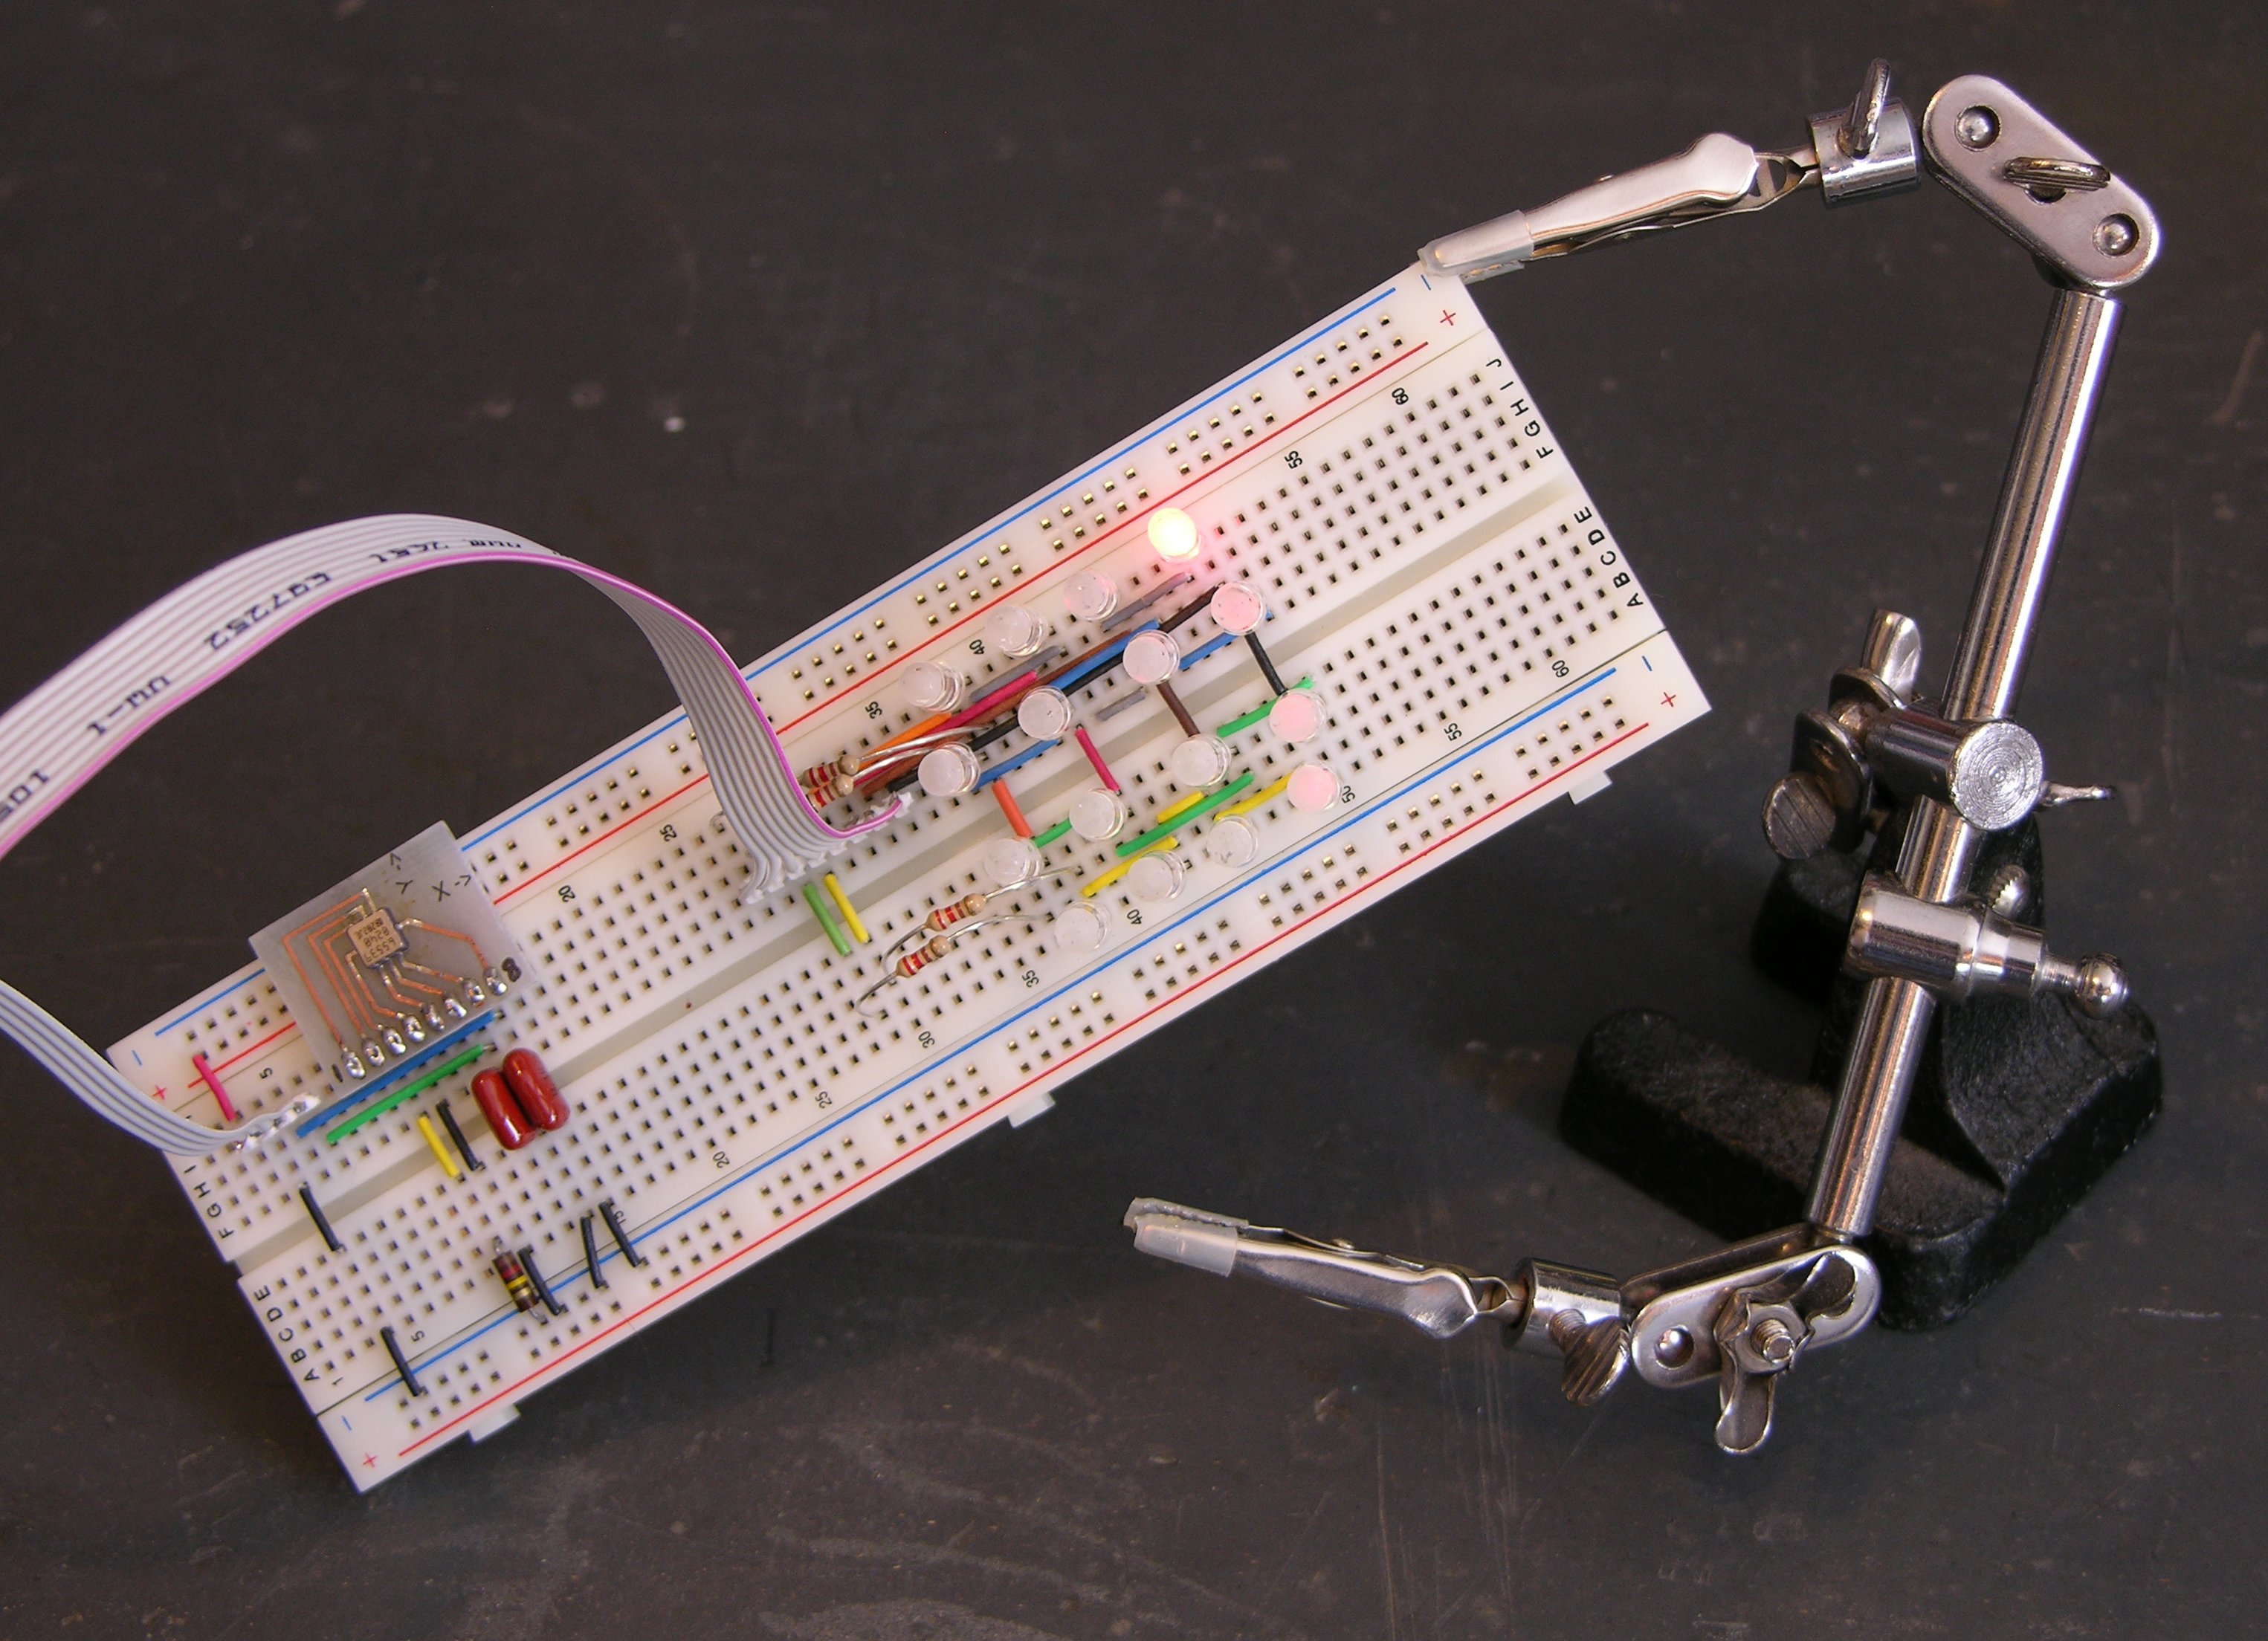
Tilted dramatically, the corner LED is “uppermost” and lights. Note that the amount of tilt required is set by the TILT_MIN and TILT_MAX values, so it’s easily adjustable for dome shape and/or user preference.
Not Really a Square Matrix
I indicated early on that I pictured LEDs around the perimeter of the puck angled slightly out for good dispersion, so the square matrix I made this weekend was just for a quick demo. I’m actually thinking of twelve LEDs around the perimeter (analog clock mode!) and four in a square surrounding the center, totalling the 16-LED capacity of the A6276 driver chip. I’m working up some very simple drawings of what it might look like, which I hope to post soon.
Hey, great progress! I was surprised to see something so soon.
For practical use as a level one will probably want a very narrow range of (non-clipped) indication, for precision. Or perhaps some sort of ‘auto-ranging’ mechanism? Blink rates for additional info? (e.g. faster blink on one of the perimeter LEDs means nearer to center.)
Brilliant!