Joel is setting up EMC2 so we can use his CNC machine for milling (DanCAM could mill, but we’d probably have to use DanCAD so we’ve just used the machine for drilling), and I’ve been working on modeling the puck enclosure in Blender.
First, I’d like a better visualization than my crude line drawings; and second, Blender has a plugin to output STL (stereolithography) code, which FreeMill is supposed to be able to convert to g-code, which EMC2 (and everything else in the world) can mill. So at the same time, I get a visual idea of what I’m designing and a CAM file to produce it. Almost like using CAD software. ![]()
I am completely new to Blender, which is obvious both by how long it took me to build a satisfactory model and by the amateur appearance of the result. At the end of this post is a plea for education, if anyone wants to teach me how to do it better.
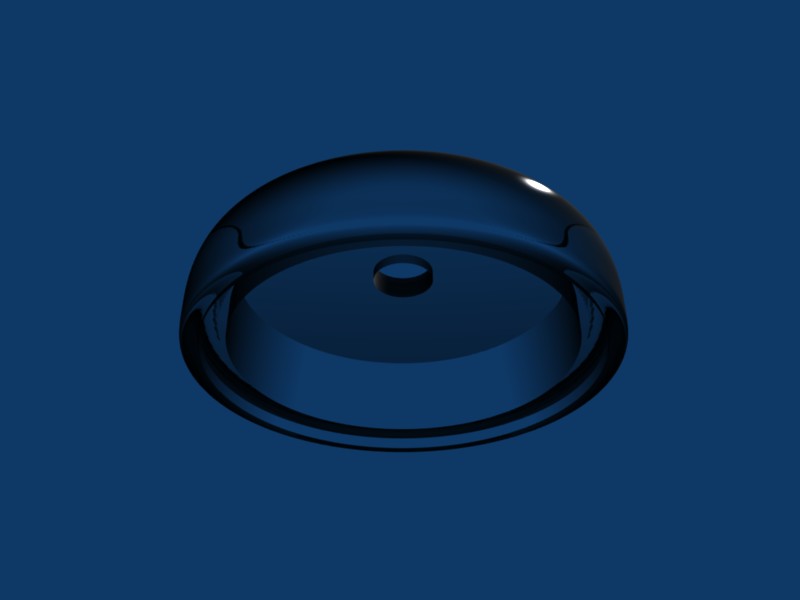
Here’s a view of the draft enclosure from slightly above, rendered translucent (plexi or lexan):

The hole through the top will host a waterproofed plunger for the pushbutton switch, but the plunger is absent because I’m only drawing the case for now.
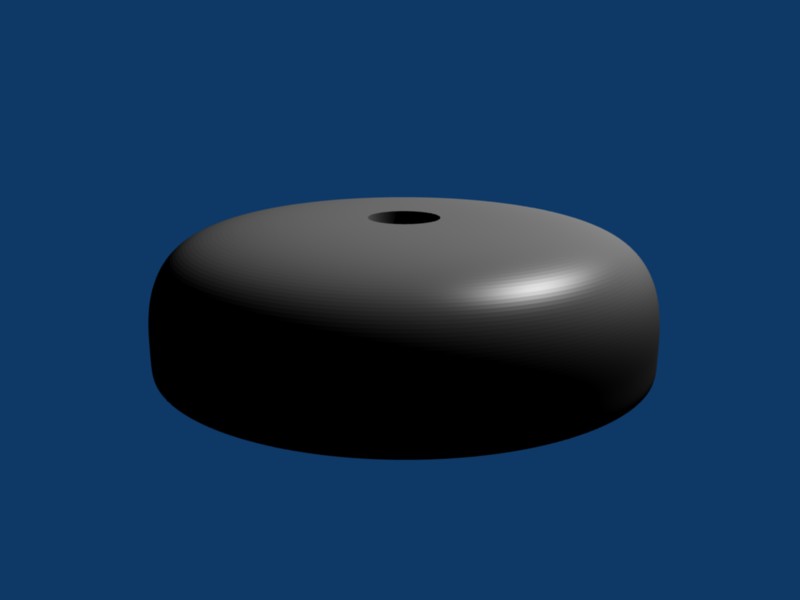
Same draft viewed from below:
There’s a shallow recess for mounting a plate to seal the bottom, then a deeper recess for the PCB and battery.
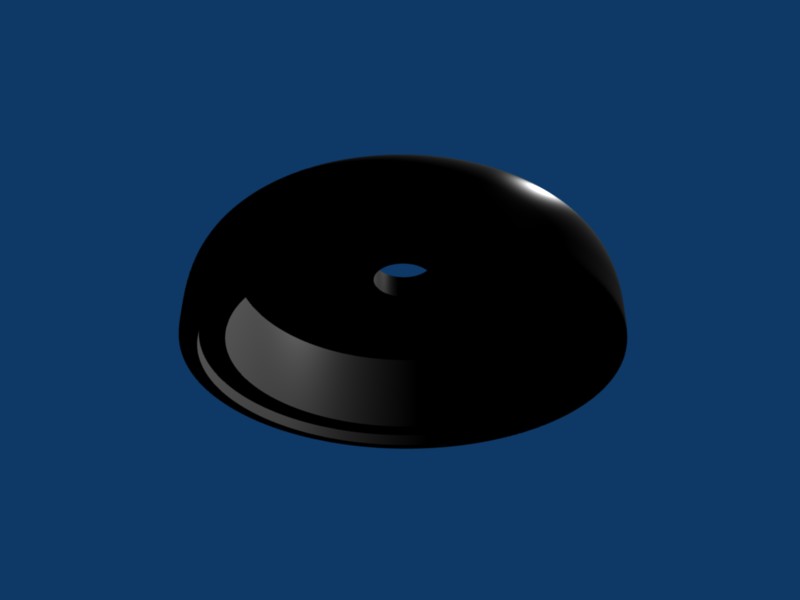
Same case in Blender’s default material (scrith?):
And from below, which is way too dark but may show a little more detail of the nested recesses:
Below, detailed information on how I made this in Blender, for anyone interested, or willing to offer advice.
Blender Process
I had a dickens of a time getting the recesses, the pushbutton hole, and the subsurf-rounded edge all working at the same time. Here’s how I did it.
If you’re a Blender pro and know easier ways to do this, I’d love to hear from you — please scroll to the bottom and post a comment. All I ask is that you try your suggestion to see exactly what it really does before recommending it.
Please forgive how WordPress horribly mangles unordered lists nested within an ordered list.
- Create a hollow cylinder to manipulate, as a “starter” for everything that follows
- Add a cylinder (.5 radius, .2 thick, no cap ends)
- Create the upper end of the pushbutton hole
- Select top vertices, cursor to selection, extrude / hit escape, scale .5
- Create the lower end of the pushbutton hole
- Select bottom vertices, cursor to selection, extrude / escape, scale .5
- Line the pushbutton hole
- View from top, select inner vertices, edge / crease subsurf 1, face / skin faces/edge-loops
- Create extra edge loops on the starter cylinder with regular size and spacing
- Grab/drag lower outer edge of cylinder to .4 high
- Select a face, select linked flat faces
- Beauty+subdivide, select a face, select linked flat faces
- Beauty+subdivide again
- Size the top surface
- Select top outer edge, select edge loop, cursor to selection, scale to 3.5
- Create outer lower edge
- Select edge on cylinder’s 3rd edge loop, select edge loop, cursor to selection, scale to 3.5, grab/drag z -.8
- Split outer side faces to influence later subsurf radii
- Select edge on cylinder’s 2nd edge loop (currently a very pinched waist), select edge loop, cursor to selection, scale to 3.5, grab/drag z -.8
- Could also have selected outer faces, beauty+subdivide, select edge, select edge loop, grab/drag into place
- Create lower edge of bottom recess
- Select lower edge of center cylinder, select edge loop, grab/drag to .2 high
- Select face, select linked flat faces, beauty+subdivide
- Select upper edge of cylinder, select edge loop, cursor to selection, scale to 3.2, grab/drag z -.7, crease subsurf 1
- Create upper edge of bottom recess
- Select upper edge of cylinder, select edge loop, grab/drag z .1
- Select face of cylinder, select linked flat faces, beauty+subdivide
- Select upper edge and loop, cursor to selection, scale 3.2, grab/drag z -.6, crease subsurf 1
- Create lower edge of main recess
- Select upper edge and loop of cylinder, cursor to selection, scale 2.8, grab/drag z -.5, crease subsurf 1
- Create upper edge of main recess
- Select remaining edge and loop, cursor to selection, scale 2.8, grab/drag z .3, crease subsurf 1
- Round outer edges
- Add mesh subsurf at favorite level of detail
Part of the shananigans — in particular, starting with a unit cylinder — is because I can’t figure out how to scale something to a size of n, only how to scale it by a factor of n.
Scaling by .914285714 to reduce from 3.5 to 3.2, and then by .875 to reduce from 3.2 to 2.8, doesn’t seem to me like a great way to maintain accuracy and have parts line up the way I want. So I scaled up from 1 to everything instead.
Blender Links
I looked through a lot of Blender tutorials, including many that skip steps and/or tell you to take actions without telling you what key to press or how to get to the panel where the button appears. The following tutorial sections were most useful to me in figuring out specific tasks.
- My introduction to Blender, by modeling a simple person
- Somewhere that I didn’t bookmark, a description of skinning faces, to line the pushbutton hole.
- From a couple of different places, the concept of subdividing a face, although with no details; I had to figure out Beauty myself using the tooltips.
- Rendering
- Making glass
- Boolean operations, which I didn’t end up using; it sounds like they mess up the mesh and I was afraid of what that would do to the subsurf
And by the way, I can’t get Blender to render on my Fedora 7 machine at home. It pops up a new window to render into but never draws into it; in fact, the window retains a copy of whatever background was underneath it when it popped up.
I’ve checked my SELinux audit log and Blender isn’t throwing violations; I really don’t know what’s wrong. I had to take my .blend file to work to render on my Mac there.