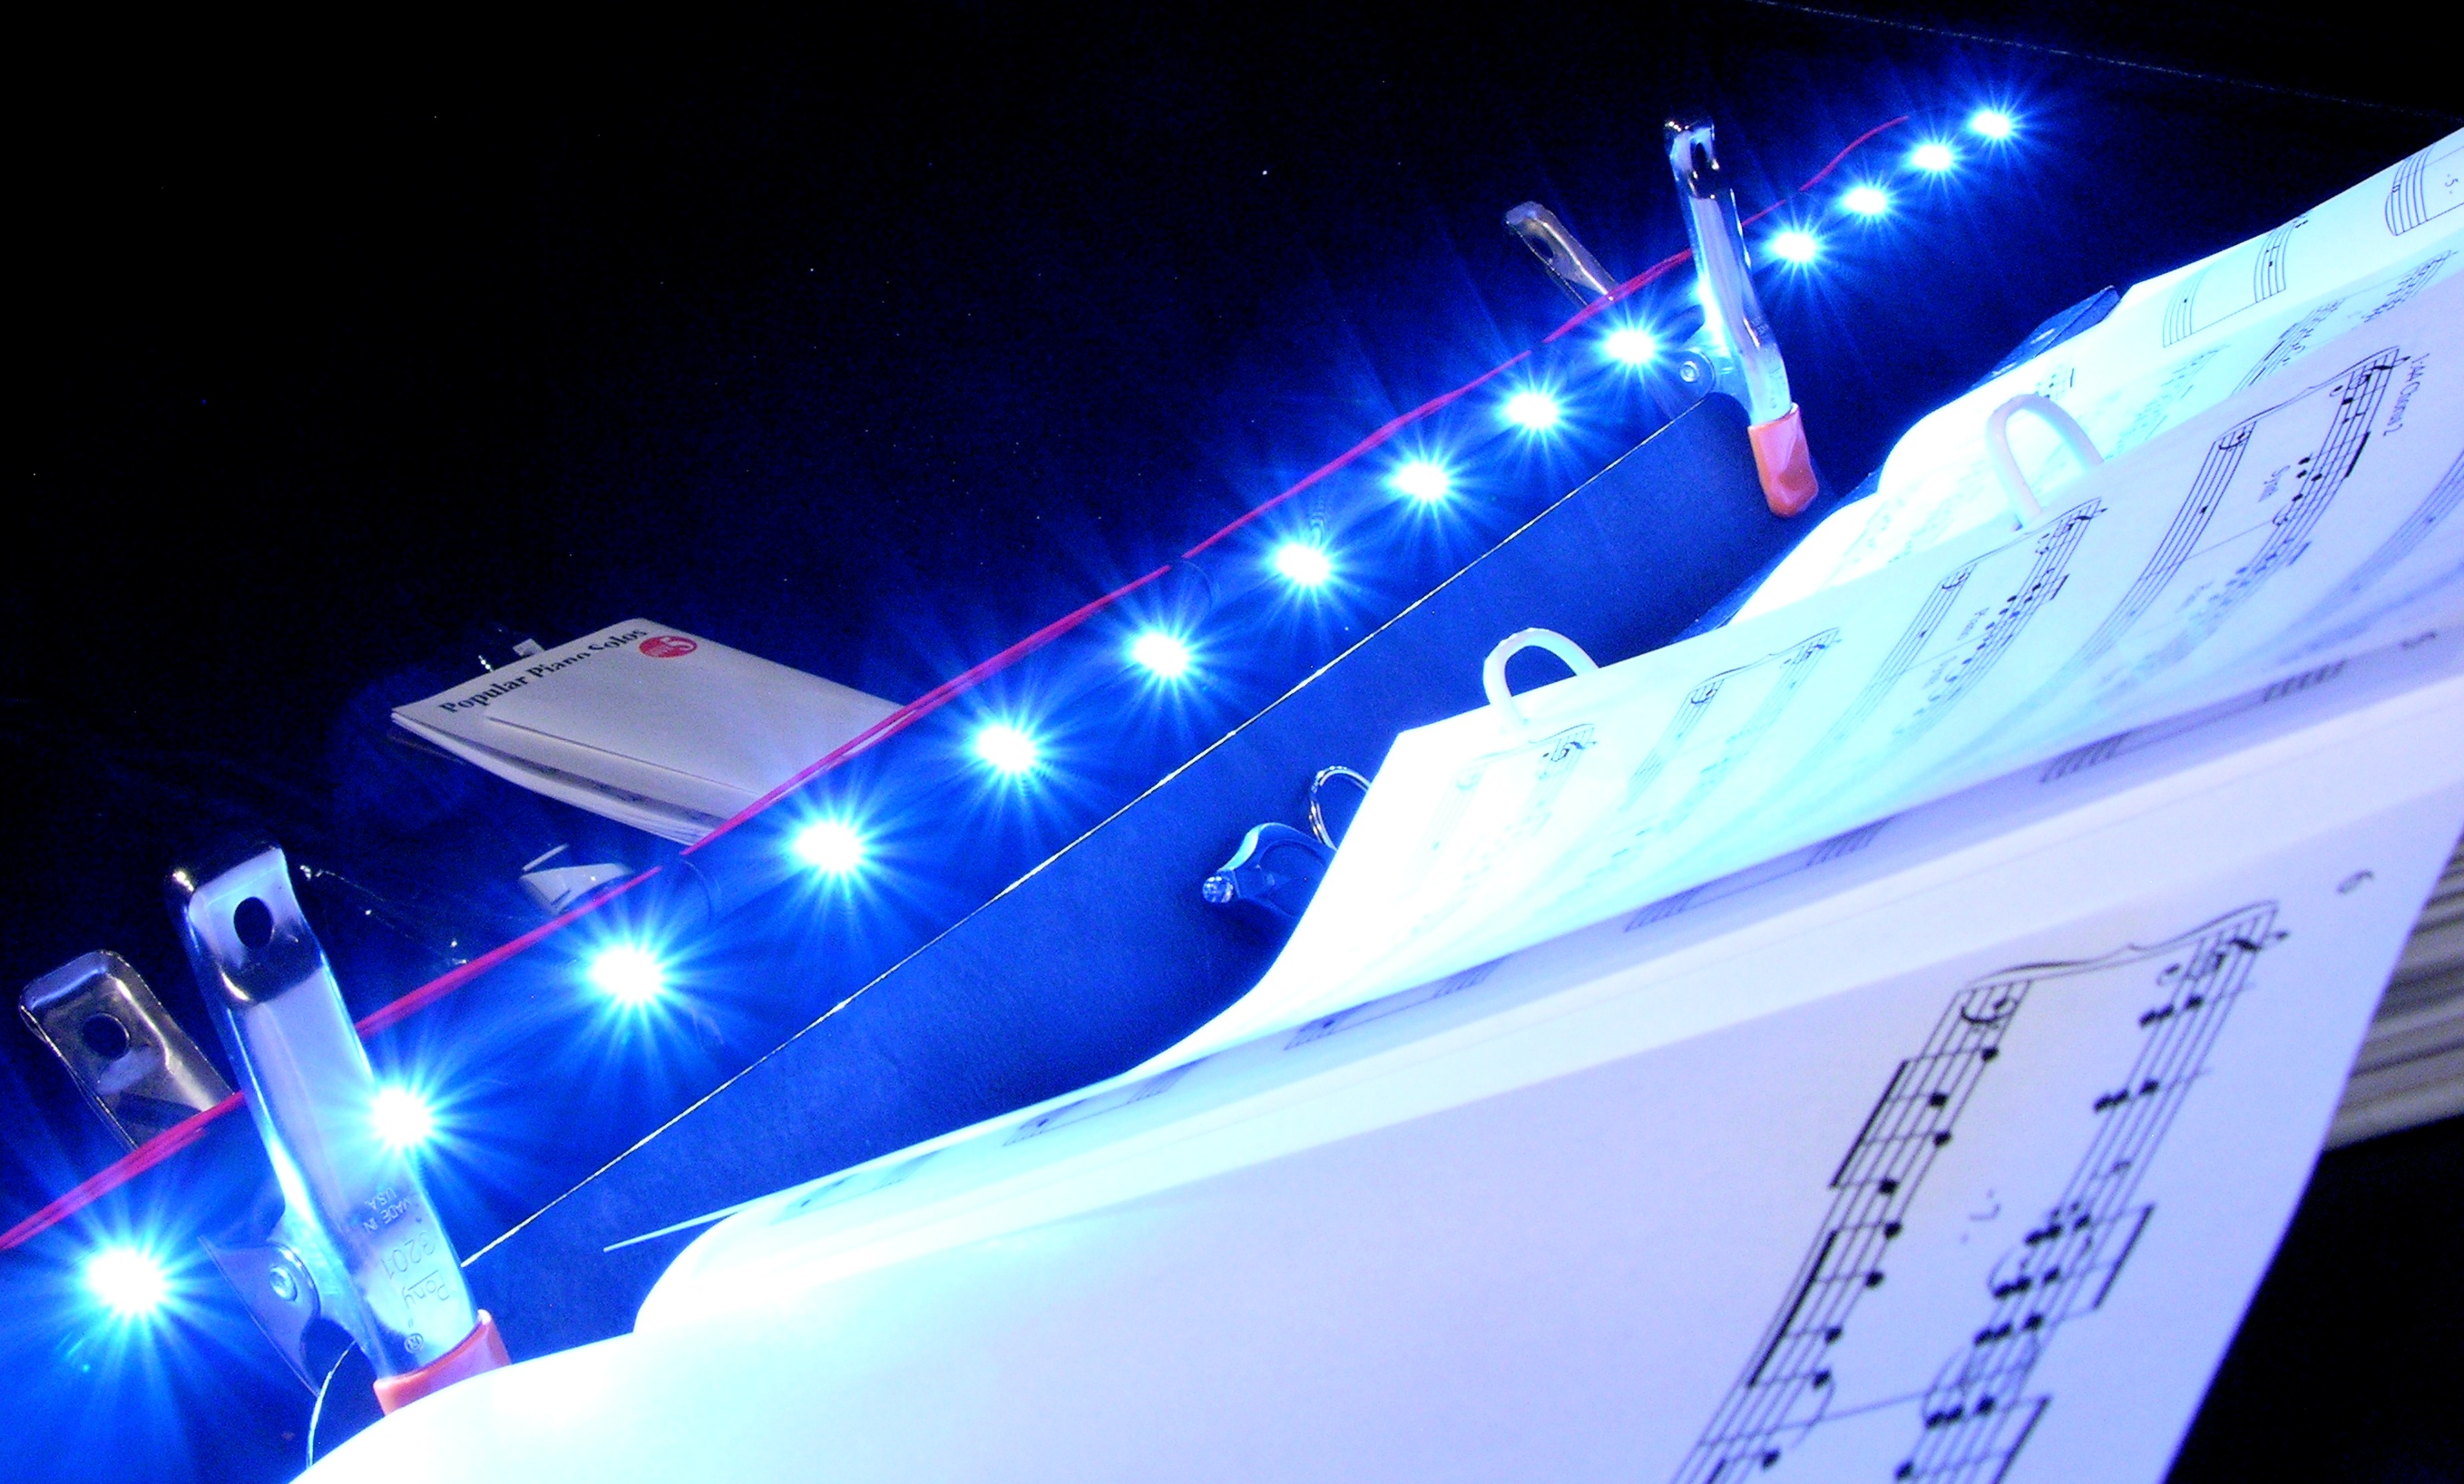
Saturday night the EasyBright already got its public debut! I played a pair of classic rock concerts Friday and Saturday nights, and Friday had trouble seeing my music (occasionally folded out to four pages) with the clip-on stand light I was using. Saturday after assembling the EasyBright, I built an LED “wand” music stand light that worked marvelously.
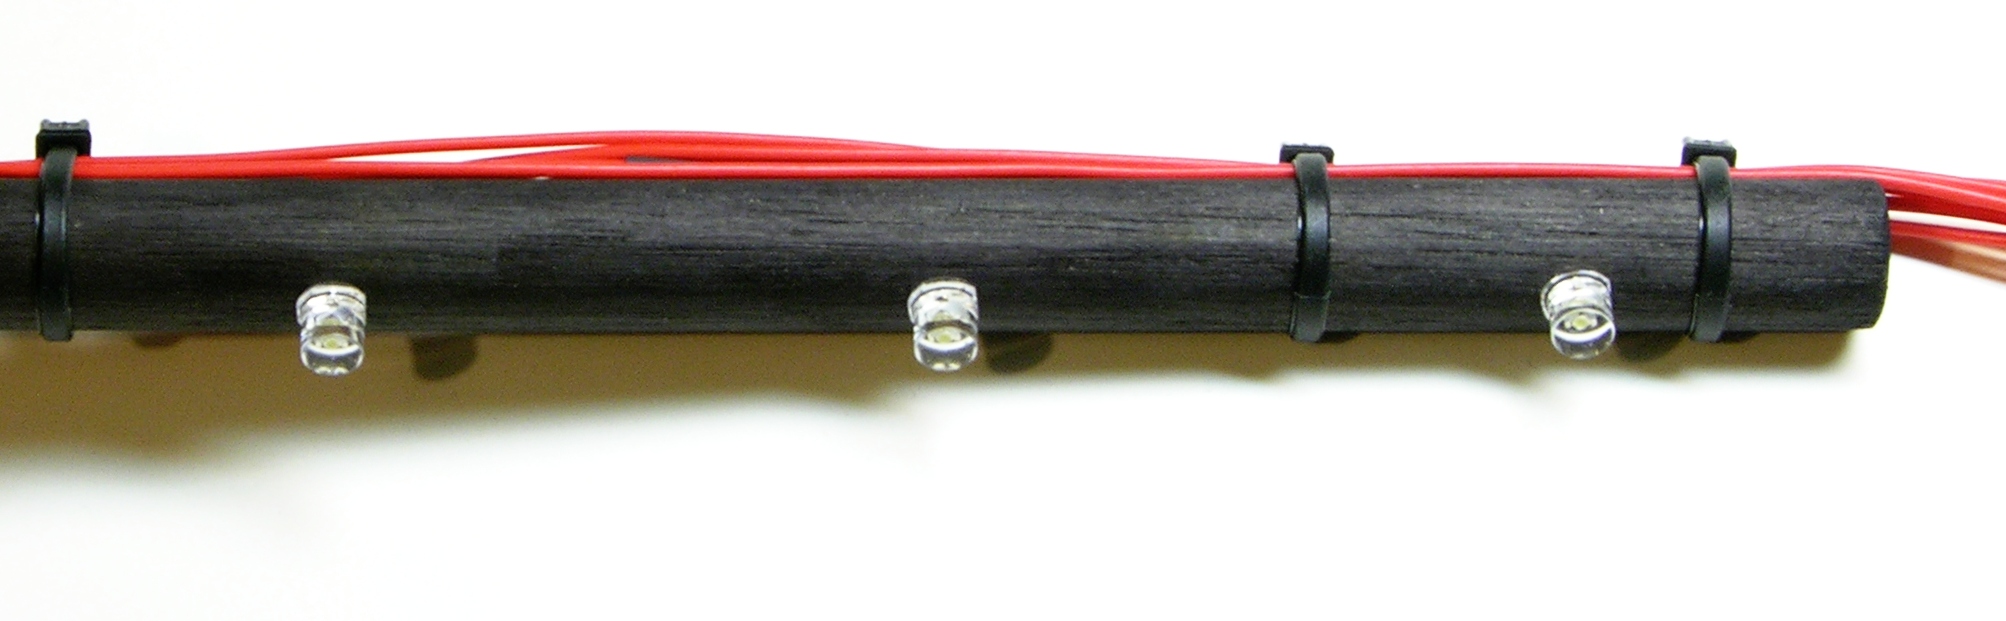
I didn’t have a lot of time for construction, so I cut a 1/2″ dowel to 3′ length and drilled eighteen 1/8″ holes through it (axially, not longitudinally) every 2″. Paint wouldn’t dry before the show, so I sanded the dowel and then colored it with a permanent marker. I then installed bright flat-top LEDs with a good viewing angle into the holes and bent the leads out in opposite directions.
I lap-soldered teflon-insulated (heat-resistant) wire from LED to LED with heat-shrink tubing preinstalled — but didn’t shrink the tubing until after I had tested the LEDs, in case I needed to repair any solder joints. I skipped LEDs to make an A-B-C-A-B-C pattern so if a chain failed, I’d lose light evenly along the whole wand instead of all in one section.
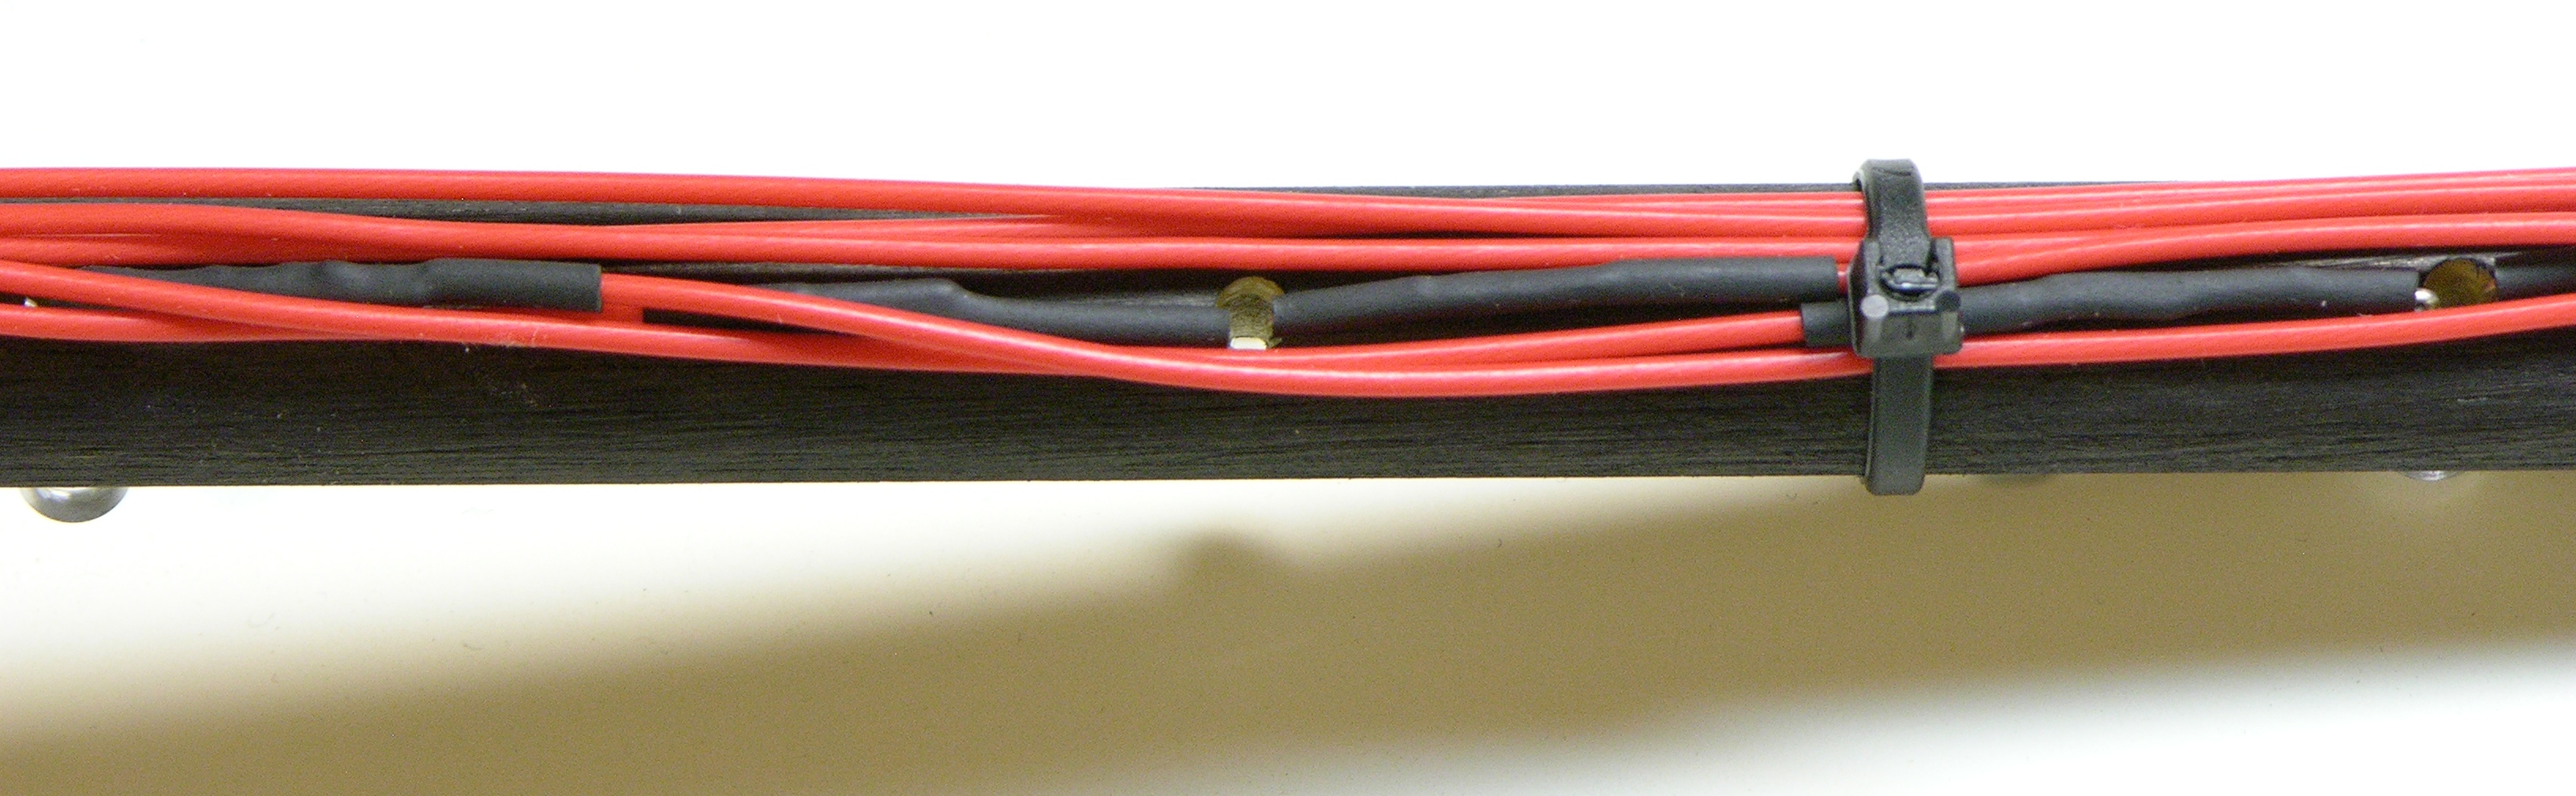
I crimped connectors onto the wires, connected everything to the EasyBright, put an appropriate connector on a 24VDC wall wart, and fired it up perfectly on the first try. (Such luck!) I disconnected the wand, reseated and shrank the heat-shrink, zip-tied the wires in place, and then powered up the wand to burn in for an hour before leaving home for the concert.

On stage, it delivered a very even wash of illumination across my music, giving me a great view all through the show.

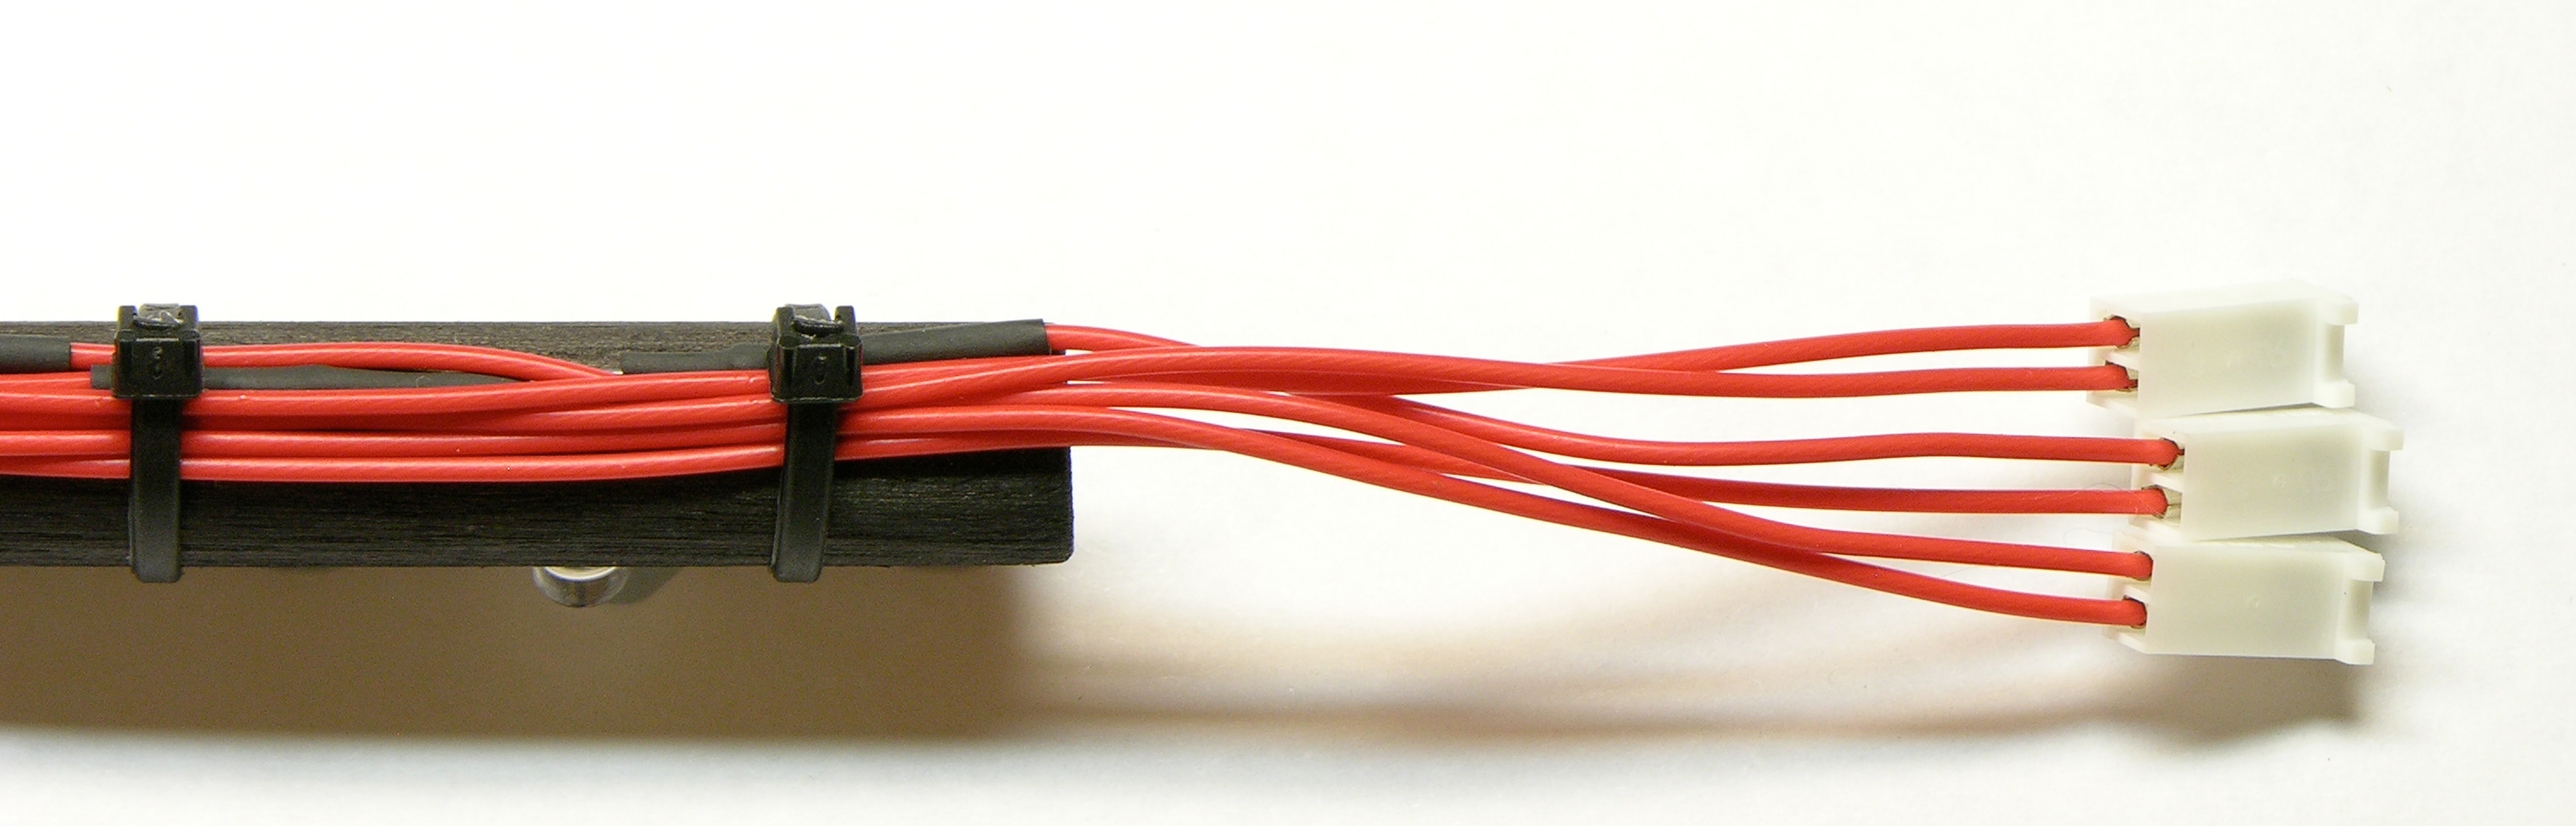
The circuit board is so lightweight, it was comfortably suspended in mid-air between the keyboard rack and my music stand by the power and LED wires. For the long term, I’m trying to decide whether how it should be mounted to the wand — perhaps attached near the end inside a sleeve of giant heat-shrink.
Very impressive for a night-before build! You must have quite a stash of parts on hand.
JP, I had bought the LEDs when I first started toying with the EasyBright idea, and the connectors come from the EasyBright “kit.” The rest is just wire and a stick!
But I appreciate your remark, and I was very pleased with the result. <self-promotion>It really did feel like the EasyBright reduced the overall effort (more mental than physical) by an order of magnitude — even though all it did was replace the current-limiting resistors. It actually exceeded the hopes I had when I designed it.</self-promotion>