If I’m going to try to develop a CNC fabric cutter, it’s going to be called the CutterRouter.
There, got that out of the way.
If I’m going to try to develop a CNC fabric cutter, at least the prototype and ideally the final version will use all commodity components plus easily-fabbed parts (3D printing, lasercutting, easy woodworking with common shop tools and not requiring a high degree of accuracy). The self-imposed choice of commodity components makes me want to use a readily-available X-ACTO® blade as the knife.
If I’m going to try to develop a CNC fabric cutter, I want to develop a working prototype cutterhead first. It’s the only part of a CNC fabric cutter that’s significantly different than a 3D printer or mill. So if a cutterhead can be made to work, the rest is easy; if it can’t be made to work, the rest is moot.

When I started thinking about this last fall, I hoped to find a very small, lightweight reciprocating power tool that I could use at least to power the blade in the prototype; and if it turned out to be suitable for use in a final product, so much the better. I searched both online and in person looking for options and didn’t come up with anything.
Thinking about doing it myself, I considered three common means of converting the rotary motion of a motor TBD to the reciprocating action of the blade:
- A crank has a connecting rod attached at one end to a pin protruding from a rotating disc and at the other end to the piston; this mechanism is familiar from steam locomotives. The linear action is perpendicular to the axis of rotation.
- A cam uses a disc or other shape eccentric to the axis of rotation to push and pull a cam follower. The linear action is generally perpendicular to the axis of rotation, though the follower of a cylindrical cam may track in a groove to create linear motion parallel to the axis of rotation.
- A swashplate uses a disc concentric with but not perpendicular to the axis of rotation to push and pull a follower. The linear action is parallel to the axis of rotation.
Of these, the crank with connecting rod struck me as the easiest to find and/or fabricate. And then I stumbled across something that many people already know: tattoo guns have tiny motors and crank discs with bearings already in them, quite affordably. I ordered what I lovingly call “Amazon’s best $13 tattoo gun” and disassembled it upon arrival.
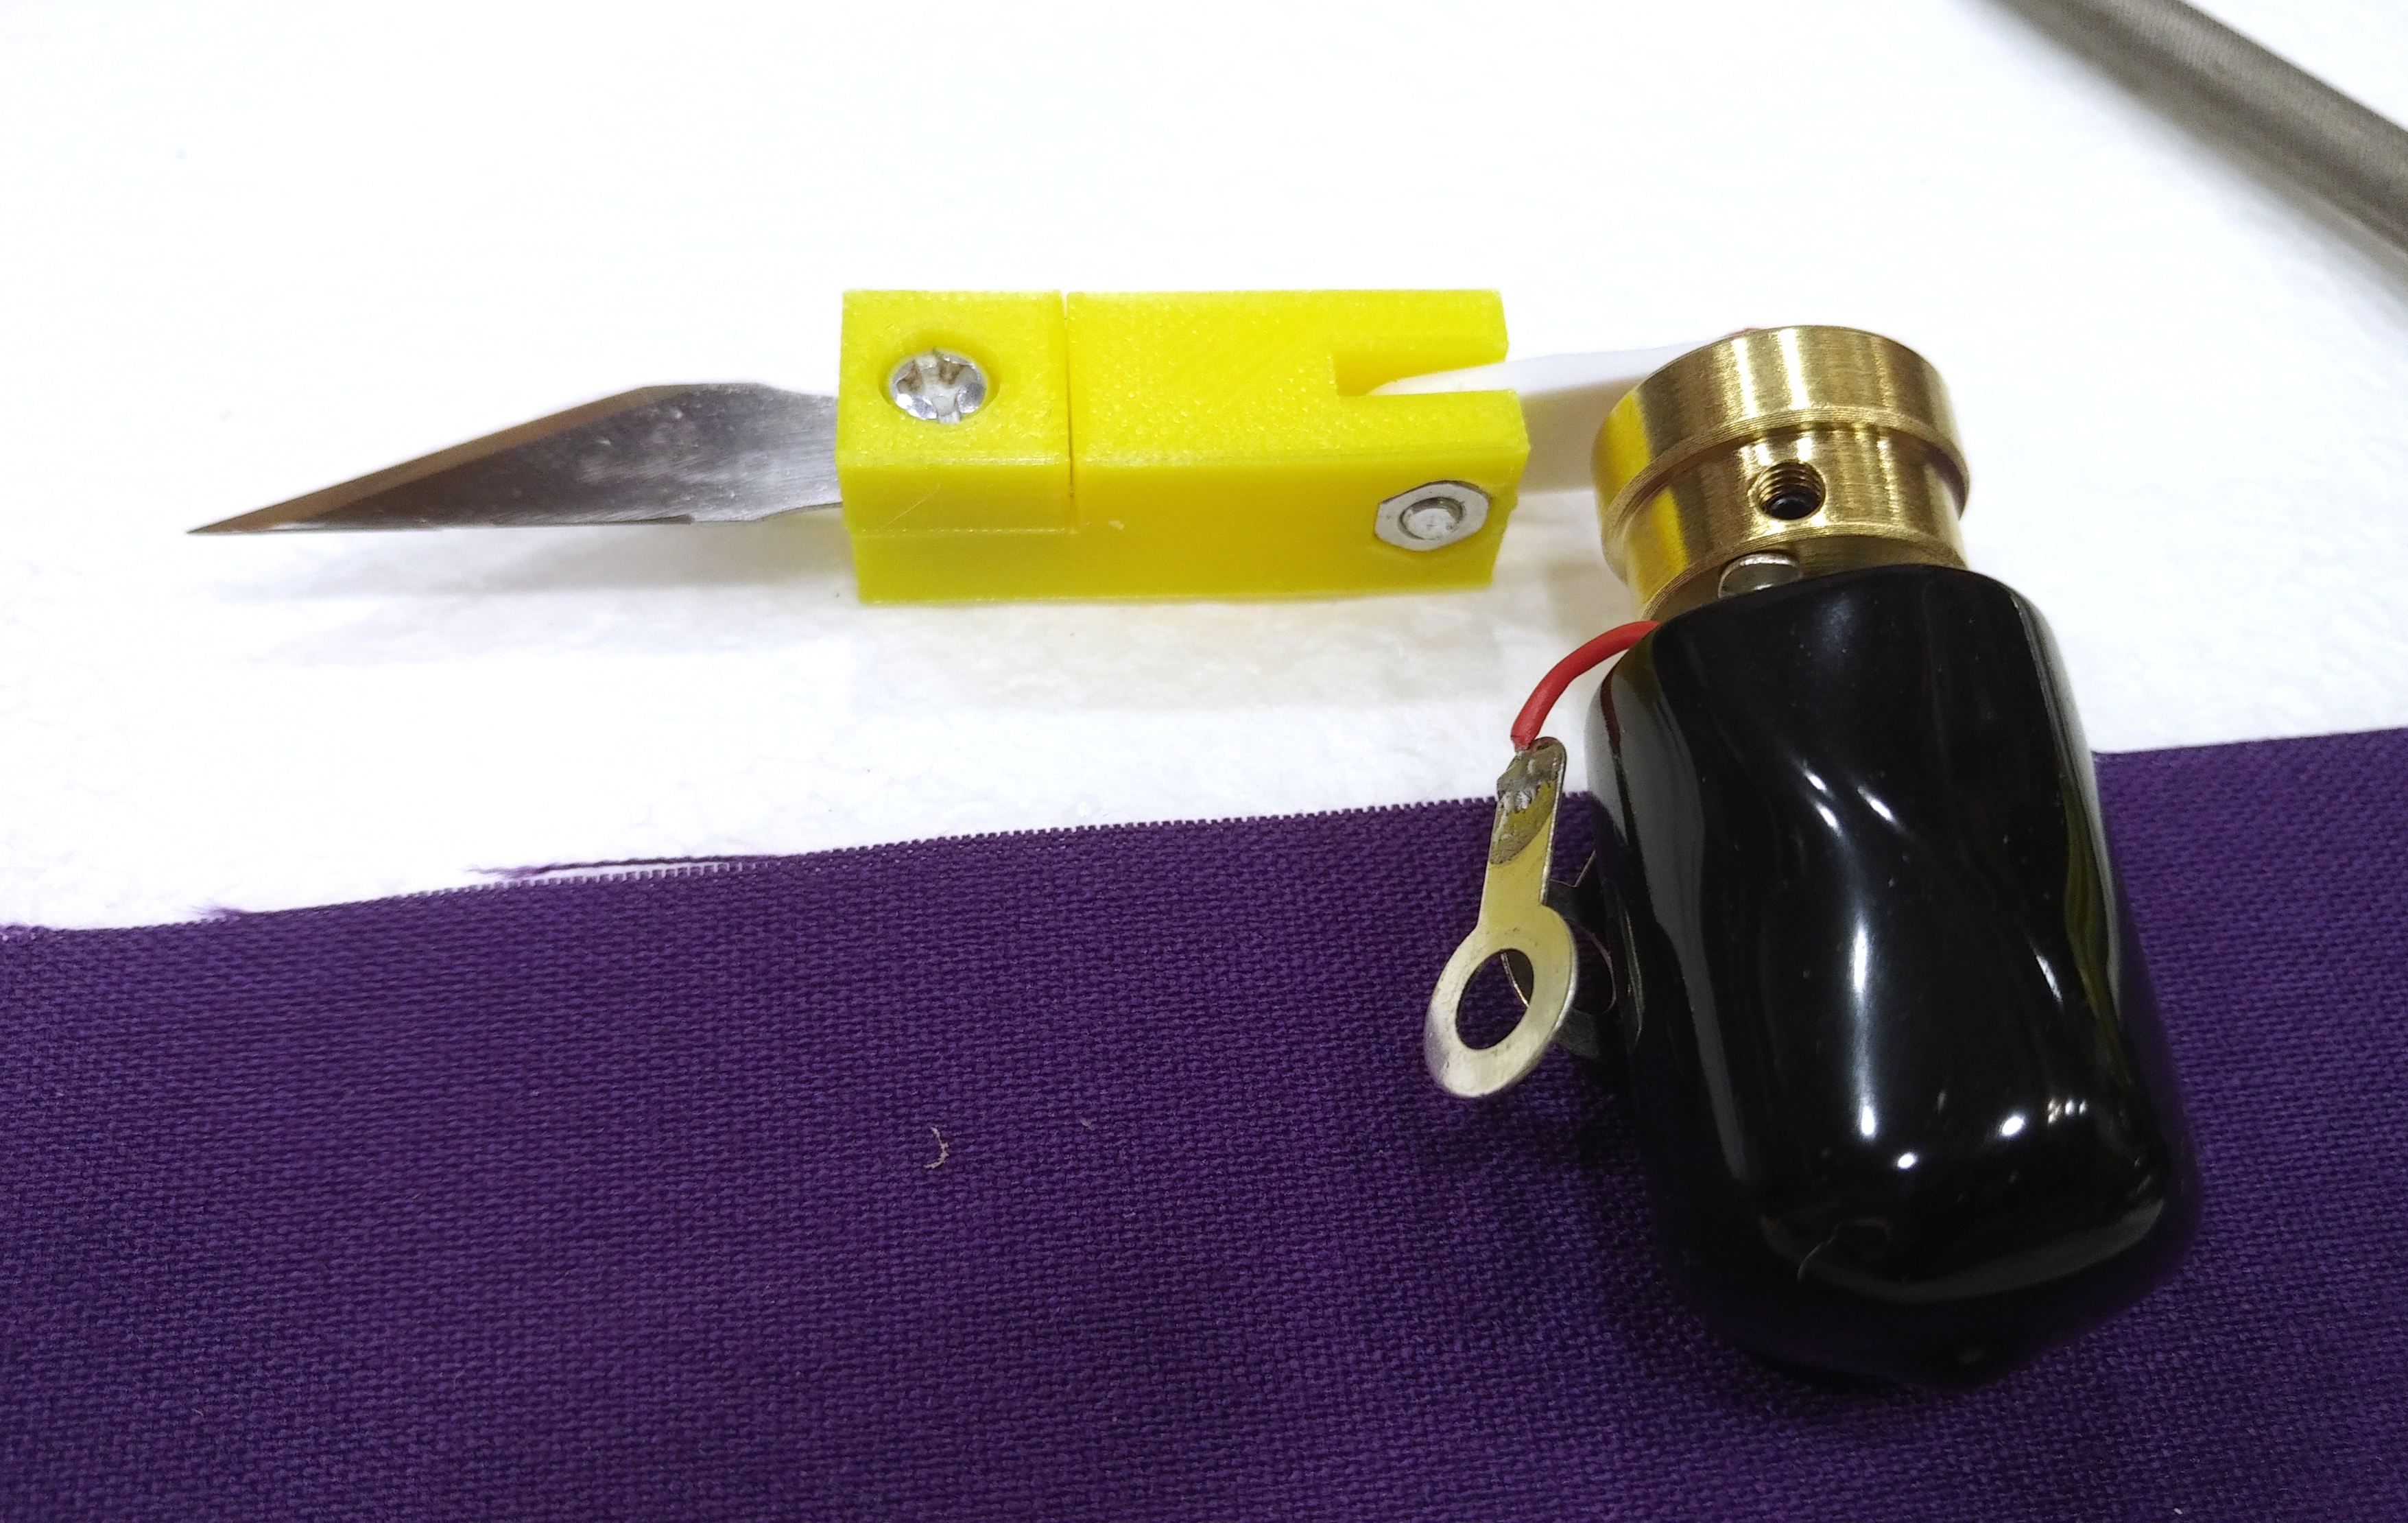
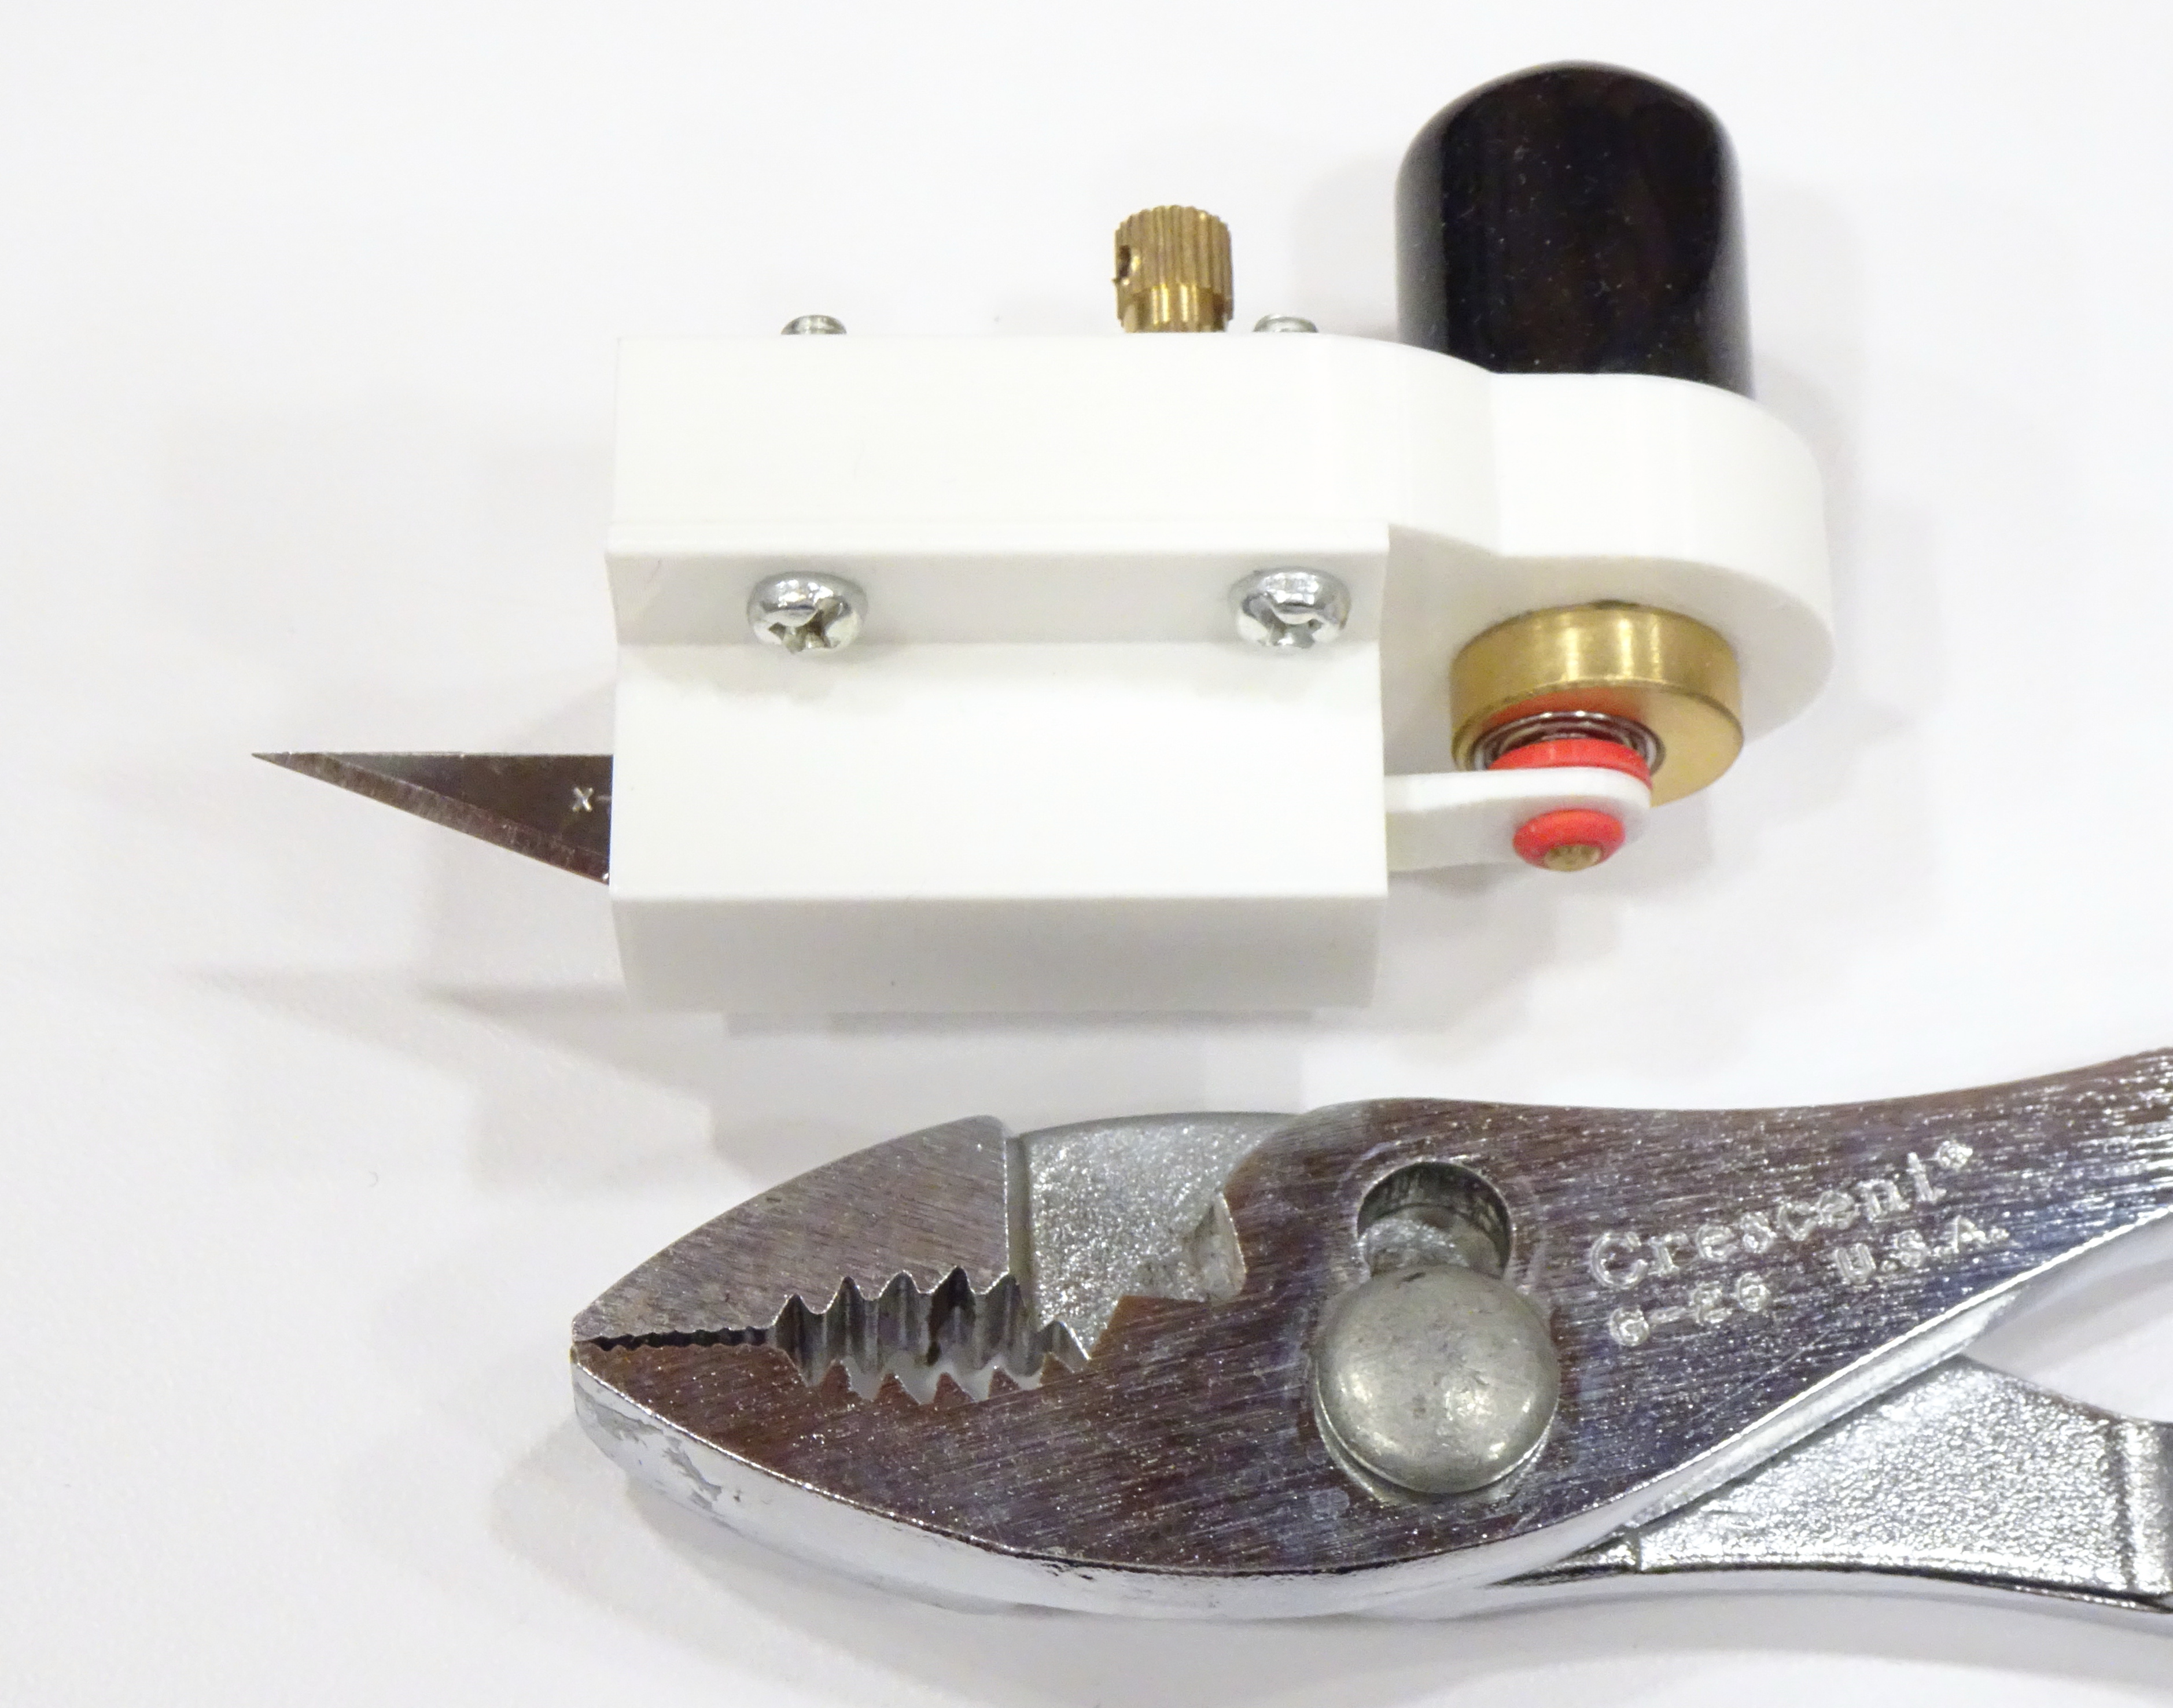
I designed and printed a good-enough blade holder and connecting rod and joined the two with a good-enough machine screw (’cause I’m not planning to put a lot of miles on this particular iteration).

The tattoo gun’s brass “cam” (that’s what they call it) has a post press-fitted into a bearing press-fitted into the body and comes with a rubber bushing to couple the original wire needle assembly onto the post, which serves me well for my connecting rod.
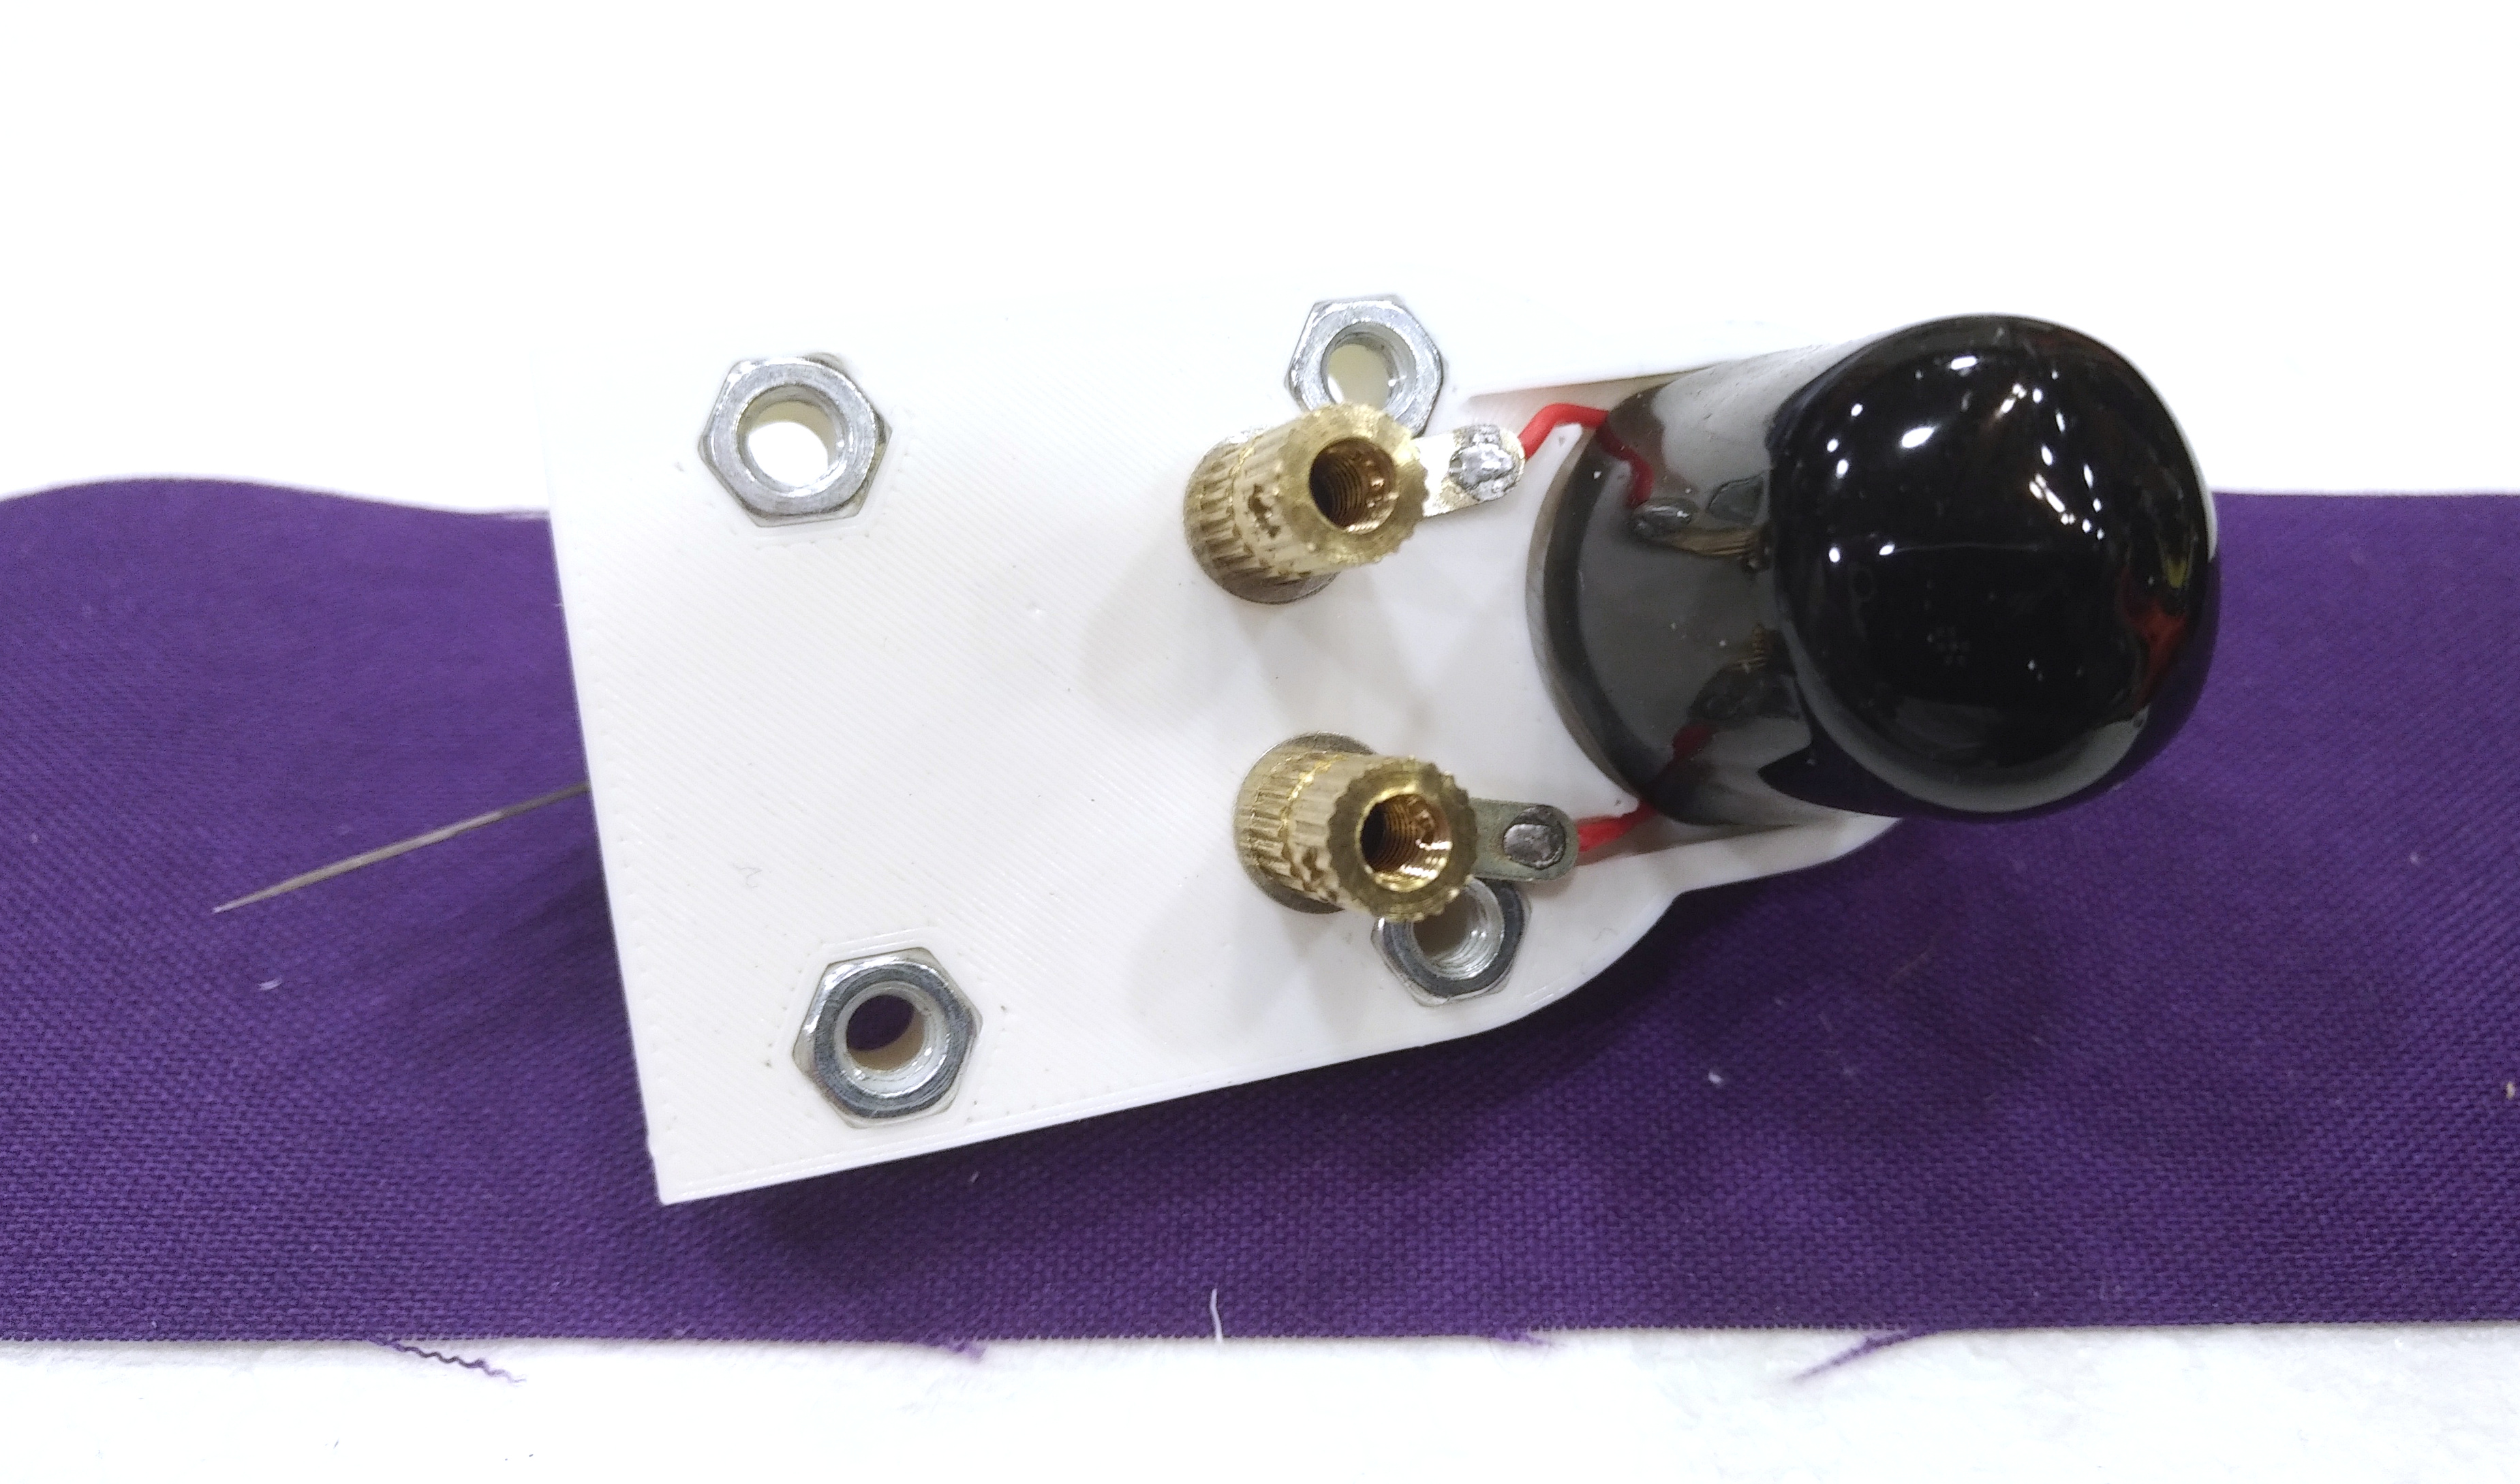
My printed housing has spots for the motor terminals and nut traps to attach the piston’s “cylinder” on the working side.
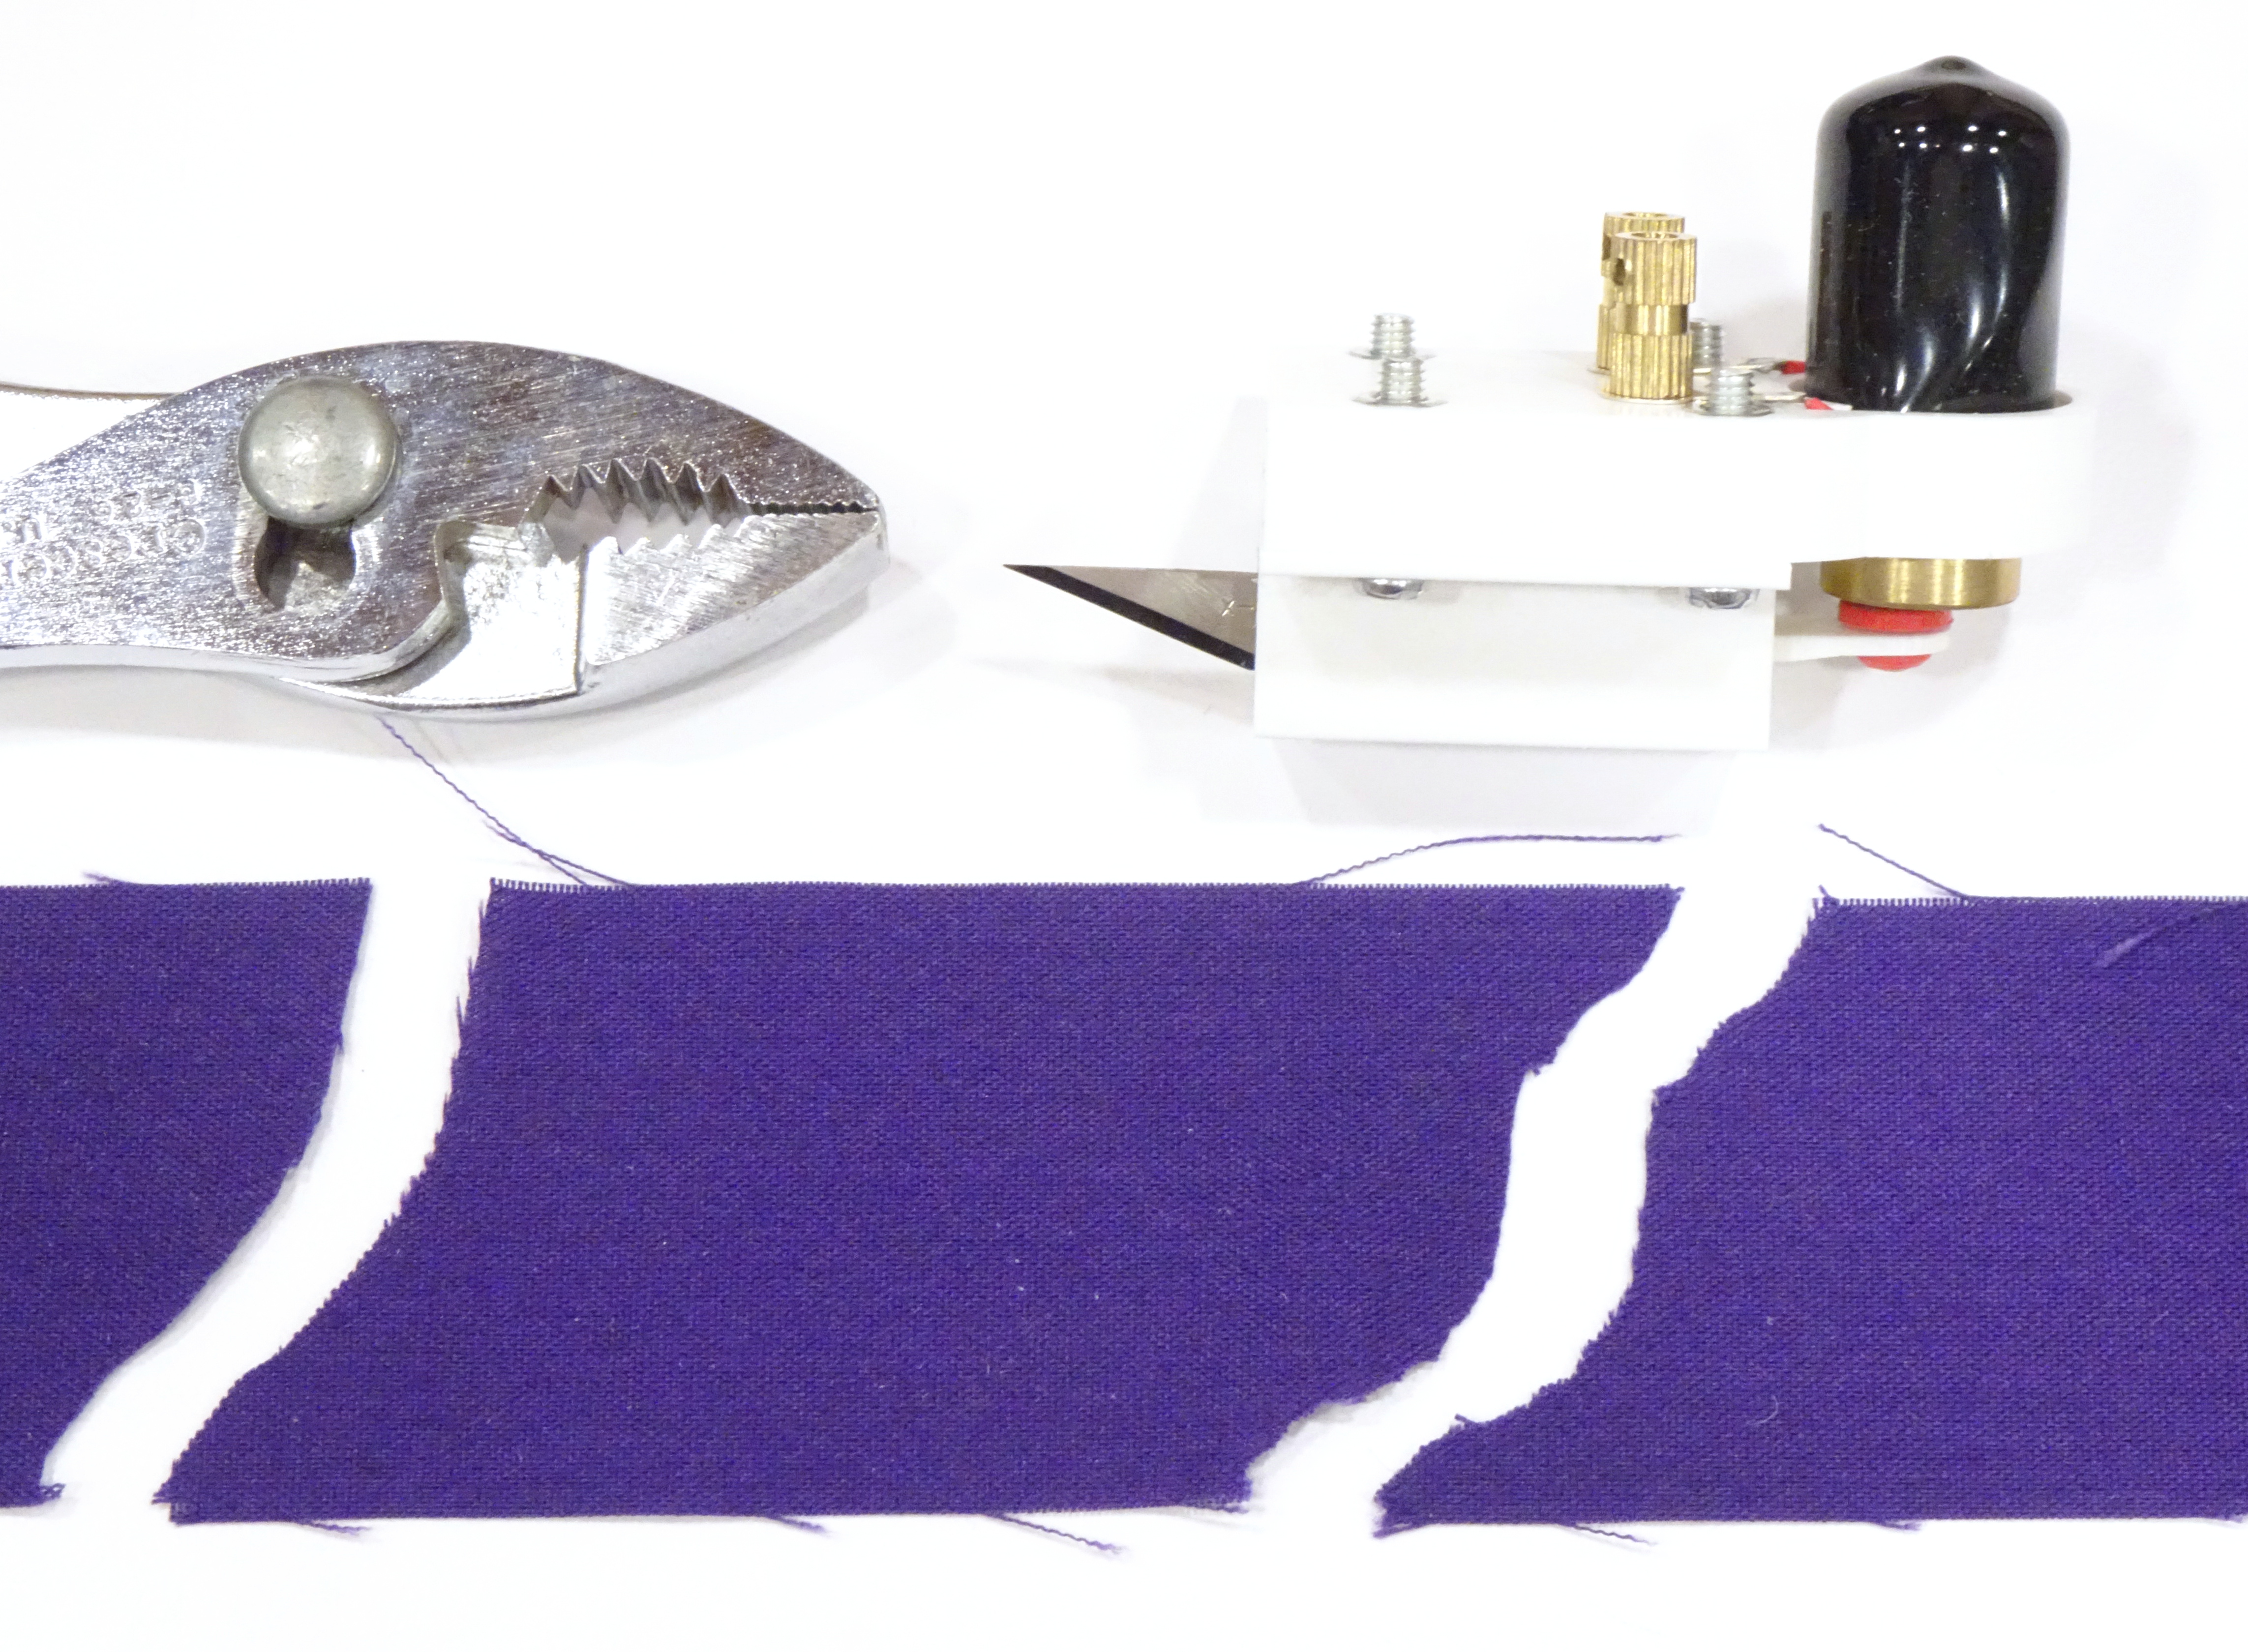
And it works! It actually cuts fabric, laid on top of styrofoam spoilboard.
Pros of this method:
- It cuts fabric!
- It doesn’t seem to be prone to pushing or bunching the fabric; the reciprocating action does its job.
- The distance of travel provided by the tattoo “cam” seems pretty appropriate for cutting fabric, which is convenient.
- It’s exhilarating to hand-hold a small mechanism ending in a razor-sharp blade that’s reciprocating at audio frequencies.
Cons:
- The motor is ungeared and has very low torque, so it stalls easily when the blade is in the styrofoam.
So, proof of concept, yay! Now we need more torque.