I’ve been interested in the ESP8266 for a long time; and way back in 2017 when I first learned that support had been added to program them with the Arduino IDE, I ordered this totes adorbs little guy, who’s been patiently waiting for me until today. In the process of figuring out how to program it, I learned that it’s a clone of the D-duino.
I find the ESP8266 market space very confusing, with lots of boards and lots of assumptions that you already know what you’re doing. It took me a fair bit of searching and fiddling to get this working. In case you’re in the same boat I was until yesterday and want to try this yourself, here is one currently-available product [no affiliation] that I expect will be identical to mine. You may find others; and/or you may not even need this walkthrough, both of which are perfectly fine.
The first step in programming it was figuring out what board the Arduino IDE needed to identify it as. Sparing the missteps along the way, my board has no useful identification but the current Amazon listing (which I found only for your benefit, Dear Reader, because the listing from which I made my purchase has long since expired) shows the names “WeMos” and “D-duino” on the back side of the board. That combination took me to this ESP8266 Learning page discussing a cloned board like mine that they had bought.
It didn’t tell me much about the D-duino; but seeing that the name was a Real Thing led me to the creator’s Tindie page announcing the D-duino and subsequent Hackaday article on how to use it. That latter is pure gold, providing the OLED-related steps below. For completeness, here also is the project’s/product’s GitHub page.
First, tell the Arduino IDE about ESP8266es in general. Per the ESP8266 Arduino support page, “enter https://arduino.esp8266.com/stable/package_esp8266com_index.json into the File>Preferences>Additional Boards Manager URLs field of the Arduino IDE,” then go into Tools / Board: / Boards Manager… and search for and install the esp8266 boards bundle. Now use Tools / Board: / ESP8266 Boards > to select the NodeMCU 1.0 (ESP-12E Module).
At this point, I was able to upload the File / Examples > / 01.Basics > / Blink sketch and get the Comforting Blue LED of Reassurance.
Next, install the OLED driver. Per the Hackaday article, go to the GitHub esp8266-oled-ssd1306 page, use the Code button to download the ZIP file, find your Sketchbook location from your Arduino preferences, and unzip the SSD1306 OLED library in the Library folder under your Sketchbook location.
Exit and restart your Arduino environment to pick up the library changes if necessary and you should now find D-duino example code under File / Examples > / Examples from Custom Libraries / ESP8266 and ESP32 OLED driver for SSD1306 displays.
I started with SSD1306SimpleDemo and … got nothing on the display. After trying several of the code variations mentioned in the Hackaday article, I found that this one works on my module:
SSD1306Wire display(0x3c, D1, D2);
That is, the I2C SDA and SCL pins don’t appear to be correctly autopopulated for this board, so they need to be set manually to D1 and D2.
And voila! I had a working attract-mode program again, the same as when I received the module and before I started trying to program it.
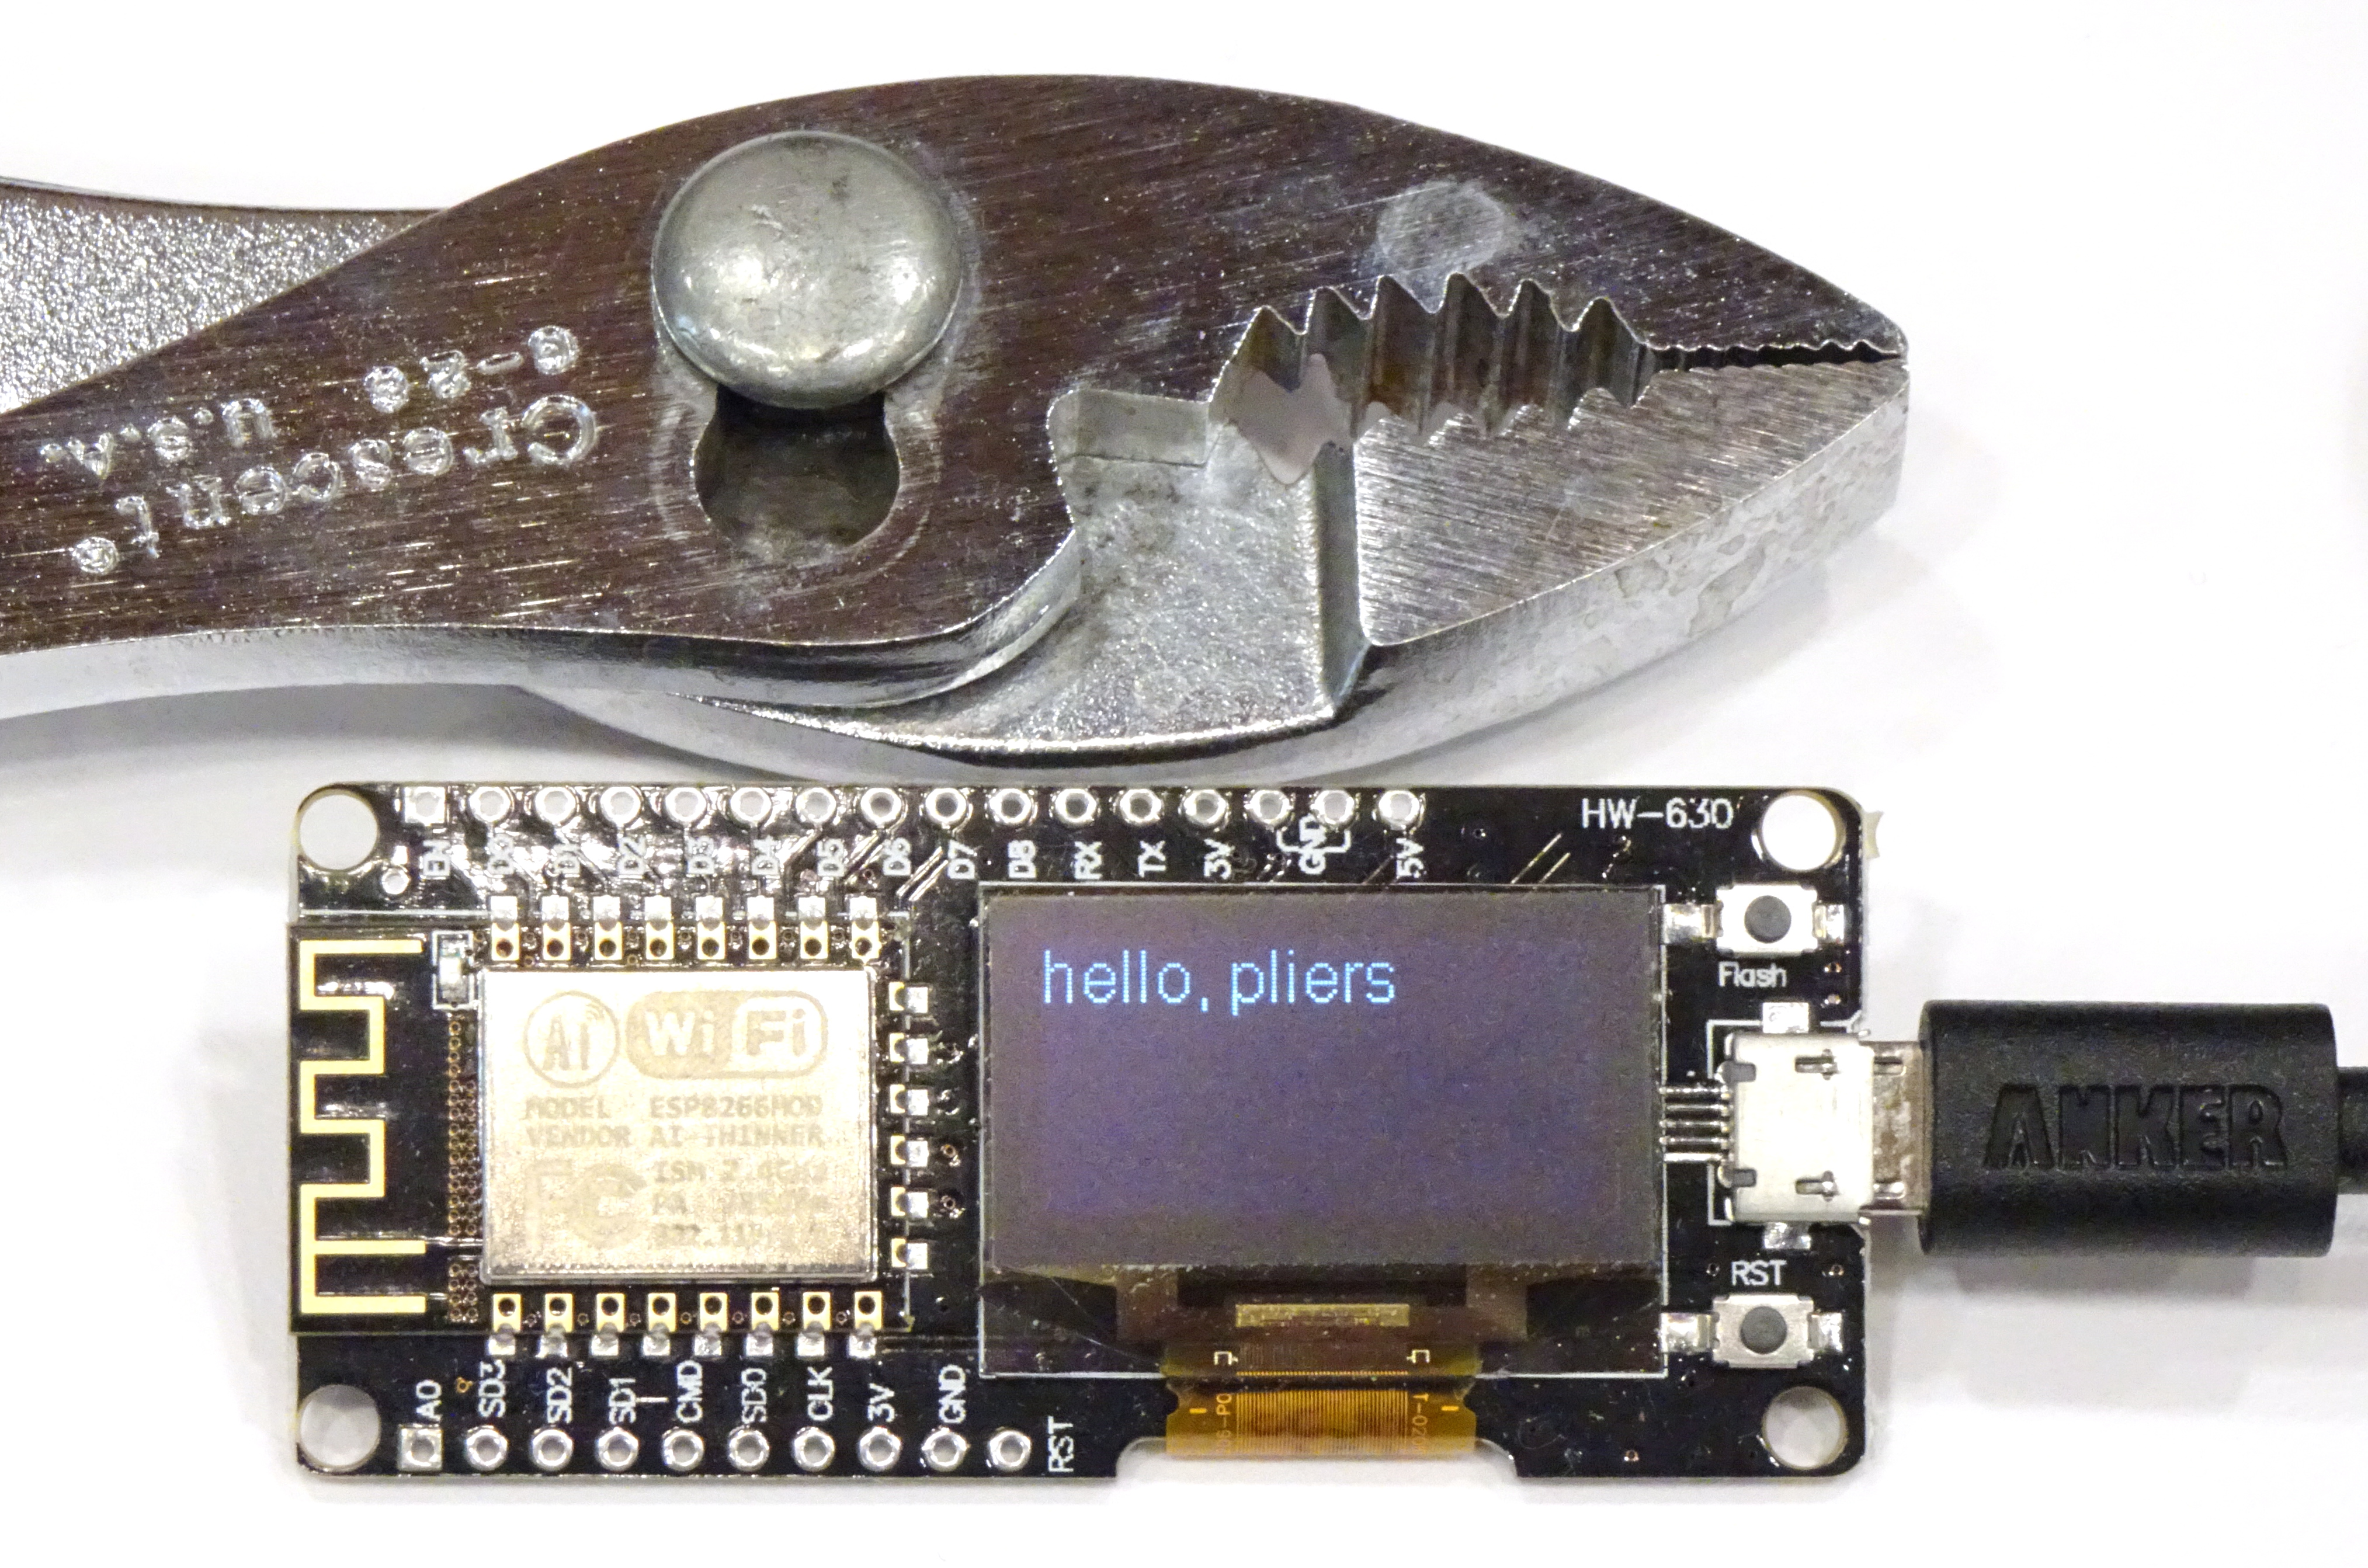
Skinnying that program down to the basics for displaying text yields the following code (that WordPress does not wish to indent) and the photograph at the top. This lays a great foundation for doing something useful with the device!
// Include the correct display library
// For a connection via I2C using the Arduino Wire include:
#include <Wire.h> // Only needed for Arduino 1.6.5 and earlier
#include "SSD1306Wire.h" // legacy: #include "SSD1306.h"
// Initialize the OLED display using Arduino Wire:
SSD1306Wire display(0x3c, D1, D2); // ADDRESS, SDA, SCL
void setup() {
// Initialising the UI will init the display too.
display.init();
display.flipScreenVertically();
}
void loop() {
// clear the display
display.clear();
display.setTextAlignment(TEXT_ALIGN_LEFT);
display.setFont(ArialMT_Plain_16);
display.drawString(0, 0, "hello, pliers");
// write the buffer to the display
display.display();
delay(1000);
}