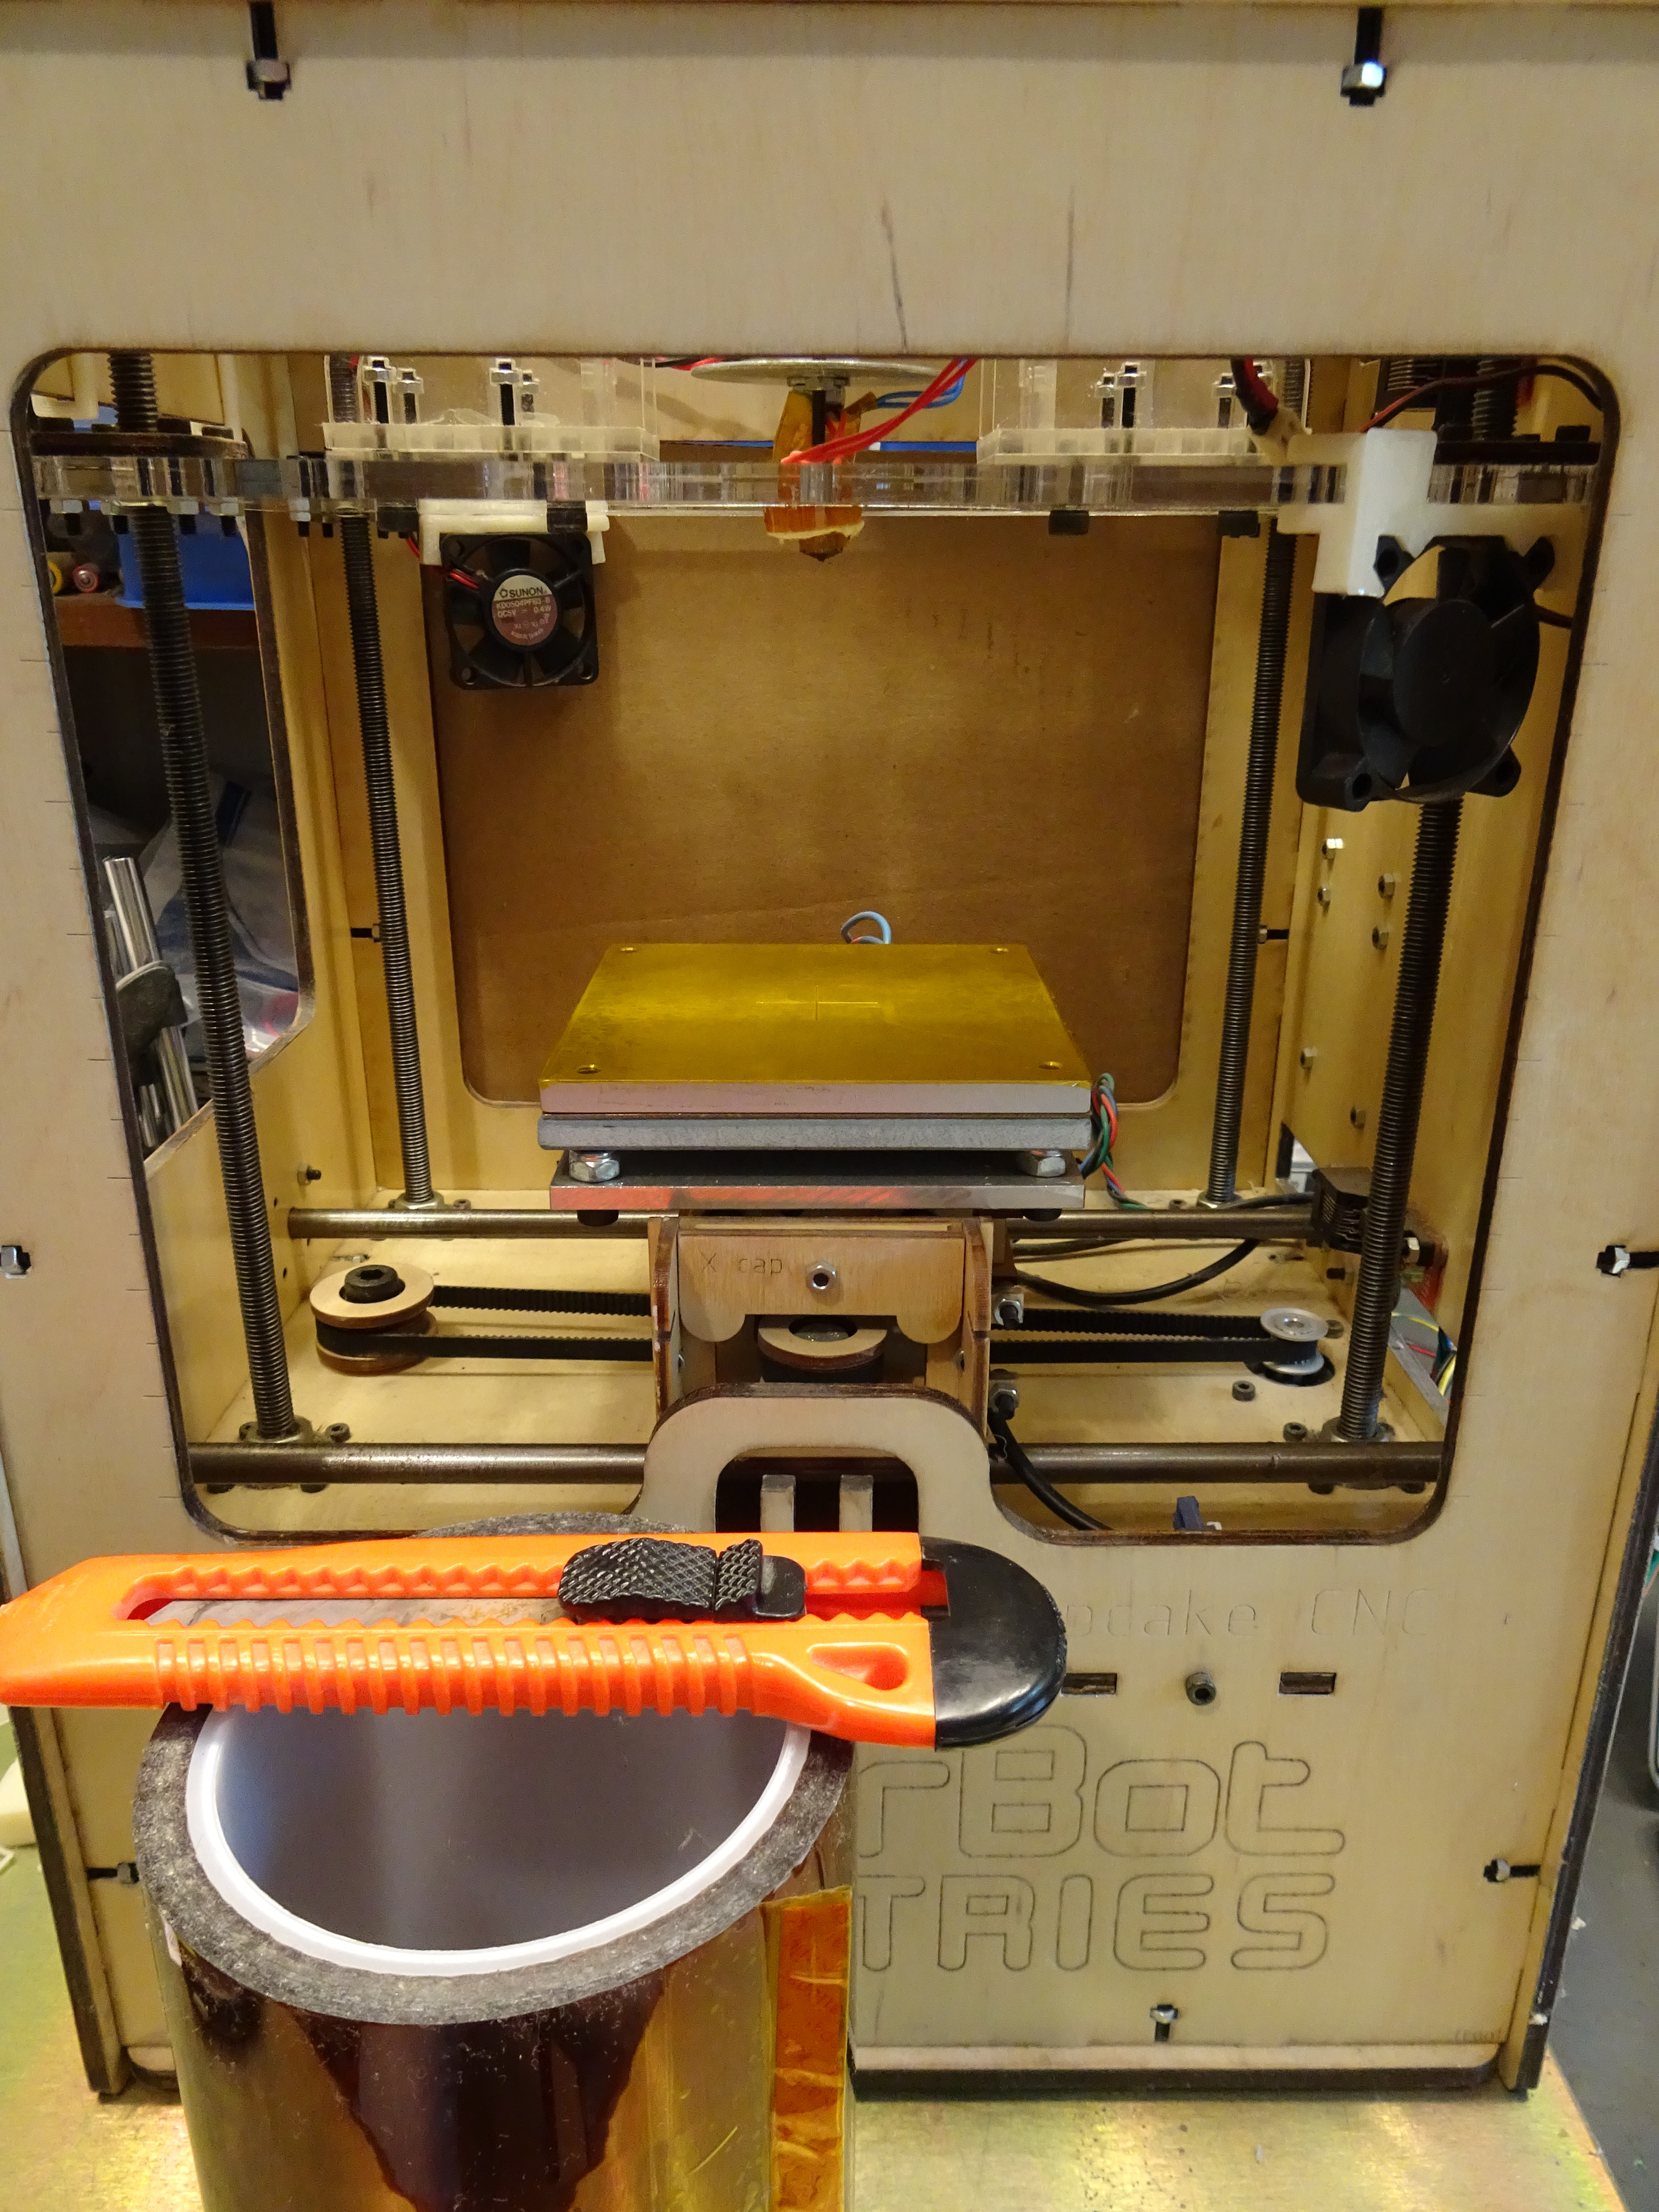
Friday evening I left off with the extruder working again. Saturday I focused on the heated build platform.
I’ve always had astoundingly good luck with kapton tape since nophead’s serendipitous discovery, probably because I (still) prefer to print in ABS. When the build platform is warm, my prints stick to it absolutely with no raft or mouse ears and once it has cooled, they release easily. That’s a pretty compelling combination.
So my first step was replacing the scraped-up kapton that I gouged the last time the printer was on. I bought a 4″ roll way back when and I keep a strip of unsticky tucked under the end so I don’t have to peel it up with fingernails and get fingerprints on the stickum.
In the past I’ve always replaced the tape by sticking down the end and using a credit card to “squeegee” it onto the surface, and it can be tough to avoid getting bubbles. Yesterday I unrolled enough tape to cover the platform and when I had it stretched out, it was easy to align the front edge of the tape with the front edge of the platform, at which point I squeegeed it down with my thumb with no bubbles at all. Huh, well, I guess I’ll remember that.
I heat my build platform with the rackmount laboratory-grade power supply the CupCake is sitting on. From my 2010 blog post about making the heated build platform (gosh, this blog thing is handy), I see that I ran the power supply around 24V to heat the build platform to the neighborhood of 180-200C, then backed it off to 12V. This is a definite opportunity to control via software in the future; but for now, I’ll keep doing it with a manual control the way the pilgrims did.
Setting Nozzle Height by Extruding Onto the Platform
I’ve never got the Z-axis endstops integrated into my build process — if someone knows how to implement that (some G-code preface), I’d love to hear about it — and getting the right nozzle height has always been one of my biggest recurring challenges with this machine. So I decided to take a different approach and set the extruder to run while jogging the build platform under numerical control and lowering the nozzle until the extrusions stuck well but didn’t flatten badly.
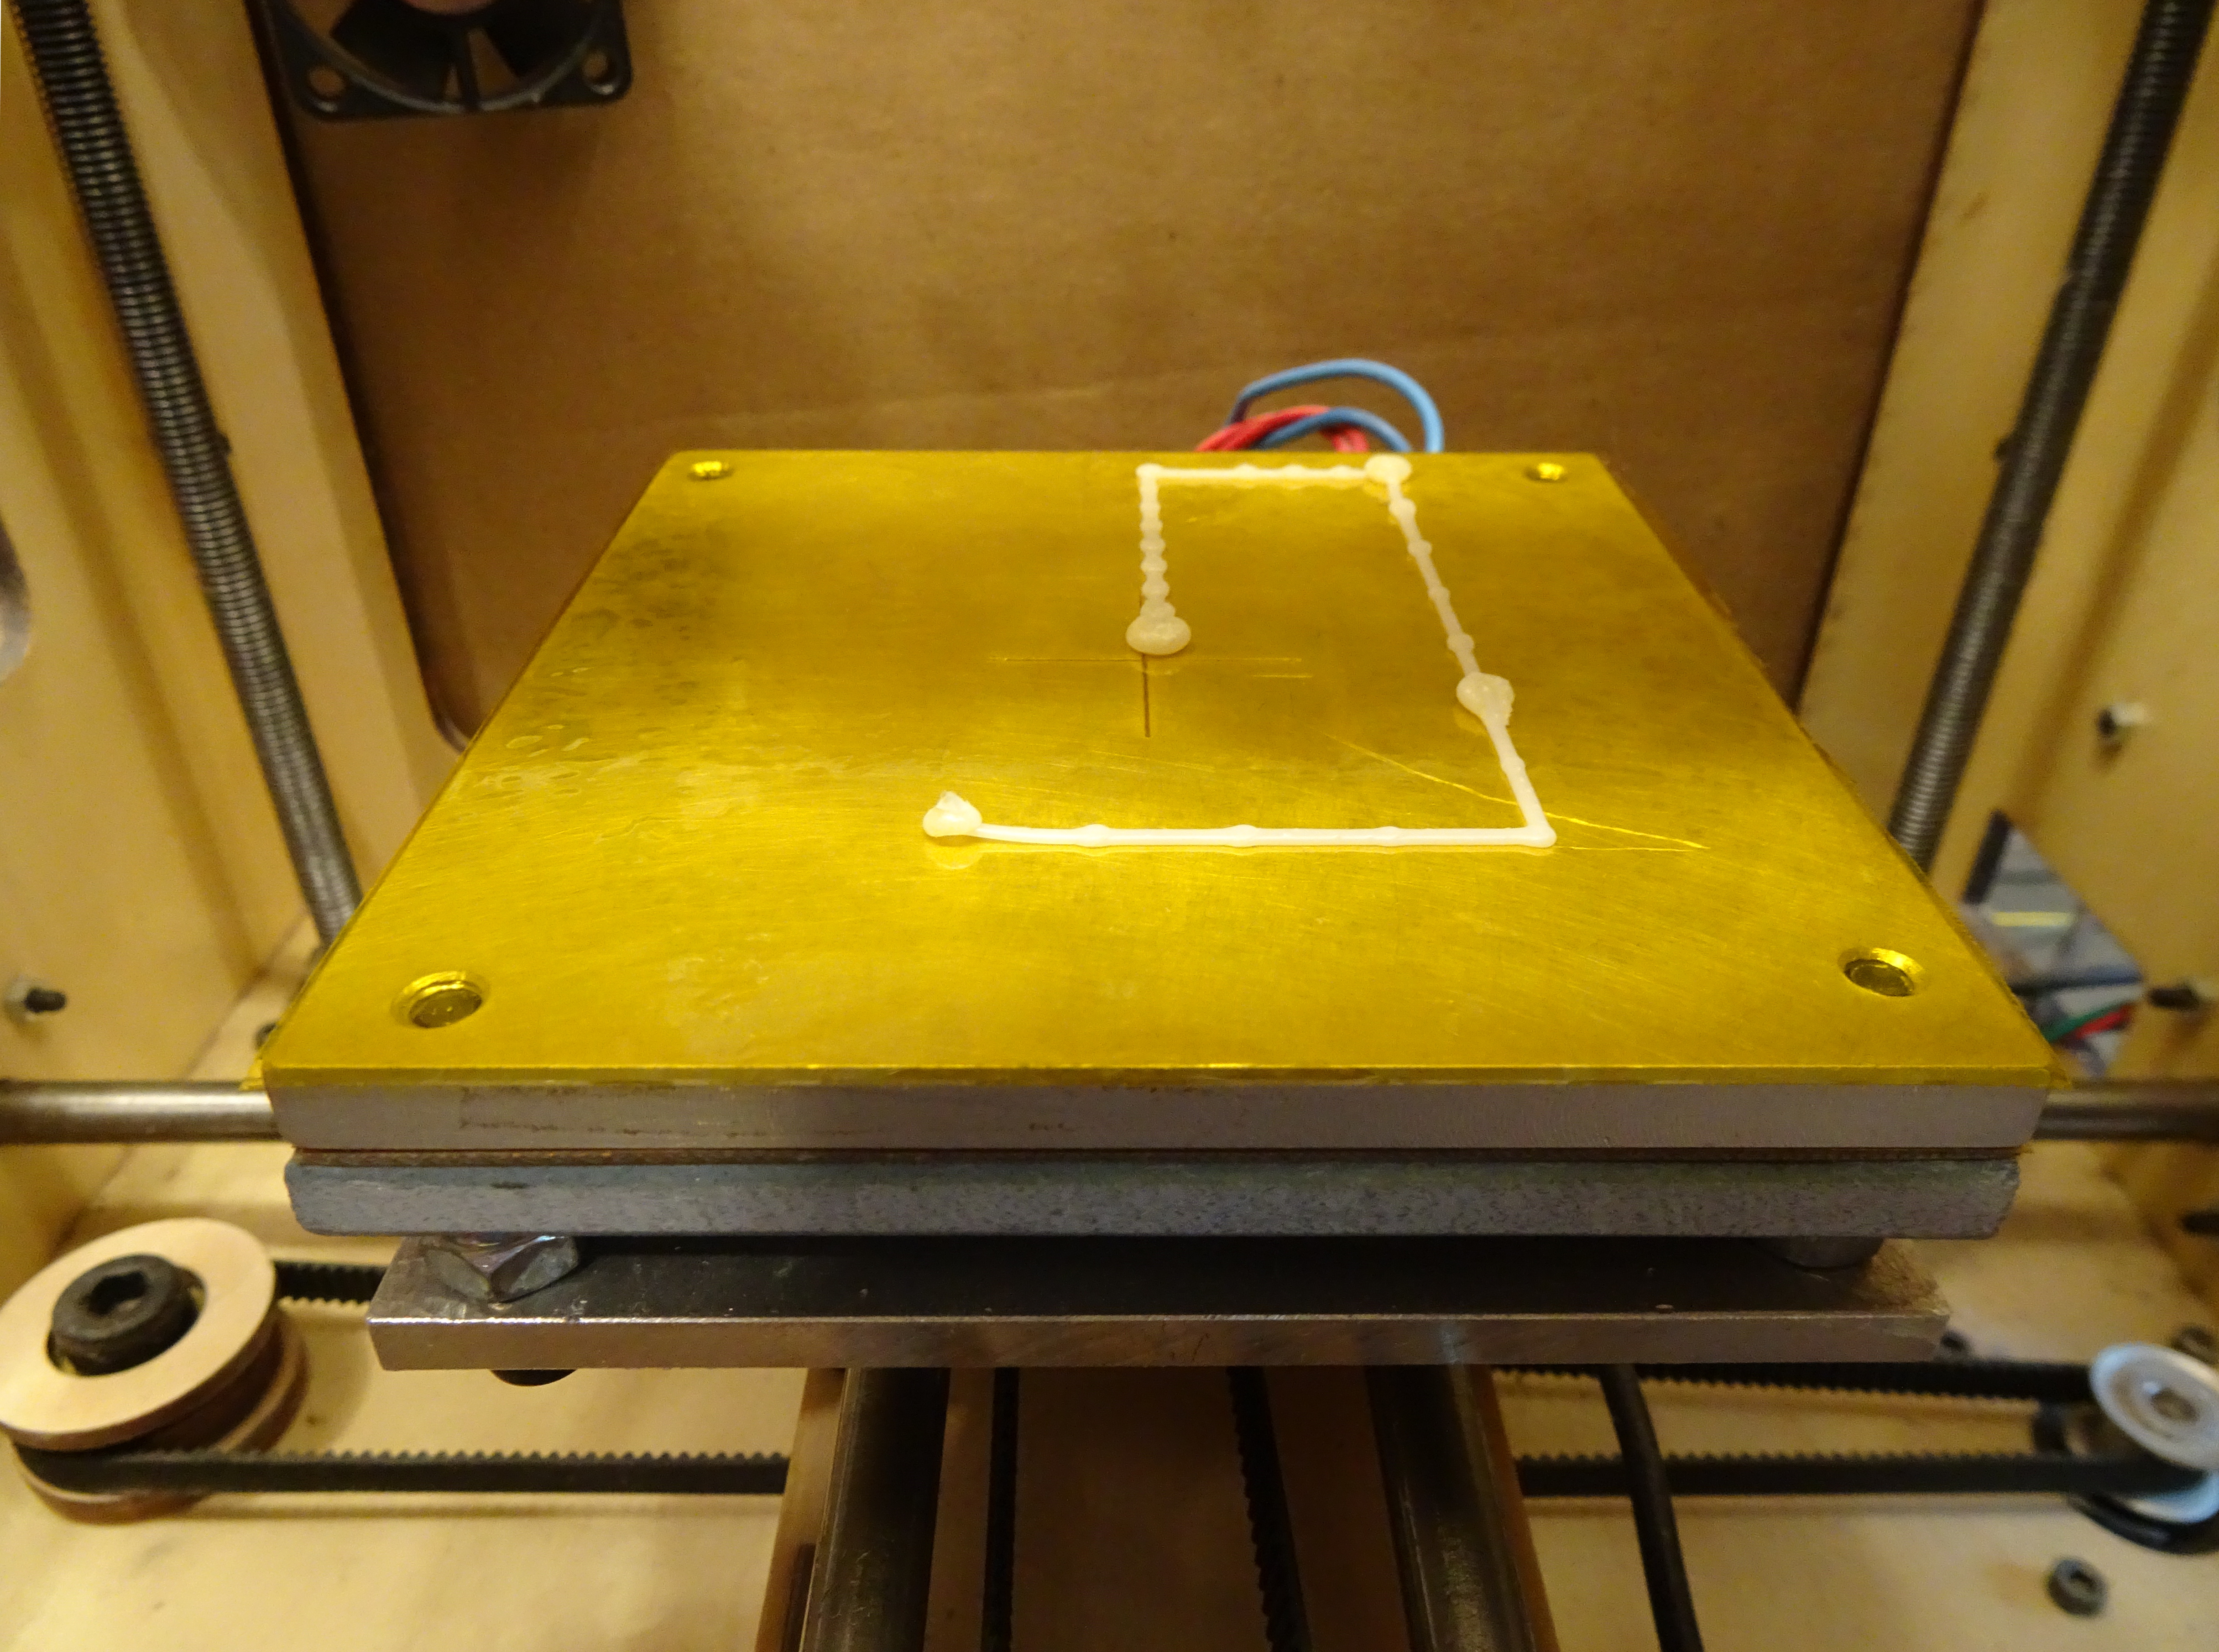
I got a blob every time it stopped between jog steps, but the process worked pretty well — I got the height tuned to stick the extrusion down to the build platform without squishing it badly out of shape.

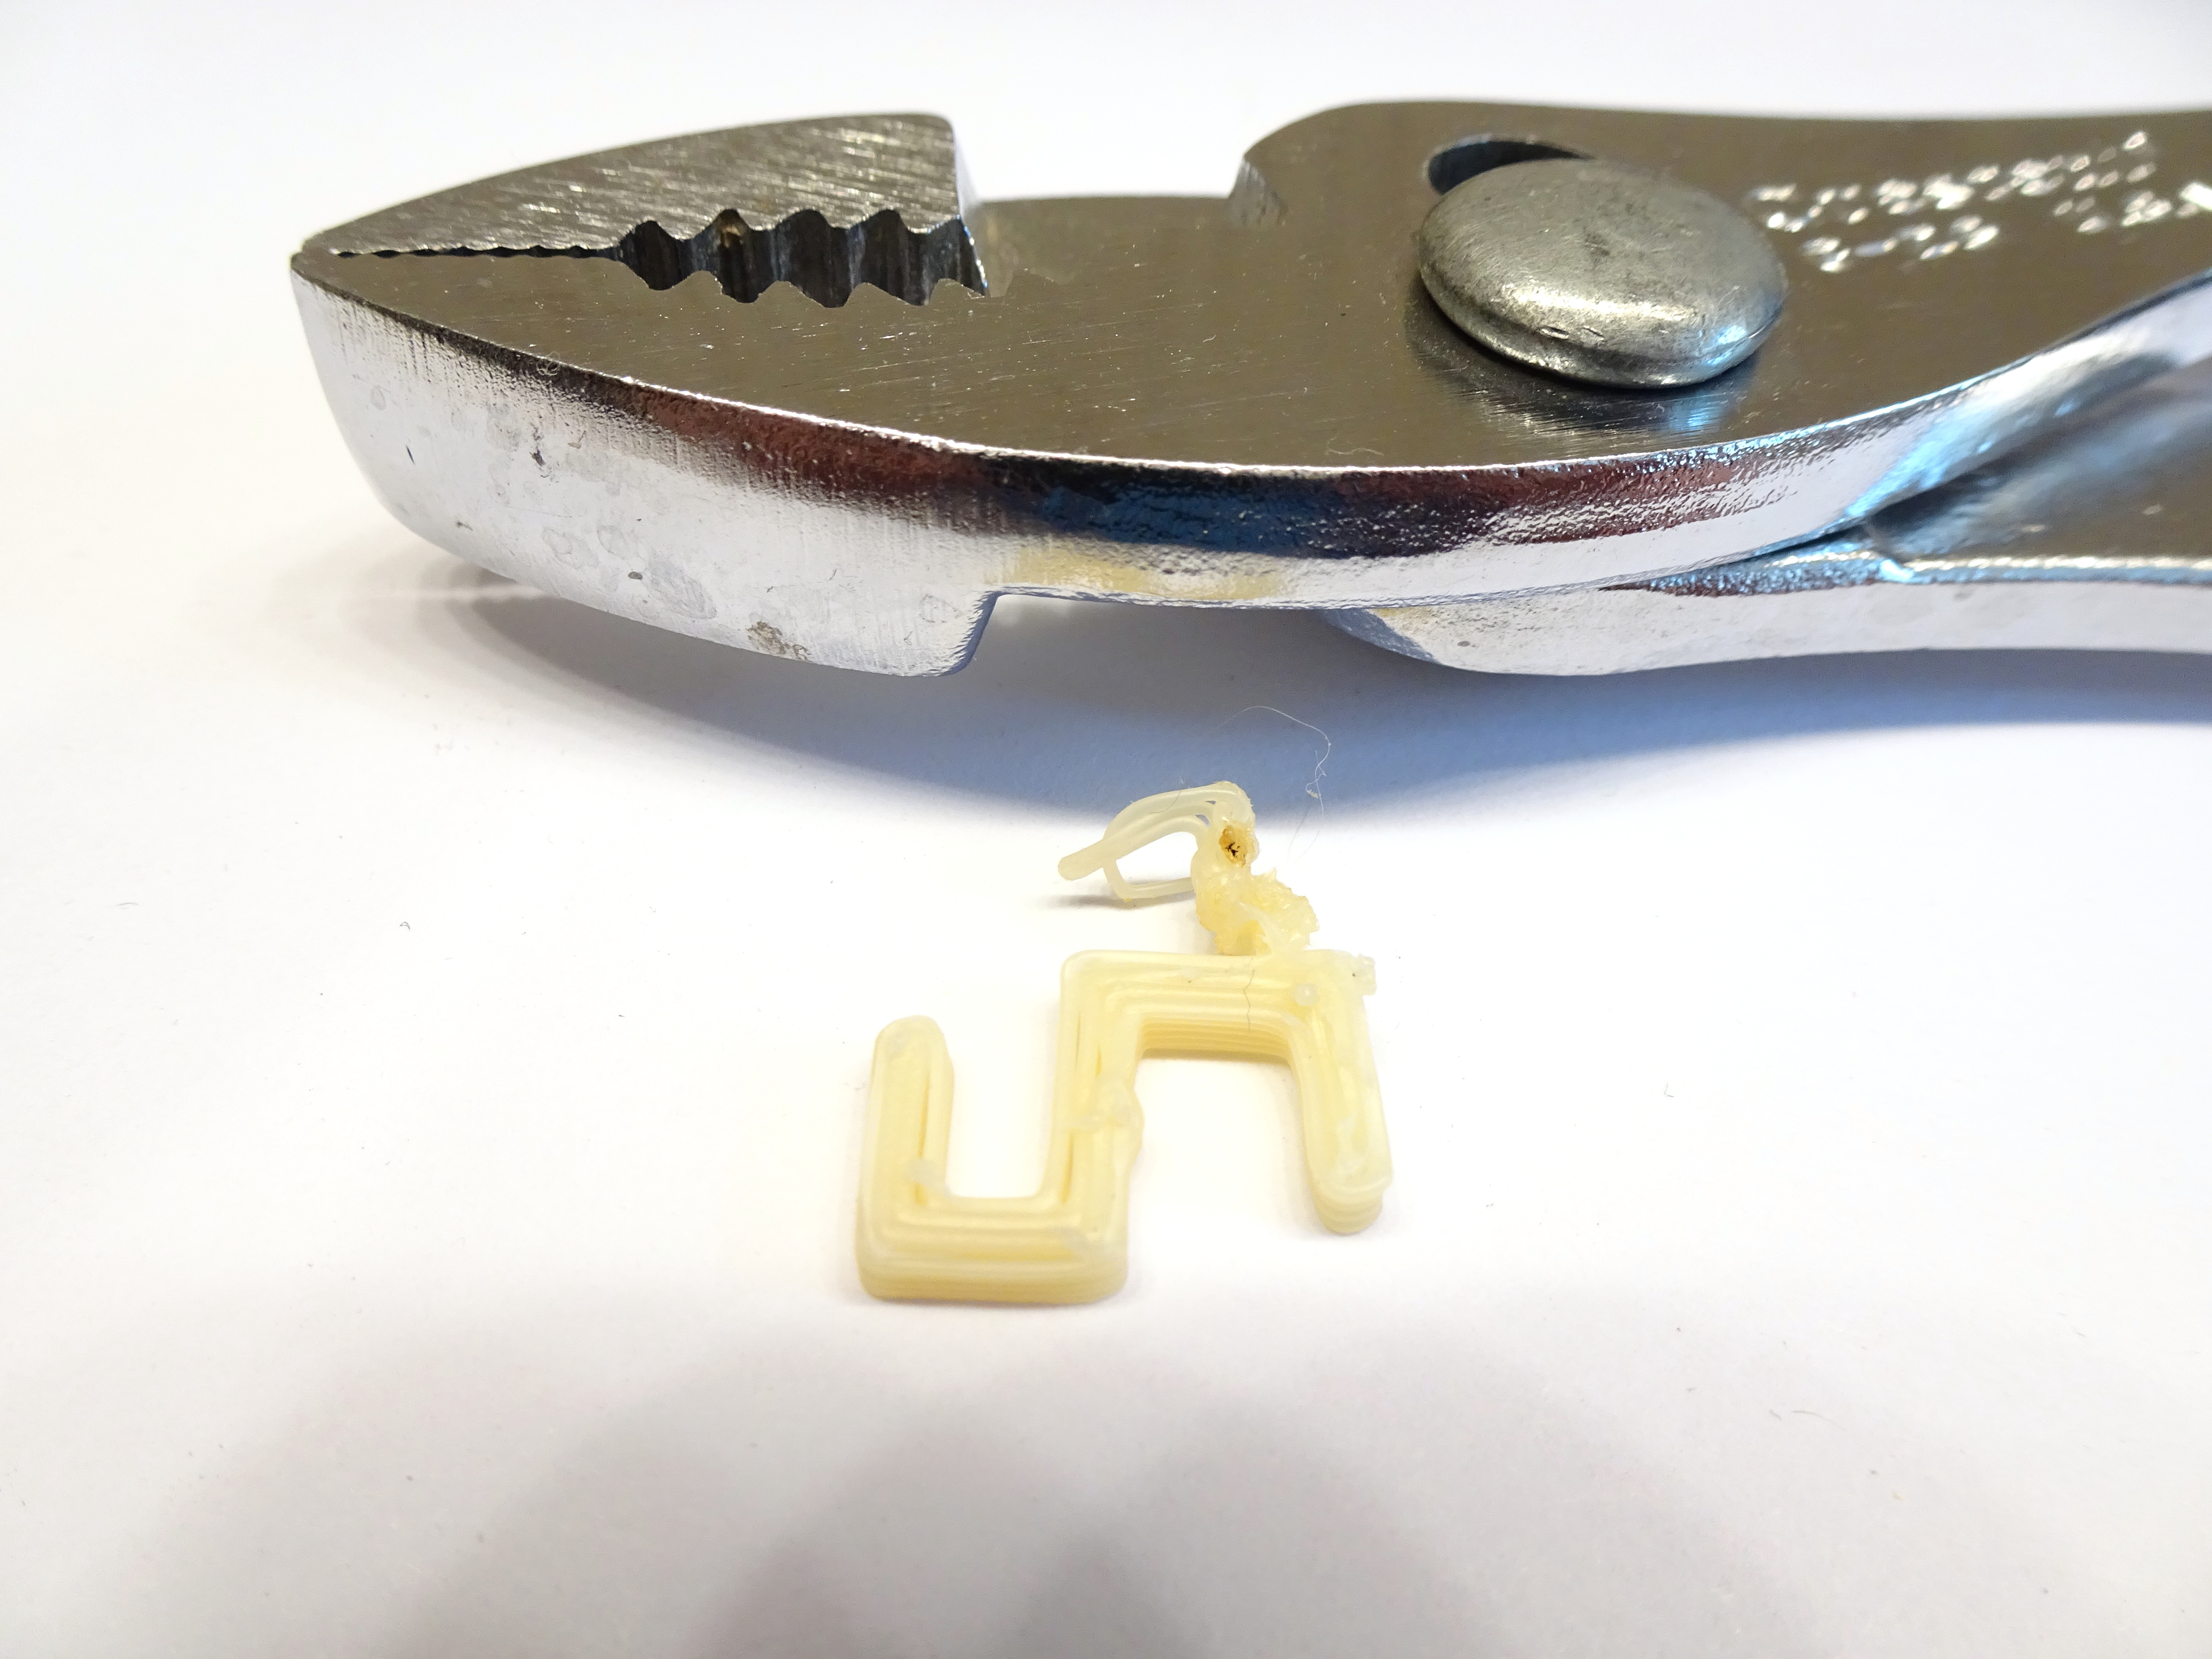
Removed from the printer, you can see that the ABS was starting to scorch. I’d been running the nozzle at 228C based on my 2012 post; but somewhere I found that I’d backed down to 220C, and that does seem to work better.
First Print (from Saved Gcode)
I don’t have my machine’s calibration parameters loaded into Skeinforge yet, in part because I can’t find Skeinforge (which is supposed to be integrated into ReplicatorG, but I don’t find that to be the case); so I can’t slice and print an STL file. But I have G-code files that I’d generated for this printer, and it should work to print those.
This clip didn’t turn out so well. The G-code was generated to print at 228C and the printer stopped extruding partway through, I think because the ABS was overheated. I could update the G-code to run at 220C instead; but I’m going to want to get Skeinforge running to slice new models anyway. So this was a fine proof of concept.
Thermistor Is Calibrated
I found (and subsequently remembered) that a few settings are saved in the printer’s NVRAM, including the thermistor coefficients. They’re accessible in the Machine / Toolhead Onboard Preferences... dialog:
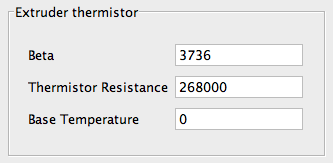
So it really was running at 228C when it said it was.
Remaining Issues
- After positioning the nozzle at the build platform’s origin, I raised it high out of the way. When I told it to return to home, the Z action paused about once a second on the way down and stopped about 13 mm above the build platform instead of running smoothly back to its original position. For goodness sake, you should be able to get the basics right.
I haven’t checked whether the motherboard was signaling the stepper driver and it was skipping steps (doubt it) or whether the motherboard was malfunctioning, so I should do that yet.
I’ll never be able to automate nozzle positioning if the CupCake can’t reliably move the nozzle into position. - Skeinforge doesn’t seem to be integrated. I can install it separately, but I wonder why it’s not there.
- I need to recover all of my calibration settings from the hard drives of my crashed computer and put them into Skeinforge that doesn’t exist. And then add that location to my backup system.
- ReplicatorG shows the preview of the STL when I’m clicking on a file to open but doesn’t have a preview window after loading where one can rotate and reposition the object. I thought that was available even before the Skeinforge integration, but I could be misremembering.