While designing a (different) small box, I knew I wanted it to have a heavy base to keep it from being tippy. I designed recesses in the base for stacks of electrical box knockouts (that I’d been saving for recycling, because I’m just that way and I can’t help it) and had to look up how to get the printer to pause for me to insert them. Because I am not steady enough to play Operation, the Wacky Doctor Game when the patient is awake and trying to bat away my tools.
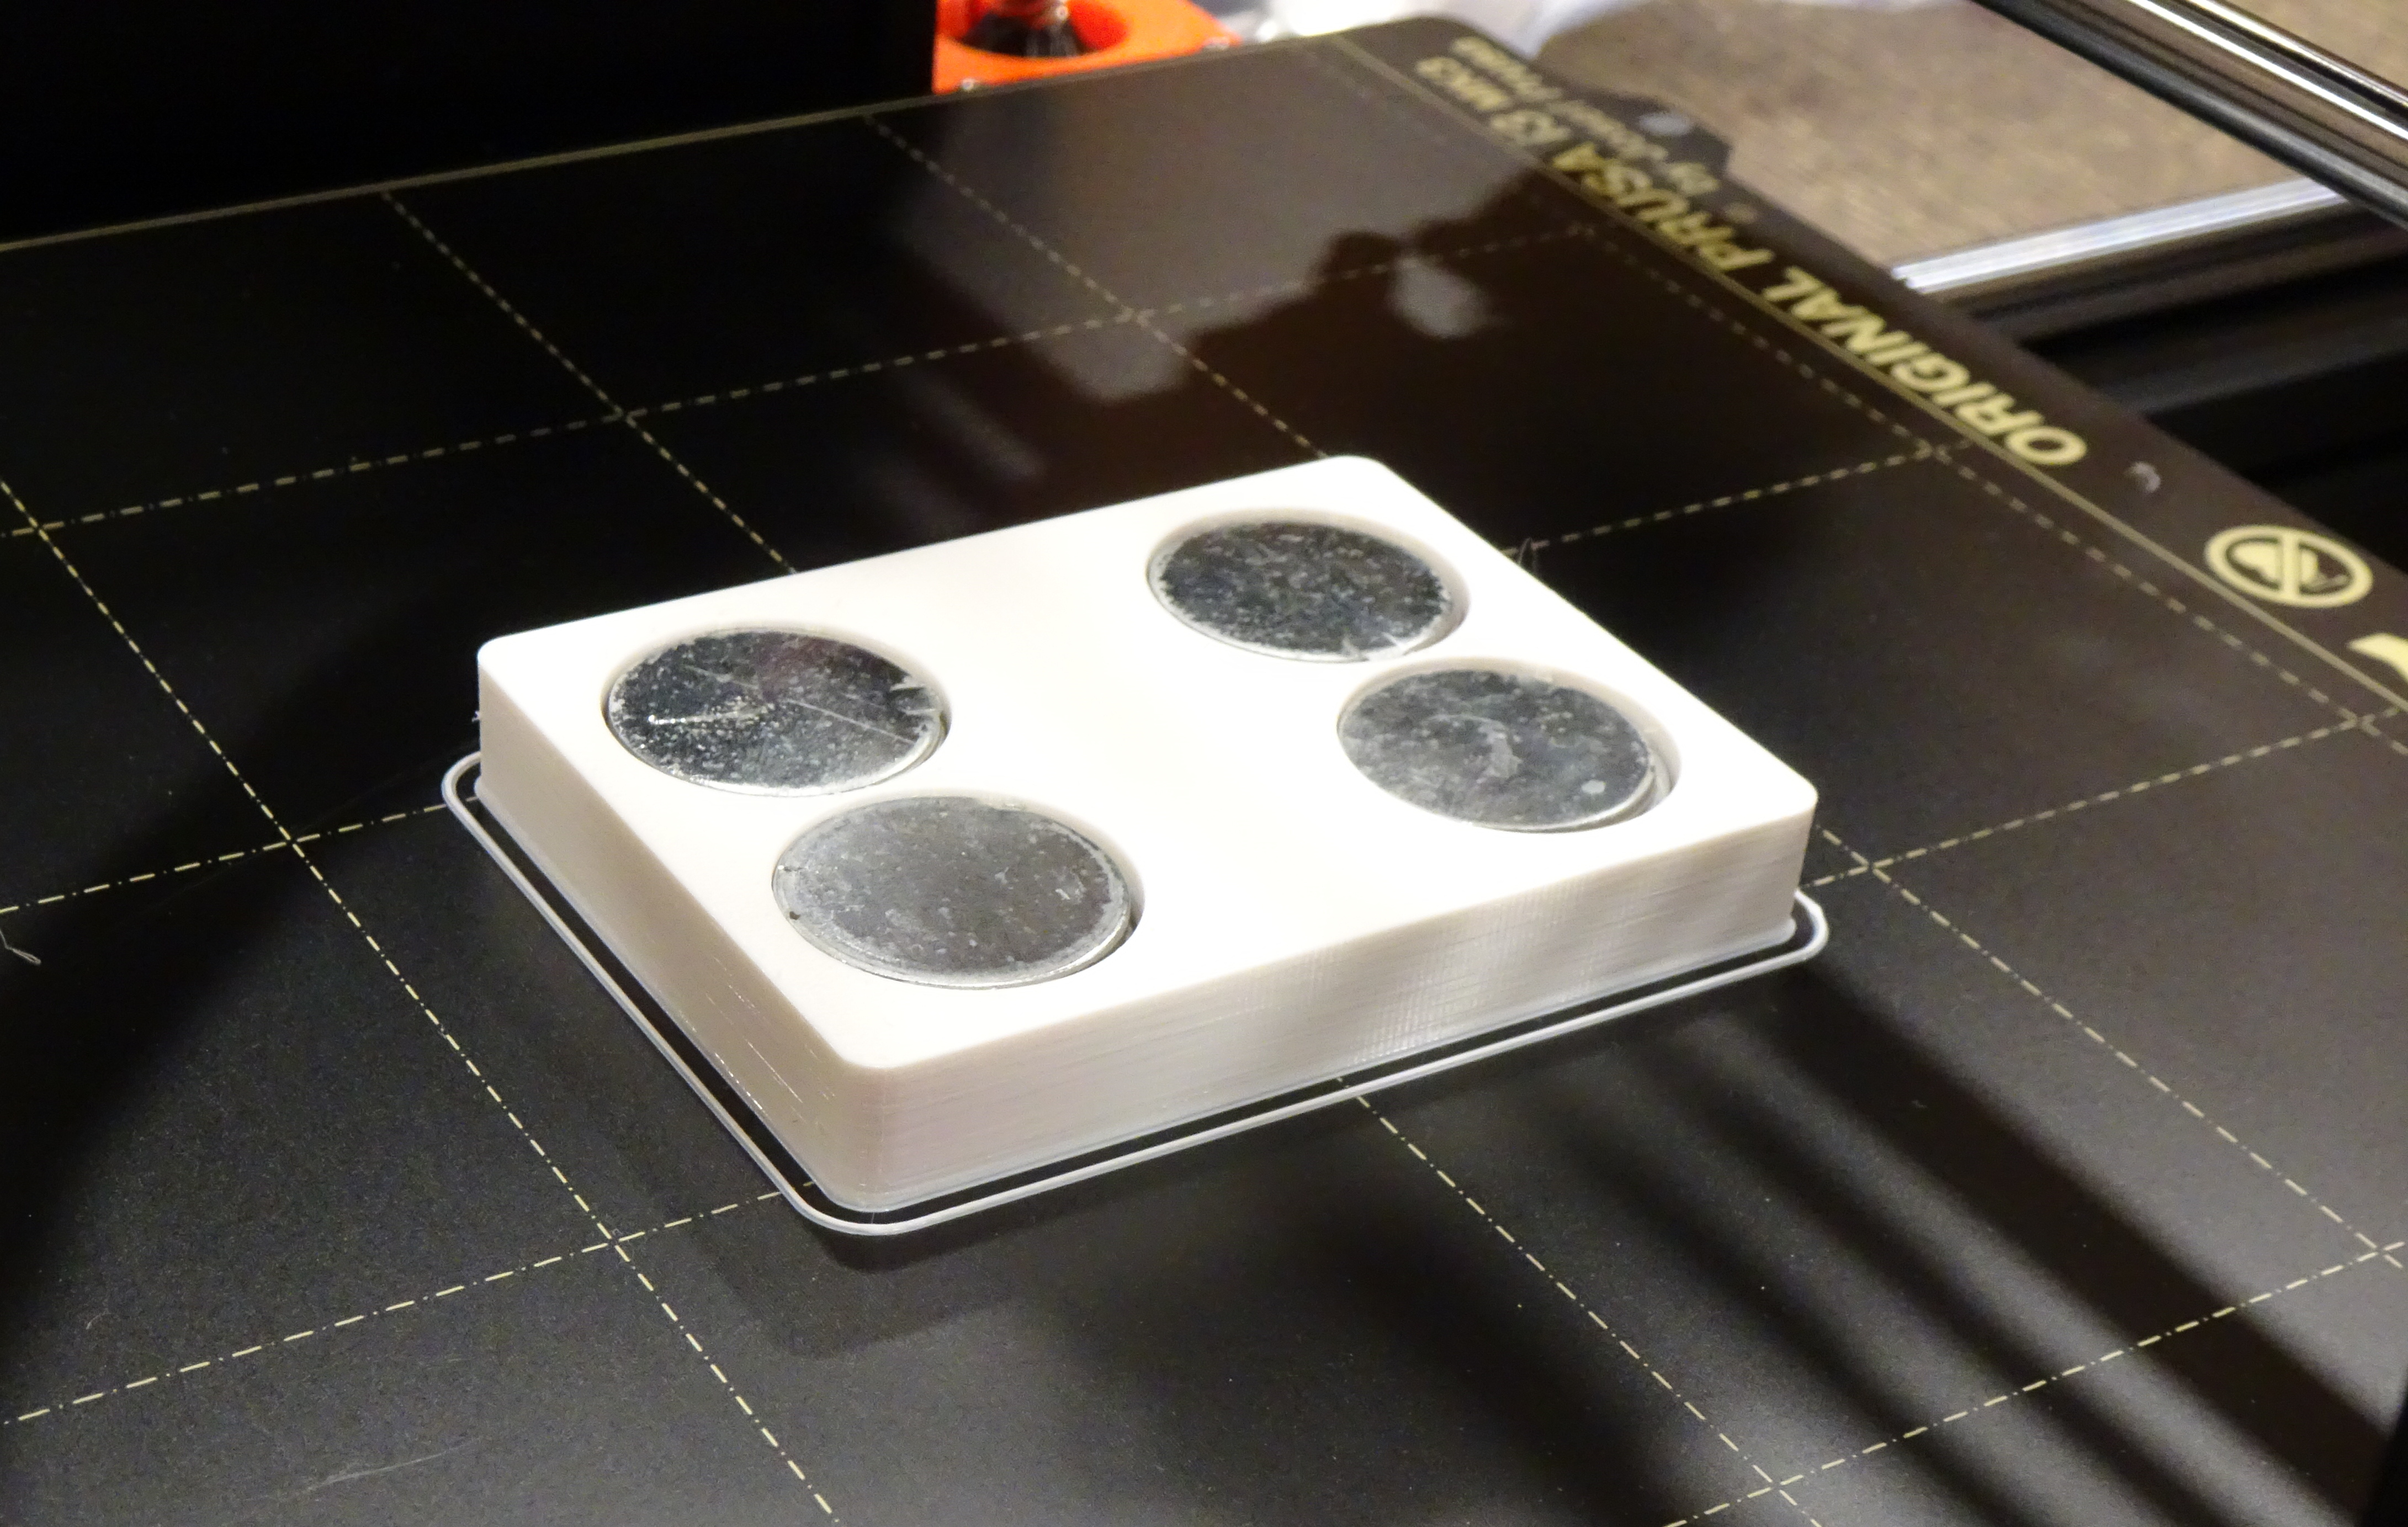
In PrusaSlicer, the answer is to slice the object once, then grab the slider to the right of the plater and drag it down to the layer that you want the printer to pause before beginning to print. Hit the + button immediately to the right, telling PrusaSlicer that you want to do a manual filament change to make that layer be a new color, and then reslice. You can verify the pause with the slider; everything below the pause will be shown in one color and everything above in another.
When it finishes the layer below, the printer goes through a superfluous dance of unloading and reloading the filament, but it works out fine.

After resuming, the printer bridges nicely over the weights, just like it oughtta. Very gratifying.