A few notes on assembling the printhead:
The 2.4r2 assembly manual has much more detail than the 2.4r1, very much appreciated.
Even the 2.4r2 manual leaves it to you to figure out how to assemble whatever hot end you have. Because my kit came with an E3D-v6 clone hot end, I found these self-proclaimed outdated E3D-v6 assembly instructions that direct you to better-maintained instructions that no longer exist, and followed the link within these instructions to another set for installing the old-style thermistor.

The 2.4r2 instructions and their diagrams don’t speak to this detail, but later assembly makes it clear that one does leave the (here black and barely visible) plastic ring that guides the PTFE tube into the cold end but one omits the (here blue) clip that in some uses locks the ring onto the PTFE tube.
After measuring and marking the PTFE tube length, I should have cut it with my PTFE tubing cutter but I was impatient and cut it with diagonal cutters, then mashed it round again. I look forward to regretting that later.
I’ve completed the printhead assembly and have yet to figure out what is meant by this instruction when mounting the hot end to the X carriage:
INDEXING BOLTS
The bolts are used to index the tool cartridge. Leave them slightly loose so that the cartridge can be slid out.
The 2.4r1 instructions make no mention of where the pinion gear should be positioned on the motor shaft. The 2.4r2 instructions give a dimension and also appear to show a printable shim that will position it correctly, which is a fantastic idea (though I didn’t download the STLs and print it myself).

The white nylon drive gear in my Fysetc kit wasn’t installed fully into position at the factory; you can see a bit of splined shaft between the hub of the nylon gear and the Bondtech-style filament gear; and you can see that the filament groove is misaligned between the Bondtech-style gear and the housing. I took it back out, supported the back end of the nylon gear with a large nut, and pressed it the rest of the way into position in a bench vise.
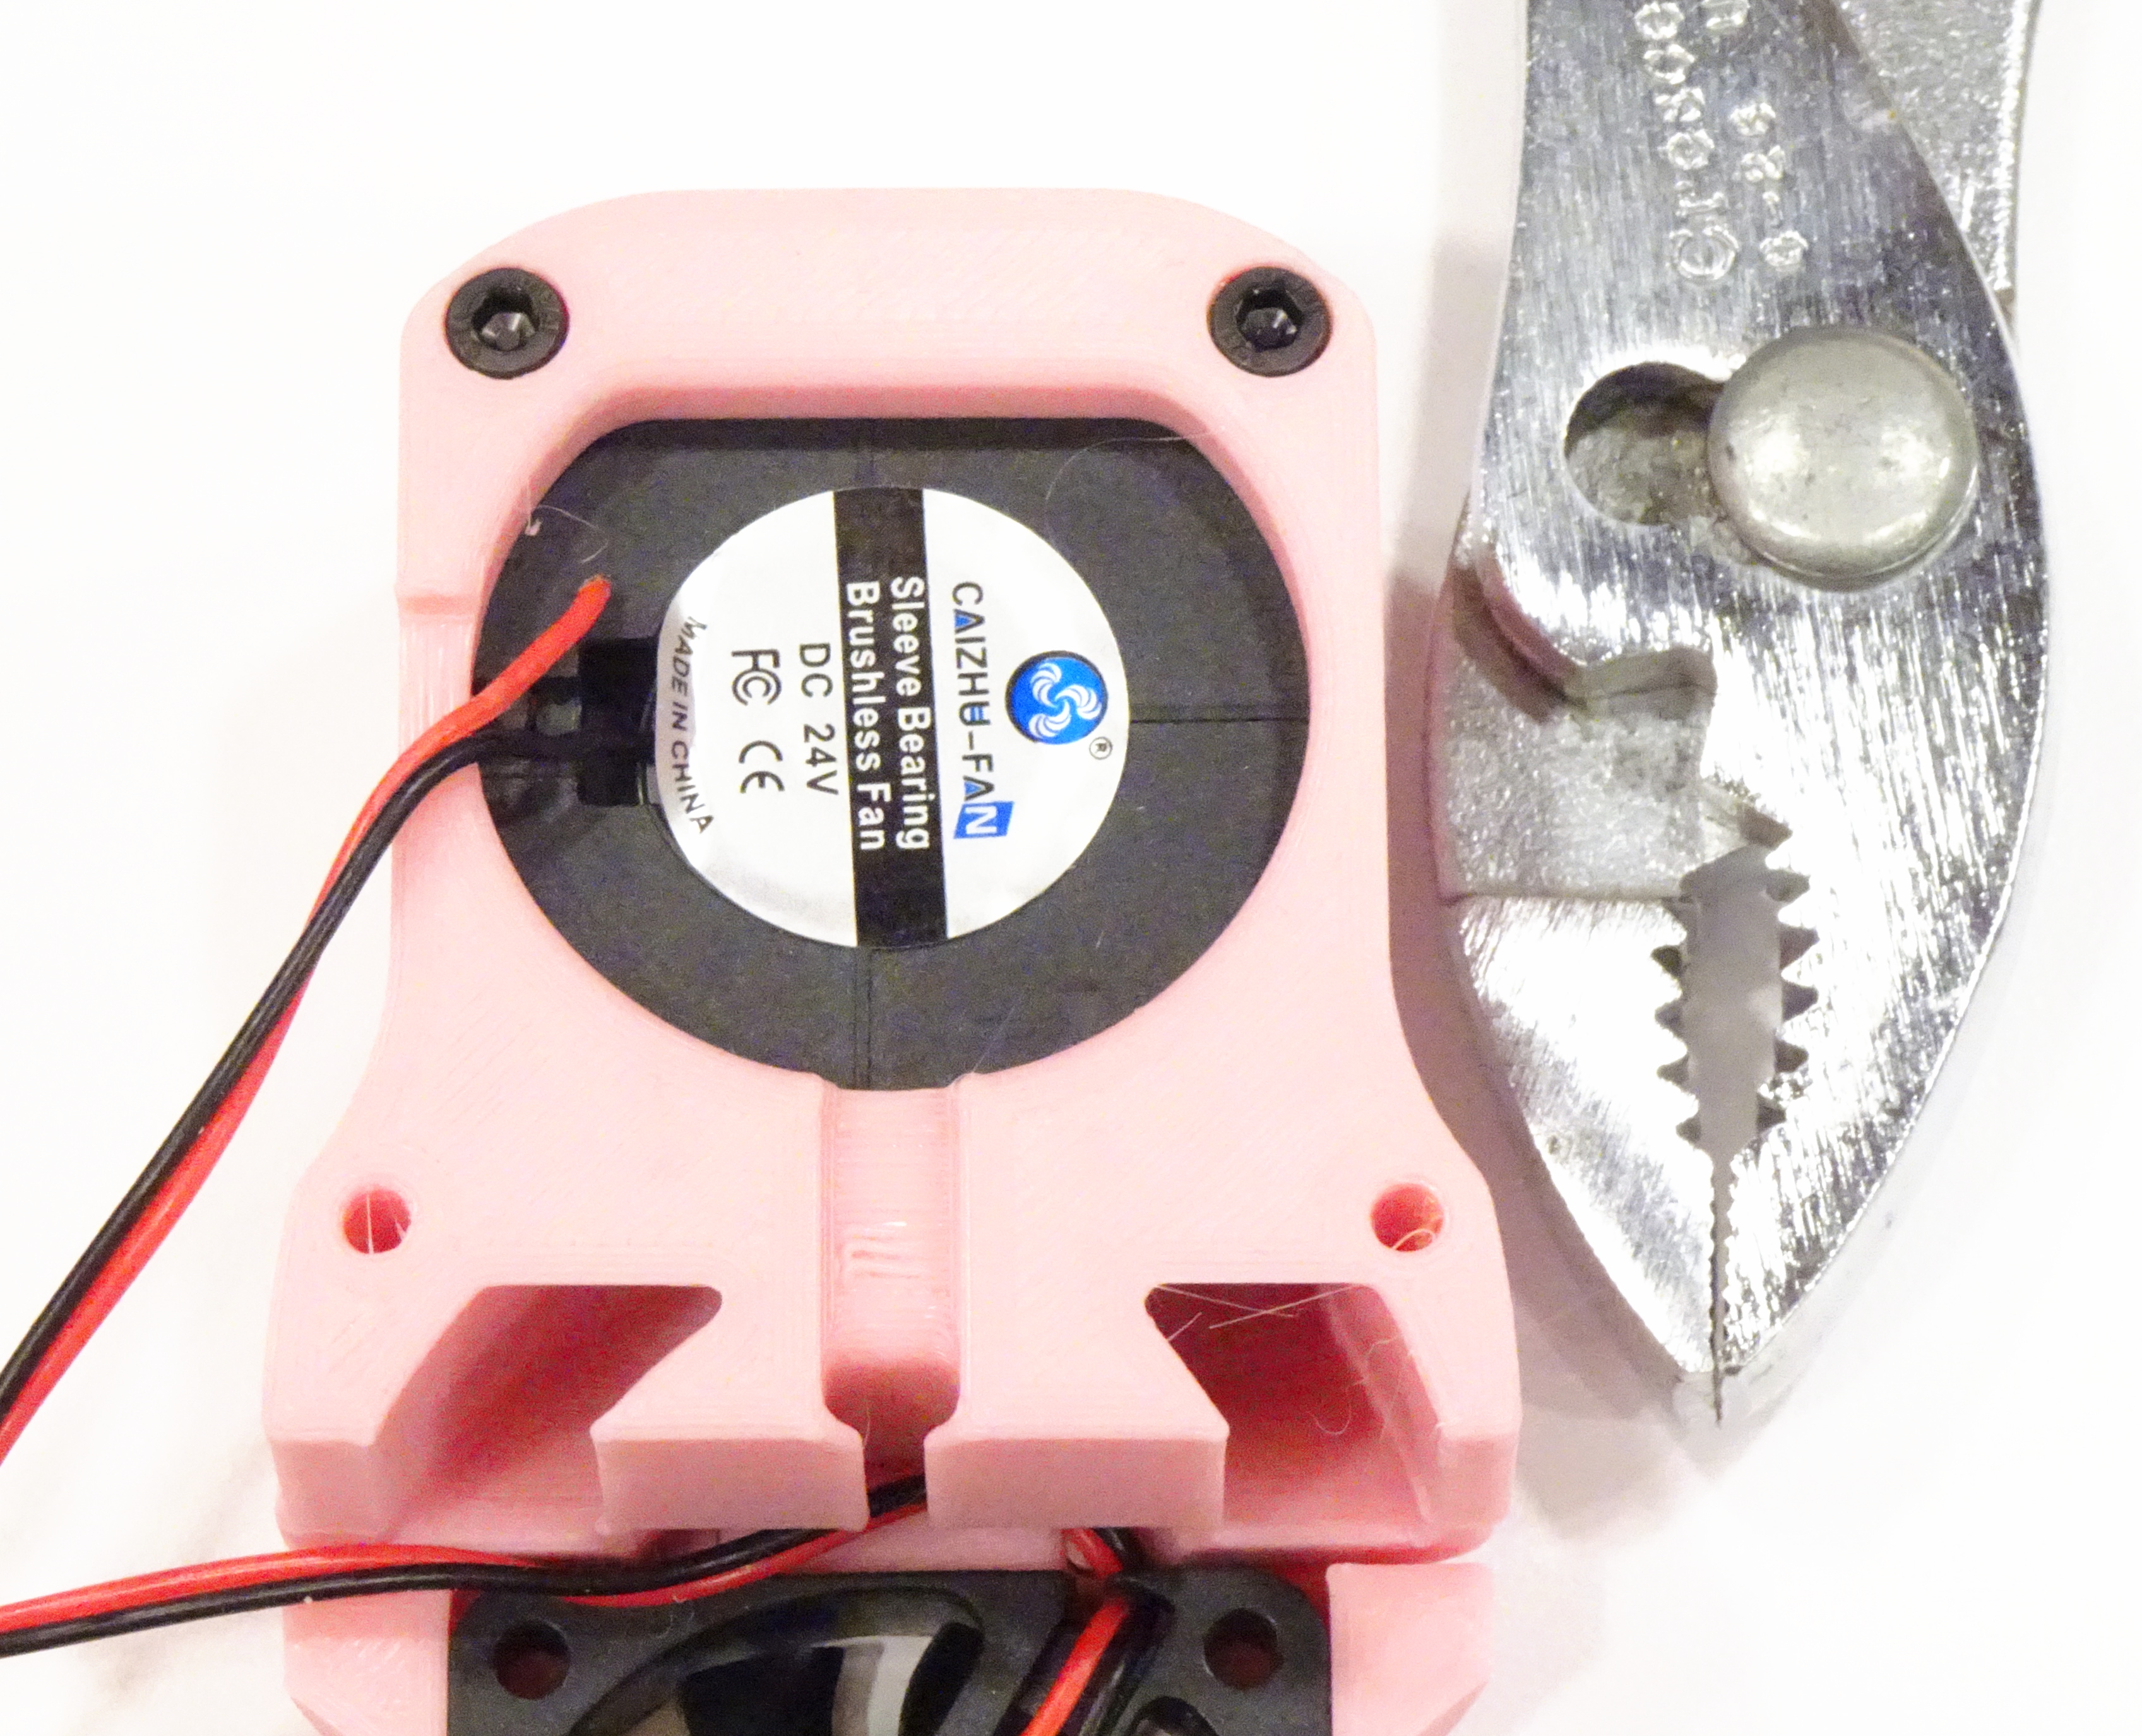
There’s just barely room between the 4020 blower fan and the printed housing to leave the fan wires routed through their factory strain relief, differently than shown here. You should do that. So you don’t break off the fan wires. Like I did. And have to solder one back on.
After reattaching and routing the wires back through the strain relief, I covered the solder joints with hot glue to provide extra strain relief. I did note first that the black surface immediately beneath the wires is the fan and that it’s probably counterproductive to fill the whole cavity with glue.
Since I’d removed the sticker to have a teence more room to solder, I added a couple of drops of lightweight oil to the fan shaft before closing things back up.
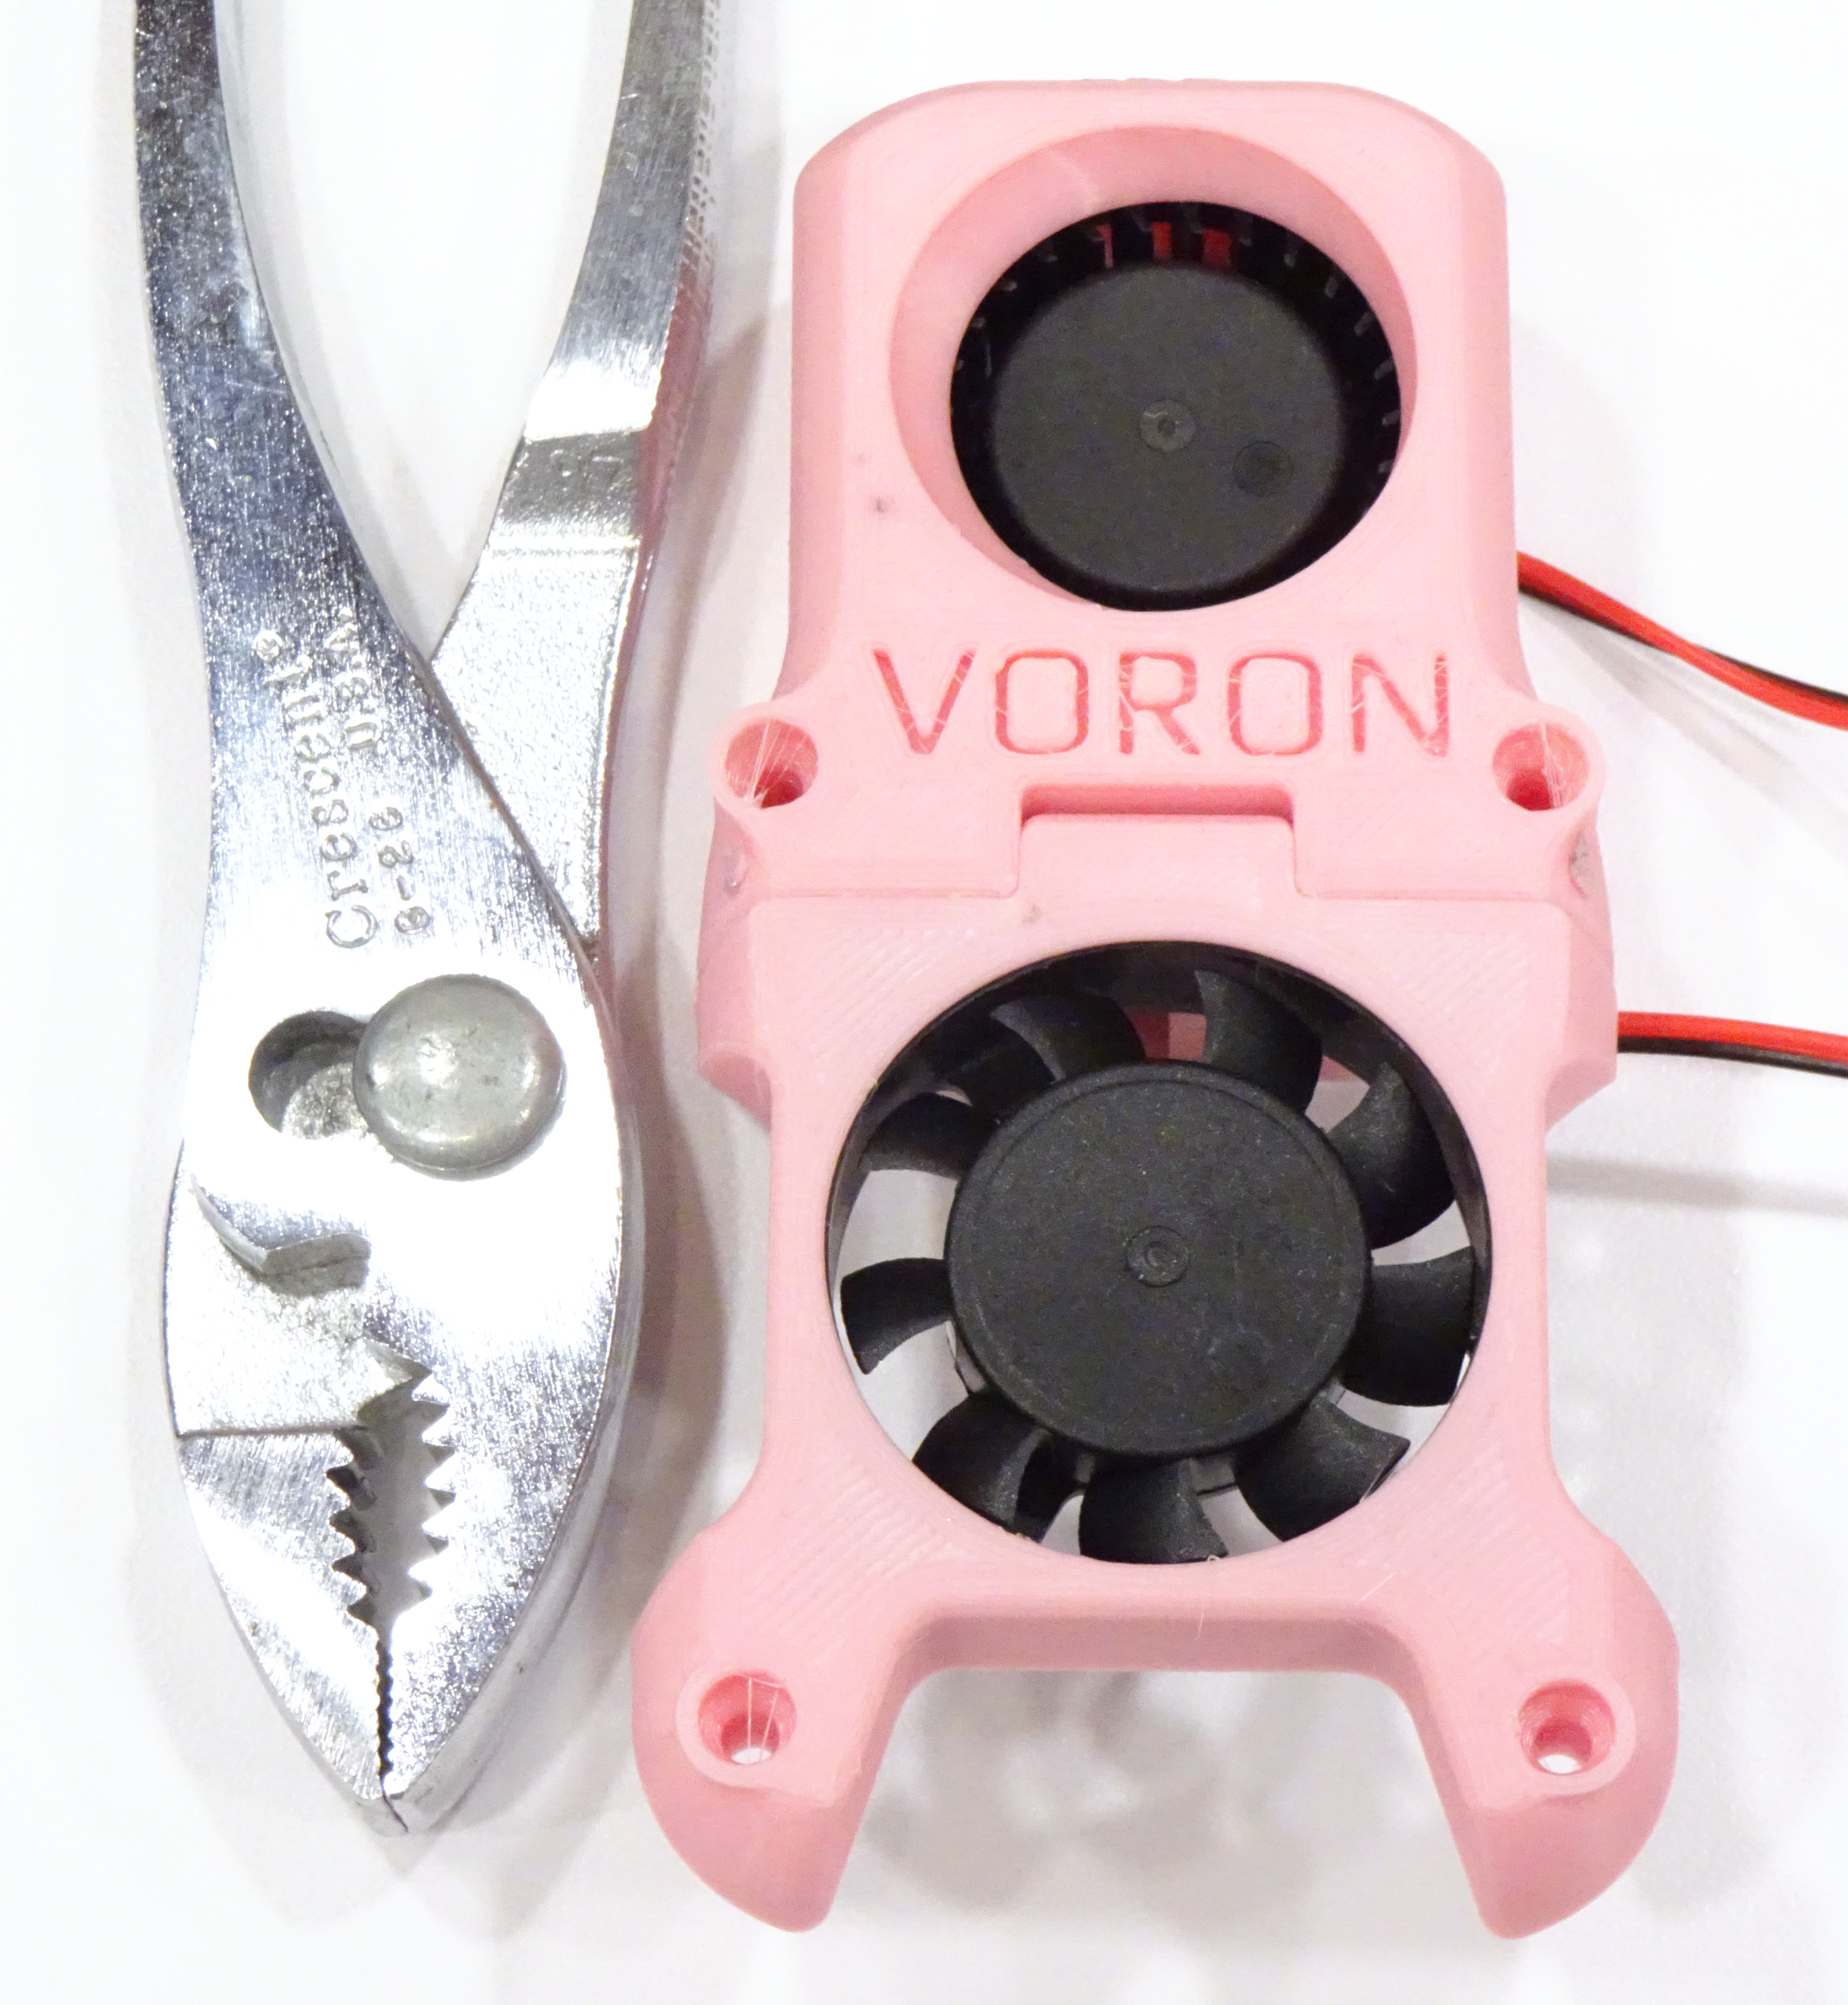
The instructions and diagrams are hard to read regarding the orientation of the (lower) 4010 fan; but sticker-side-in blows air onto the cold end rather than sucking air past it, and more importantly, looks better.
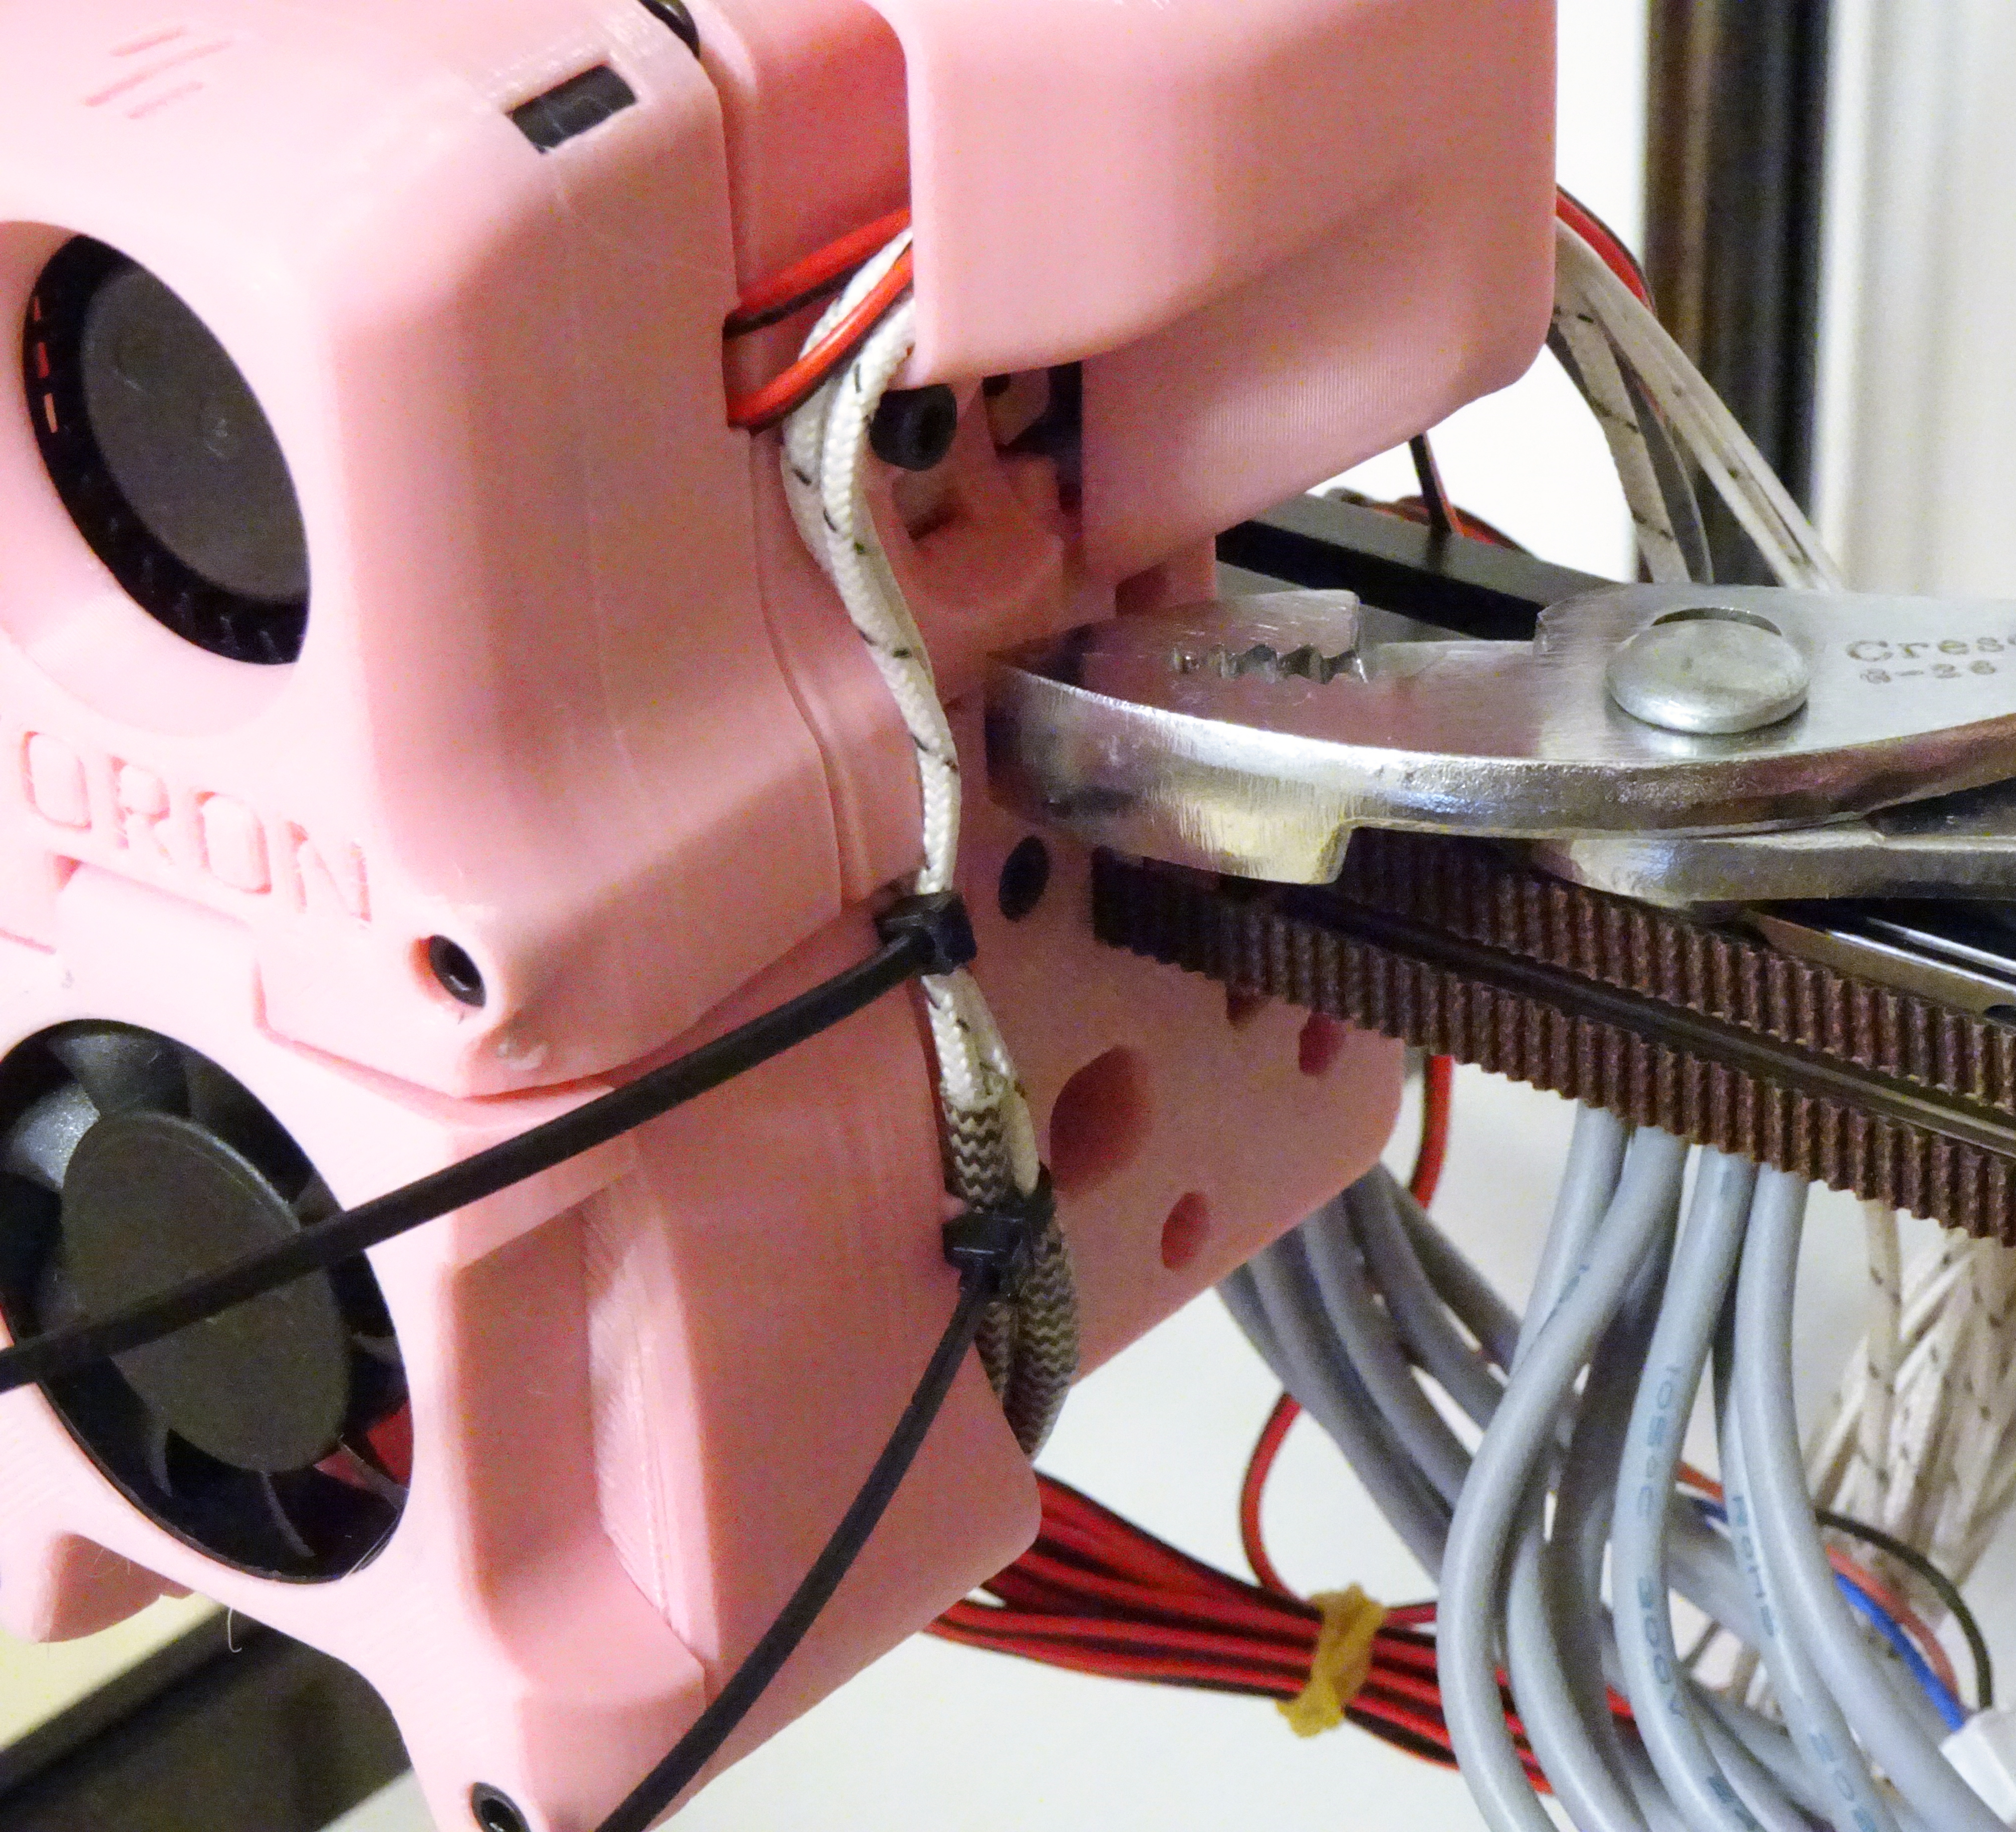
I presume the little notches in the toolhead housing are for cable ties (which I have since trimmed).