This post is for anyone thinking about a CupCake and wondering what the extrusion is really like. The rest of y’all, go away for a bit.
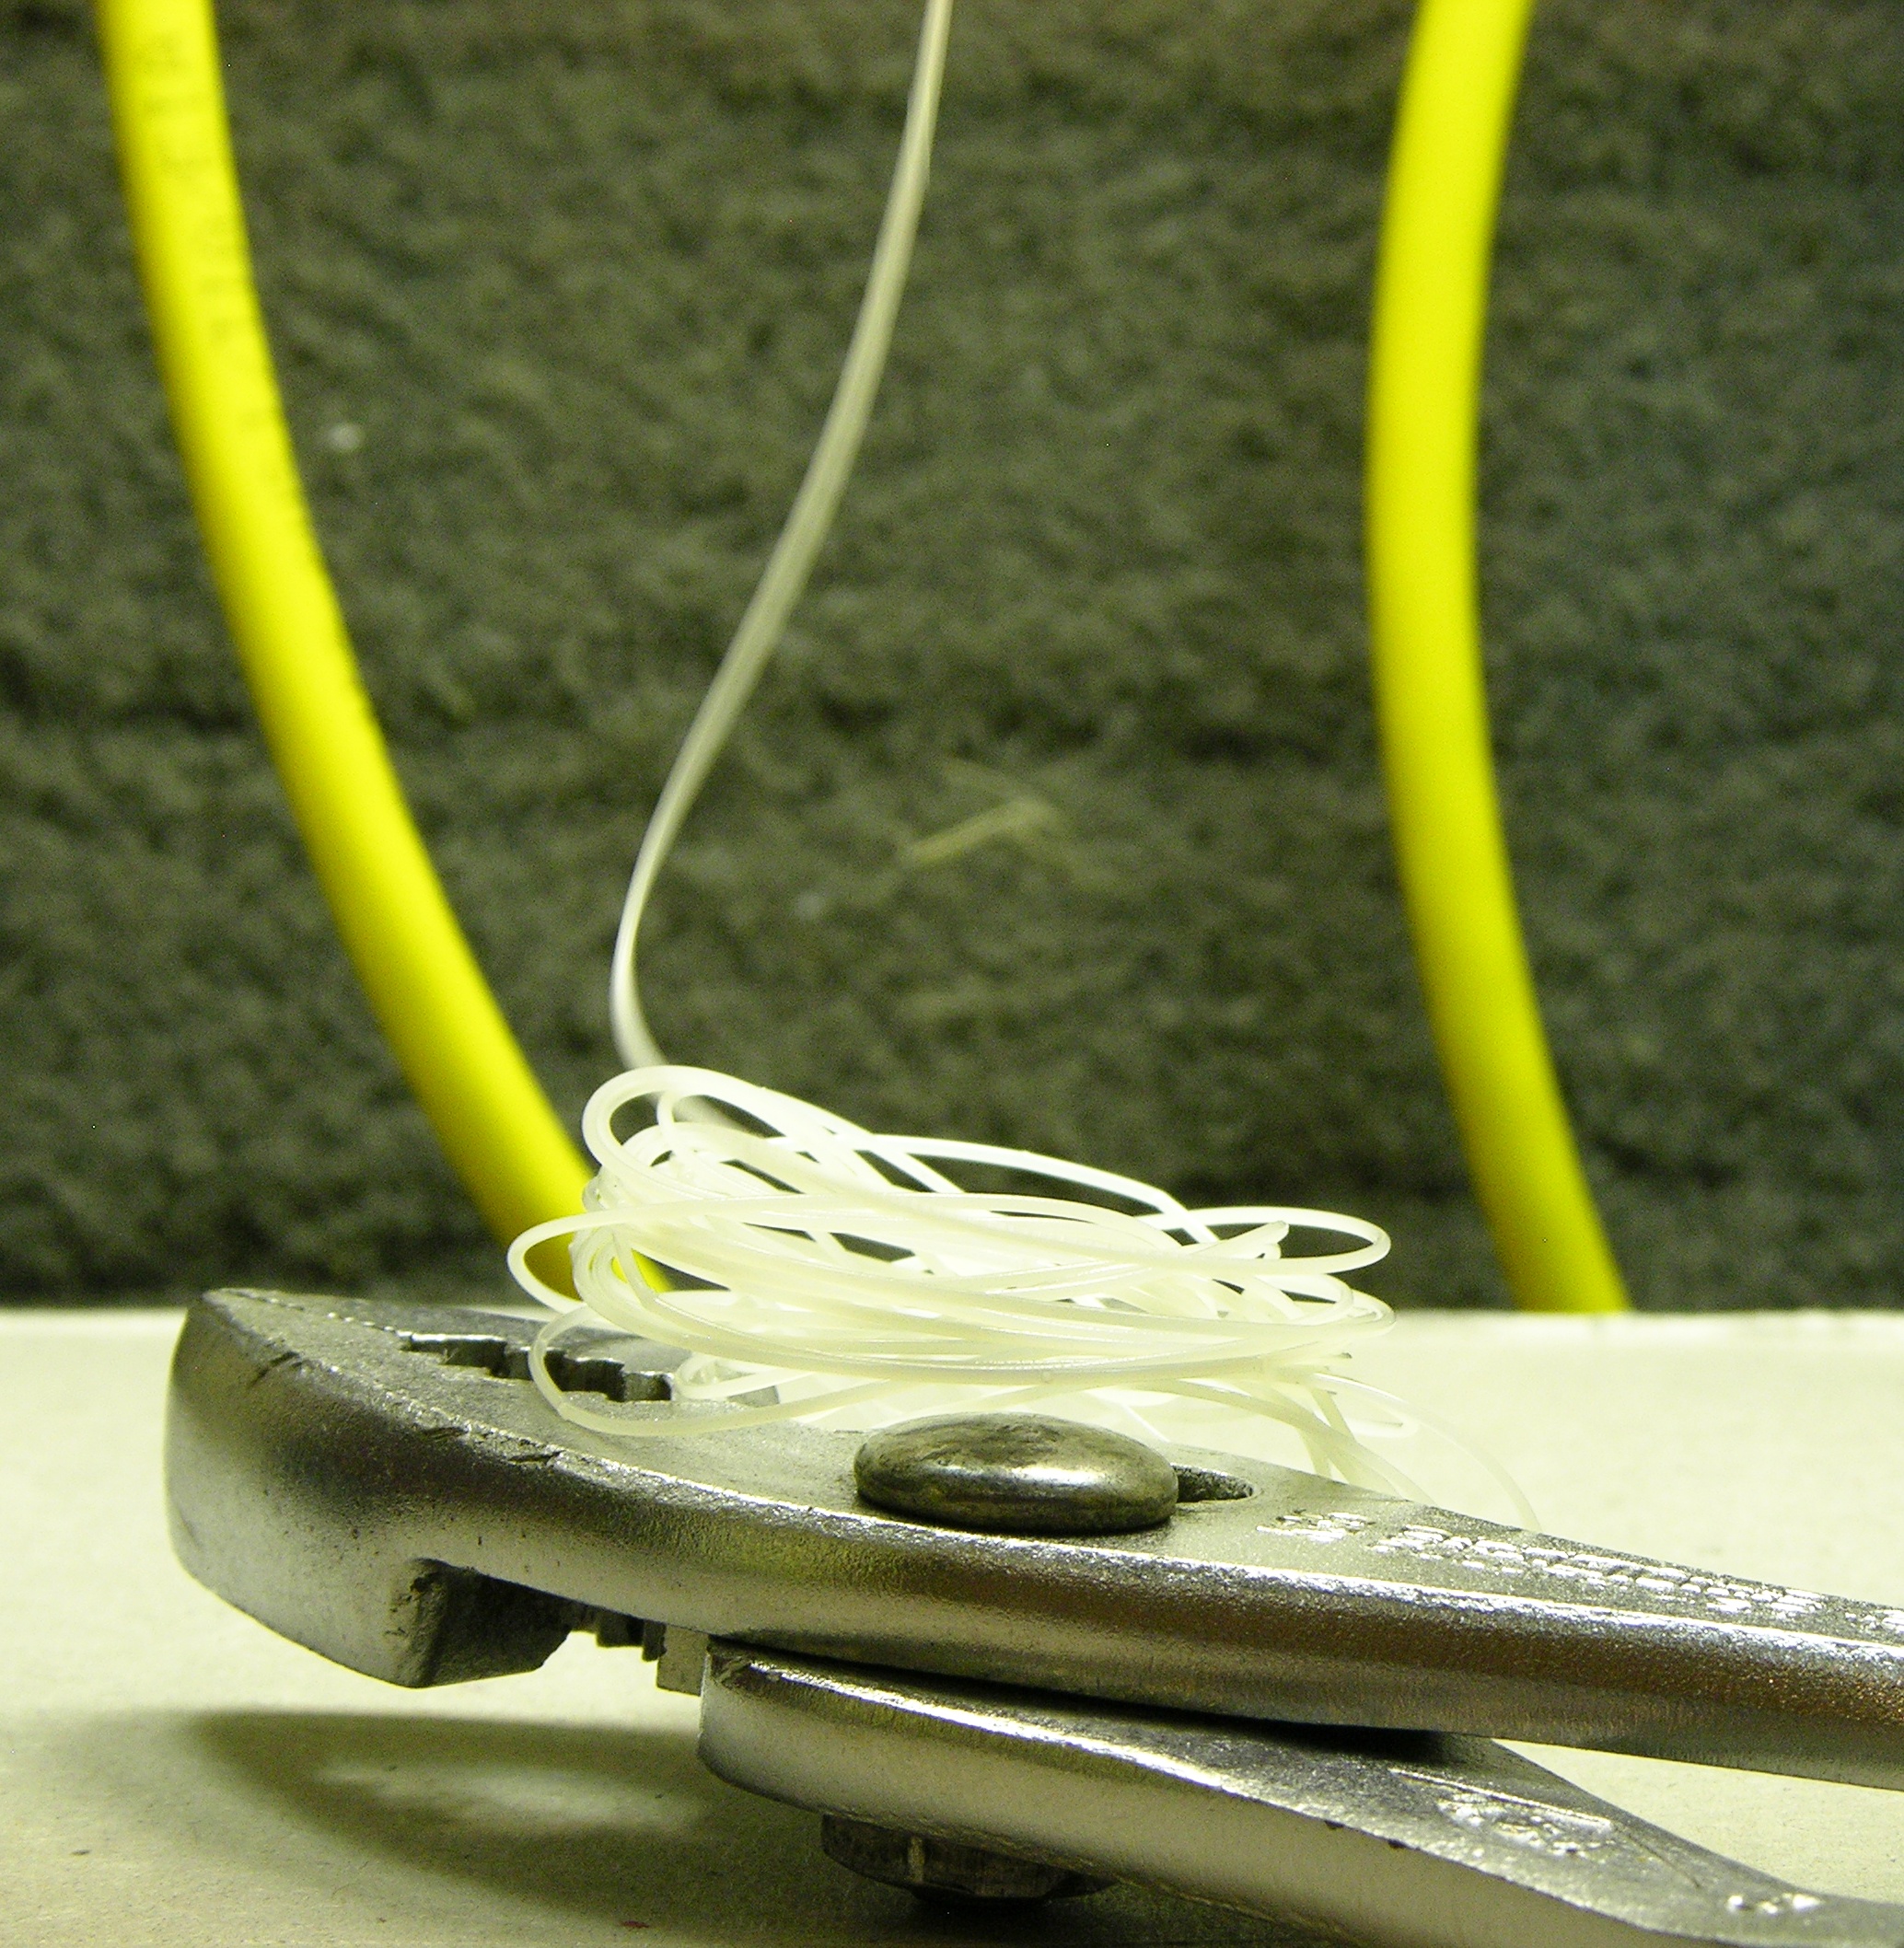
First extrusion, no CAM happening, just heating up the extruder and running filament.

Here’s the extruded pile from a different angle. It’s a fairly clean thread. It hardens a couple of inches from the nozzle. The piled up coils feel soft even though the extruded filament is stiff, because it’s smooth instead of scratchy.
Trying to Print a Cup
Small, simple cup from Thingiverse. Should be easy to print, right? Whuh, it comes out lying down.
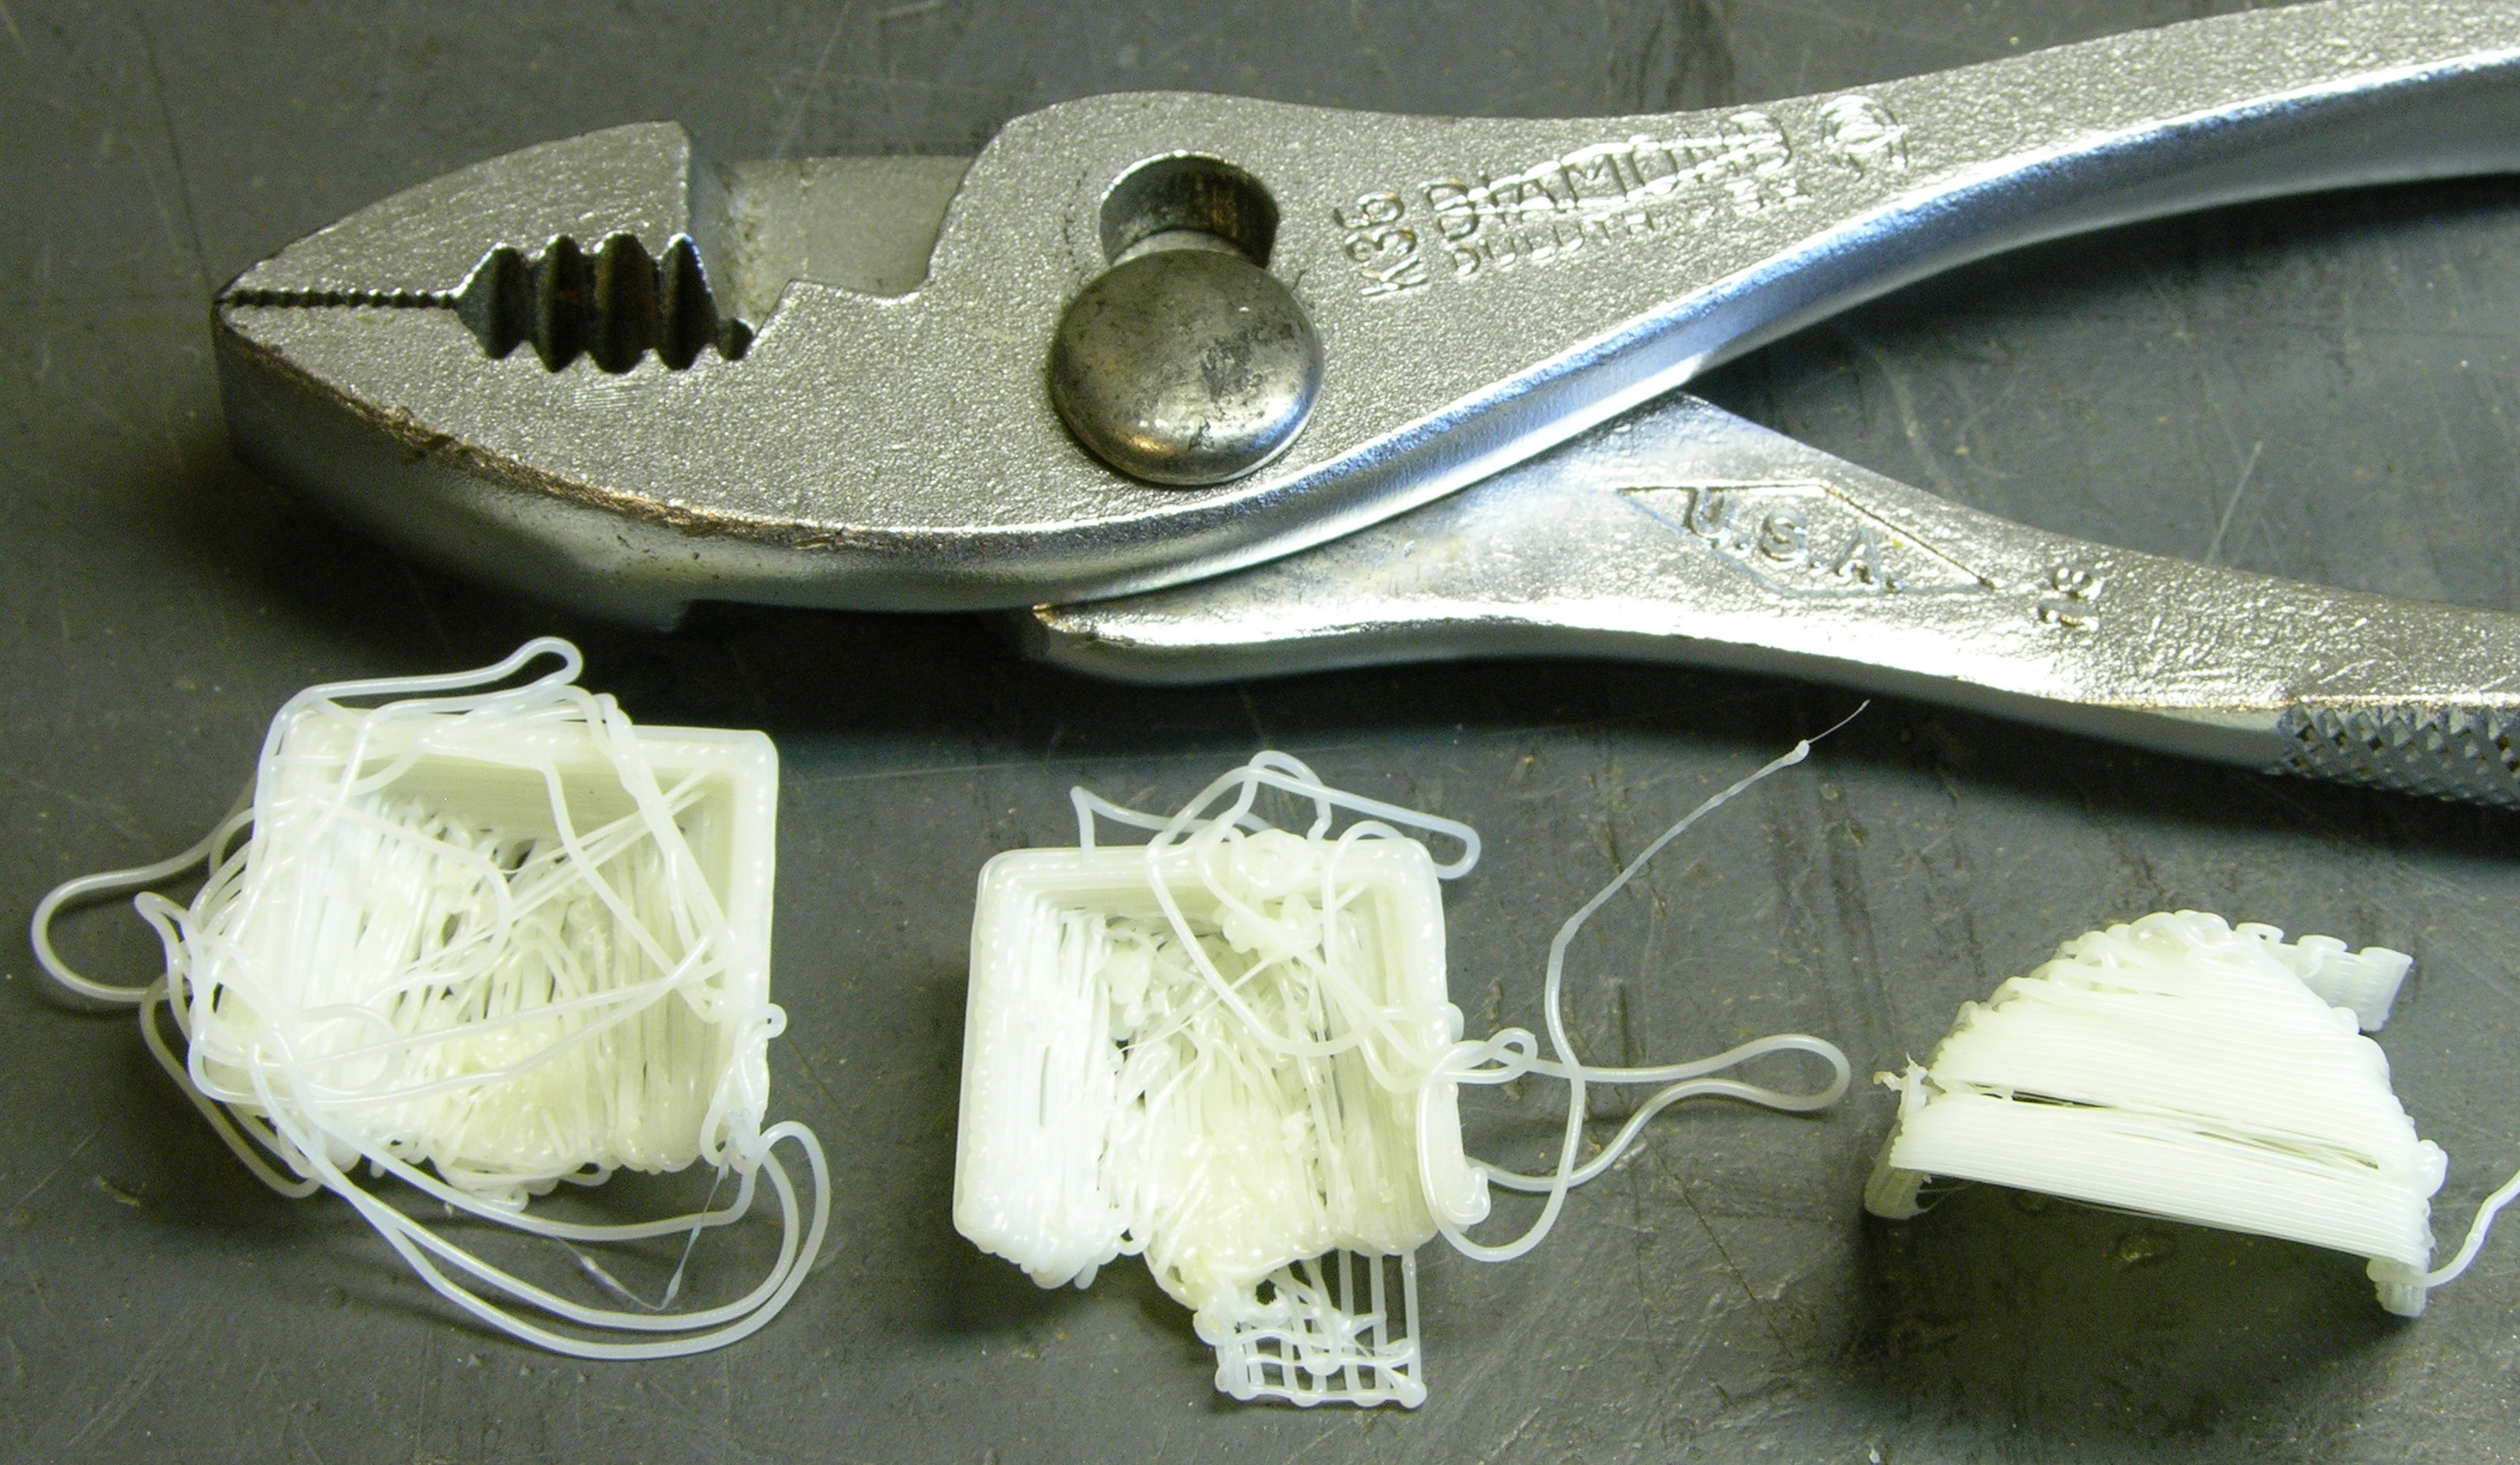
Not so whippy. Of course laying down is going to be a tough orientation since there’s no support material to hold up overhangs; but these are really wretched. They’re the first things I ever printed, so I didn’t expect much — just wanted to see what would happen and what would need to be tuned.
Among other things, the “raft” underneath (two layers of opposing zig-zag that help the build stick to the table) wasn’t printing or it wasn’t sticking to the build table. So partway through printing the cup, the nozzle would stick to what it had just printed and drag the whole thing around.
I had misunderstood and thought that the build needed to be initiated with the Z axis at about 1.5 extrusion diameters above the table, but it should really be about .5 diameters. The way I was doing it, it was just dropping a filament onto the table, not sticking it to the table.
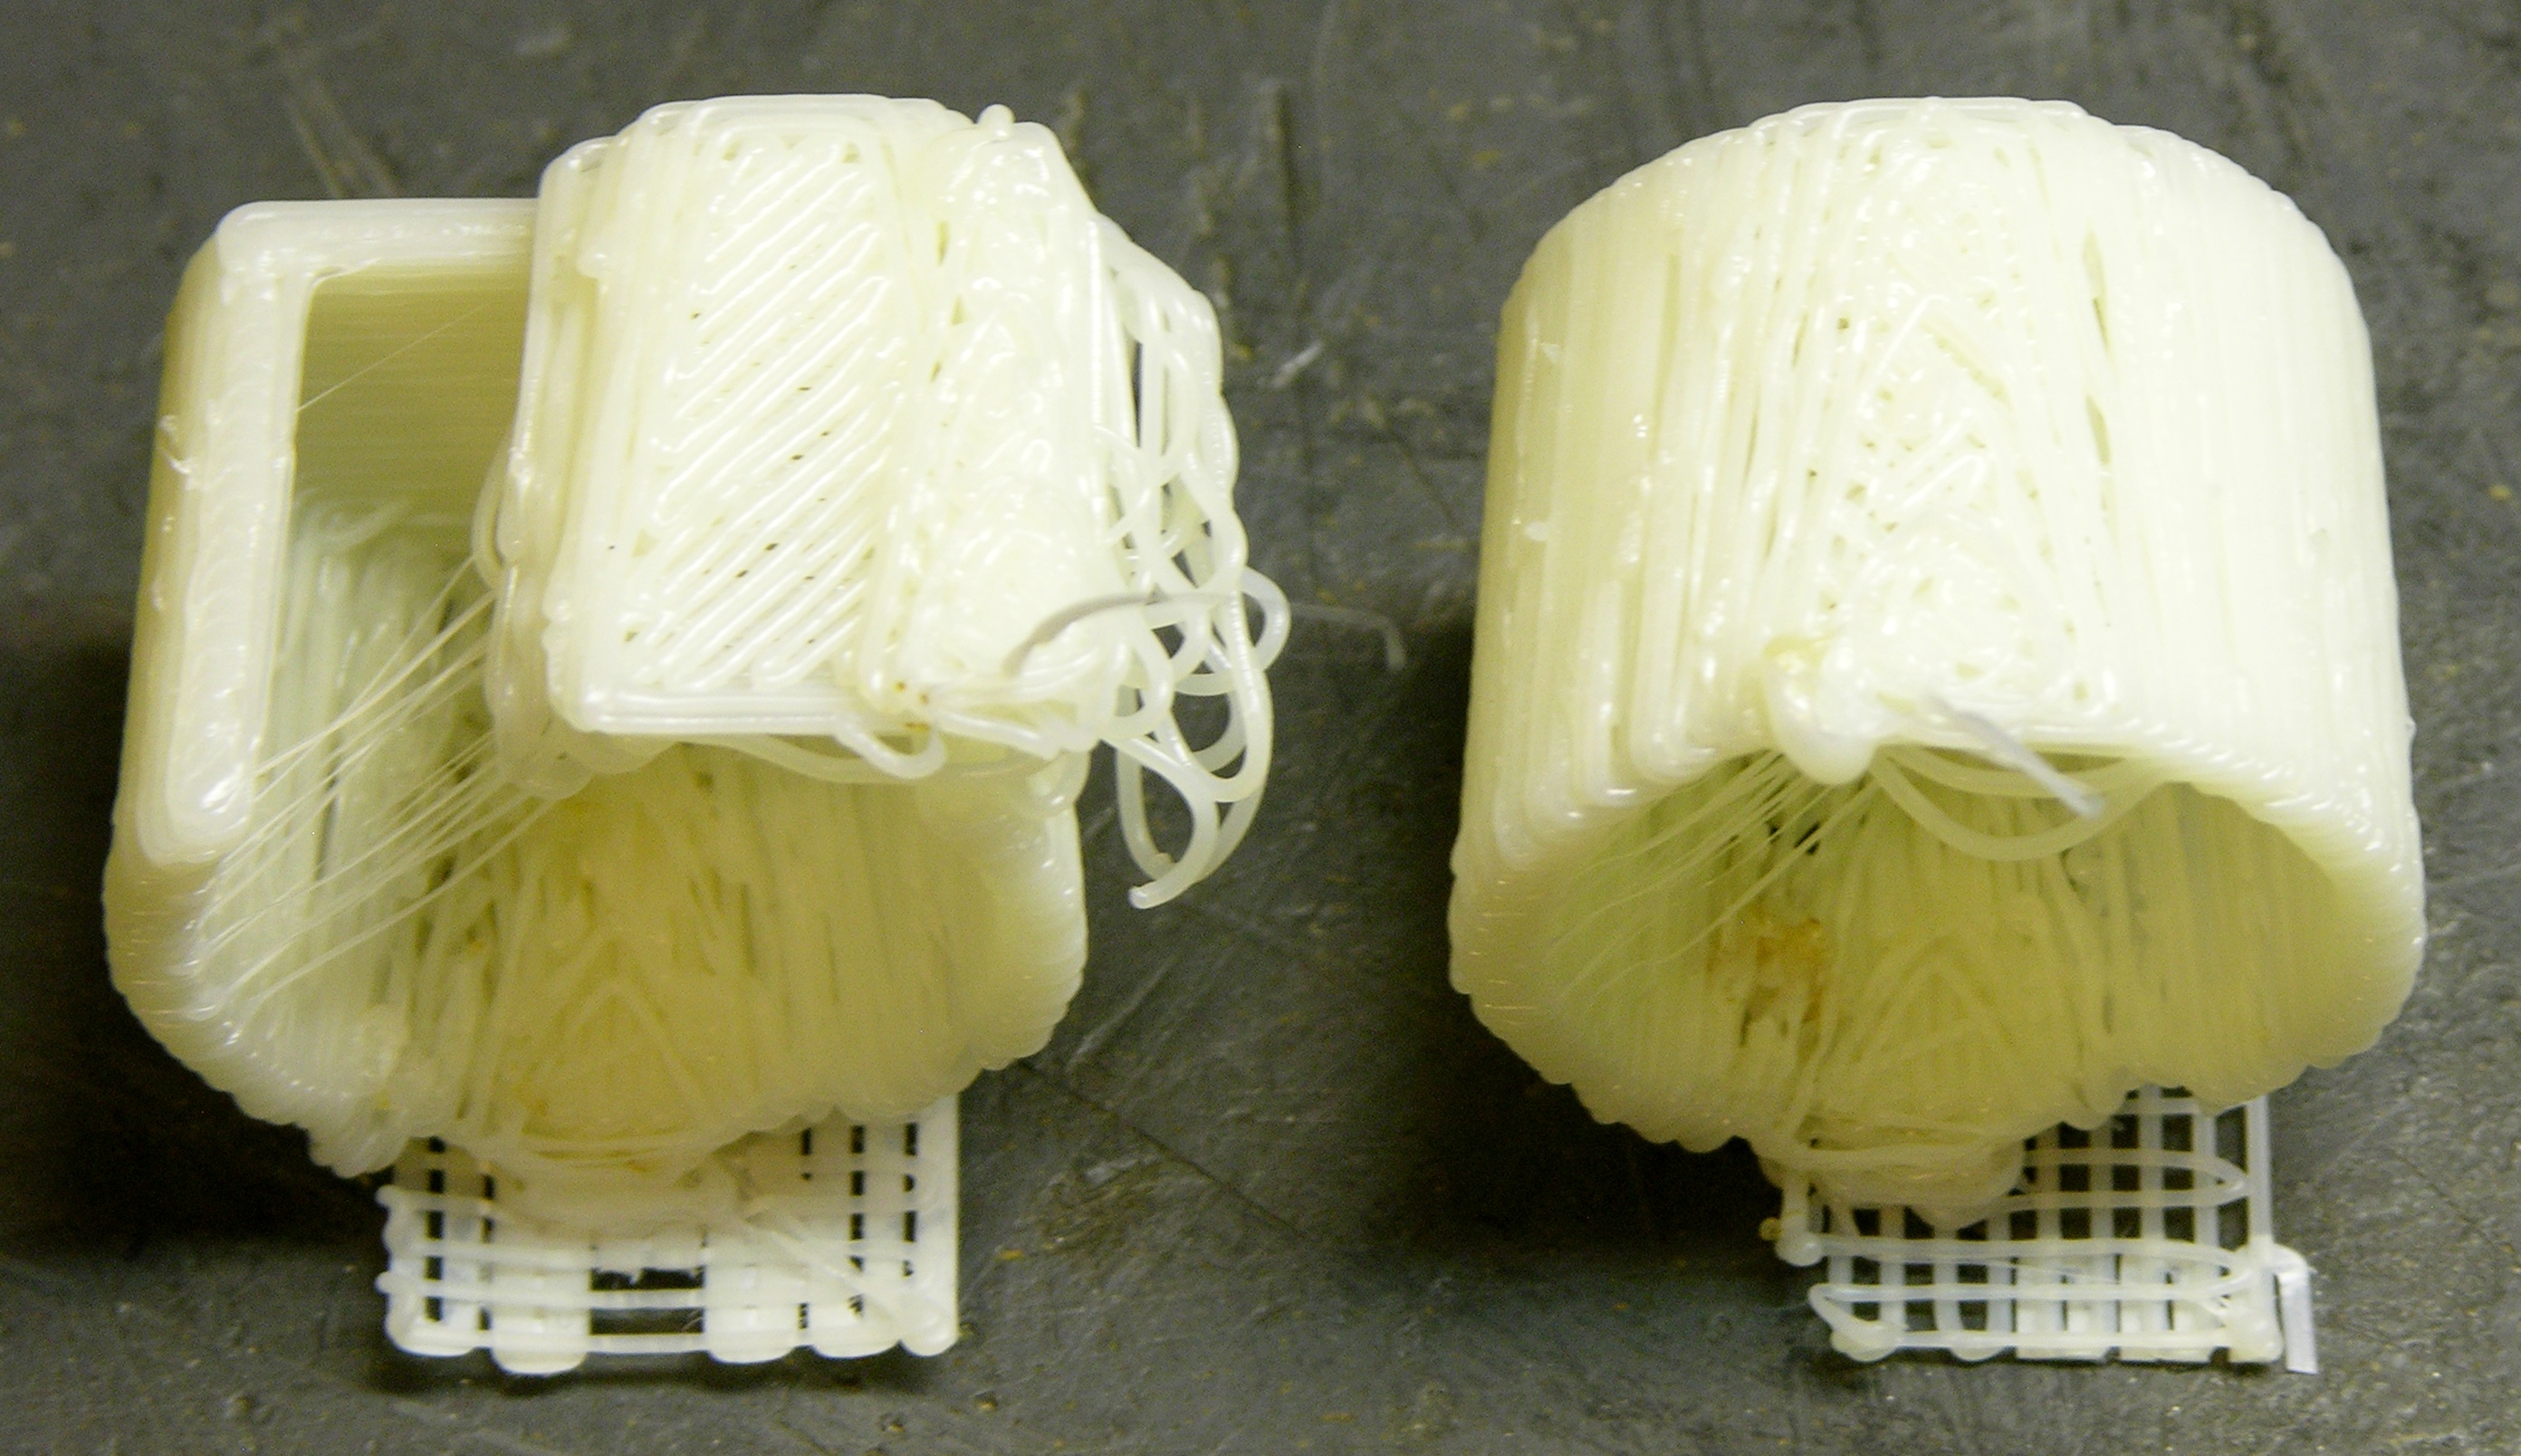
I started cup #4 with the nozzle low enough to the table for the first layer to stick properly. Then partway through the build the X axis skipped, as you can see on the left. I suspected I hadn’t sanded the X slide rods well enough, so I removed them, resanded, coated with silicone spray, reinstalled, and tried again.
Very much better! Cup #5 (on the right here and above) was about as good as I hope to get for a laying-down cup. Some filament droop where it was trying to bridge the horizontal gap, but overall worlds better than #1-4.
Reversed Filament
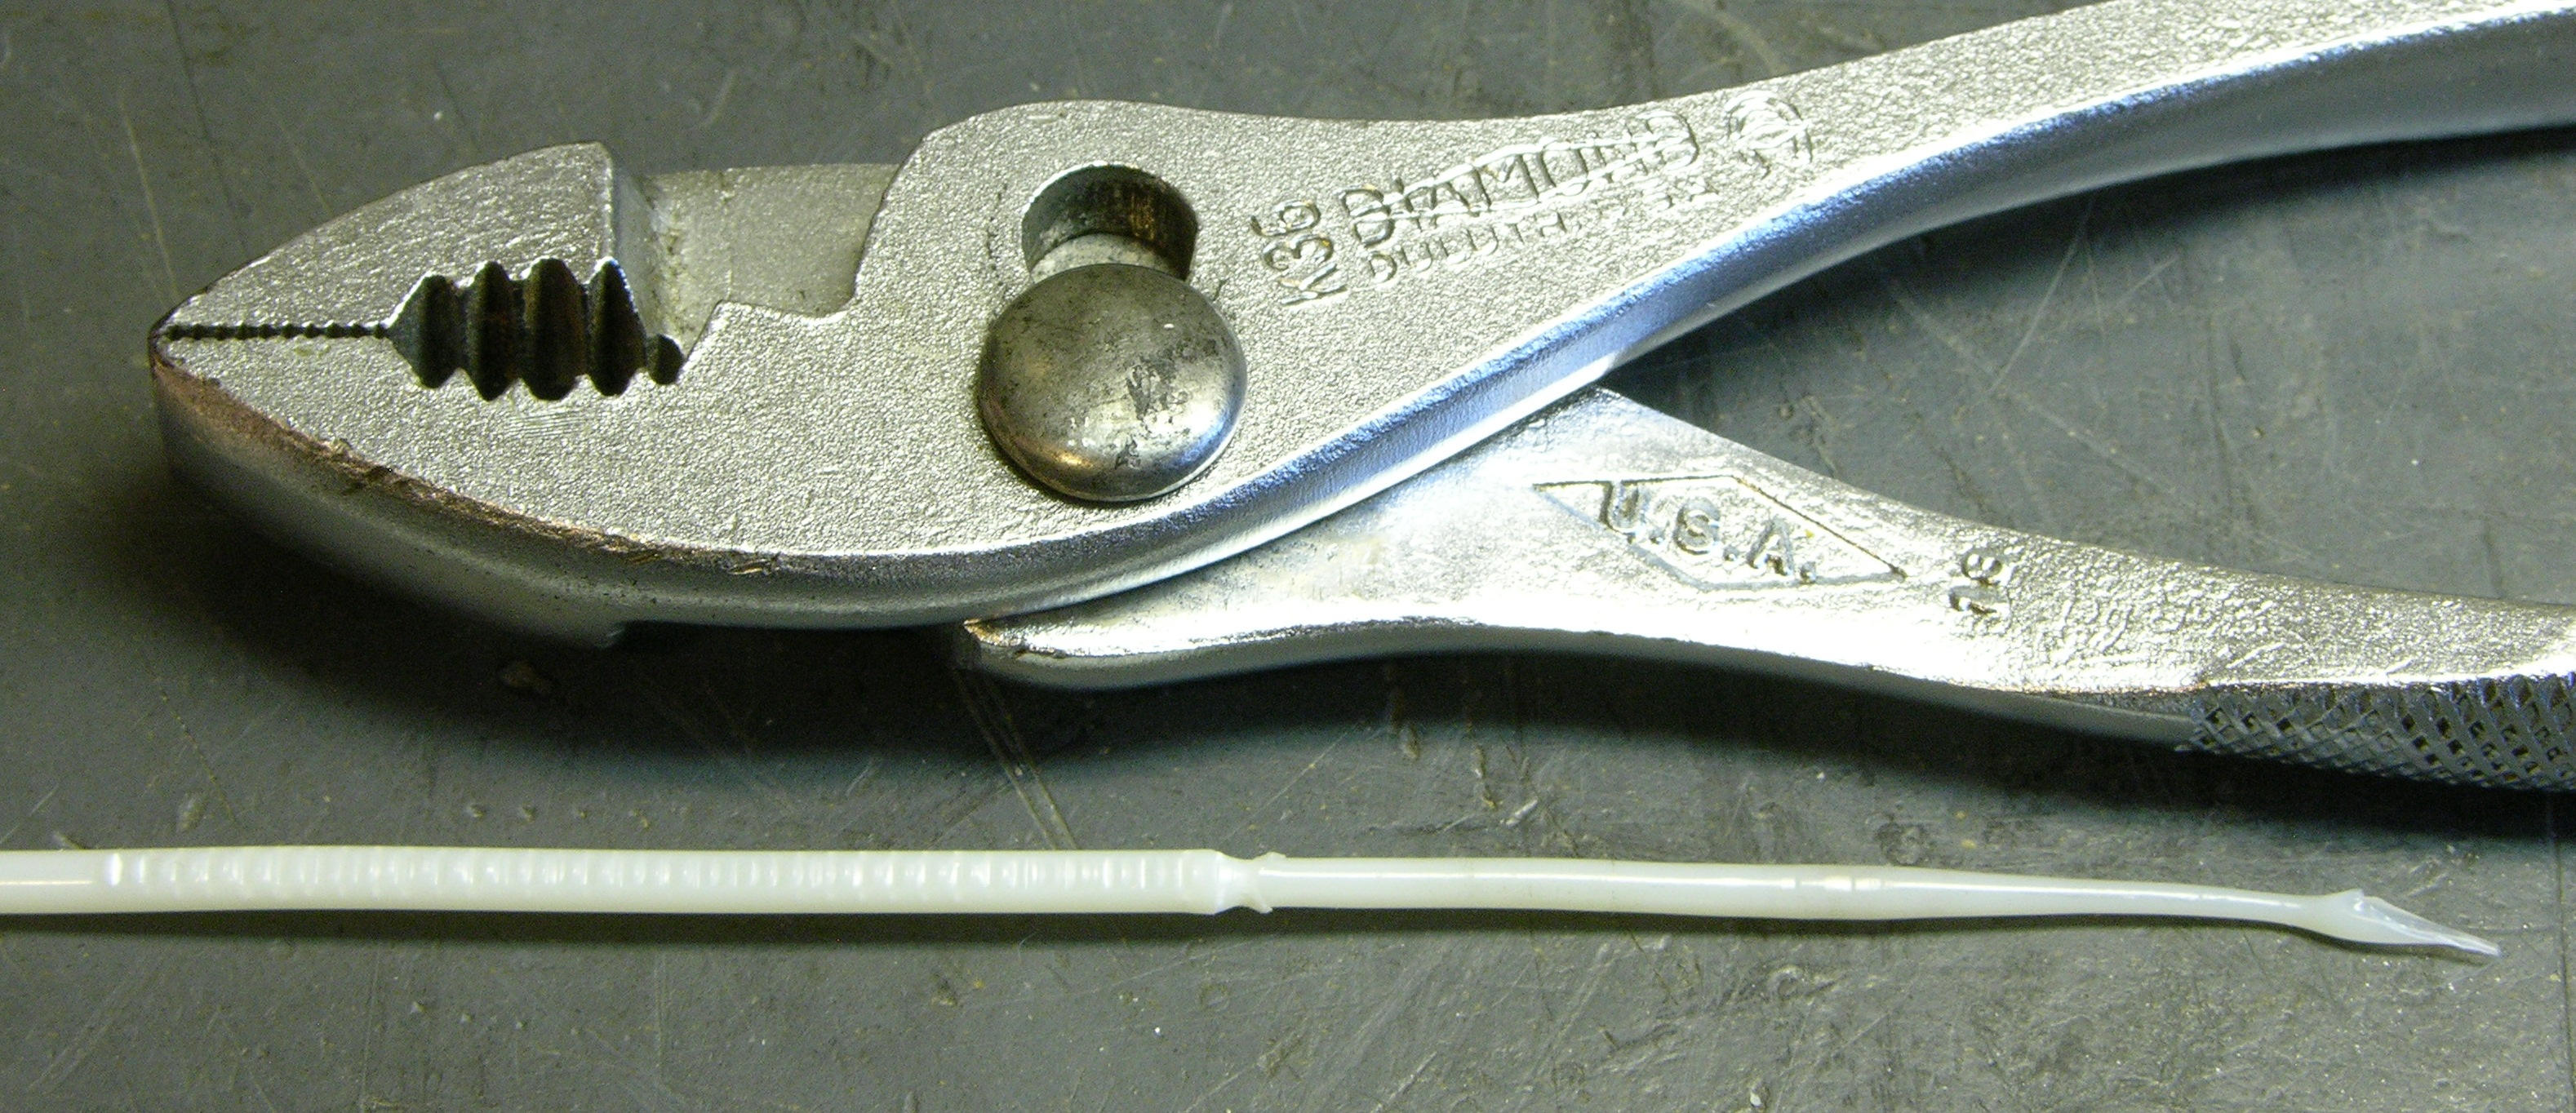
At some point I backed the ABS filament out of the extruder, probably to untangle the coils on my desk. I thought what came out was kind of interesting — reminds me a bit of a plastic screwdriver for adjusting variable inductors.
Printing Pulleys
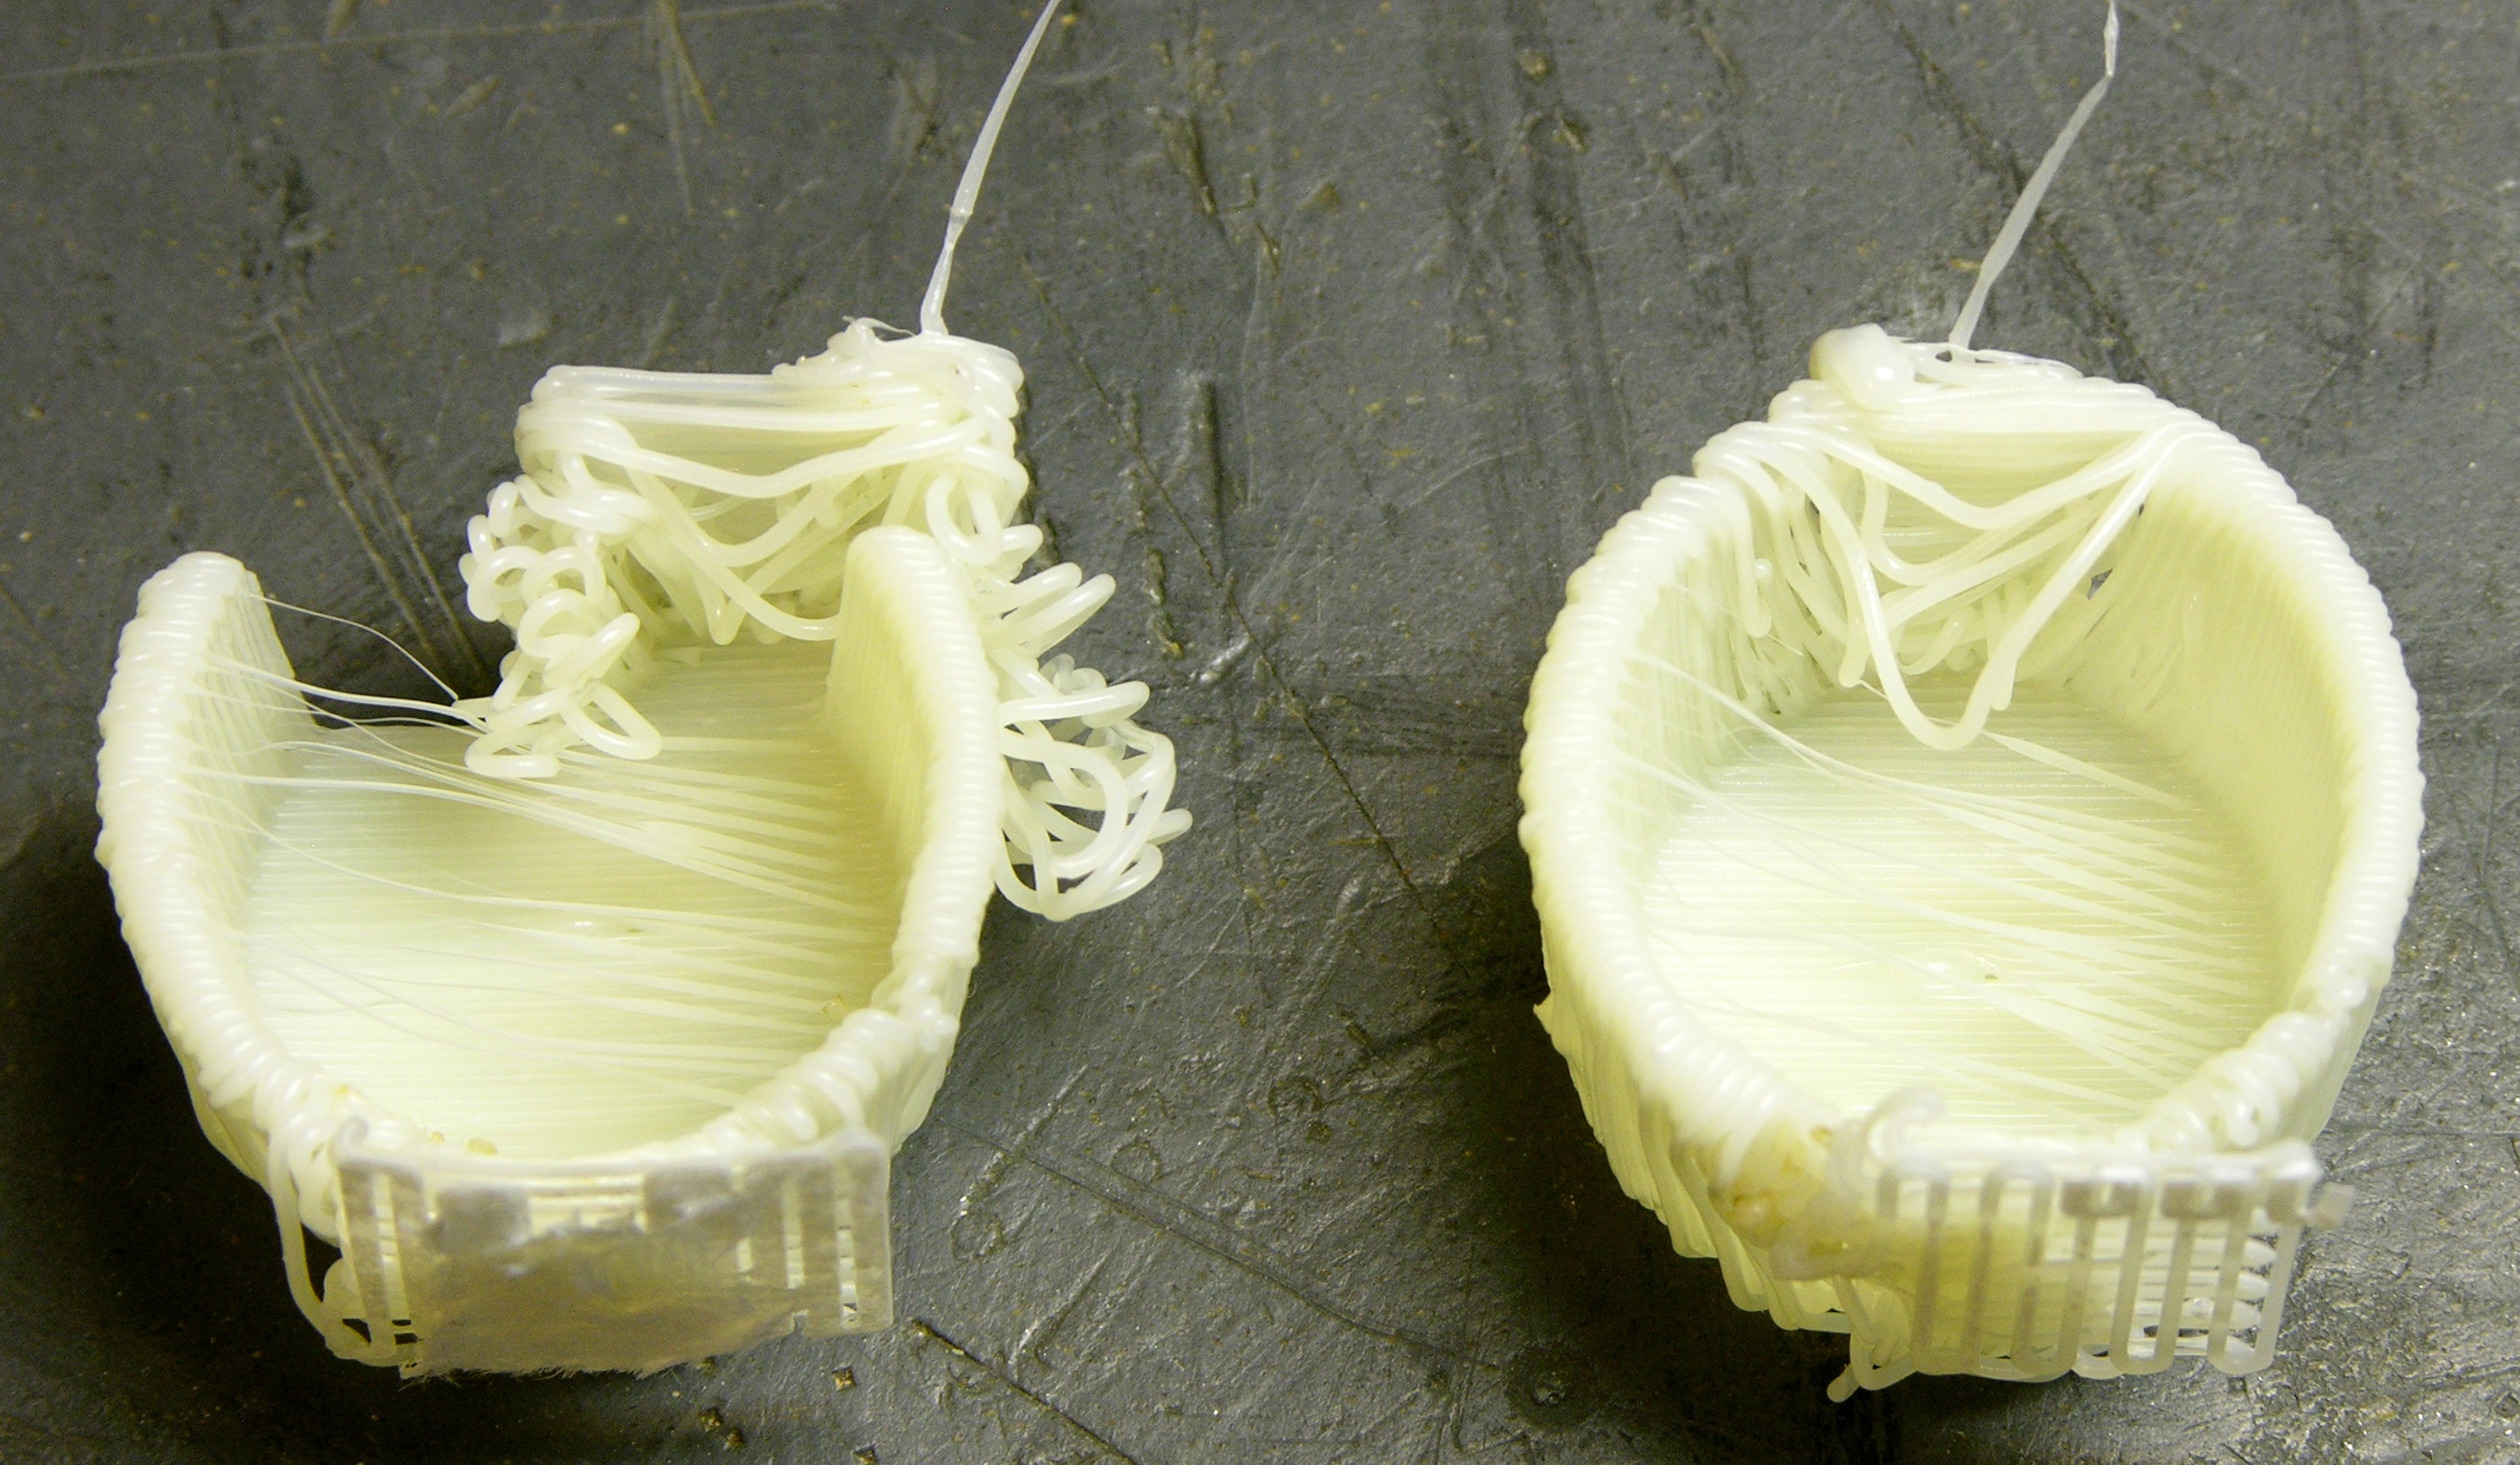
Since the cup had worn out its novelty, I turned next to the print your own idler pulleys. I think they’ll look better on the CupCake than the wooden ones, and I was pretty sure they’d print right-side-up. ![]()
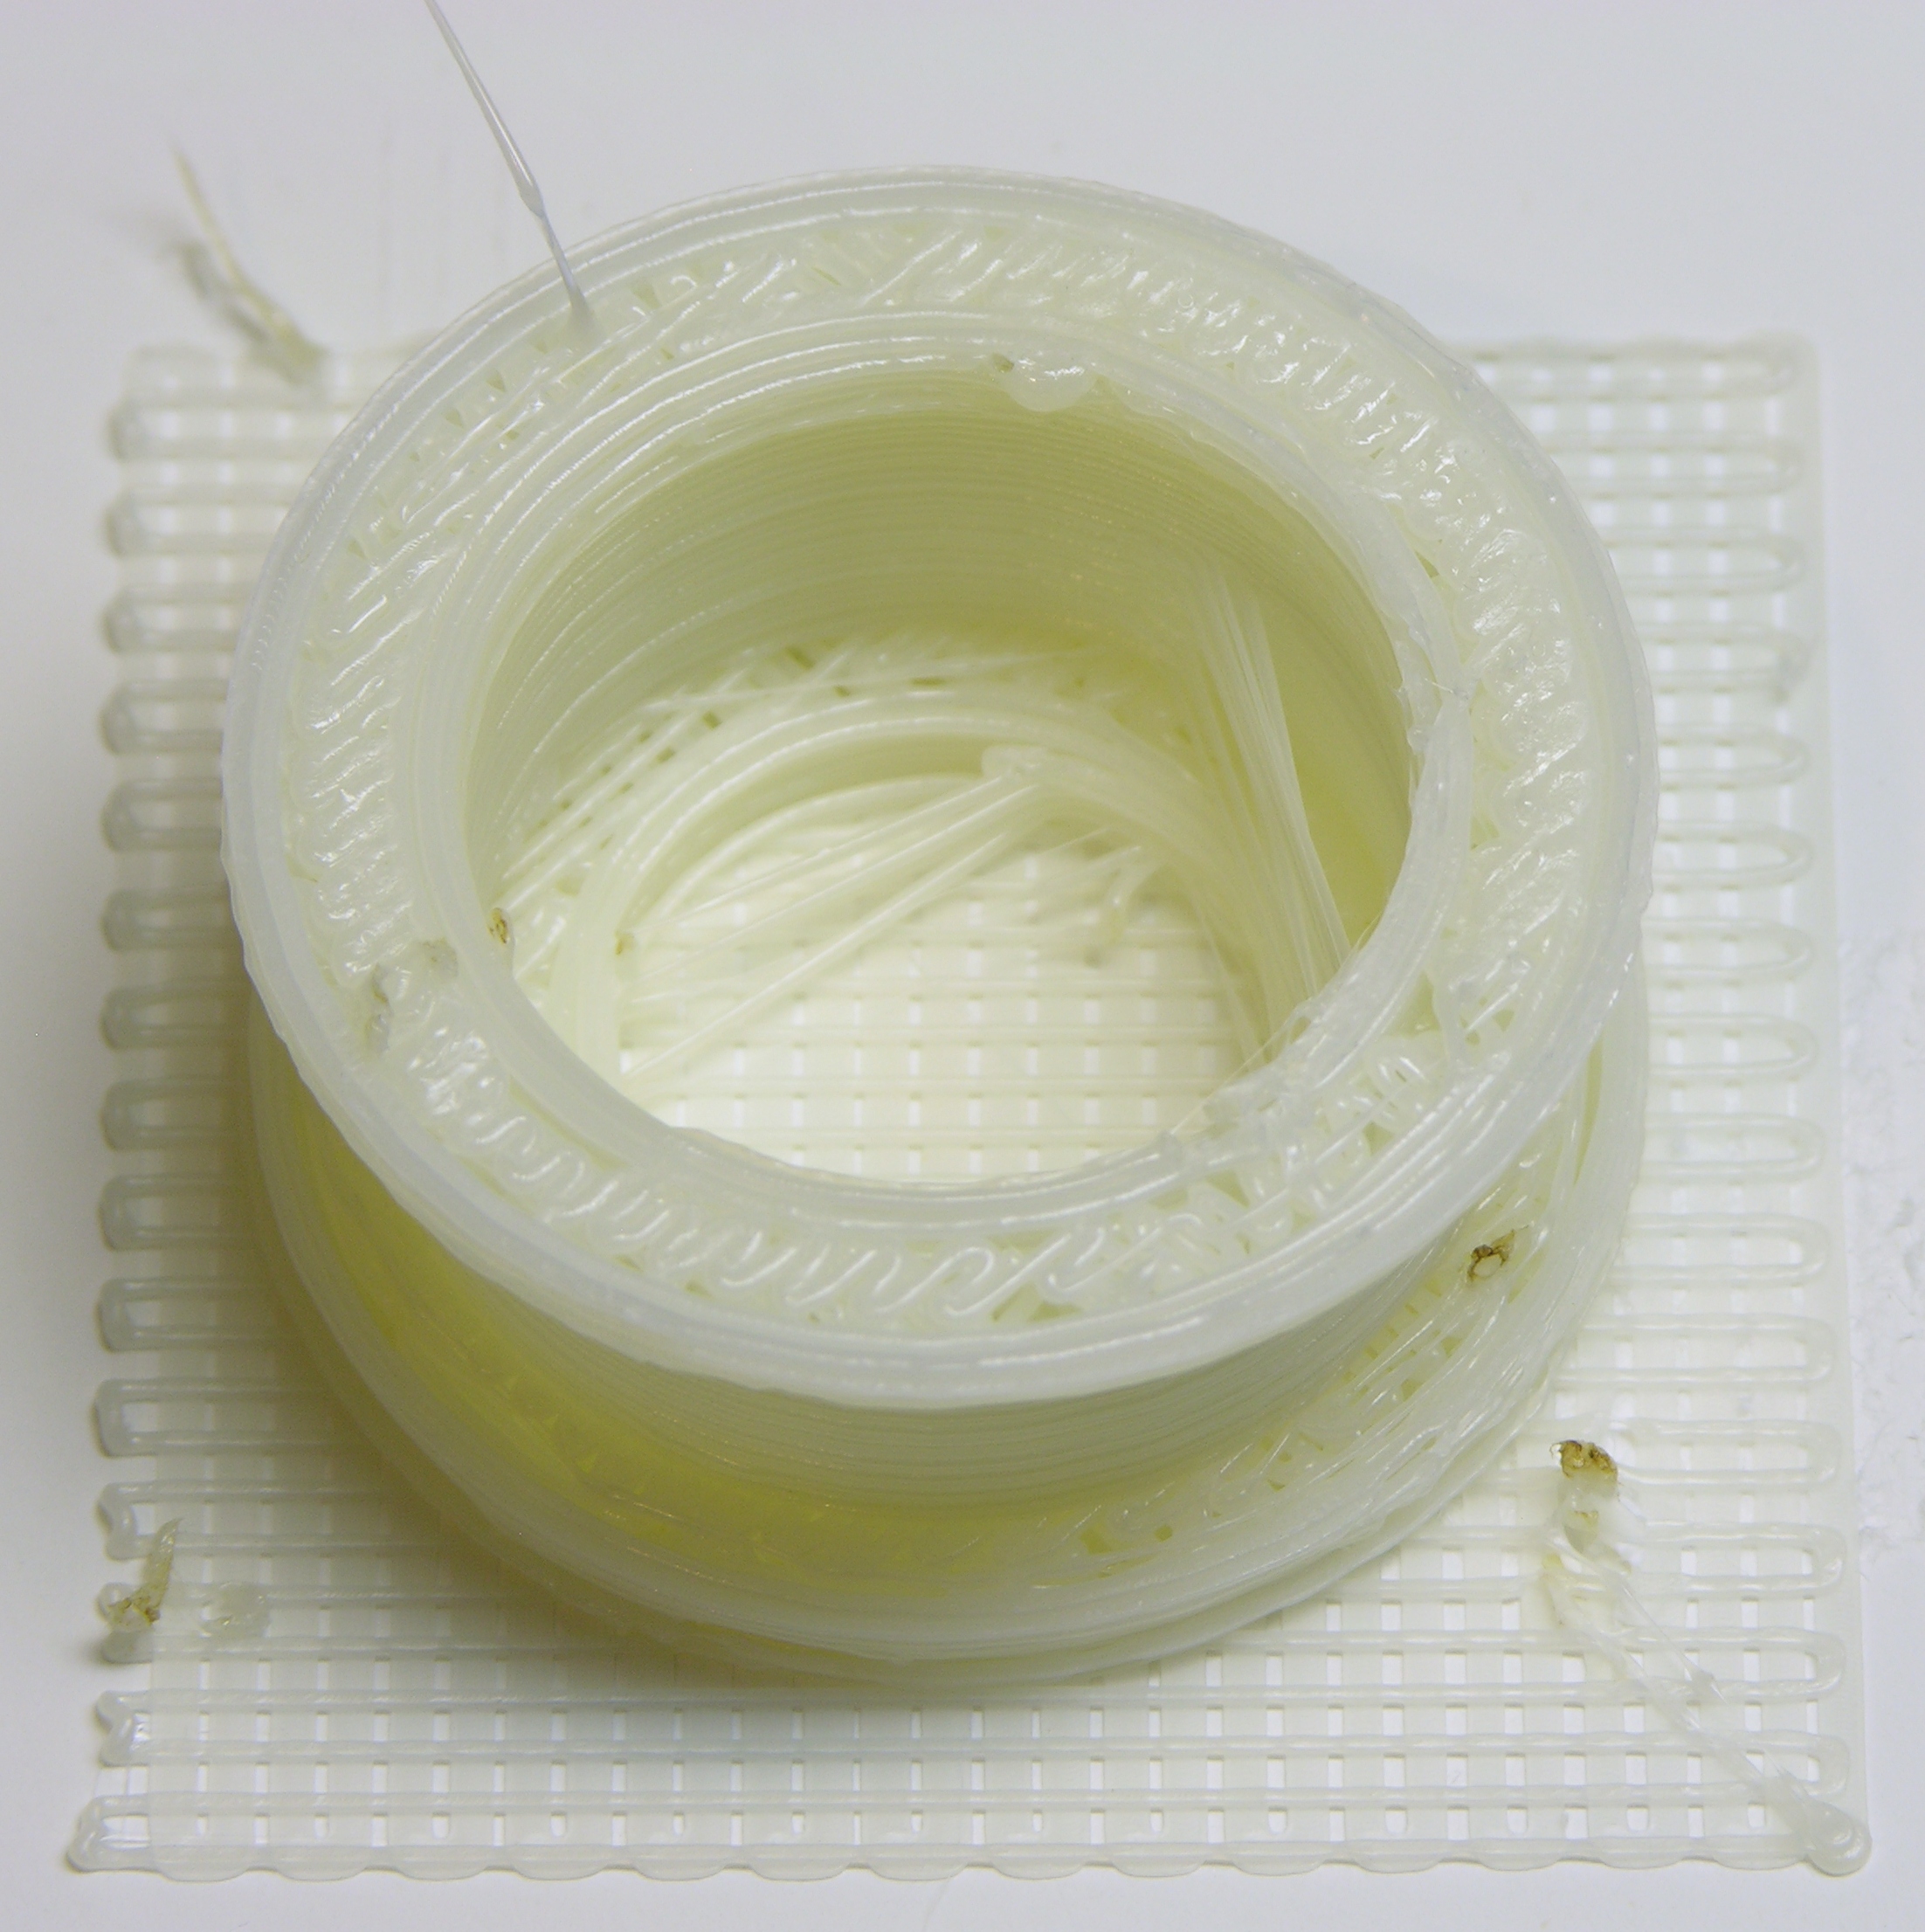
Here’s my first attempt. The infill looks a little thin, which was a pervasive problem with the way my machine was (un)calibrated at the time. (I’m posting this a week later, so there are more updates in the queue.) The threads going across the inside are distracting (although easy to clean), and the pulley’s filaments on the bottom edge’s inner diameter aren’t even stuck to each other.
By now I had figured out that while printing each slice, the Z-axis stepper is disabled and freewheeling rather than electrically braked. So if the first layer of the raft isn’t sticking well enough to the build platform, I manually lower the extruder until it squooshes the filament nicely onto the table so it sticks well. Progress!
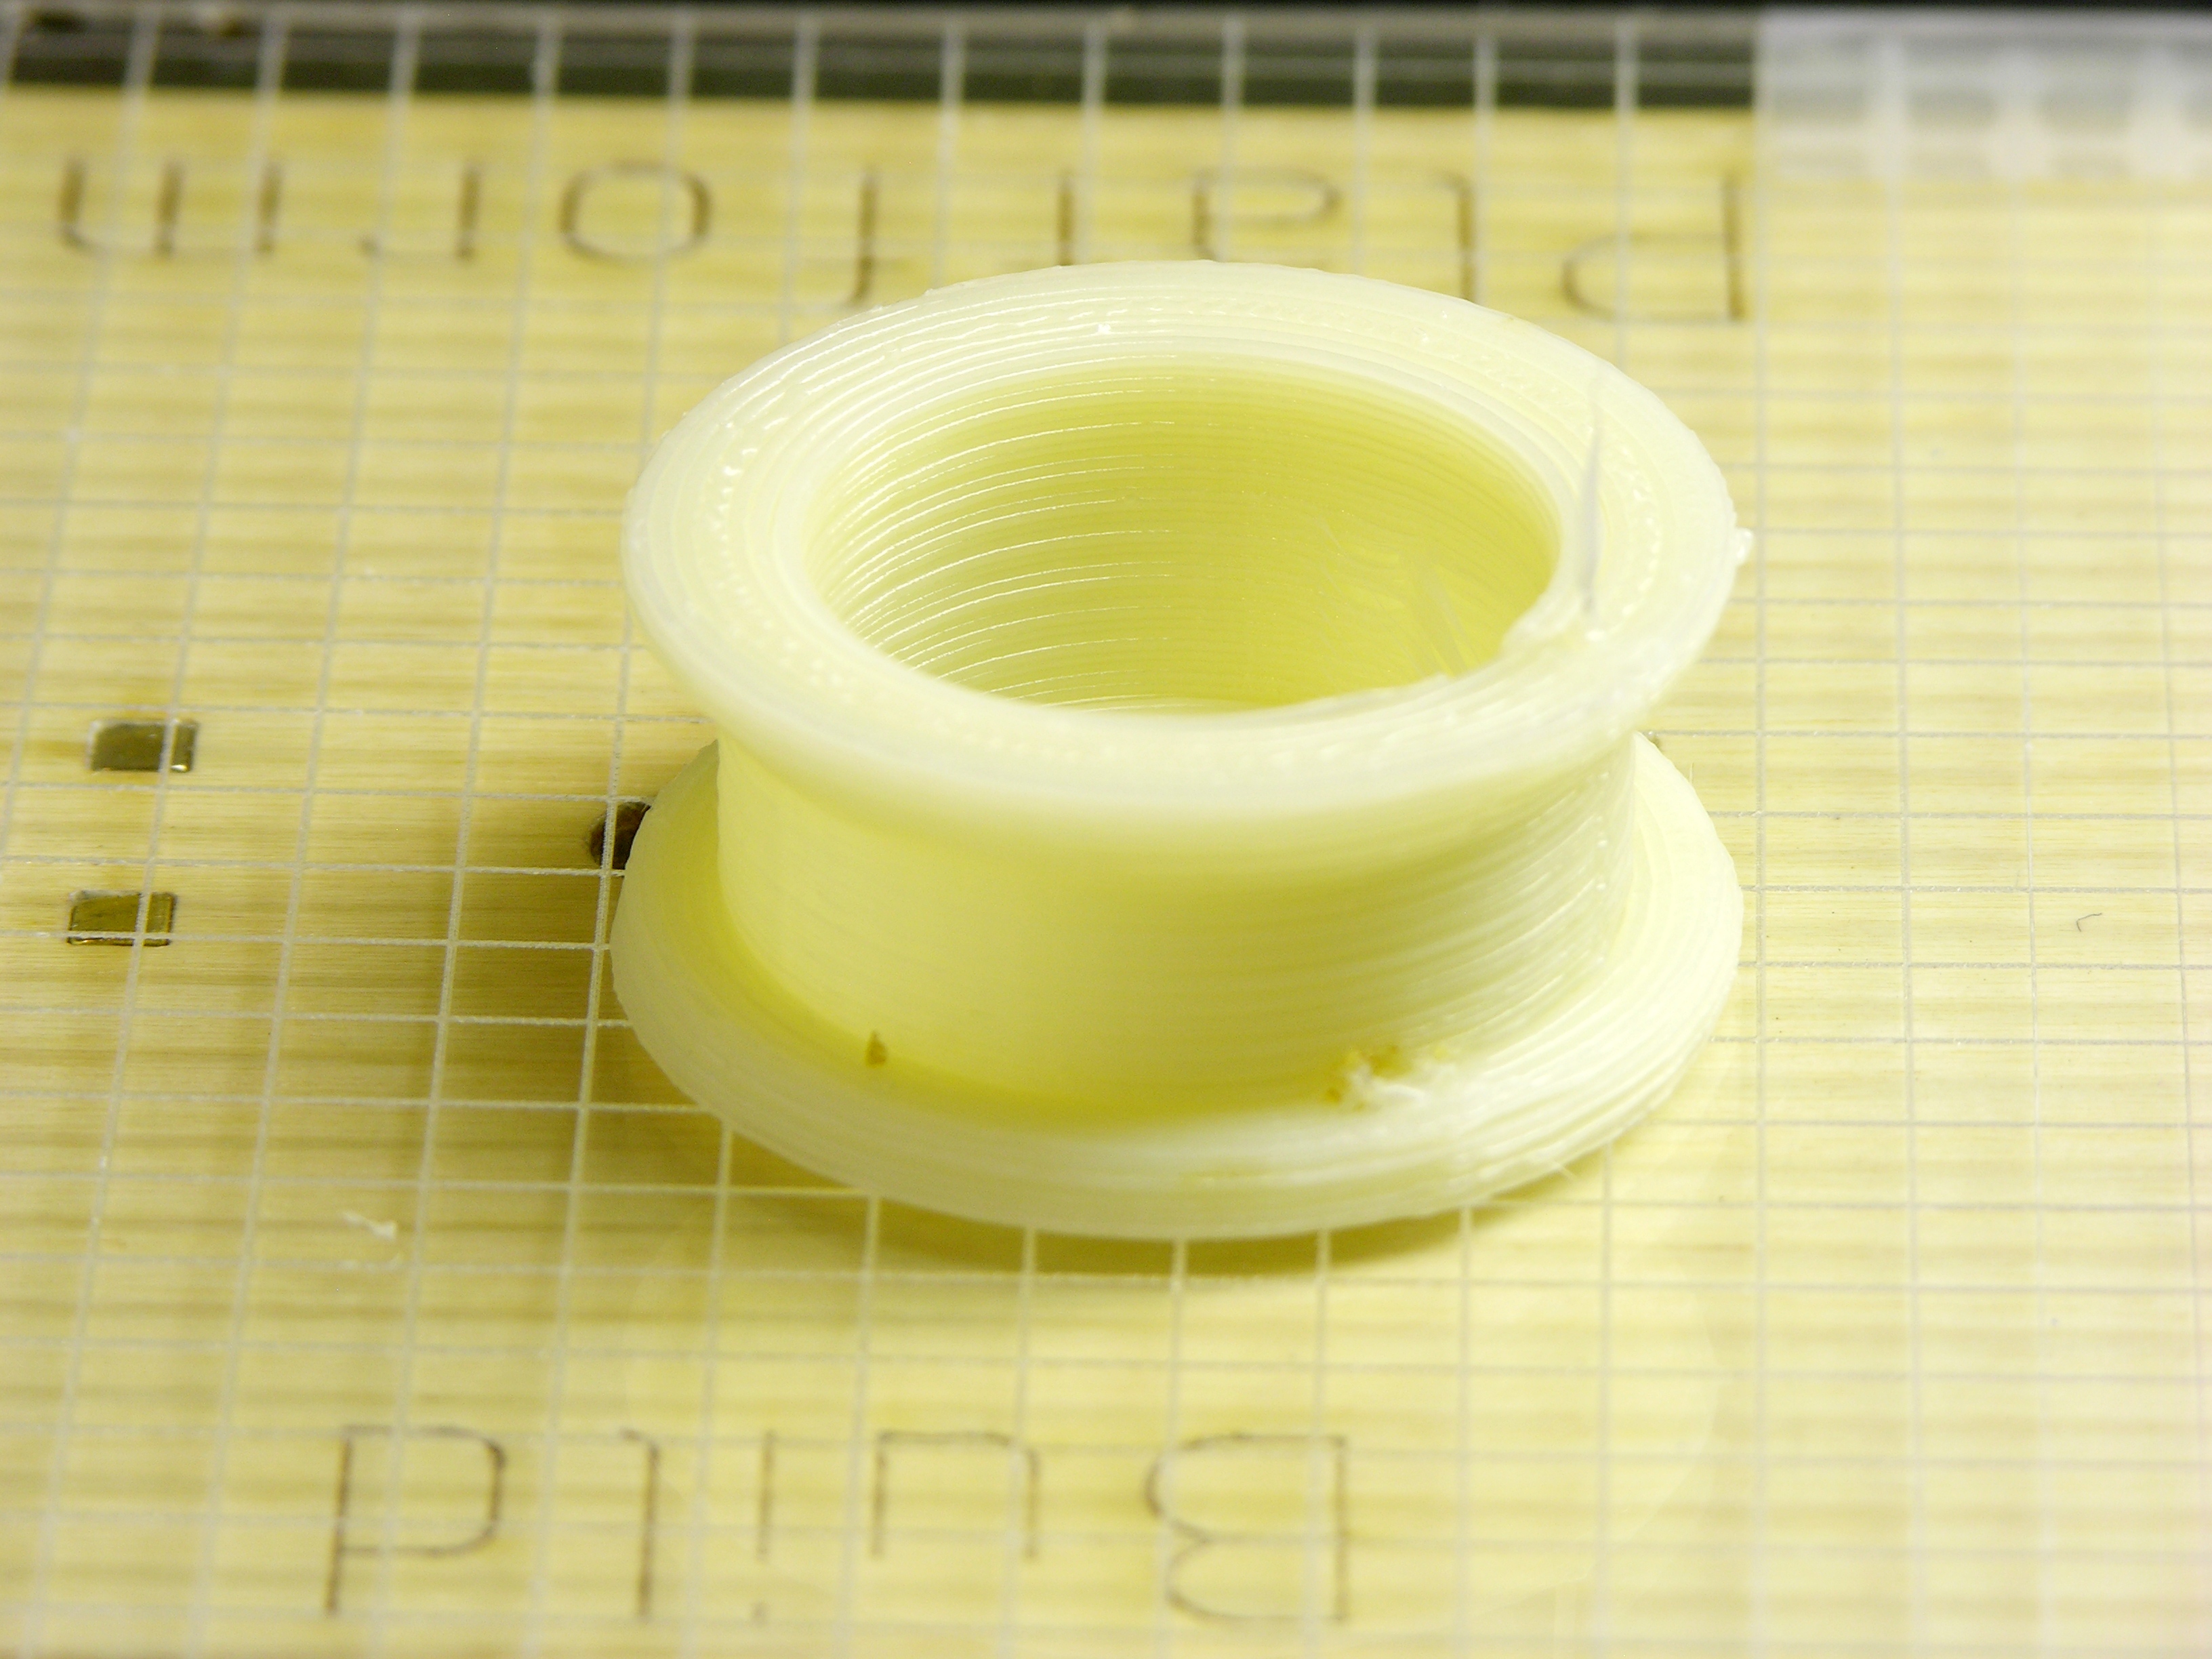
I wasn’t wild about the look of the diagonal infill, so I adjusted Skeinforge to give me all concentric fill. The perimeter and concentric fills are called “shells;” so I set the parameters Extra Shells on Alternating Solid Layer, Extra Shells on Base, and Extra Shells on Sparse Layer to a ridiculously high value like 999.
I also gave up on using the sacrificial foamboard build surfaces; I was having trouble getting the filament to stick and having trouble with it sticking so well it tore up the surface upon removal. MakerBot is now shipping an acrylic (plexiglass) build surface, so I took the hint and cut some scrap plexiglass for my build table.
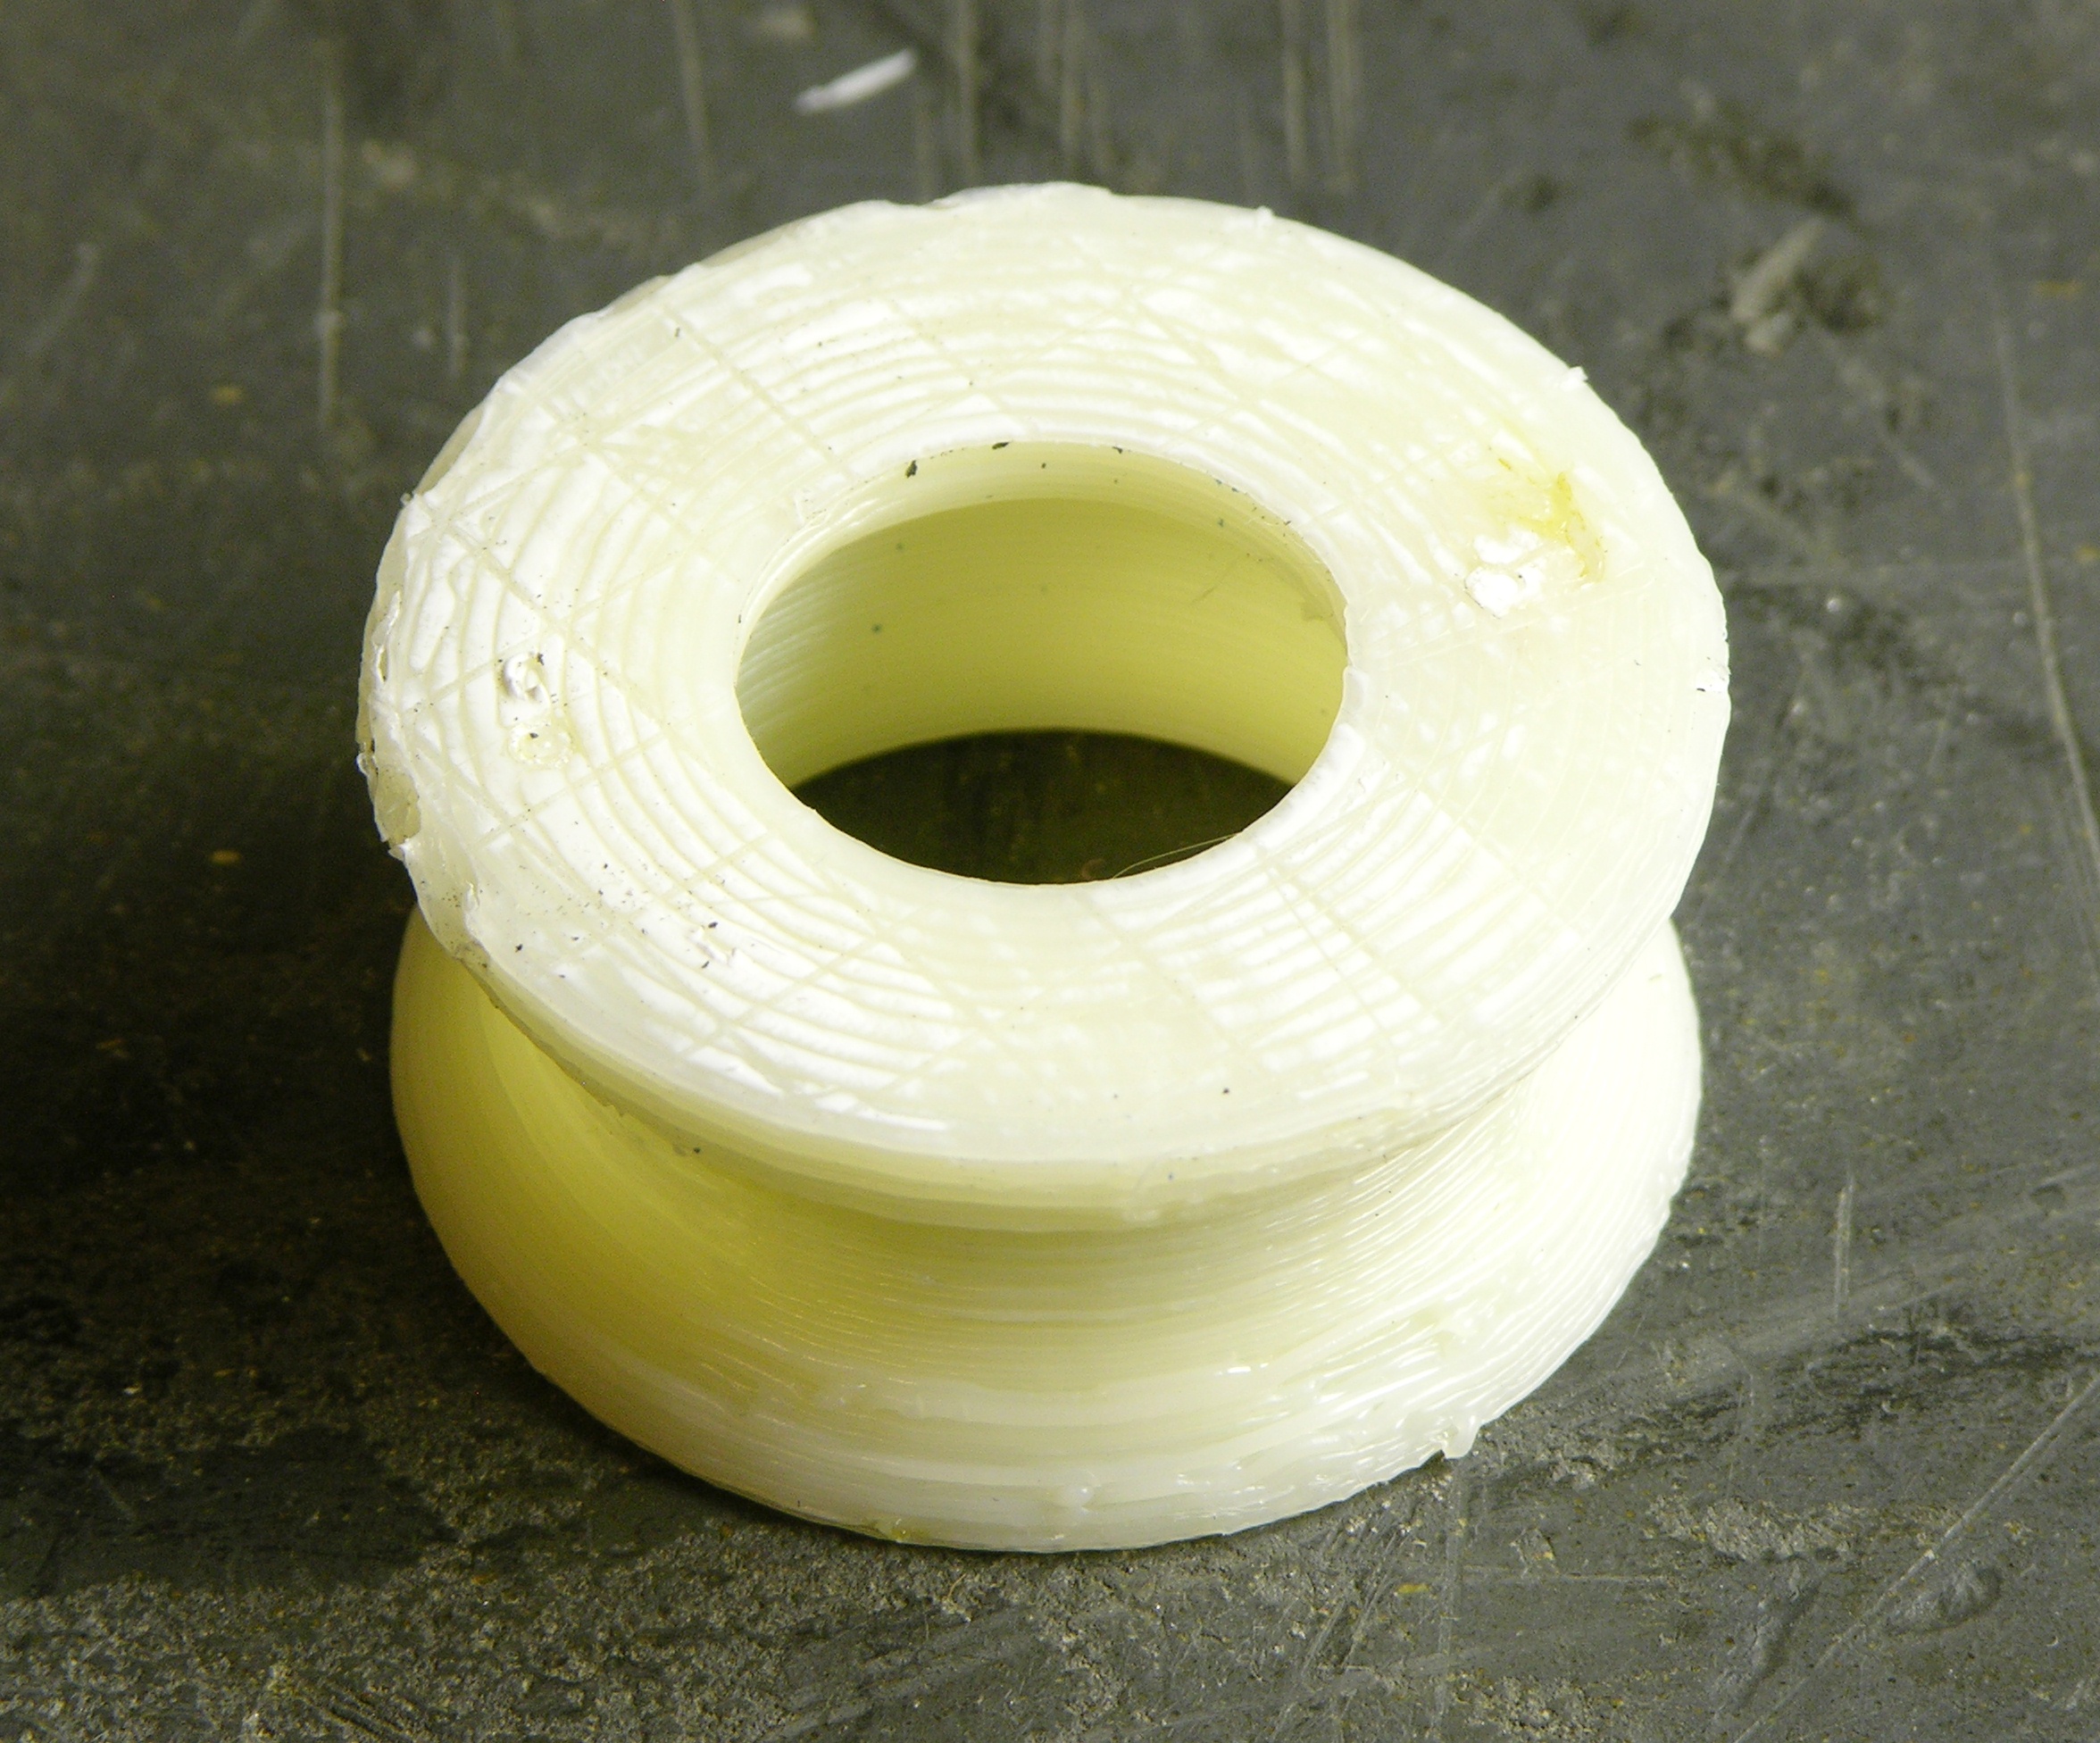
MakerBot crosshatches theirs on the laser cutter — I’m not quite sure why — so I scratched lines into mine as well. I printed this idler pulley without a raft and you can see the imprint of the lines on the underside of the pulley. I think I won’t bother scratching up the next build surface I make.
I assumed that the crosshatch is to make it possible/easier to remove the item from the build surface.
–Philip.
hey, good to see it up and running. the reason for the scratches on the acrylic is to make the ABS stick better. Acrylic is nice for a few reasons: foremost is that it is in that golden zone where ABS will stick to it, but won’t completely bond to it. On completely smooth acrylic, the ABS doesn’t stick very well. The cross-hatching gives it a rough surface with crevices that the ABS will fill and stick nicely too. After printing on one for a bit, bits of ABS get stuck in the cracks… this is good as ABS bonds really well to ABS and end up with good build adhesion without too much fuss.
last but not least, acrylic is reusable.
Zach, I wasn’t sure the ABS was sticking to the cracks any better than to the smooth plexi; but you’ve done a lot more testing with it than I have and I’ll take your word for it. Thanks for the note!