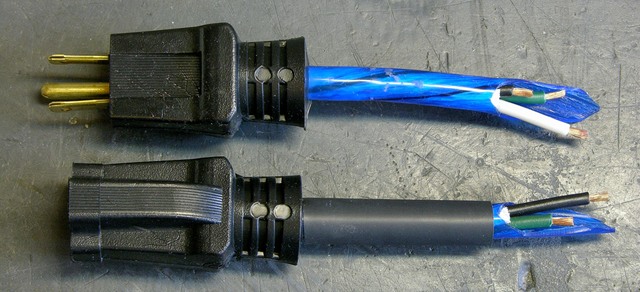
When you cut up an extension cord for speaker cable (I’m no golden-eared audiophile; I just need some copper to get a few hundred watts from place to place), save the ends to reassemble into mini extension cords. They’re perfect for plugging wall warts into receps and power strips without making adjacent receps unusable too.
I’ve spliced a lot of different kinds of cables — sometimes repairs for friends, sometimes Frankensteining things together for a project — and I’ve always been dissatisfied with the aesthetics when I’m done. Covering the joint in heatshrink hides the ugly splices from direct view, but the heatshrink tapers where it falls off the edge of the cable’s jackets and has unsightly bumps covering the solder joints.
This weekend I tried out a couple of ideas for achieving a smoother splice. The basic method was sound; and although the results aren’t yet what I hope to accomplish, I think they’re leading in the right direction.
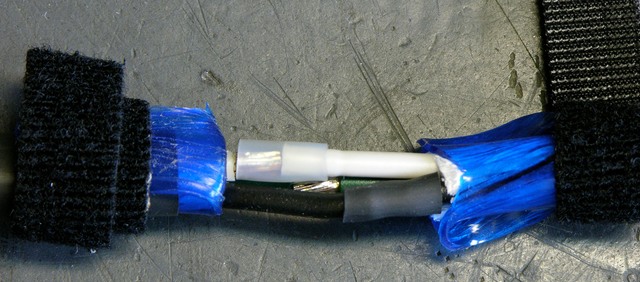
My first idea was based on a woodworking scarf joint — a fancy term for cutting ends on a diagonal to make a joint less visible. I sliced each jacket lengthwise about an inch and a half from the cut end, then attempted to cut the peeled jackets into smooth diagonals.
I tied the jacket pieces out of the way with velcro, preloaded the wires with heatshrink to cover the splices, and soldered the individual wires together. Note that the individual joints are all offset so that even if the heatshrink were to fail or be abraded, the exposed joints still couldn’t come into contact and short out.
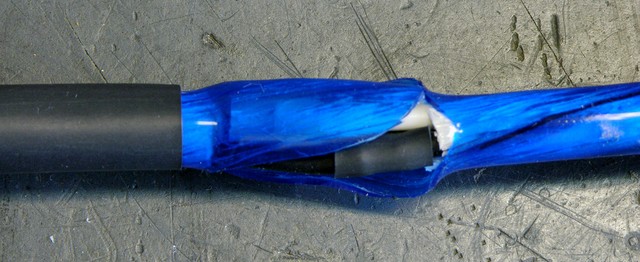
It turns out that eyeballing the mating jacket shapes before putting the cable back together is a bad idea (or at least that I’m not very good at it). I left a fair bit of gap, uh, everywhere — if I were to try it again, I’d wait to cut the scarf (scarves?) until the reassembly stage, at which point I could do a better job of mating them.
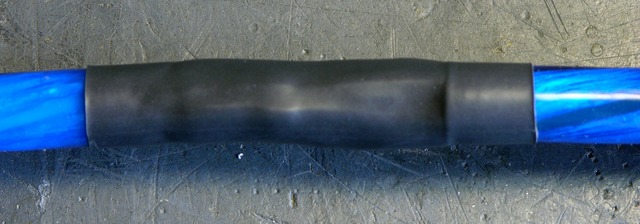
Note that the way the jackets flare out where they come from the unaltered cables into the joint is due to heat while heatshrinking the individual wires, not due to the bulk of the splice area.
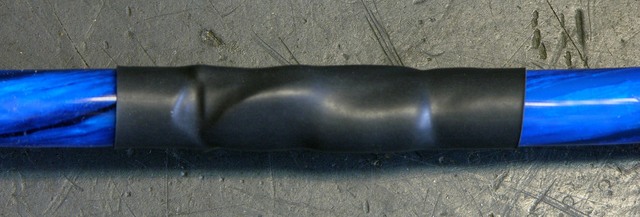
The result is arguably smoother than my previous methods; but because the lumps don’t logically derive from the splices inside, I actually find it more aesthetically displeasing.
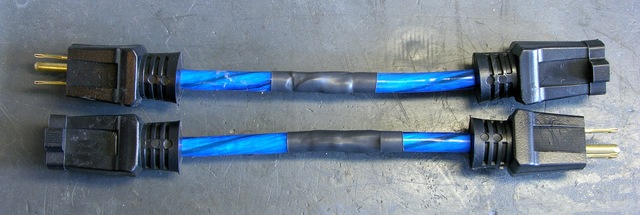
On the second cord I spliced, I slit the left jacket but didn’t shape the split end and I cut the right jacket completely off the cable. After soldering and heatshrinking the wires, I wrapped the left jacket back around the joint, covering it pretty cleanly. The gap where the two ends’ jackets meet is quite evident, but this shows that rewrapping the wires in the cables’ own jacket is a considerable improvement over just heatshrinking the joint.
Two short cords, ready to use with wall warts.
For next time, I’m most interested in retrying the scarf joint and cutting the two jackets to mate after finishing splice. I think it offers a good chance of minimizing the gap at the end of each jacket, and I think the long diagonal gap under the heatshrink could be nearly invisible with a little care.
Obligatory cautions: Electricity is dangerous. Splicing cords is a bad idea. Don’t burn your house down. Make sure extension cords are unplugged before soldering. Do not taunt mini extension cords.
Electrical tape might work to replace the missing bulk as well as assist in strain relief. I do know the feeling though I haven’t really given it much thought as to how to improve the aesthetics. Excellent example of the fine some of us walk between OCD and being thorough!
-john c.