I recently finished the prototype of my latest project (to be described in an upcoming post), and I made a lot of mistakes in PC board layout and construction. Like the SparkFun gallery of prototypes, I thought it was worth describing my problems and their solutions, to help myself and others avoid them in the future.
I’m doing that in two forms: a couple of detailed blog posts, and a new page with a summary version of the solutions. In the blog form, I’ll describe the problems in the order I encountered them; on the tips page, I’ll list the solutions in the order they’d be used when doing it right the first time.
Fitting the Case
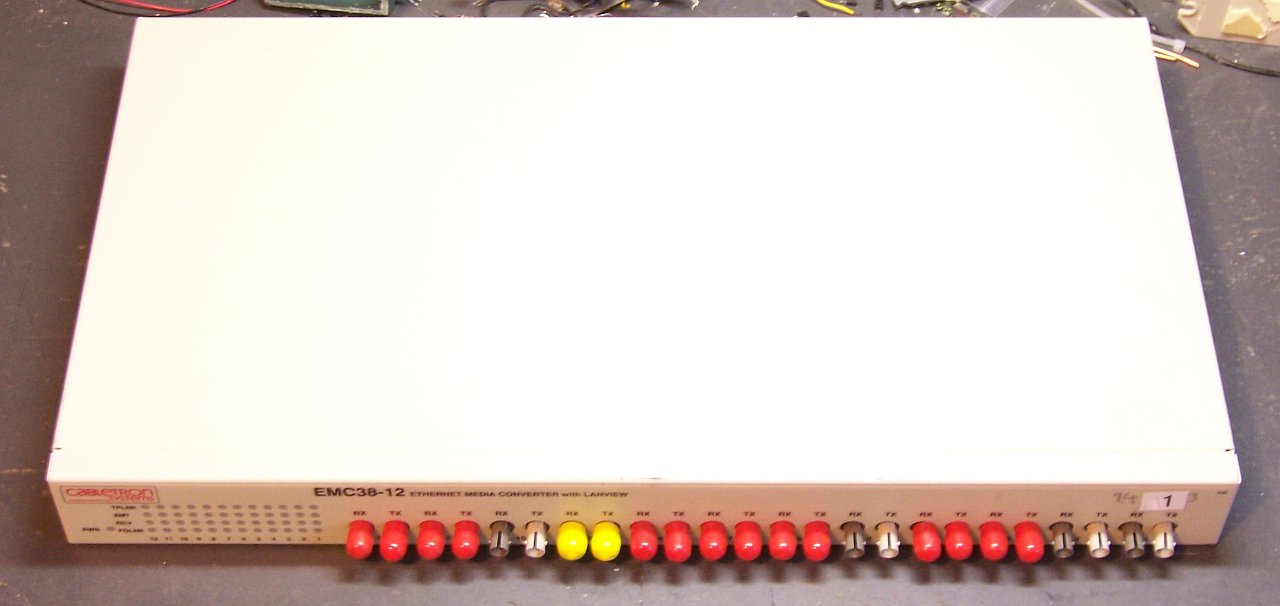
The project I’m building is a control device for my stereo system, so I wanted to build it in a rackmount case. Rackmount project boxes seem to be inordinately expensive ($40+); so for the prototype, I salvaged a piece of dead network equipment (rackmount 12-channel 10M fiber-to-copper media converter), ditched the guts, and kept the case. The power supply was on a separate board and turned out to be 5V, so I left it in place to drive my circuit.
I needed pushbuttons and indicator LEDS on the front panel, so I planned my PCB to mount behind and parallel to the front of the enclosure. I measured the outside of the case and subtracted a generous .1″ from each edge to account for the thickness of the metal and to provide clearance around the edges of the PCB.
For the prototype, I decided to use the existing holes in the front panel for my LEDs and pushbuttons. I measured their approximate distances from the lower left corner and placed the components in the PCB layout program accordingly.
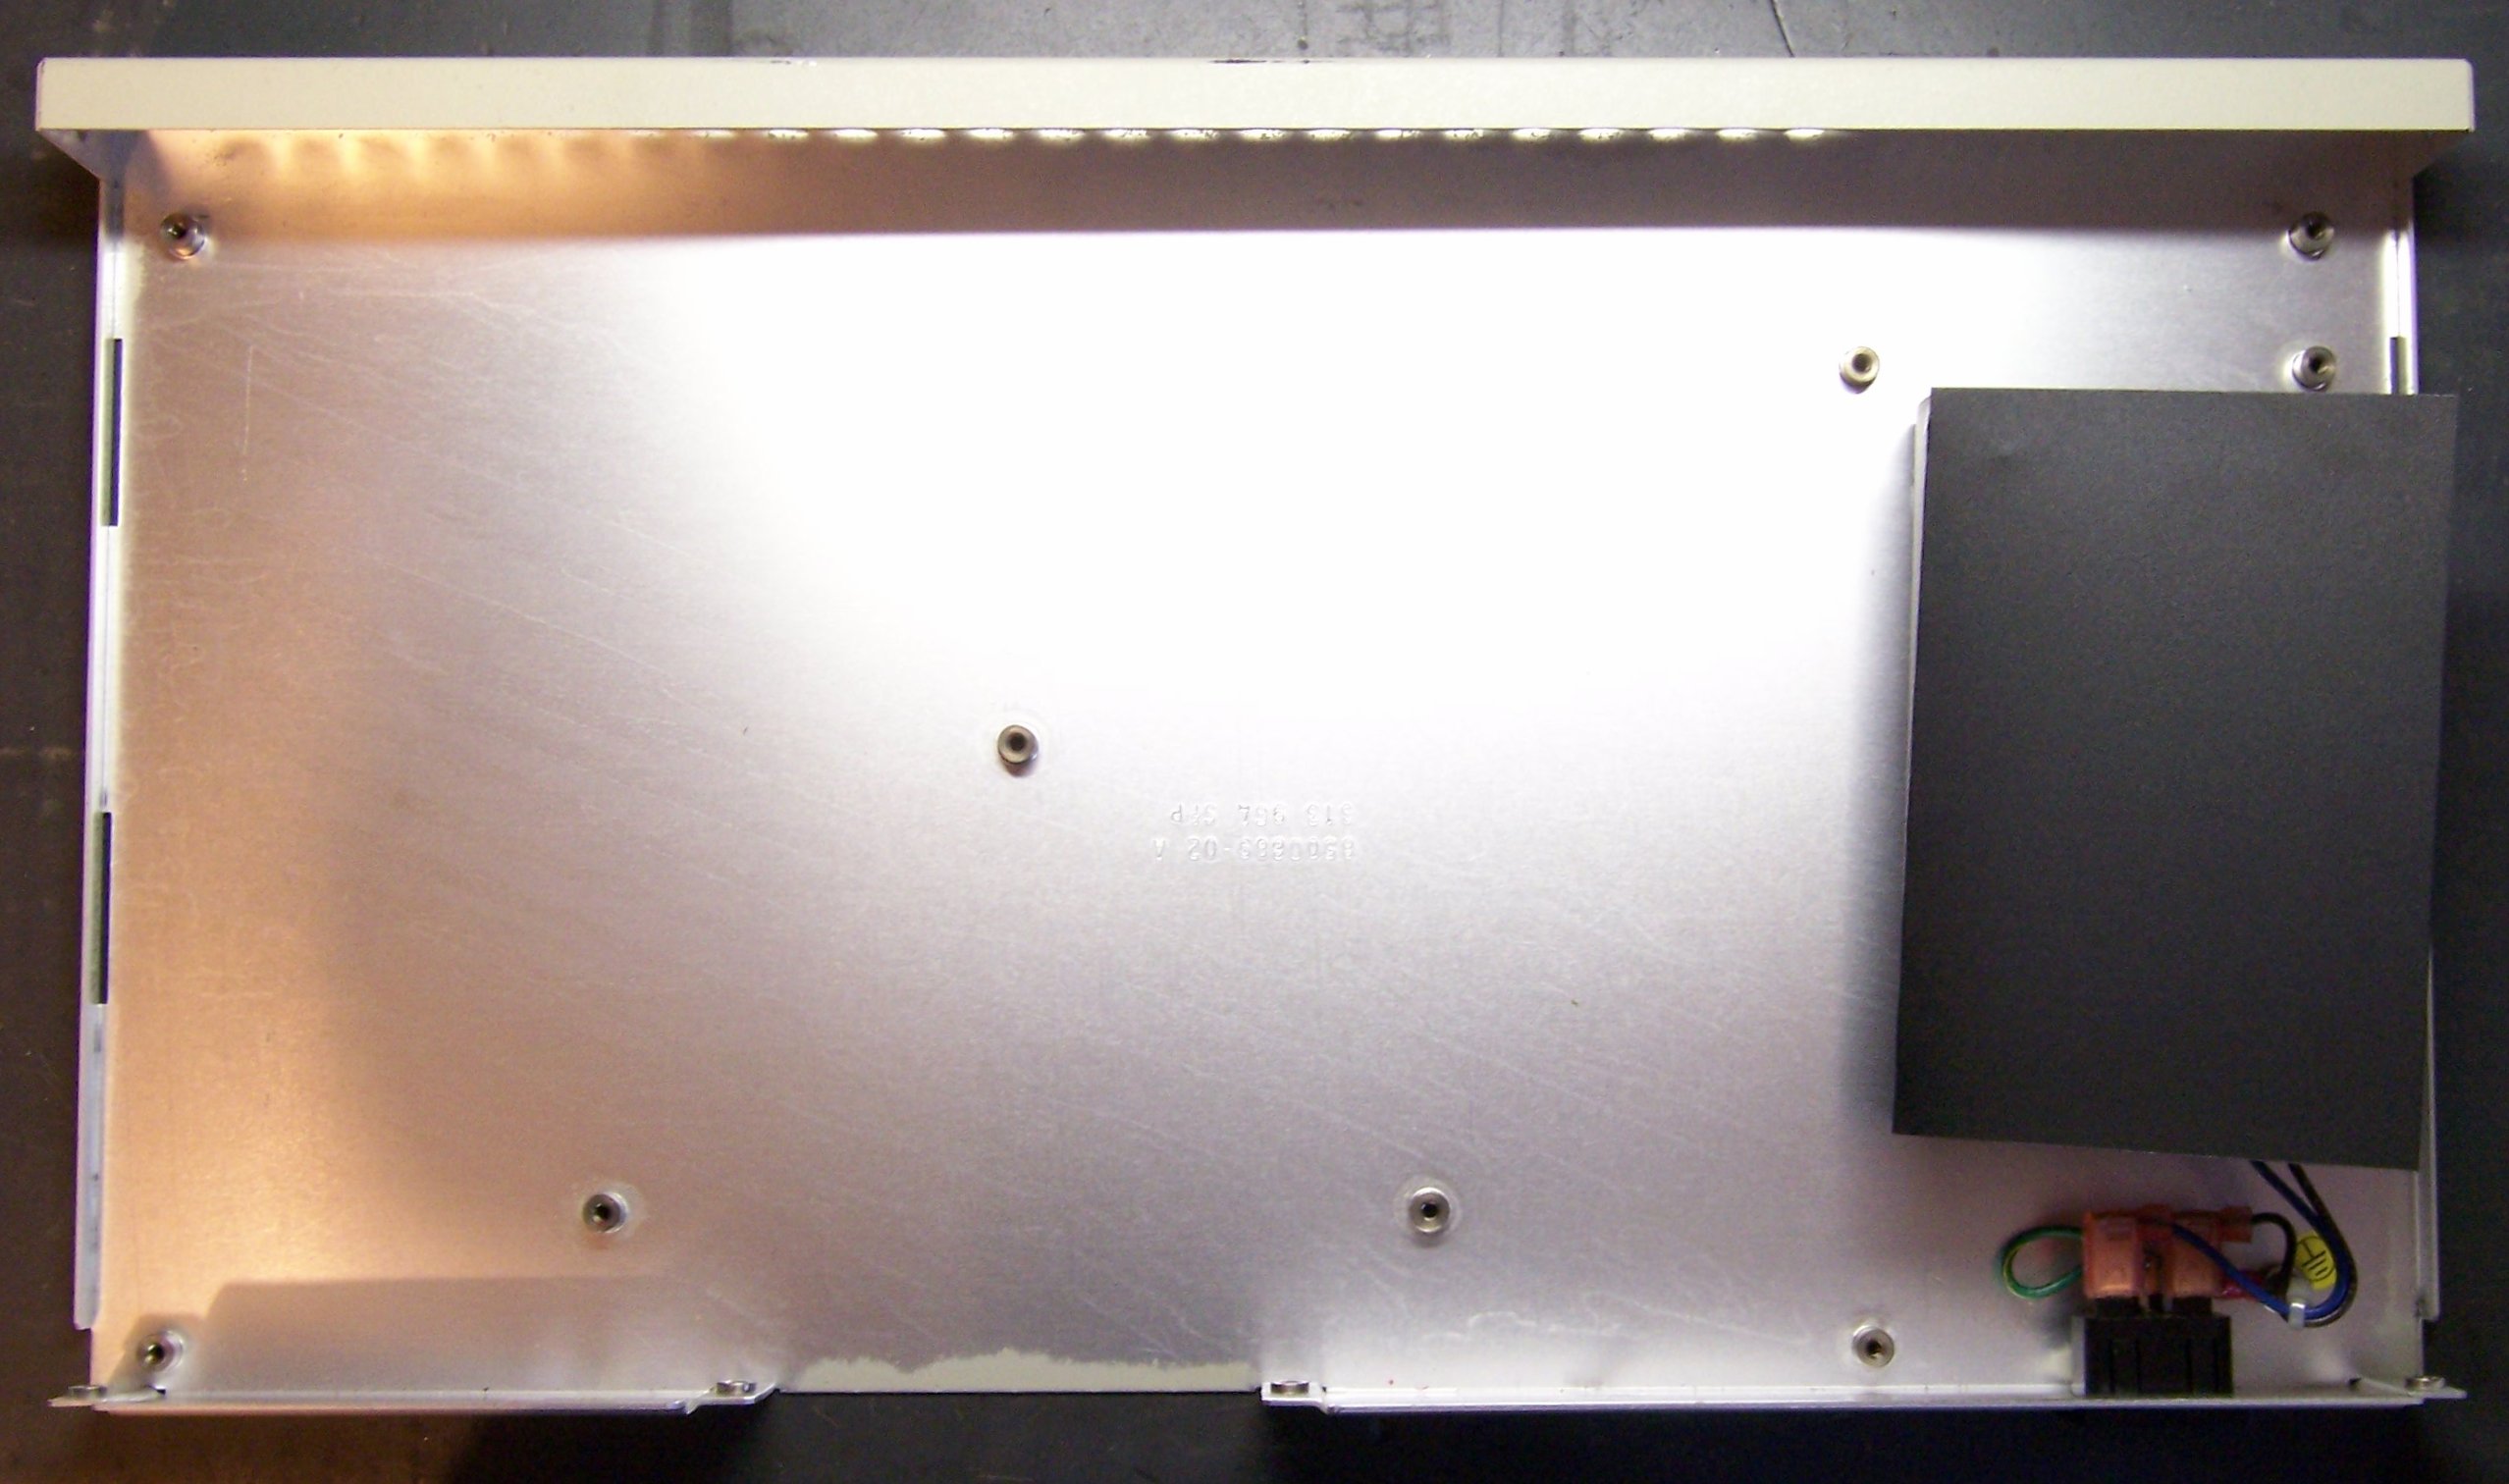
First mistake: When I measured for the size of the PCB, I didn’t look closely enough at the case. Where the top cover fits into the front edge of the case, there’s an extra lip underneath. I made the first board layout too tall to fit.
Lesson: Don’t make assumptions about the fit of the case. Inspect and measure where the PCB will actually fit.
Fortunately, before making a board, I printed the silkscreen layer and board outline from the layout software (FreePCB), cut and taped the pieces together, and held it inside the case to test the fit. I realized my error at that point, and correcting it was a (relatively) simple matter of changing the board outline and moving components and traces. I also tweaked the positions of the LEDs and pushbuttons for a better fit with the front-panel holes.

Lesson: Print the board design on paper to test-fit into the enclosure before making a real board.
Challenges of a Single-Sided Board
I could have designed most of the circuitry using 7400-series digital logic, but some of the override functions I wanted to provide on the front panel would have got tricky, so I used a PIC microcontroller running the LogoChip language.
In order to perform firmware updates, I needed to include a serial port, but I didn’t really want to clutter the back panel with something that would be used so infrequently. For my own use, I like connecting with what I affectionately call a “Cisco blue cable,” the DB-9 to RJ-45 serial cable that ships with every piece of Cisco equipment (so I have a carton full of them). That meant putting an RJ-45 jack inside the case, and the problem was where to put the jack.

Normally a jack would mount on the component side of the PC board, like the one up against the battery in my Curiously Strong LogoChip case, but here the component side was going to be pressed up against the inside of the front panel. Not only would that make the jack inaccessible (buried between the PCB and the front panel), but the jack was taller than the mounting hardware I wanted to use, and would have pushed the board too far back from the panel.
On a double-sided PC board, I could have mounted the jack on the “back” side and soldered it from the top. On my single-sided board, though, I’d have no way to solder it to the back-side traces — the jack itself would occupy the same space the soldering iron needed to.
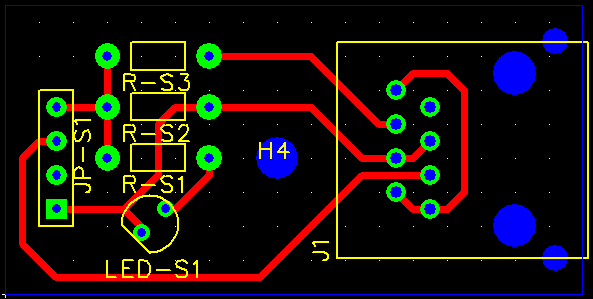
I decided to settle for making a very small daughterboard, just big enough for the jack and supporting components, to mount to a spare post in the bottom of the case. I wasn’t wild about the idea, but at least it’d get me by. In fact, I ended up scrapping the serial board idea and hooking up a temporary jack, for reasons I’ll describe later.
Lesson: Plan ahead for bulky components.
Drill Bits
Once I (thought I) had the board design finalized, I generated an Excellon drill file to take to Joel’s house and drill on his CNC machine. Because his machine has only about 12″ of travel and I needed to drill a 16.8″ panel, I needed to split the holes into two sections, so I could rotate the board halfway through and resume drilling from the other end.
To do this, I picked a spot to divide the board where I had a relatively long run of traces with no holes nearby. That way, inevitable alignment problems could be corrected by slanting the traces from both sides to meet in the middle.
I wrote a set of scripts for selecting, rotating, translating, and mirroring hole data in Excellon drill files. (I’ll post these after I clean them up a bit.) I also wrote a script to remove Excellon tags that Joel’s DanCAM software doesn’t recognize. (I had earlier created a drill export specification to generate DanCAM from EAGLE, but I was using FreePCB due to the larger board size.) I wrote up a nice Makefile to control the whole process, so I could export new drill files and just run make to get the new copies for Joel’s machine.
I cut a strip off my giant PC board from Slim, cut a couple of sections to length, and went over to Joel’s to start drilling. I decided to drill the boards copper-side-up, so I’d have less tear-out to sand off afterward.
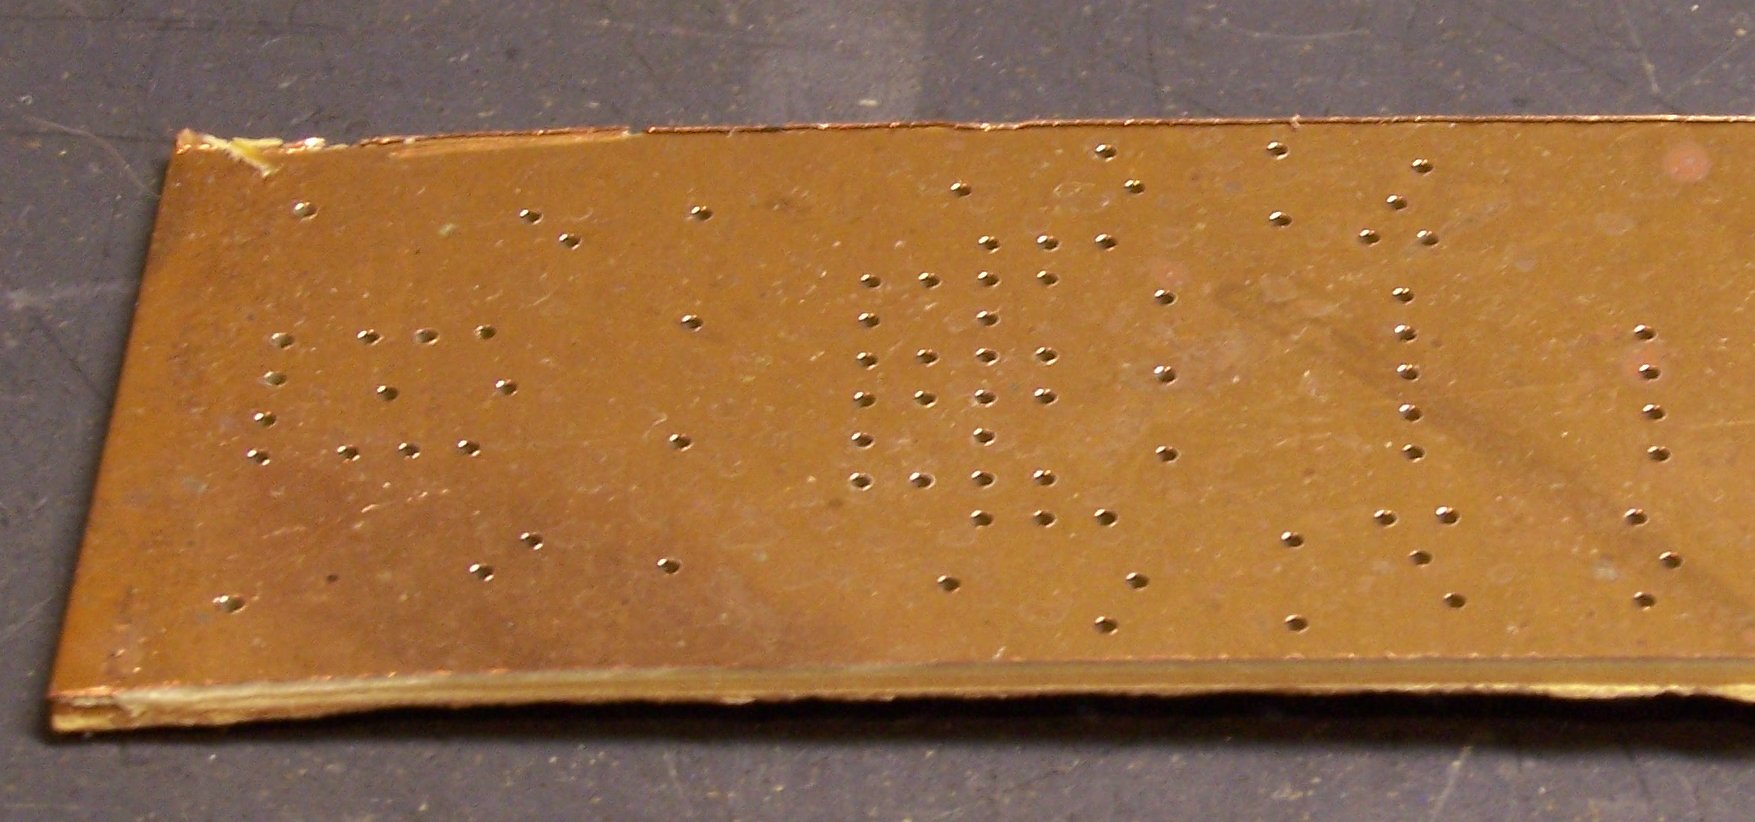
Lesson: Drill with the copper side up. It leaves perfectly clean holes that don’t need sanding.
I drilled the first board, and half of the third board, as a top-to-bottom mirror image of the correct hole placement. I drove back and forth across town to get more boards way too many times.
Lesson: Check drill file mirroring very carefully, to make sure it matches the placement of the board on the drill table.
I also ended up breaking something like four bits, mainly due to operator error. In the CAM software, you enter the heights of the Z axis with the drill bit up (out of the board) and down (drilled into the board). At one point, I miskeyed the up position lower than the down position, causing the machine to move the table with the bit lowered into the board. Snap. I always do a dry run before letting it drill the whole board, but it had already dived into the table before I could abort.
The machine was also drilling fairly aggressively for the size of bit I was using, resulting in the breaking of another bit. I slowed it down and didn’t break any more after that (I think).
Lesson: Be aware of CNC machining parameters, particularly those relating to position and speed.
But I didn’t start out with very many small drill bits, and each time I broke the smallest remaining one, the holes I was drilling got larger and larger. By the time I got the board finished with all the holes in the right place, I was using a 39-mil drill bit, which was way larger than I wanted — way larger than my component leads.
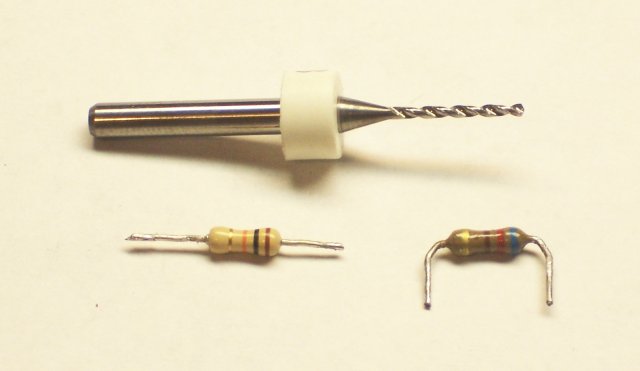
Lesson: Stock up on appropriately-sized drill bits.
I’ve since placed an order with Drill Bit City for a couple of 25-packs of 5 each even sizes #72 – #64.
Drill Path
The hole list in the Excellon drill file isn’t in any particular physical order — the hole order probably has to do with the order the parts were imported into FreePCB from the partlist. DanCAM has an optimizing stage to reorder them into a more optimal path for the slow machine to travel, but I’ve noticed in the past that its idea of optimal seemed really strange and . . . suboptimal.
This time, I caught on to what was happening. DanCAM (at least the way we’re using it) doesn’t support changing drill bits to drill different-sized holes, so I drill all the holes with the same size bit. But internally, it’s still paying attention to the drill size, and optimizing each different bit’s path as a separate pass across the board, resulting in much unneeded movement when drilling with a single bit.
I updated my FreePCB Excellon to DanCAM conversion script to reduce the drill rack to a single size bit, and the next optimization and drilling operation went much faster than before — so much so that it felt like a qualitative rather than merely quantitative difference in drilling speed.
Lesson: If you’re drilling all the holes with the same size bit, make sure the machine knows that.
Having optimized the drill path so much better than before, I noticed that the machine was occasionally drilling the same hole more than once. I knew immediately why that was: Due to a quirk in the way FreePCB routes traces, there were numerous places on my board that I had multiple logical vias at the same physical location.
I wrote a very simple drill-uniq script to remove duplicate holes:
my %seen;

while (<>) {
    next if /^X/ && $seen{$_}++;

    print;
}
And the drilling operation got faster yet.
Lesson: Eliminate duplicate holes from the drill file, if the CNC machine isn’t smart enough to do it for you.
CNC Stepper Speed
My PC board production sequence is to drill the holes with the CNC machine, then print and iron on a toner transfer, then etch away the visible copper with ferric chloride. For the iron-on process to work, the predrilled holes need to align exactly with the printed copper trace pattern. I’ve noted in the past that they generally don’t align across the entire length or width of the board, and attributed that to inaccuracies in the paper feed rate of my laser printer.
This time, while I was waiting for one of several iterations of board to be drilled (due to my continuing errors), I checked the registration of the previous iteration and found it to be so bad that I got a ruler to find out exactly where the error was. It turns out that the answer was both — the drill and toner spacing were both wrong. Holding two iterations of drilled PCB up to the light revealed that the drill wasn’t even consistent from one pass to the next.
Since it’s a CNC drill, the only way that should be possible is if the steppers are skipping steps. If you push a stepper motor too fast, it skips (lags) a little bit, and stays out of sync until the next time you send it to the home position to check where it is. DanCAM’s setup process includes tests to make sure the motors are staying synchronized, but it’s pretty hard to tell if they’re losing only a few steps.
I went through the motor speed calibration section again, which boils down to running the motors faster and faster until they’re obviously losing steps, then backing off the speed until they seem stable again. I backed the speed off further than before, and on the next drill pass got all the holes as close to where they belonged as I was able to measure (except three that just randomly went a little bit off — still don’t know why, but I don’t think it was lost steps).
Lesson: Make sure the feed rates are within the steppers’ and drivers’ capacity.
At this point, I finally had a board that fit into my enclosure, with all the holes drilled (pretty much) where I wanted them. And a lot of things to remember to do better the next time.
hi,i am about to by a 4 spindal cnc pcb drilling machine.and u know i don’t know anyting about it.what i know is that it drilles the hole in pcb.i need to know every thing about it if any one can help me i be great full.being a woman it is a very big yet mad step to take but i want to do it.so pls help me
Namita, I have no experience working with commercial, multi-spindle drill machines.
Hi,
Liked your posting. I have a few questions. I built my CNC machine am using a CAD program to make the PCB holes and traces. Using mach3 Lazy cam for the CAM and Mach3 for controlling my machine. It took a while to get the mechanical set up routines down for milling traces. The drilling is straight forward but having a problem with bits walking and breaking.
Machine setup:
plunge rate: 2 inch a minuet
feed rate: 5 inch a minuet
drill size .035″ #65
cut depth – .07″
I shortened a bit to where there was .35″ out of the chuck. The bit stilled walked and broke around 20 holes were drilled first. Using a Roto Zip for the spindle and installed a variable speed on it. It seams to have not helped much.
What can I do to resolve this?
Thank
Michael — a machinist could probably answer this better than I, but I’ll take a stab based on my experience.
First off, I assume you’re drilling with the #65 bit, not milling. I know you refer to drilling, but I just want to be sure.
Second, I have a RotoZip but I haven’t used it for PCB work, so I don’t know how bad its runout is. Runout is how much radial play there is in a drill’s axle — that is, how far the bit wiggles from side to side as it spins. When you power it up, does the bit stay in a perfect vertical line and you just lose sight of the flutes, or does it become a wider, blurry object? If the latter, I’d be pretty certain that the play in your RotoZip’s bearings is moving the bits enough horizontally to break them off in the holes. Try using a Dremel instead — I’ve had very good luck with their bearings. Or you might look for higher-quality replacement bearings for the RotoZip.
Third, I don’t know what the spindle speed on a RotoZip is. Because it’s made for 1/8″ – 1/2″ cutting bits, I’m guessing the speed is lower than that of a Dremel (5 000 – 30 000 rpm). The smaller the bit, the higher the speed you need to maintain the same linear speed on the cutting surfaces around the circumference of the bit. If the RotoZip is running slower, it’s possible you simply need higher rpm.
Finally, if I’m reading your plunge rate fo 2″ / minute correctly, that seems slow to me. When I’m hand-operating my Dremel drill press, after positioning the workpiece it takes me about a second to drill and retract each hole. My friend Cort refers to “punching” the drill bit through the PCB, and I don’t go quite that fast, but it sounds like I probably use quite a bit faster Z axis feed rate than you are. On my friend Joel’s CNC drill machine, I think we’re using about .5 ips (30″ / minute) feed rate with a Dremel tool.
Of course you don’t want to feed faster than the tool can cut; but once you’re slower than the cutting speed, a slower feed rate just gives the bit more time to heat up and to be subject to radial stress from imperfect bearings. After checking your spindle rpm, it might be worth increasing your plunge rate.
I hope something here helps!
Keith,
Thanks for the response. I shortened the bit to .15″ and turned the RotoZip up to full RPM. These changes have cured the problem to a large degree. I will try to increase the Z feed rate on the next go around.
Thanks again,
Michael
Hello
i want to more information on pcb drill bit tool life optimisation for single and double layer coating. So pplease guide me.