I’m back to working on my CNC machine and wanted to hook some joysticks up to a microcontroller to run the motors back and forth during development, before I have the whole thing running under computer control. I realized that the PIC18F232 (LogoChip) has only two PWM outputs and I have three motors to control, so the LogoChip isn’t going to be ideal for this.
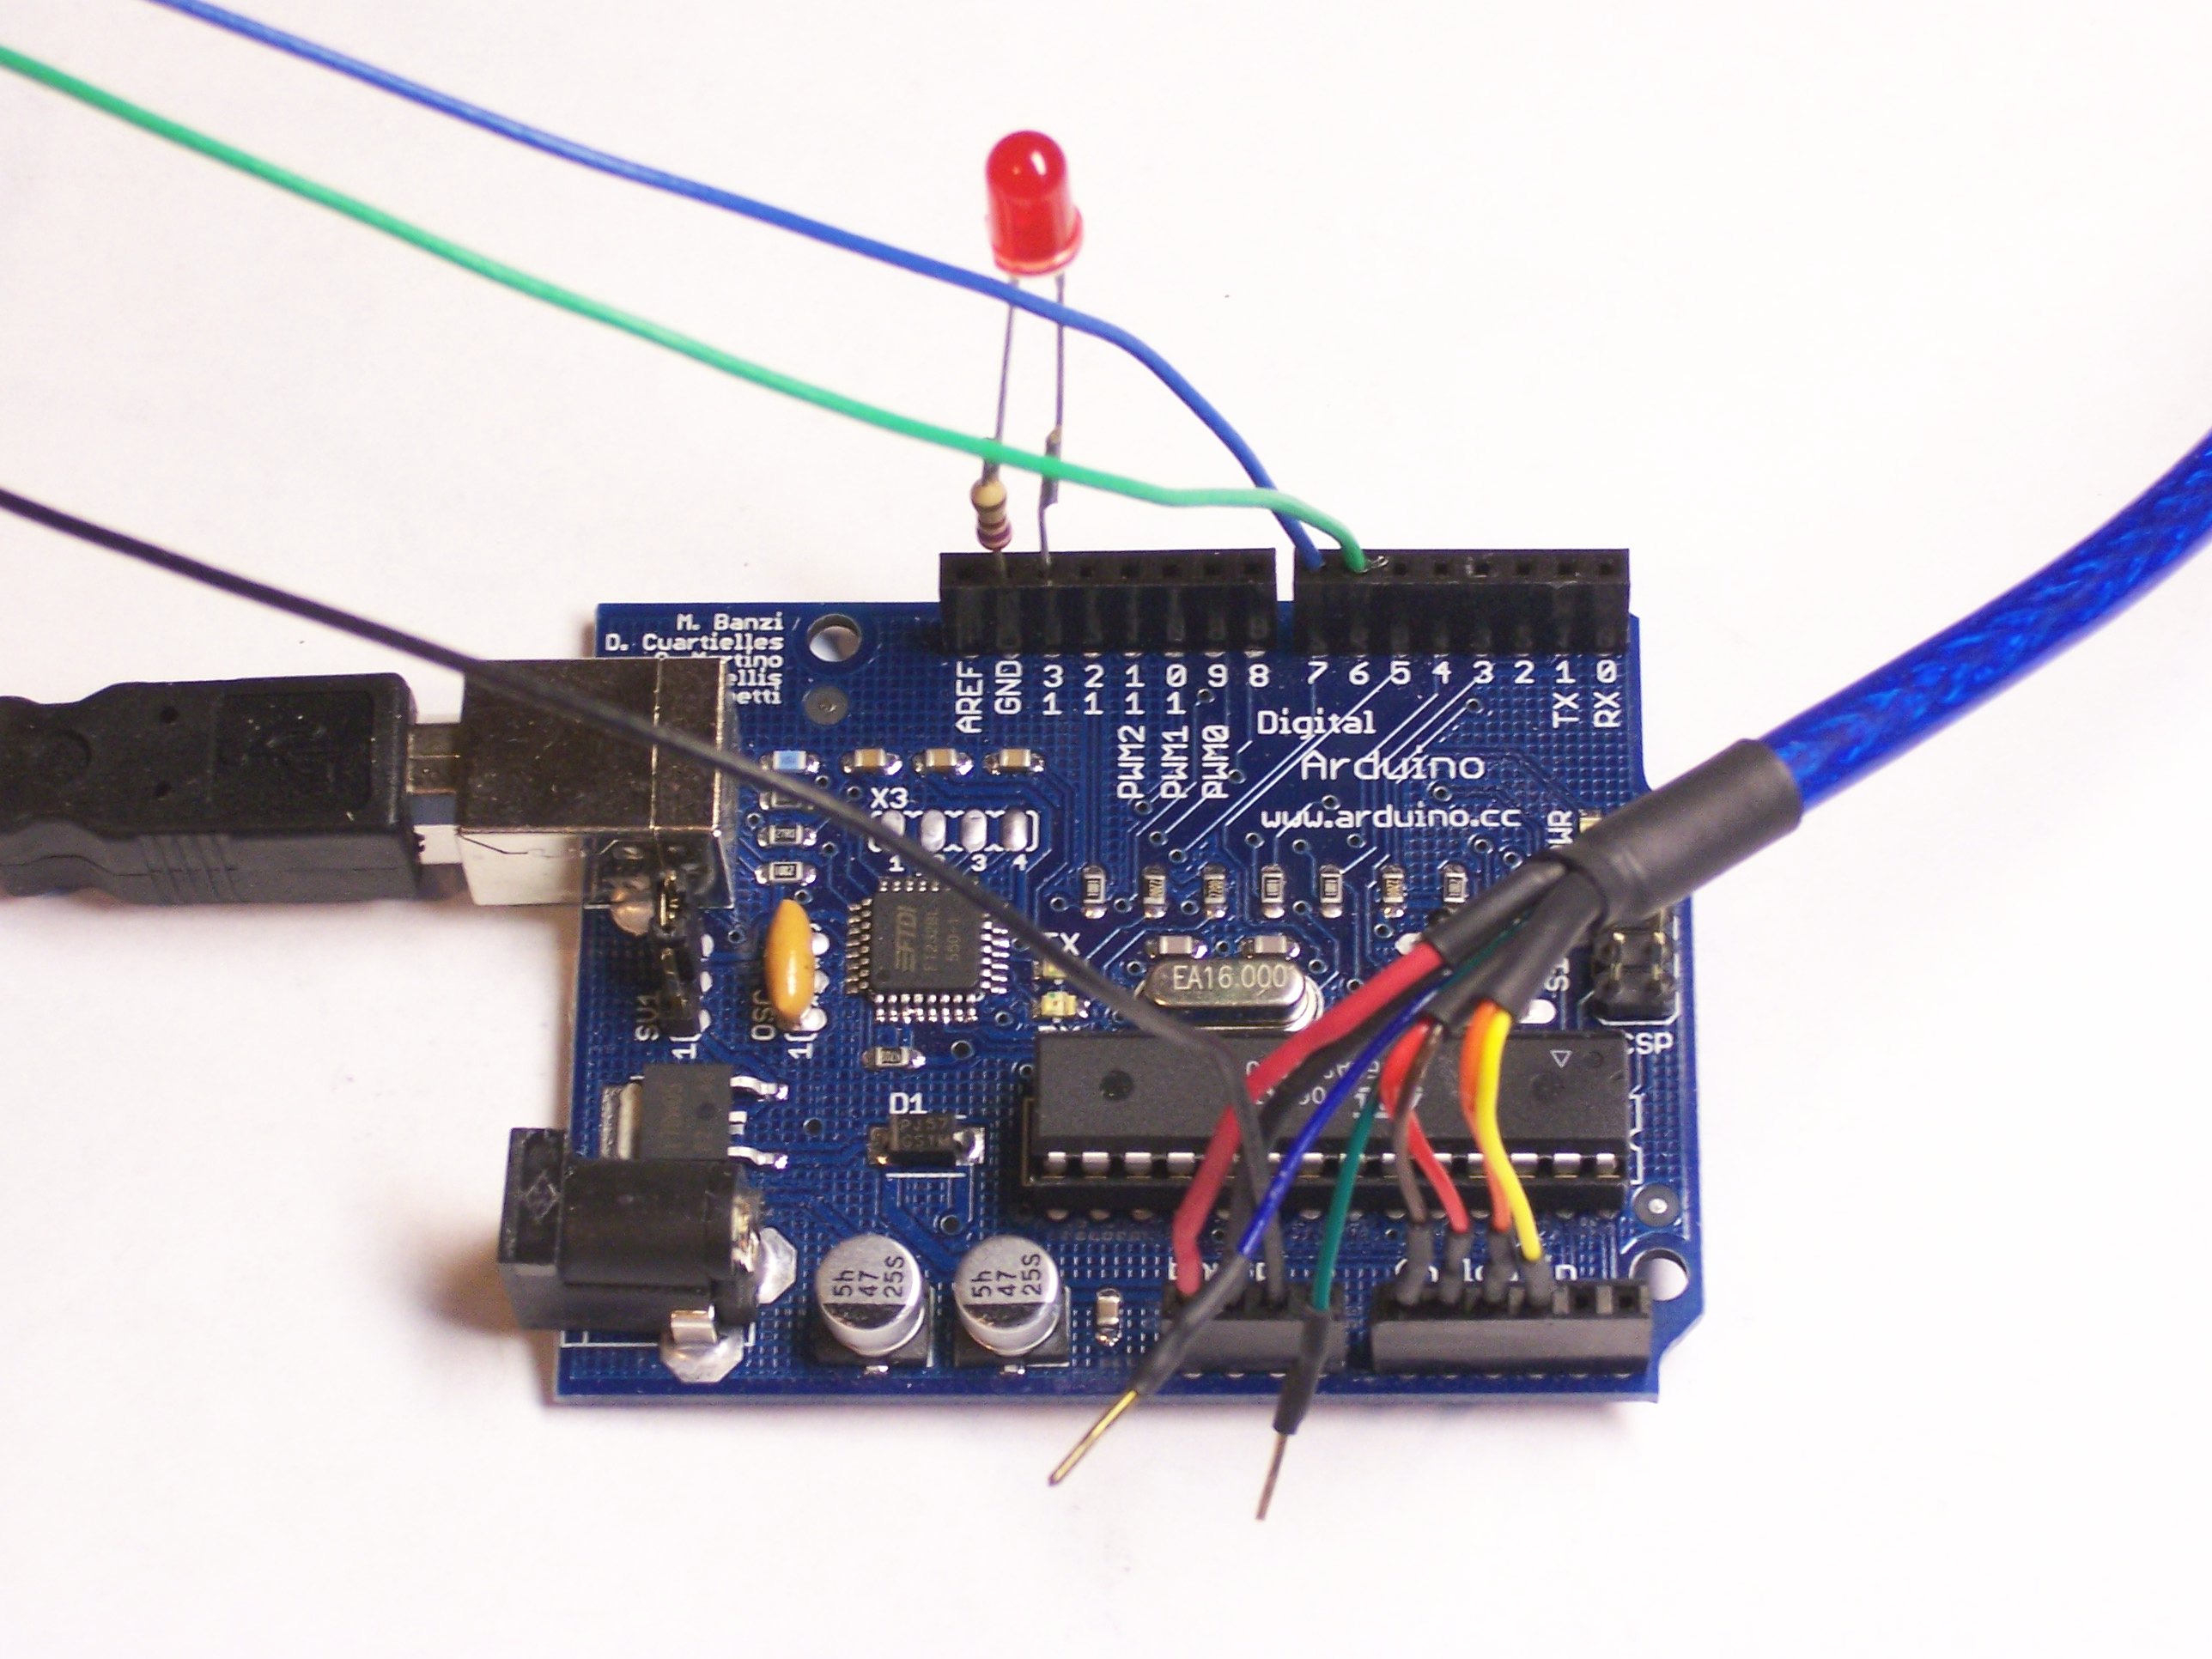
The Atmel has scads of PWM outputs, so I finally busted out the Arduino I bought a year ago from SparkFun Electronics. The Arduino is, to snip from their own description, an open-source prototyping platform based on a couple of Atmel microcontrollers.
The Arduino folks really shined up their Macintosh dev system install procedures since the last time I looked — I downloaded a zip file, double-clicked a USB driver installer and rebooted, double-clicked the IDE icon, and I was in.
I played with the Arduino Friday night. It’s really, REALLY nice to be programming in C again. I had come to the conclusion earlier from looking at the language that it was C with some microcontroller-specific libraries provided, and that’s exactly what it is. The documentation even mentions that it’s using avr-gcc underneath.
Here are my first impressions:
- The early Arduino board I have requires you to press the reset button each time you want to download code. This is a huge pain. The newest boards have reset magic built into the USB circuit.
- It waits about seven seconds after power-up or reset to see if you’re going to download new code to it before it starts running your program. That’s a long delay waiting for something to happen, especially if you’re not even connected to it. I expect that could be shortened by tweaking the bootloader, but I suspect you’d need a real Atmega programmer for that.
- Taking power from the USB port is really cool, particularly during the development phase when you’re constantly tethered anyway.
- I don’t like the GUI-based text editor in the integrated environment — but then I never do. I understand there’s a way to do all this stuff from the command-line (so advanced developers could edit with vi or emacs), but I haven’t looked up how to do that yet. (Remember, first impressions.)
- PWM frequency is fixed by the firmware. There’s example code to change it, but the frequency is probably controlled directly by a hardware timer, and I don’t know if there are enough timers to run three PWMs at different frequencies. So the Arduino may not be any better for this application than the LogoChip was.

So overall, it’s super easy and fun for geeks with programming experience. Proooobably not a good introduction to microcontrollers for visual arts students, though.