After lo these six long years, I now have the fixes and the knowledge to get the CupCake to complete a print.
Back in January of 2015, I had got my CupCake tuned up for pretty prints and then the extruder stopped working. Two years ago when I documented that experience, I got the CupCake set back up to troubleshoot that extruder problem and I had a new problem with the Z motor skipping steps, which I had to solve before I could figure out why the extruder stopped working 40+ minutes into a print.
I figured that troubleshooting the two problems would be easier with a fancier scope than I have; so a few times this spring, carefully observing COVID-19 precautions, I made couple-hour visits to my friend Cort and his basement workshop. Over the course of those visits, we were able to identify and address the Z-axis problem (which I’ll write up later) and make some observations about the extruder that ultimately led to a successful workaround this weekend.
In our testing, Cort and I noted that — even just being driven by the ReplicatorG control panel — the extruder motor stalled fairly easily; it was fairly certain to stall with any PWM value below 240. Because yes, the CupCake shipped with a DC gearmotor.
Cort and I were suspicious of the 8P8C cabling that delivers both communications and power from the motherboard to the extruder daughterboard, and Cort cleaned the plugs and jacks with DeoxIt. We also figured that after the hours of service that the motor experienced back in the day, it was probably starting to wear and draw more current to maintain the same speed. That would exacerbate the voltage drop from crusty cabling; so between the two, we figured that cleaning the contacts provided at least a modest chance of it working again with no further intervention. (Foreshadowing: nope.) After that troubleshooting session, I brought the printer back home to try out before the next time we were going to be able to get back together.
First Attempt: Mechanical Problems
Yesterday I cleared space on my workbench, set up the CupCake, and resumed trying to persuade it to do that same print from 2014. I still happen to have the G-code file that was generated back then, so I’m using that same object and that same G-code in order to introduce as few variables as possible.
The first print failed impressively, twice. The jog in the middle was from the X axis binding when both of the back bushings popped out of the Y carriage, nothing to see here, move along. But then later it just stopped printing, much earlier than it had in 2014 or while testing at Cort’s house, which was discouraging.
Oh hai! What are you??
I stepped back into my workroom and saw this bearing sitting on the power supplies. ??? How did it get there? Did it fall off a shelf? Did someone break into my workroom during the two minutes that I was away and set a bearing on my bench?
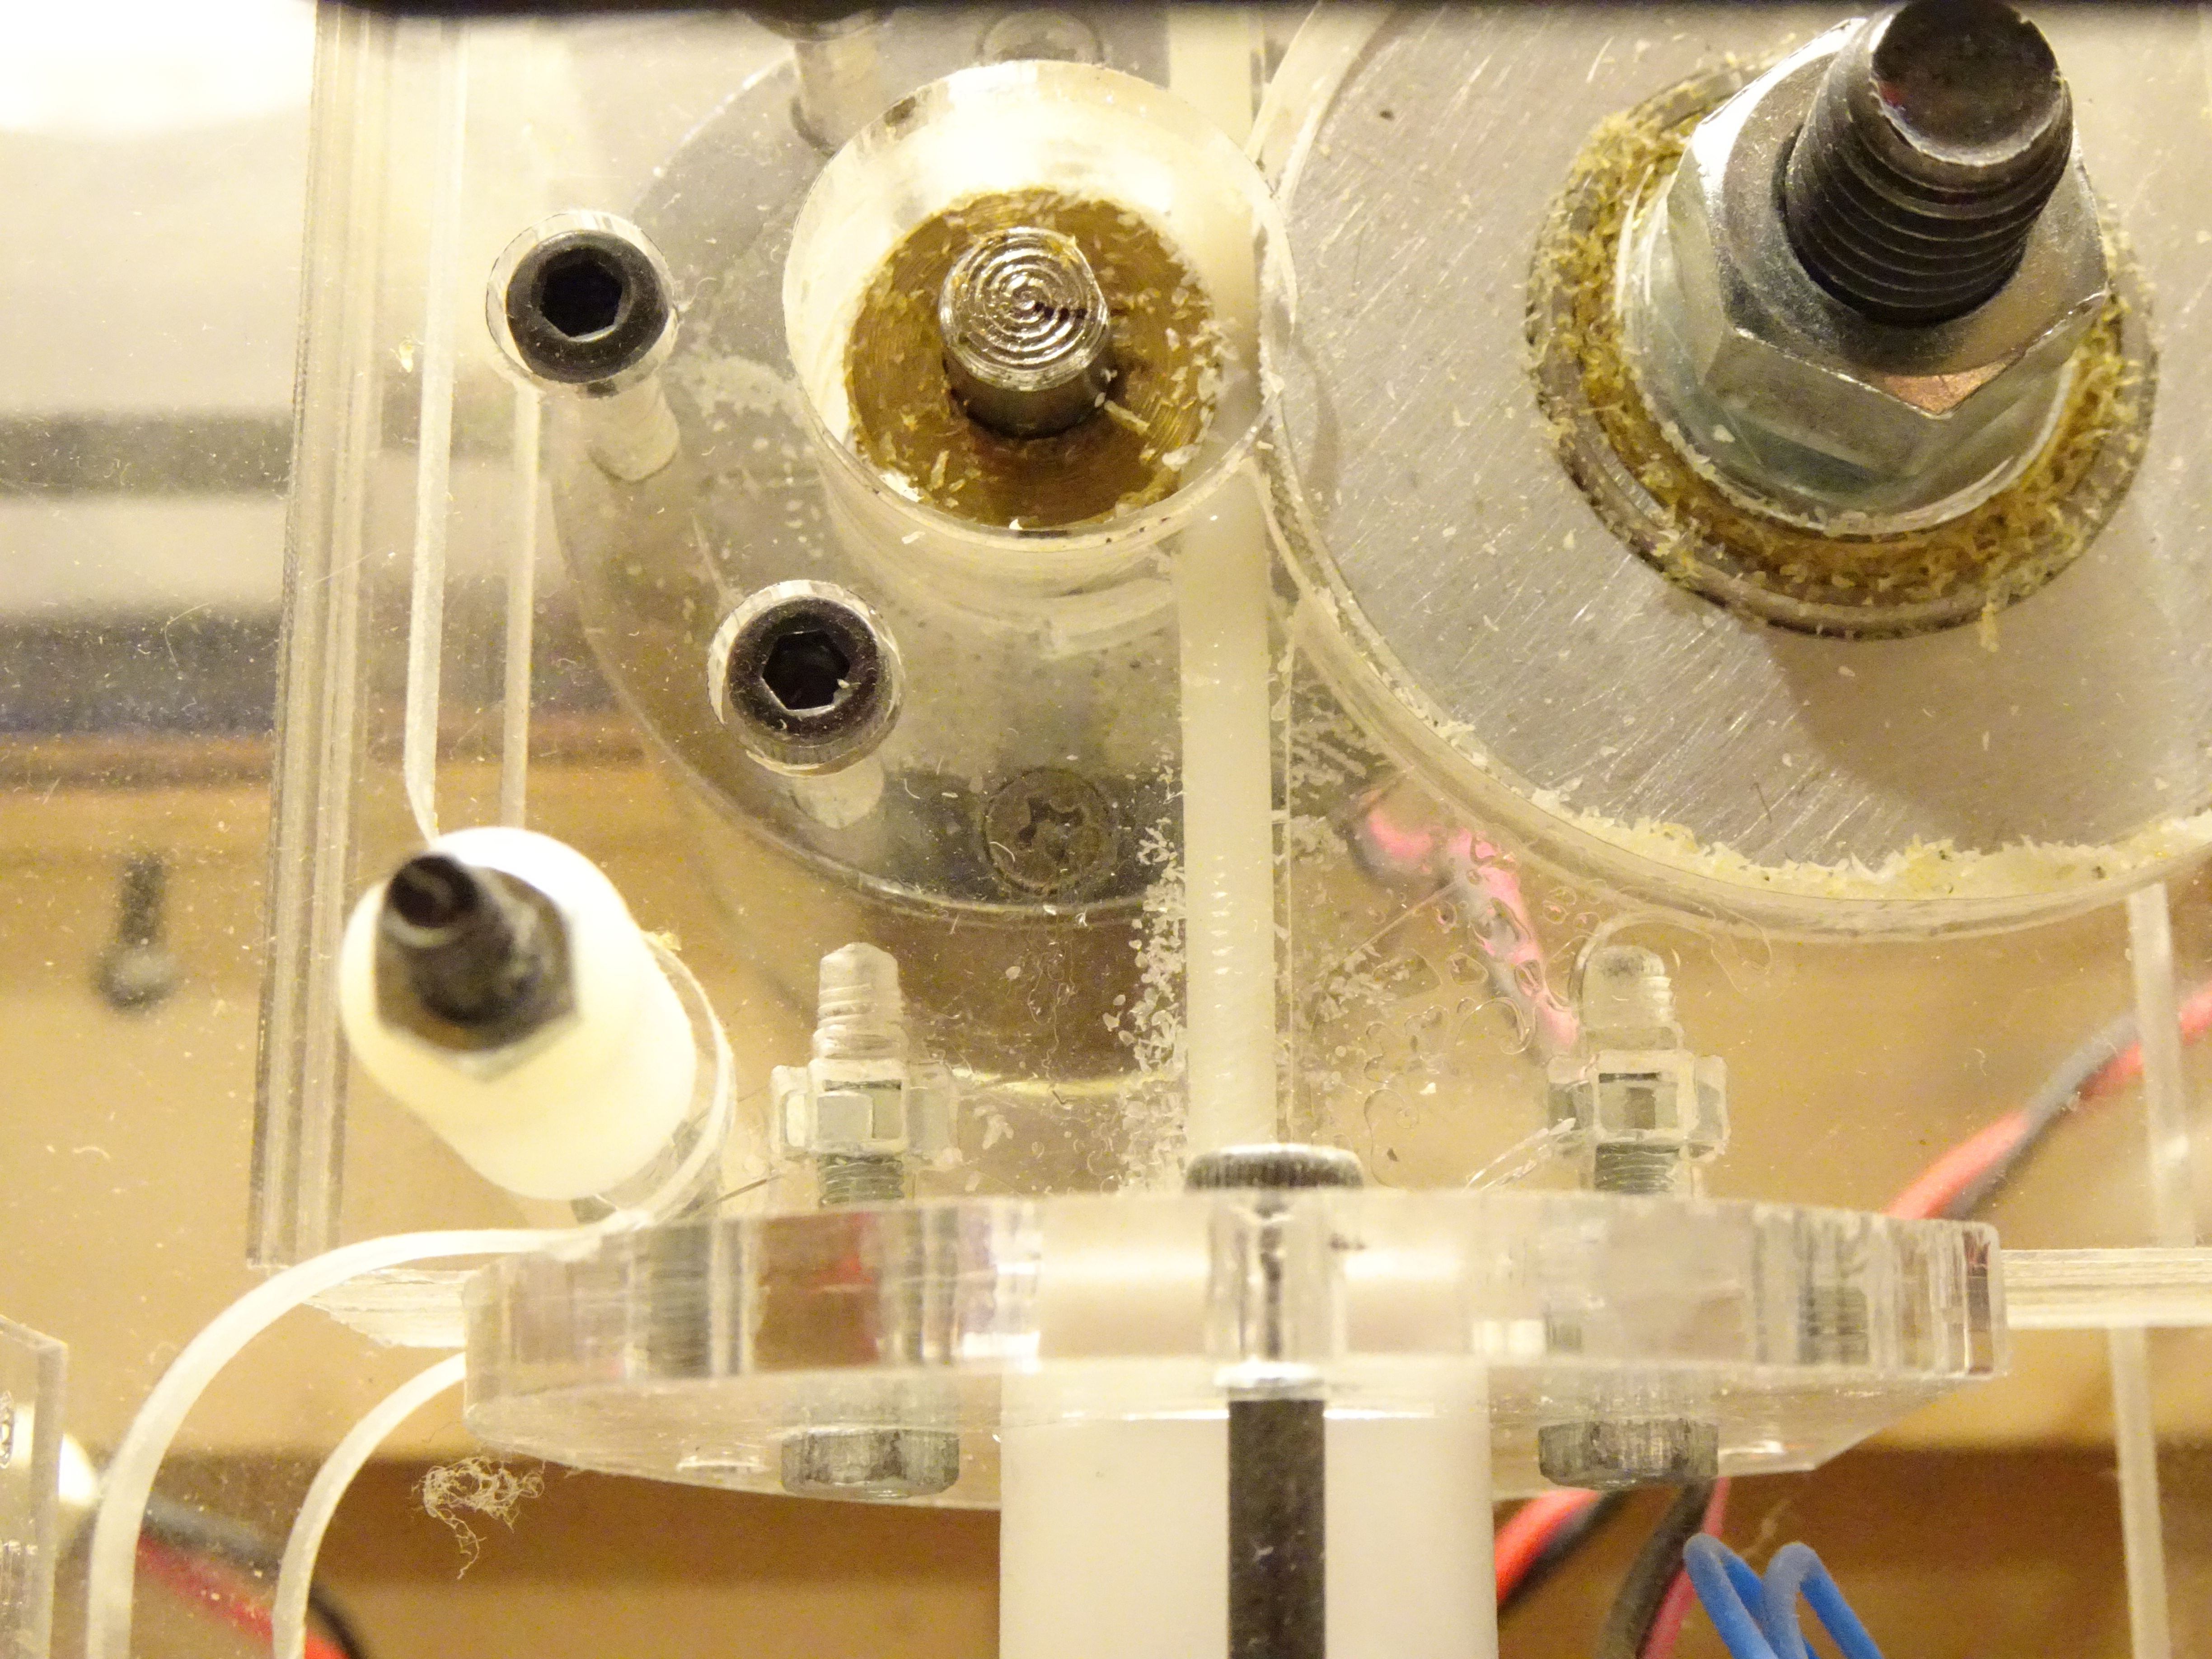
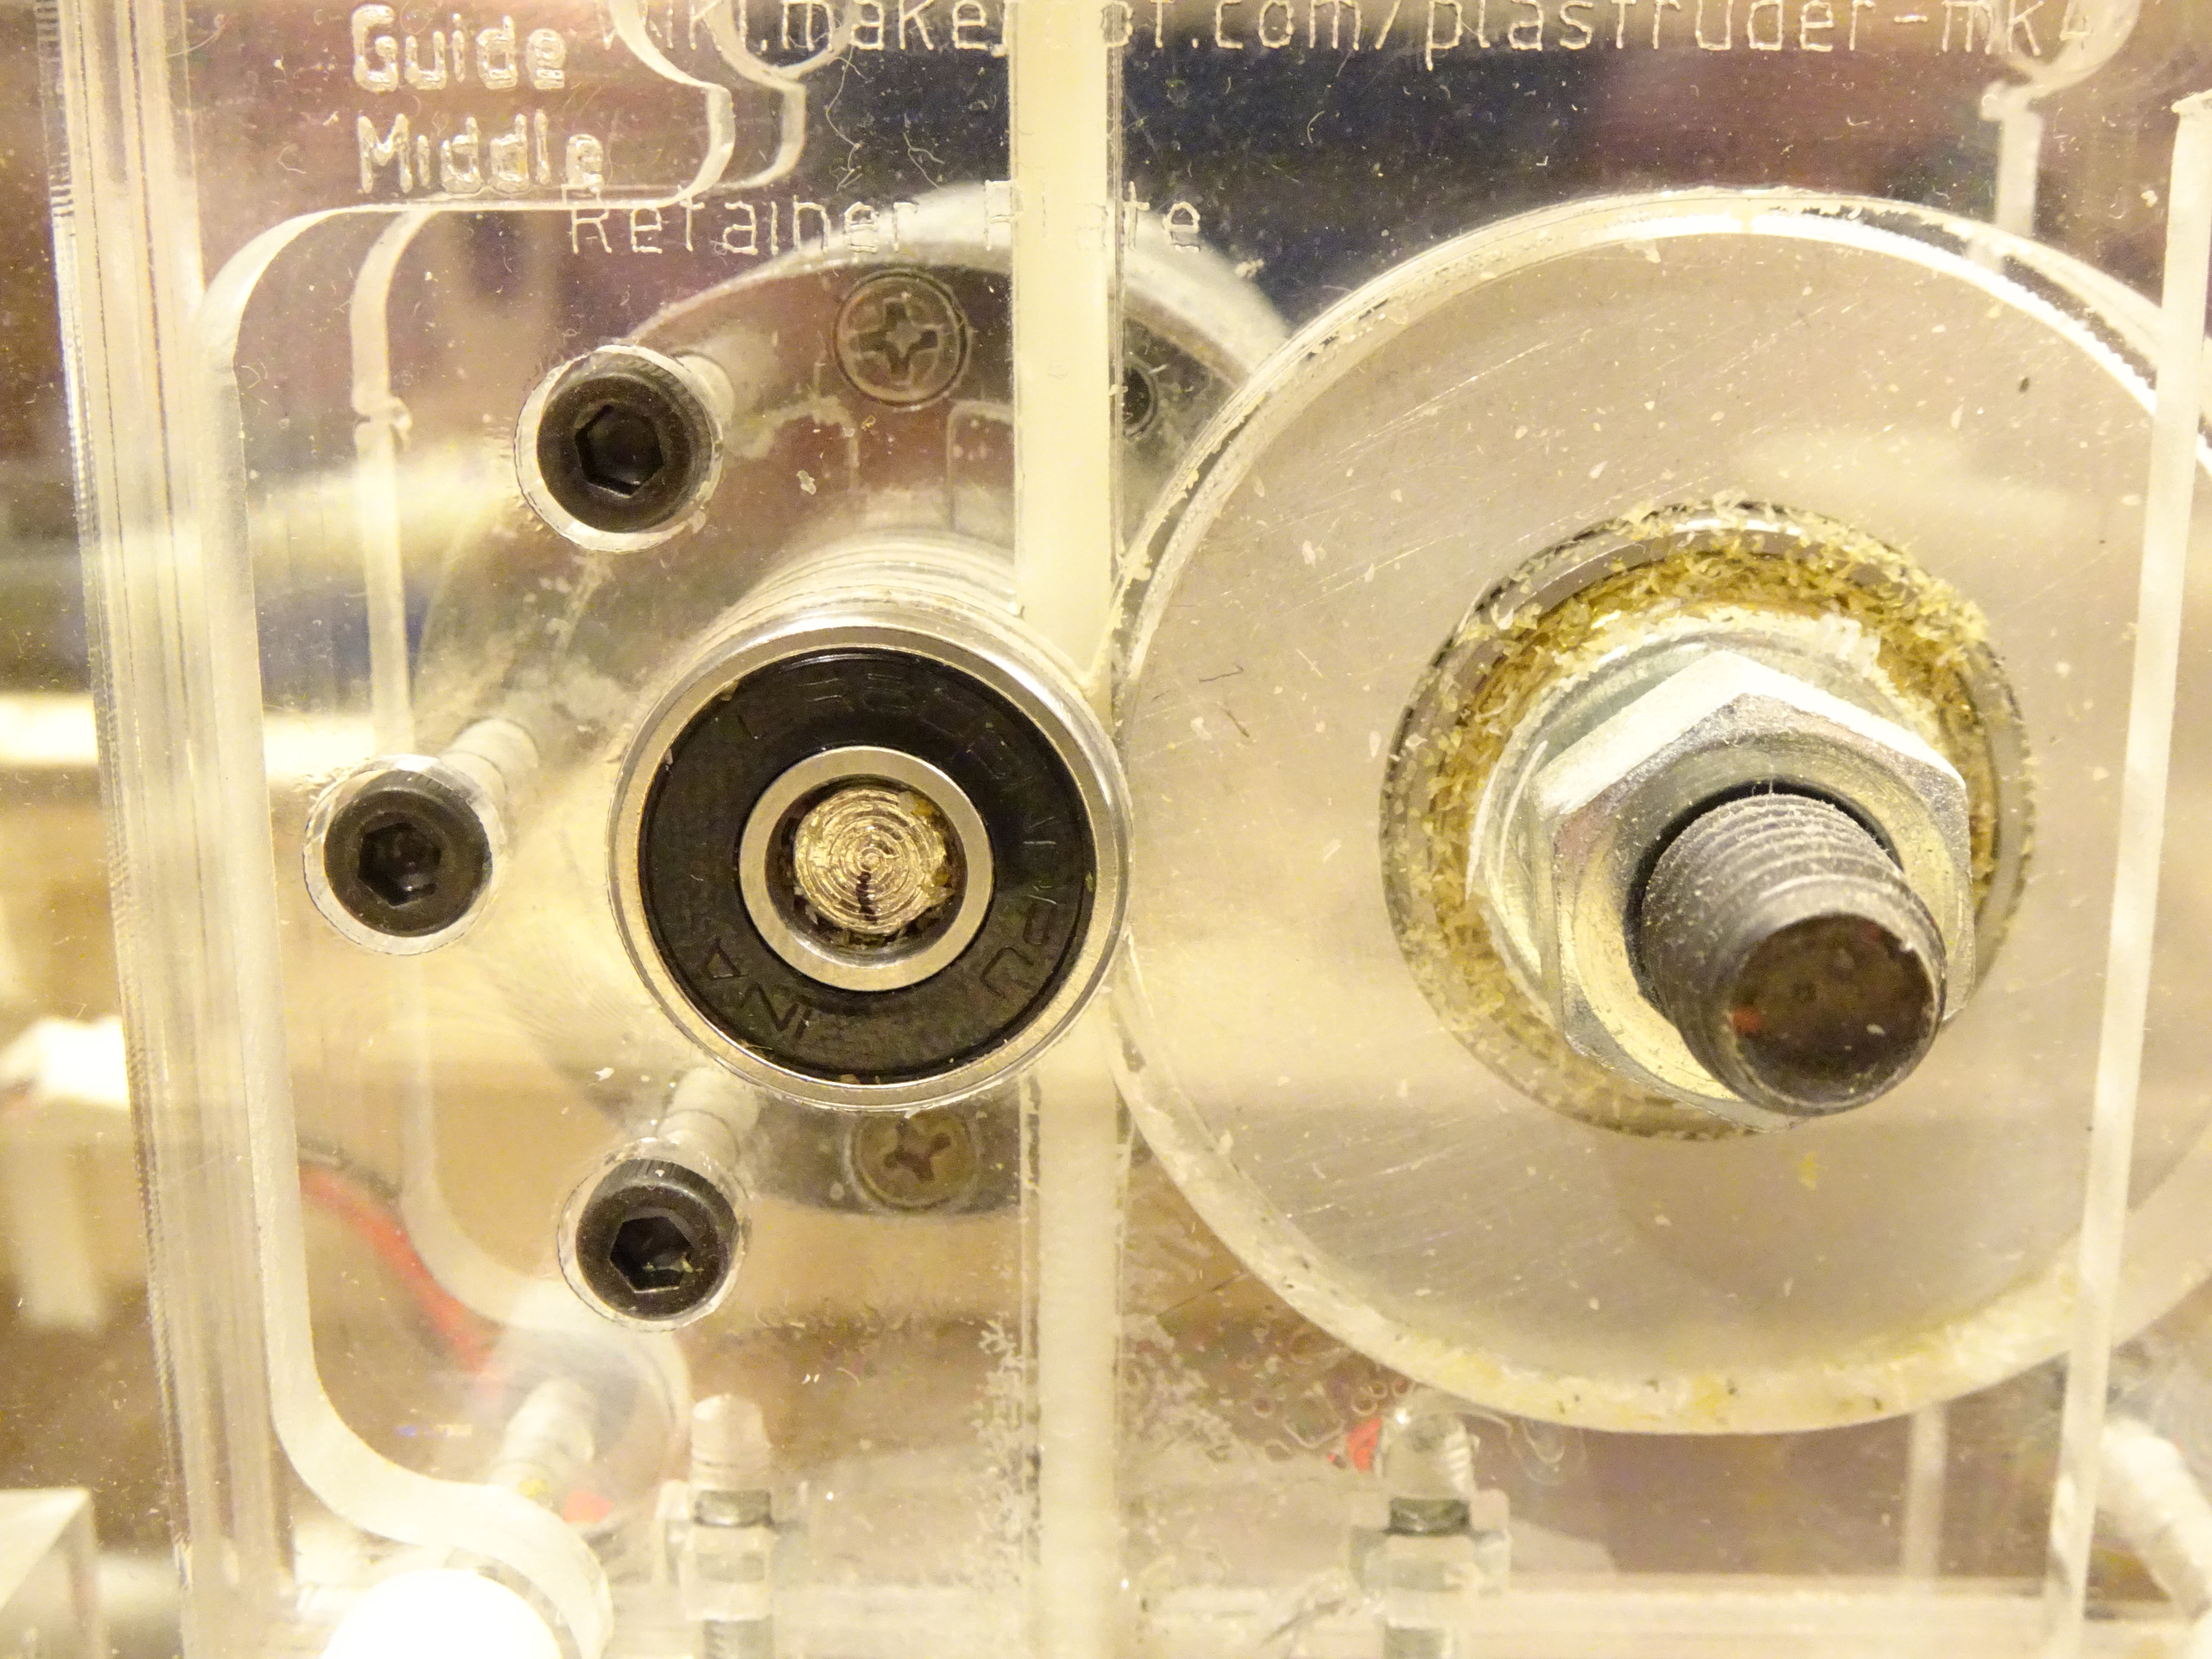
Oh. That bearing. You know, the one on the end of the motor shaft that keeps it from deflecting away from the filament and losing its grip. It just friction-fits into the hole in the laser-cut acrylic and it worked its way out, fell down, bounced off the Z stage, rolled out of the printer, landed on the power supplies, and stopped there instead of, you know, rolling under the washing machine and I’d be looking at the CupCake parts manifest to order a new one.
Okay, you happy now? Good.
Second Attempt: Filament Problem
I noticed that the first print, purportedly at the same temperature I’ve always used in the past to get natural-colored prints, had a toasty marshmallow glow about it. I found the MakerBot G-code reference that lists which codes were implemented and how they were interpreted and found that M104 Snnn sets the nozzle temperature. Accordingly, I edited my 2014 G-code file, found the two M104 codes and edited them to lower the temperature, and started the print again.
It failed early, due to <ahem> another mechanical problem. My original MakerBot ABS filament was shipped in a coil because spools hadn’t been invented yet, and pulling filament out of a coil is prone to snagging. If I get distracted watching Adam Savage YouTube videos and don’t pay enough attention to feeding filament off the coil, the extruder starts to climb up the filament into the sky like the Lorax, then plop itself back down dramatically and make a blob, at which point you may as well cancel the rest of the print.
Third Attempt: Extruder Problem Returns!
Still toasty marshmallow, so I edited the G-code and lowered the temperature again.

At last, we’re back to the original failure mode! About 30 to 40 minutes into the print, the extruder motor stalled and just stopped pushing filament.
I put my meter onto the motor leads and read 9.92 VDC, which would be an alarming drop from 12 VDC if it were true. I halted the print, started the ReplicatorG control panel, set the extruder motor PWM to 255, and read 11.78 VDC at the motor with the motor running, which was more like what I expected. I played around with different PWM values and found (A) that my meter low-pass-filters out the PWM and reads the average DC value (okay); and (B) that it reads about 10 VDC around a PWM of 239 to 240. That is, when the motor stalled, it was probably running at a PWM of 240.
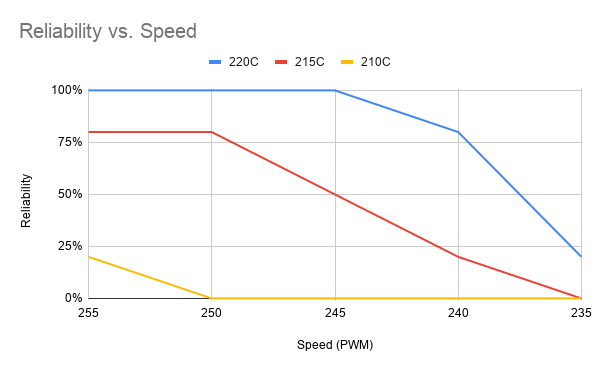
This led to some control-panel-based testing of how low the extruder-motor PWM value can be set and still push filament at different nozzle temperatures on this CupCake at this age in this condition in this workroom. The reliability values above are estimated, but they tell a pretty clear story that this CupCake extruder — as it sits today — really ought not to be driven at less than full DC nor with the nozzle at less than 220°C.
Fourth Attempt: Success
With that empirical <cough — anecdotal> information at hand, I referenced the MakerBot document again to determine that the only G-codes pertaining to the extruder motor were:
- M101 turn extruder on, forward (CW)
- M102 turn extruder on, reverse (CCW)
- M103 turn extruder off
- M108 extruder speed (Snnn)
I searched my 2014 G-code file for M108 extruder speed commands and found only two, both setting it to a PWM of 240.
240? Whyyyyyyy? However much a PWM of 240 slows down that DC gearmotor from straight 12 VDC — and I assure you no one on this planet knows — why would you want to push filament slower, when the filament speed is the bottleneck on printing and the X and Y axes can comfortably go faster than the extruder can keep up with? Le sigh.
Anyway, I made another pass at hand-editing the G-code file, to raise the nozzle temperature back to 220°C and raise the extruder motor PWM from 240 to 255; and it was then ready to run without the likelihood of stalling due to too low a PWM and too low a temperature.
As this was going to push more filament into the print than the previous G-code … which doesn’t matter on the narrow walls that constitute most of this print because they’ll just get squished wider, but there is some infill that will build up … I babysat the print and live-adjusted the Z every few layers to make them taller, accommodating the volumetric increase.

And it worked. This print, which I no longer need and about which I care only as a canary, completed for the first time evar.
Next Steps
With a dataset of one completed print, I am declaring success.
More seriously, of course it may fail again, either because the combination of PWM and filament viscosity wasn’t the only issue or because the motor is aging enough that it’ll soon be stalling at PWM 255 on the 12 V power supply. One could likely perk it up nicely with an external 15 VDC power supply, but that would require hacking (or duplicating) the extruder PCB to get a higher voltage to the A3949 motor driver ICs or hacking an interface off of the H-bridge outputs to use an external H-bridge driver, neither of which particularly appeals.
I know that back in the day, people figured out how to upgrade their extruder DC gearmotor to a stepper-motor drive, “Wade’s Geared Extruder” being the most-evolved example. I’d love to upgrade to stepper drive — I already have the parts for a Wade’s geared extruder — but I can no longer find any notes online about how to drive that using an external stepper driver (which one wants), only a description of how to use the two onboard H-bridge drivers to drive a stepper and a forum post on how badly that works. It’s always been my plan to do that upgrade, but it’s tough finding the documentation about nascent DIY upgrades ten years of noise later.
Independent of making sure I have a working extruder motor, I have to figure out a working slicer and redetermine slicer settings. I’d be perfectly content still using Skeinforge; but when I install apparently the same version I was using in 2014 onto my current laptop, it looks and behaves completely different, so that’s a puzzle. I’ve created and lightly tweaked a CupCake printer profile in PrusaSlicer; but Slic3r (and PrusaSlicer by extension) do not have a G-code flavor for the CupCake (their MakerBot G-code flavor appears to be for a much later model) and I don’t think that G-code is going to run successfully. (I tried, and it did some odd things.) Nor can I find any documentation on how to create or edit Slic3r G-code flavors, which I’d be totally willing to do. So that’s a bit of a puzzle.
That means, of course, that although I can successfully complete old prints, I can’t yet start new ones.
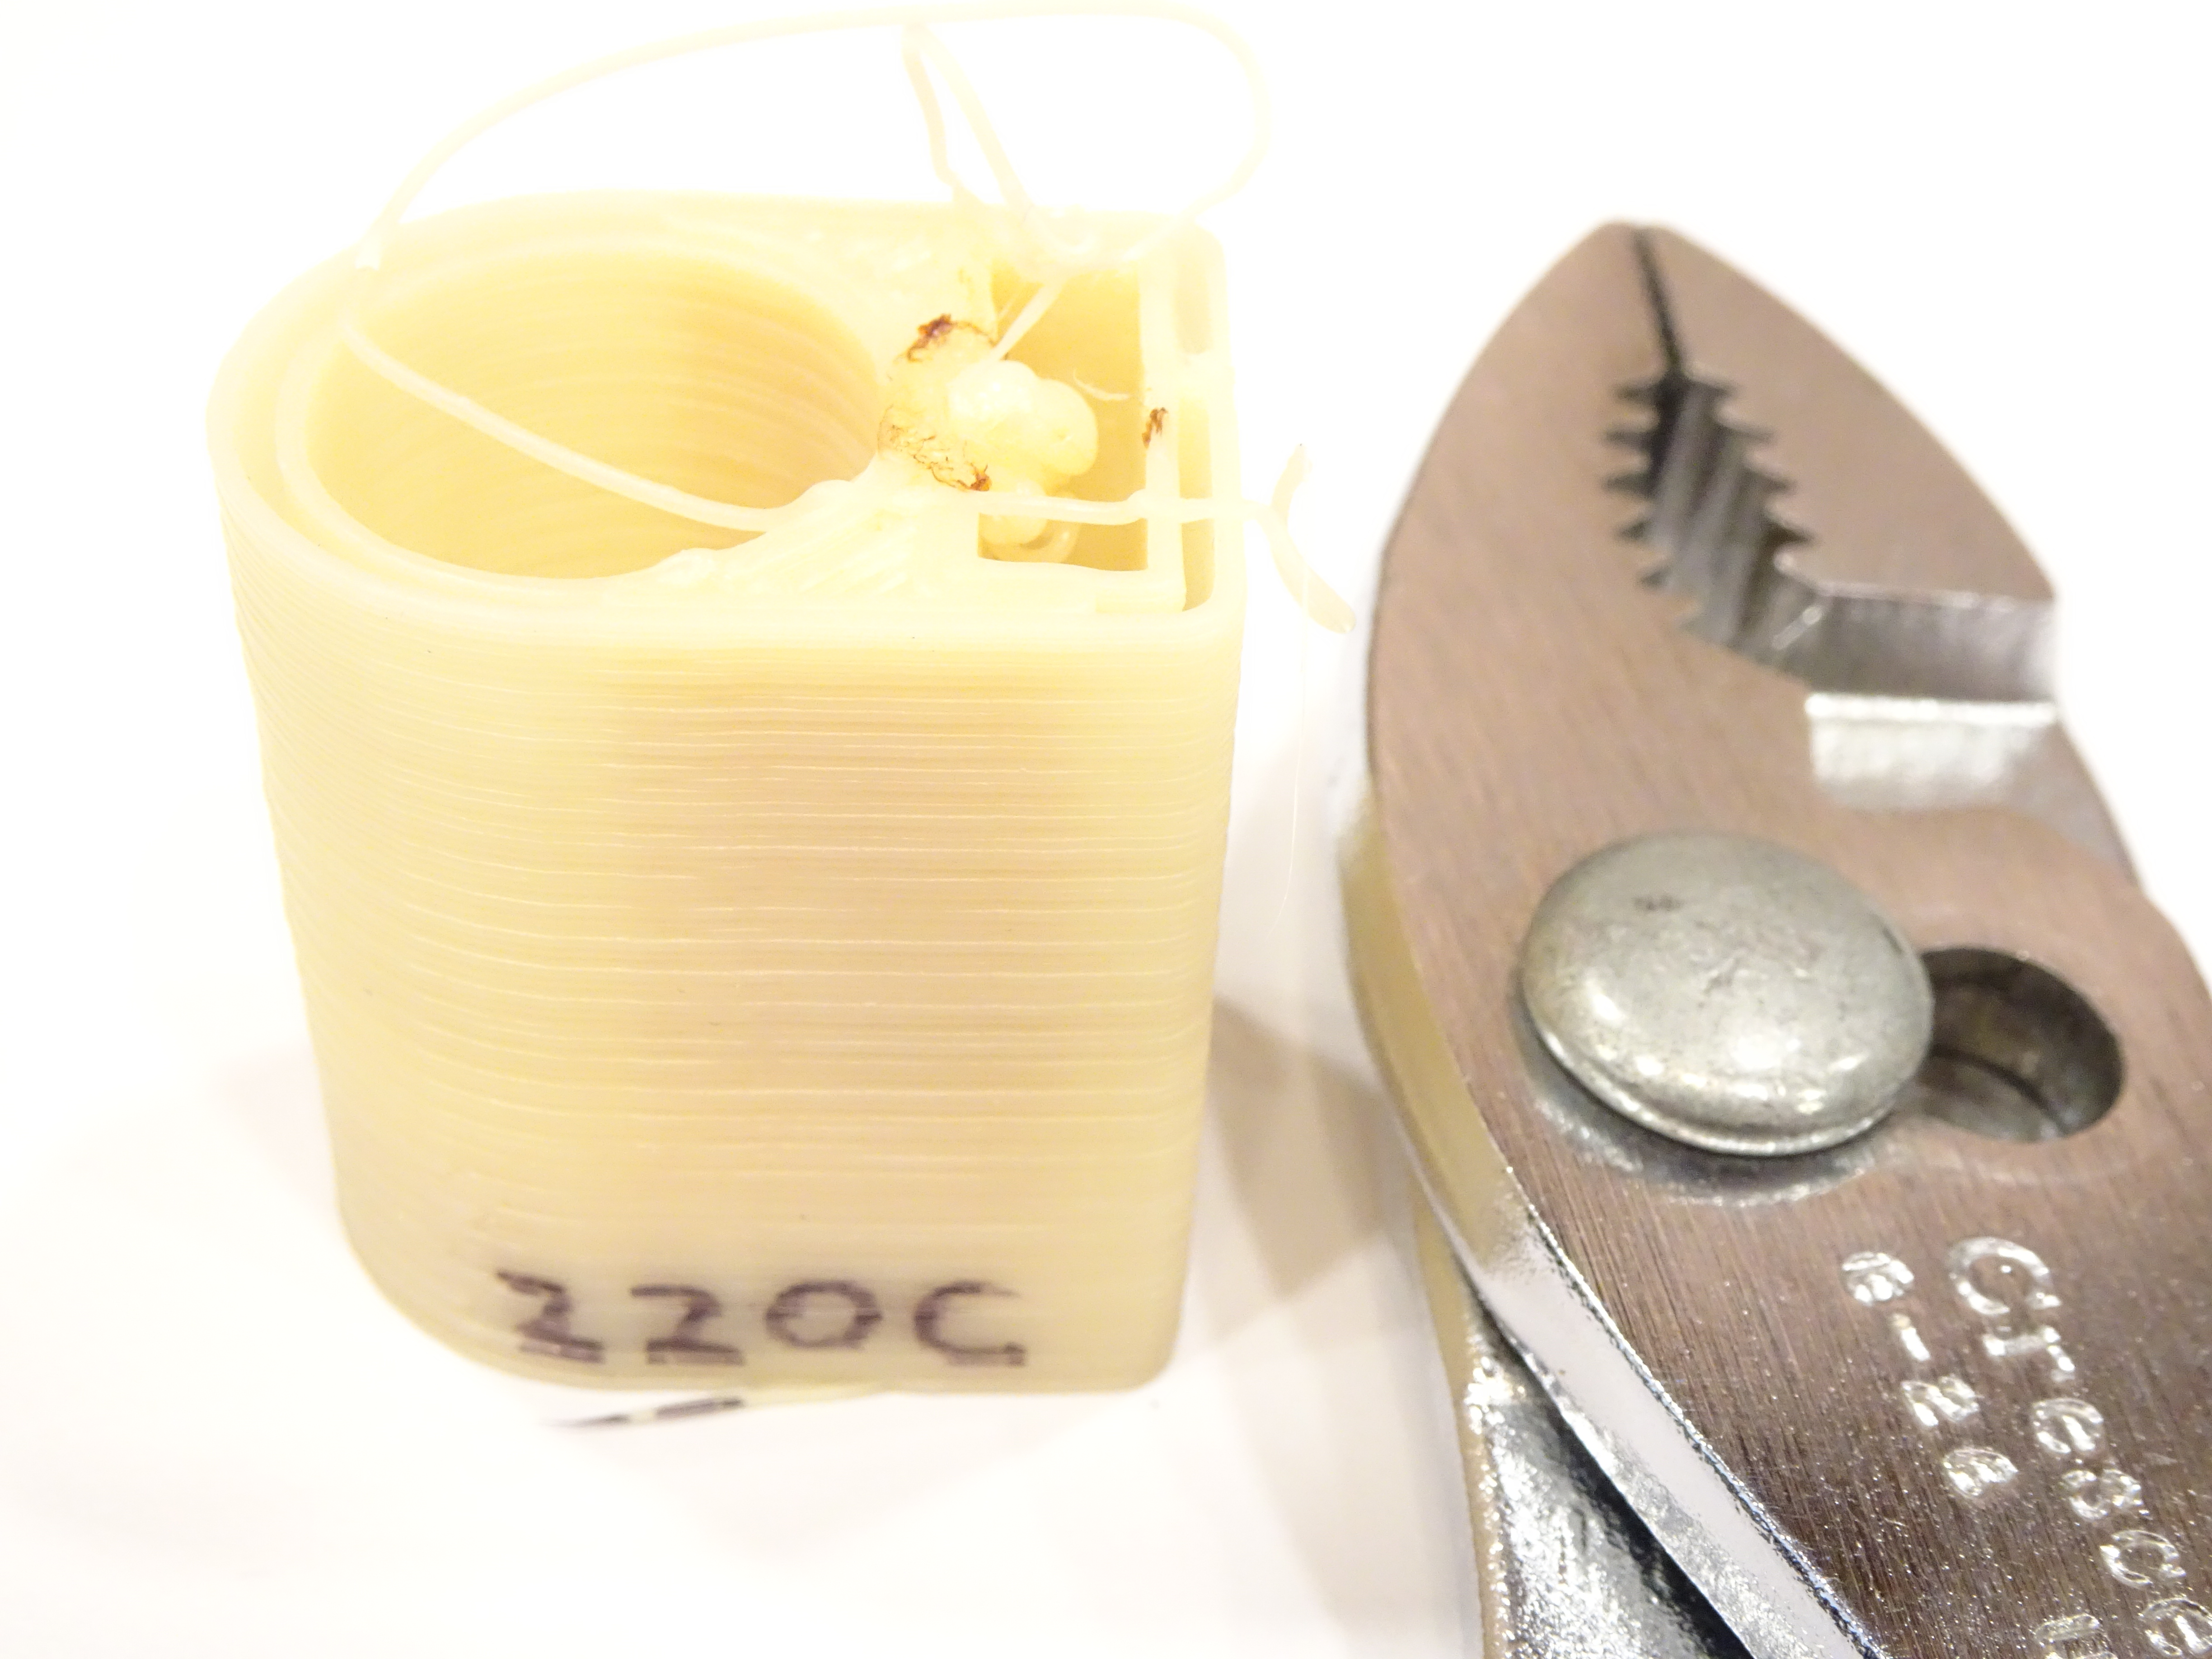
Finally (for now), why is my ABS coming out toasted darker when it used to print at the same color as the raw filament? My best guess is that ten years of sitting have degraded the filament, but that’s outside my area of expertise. As shown at the top of this post, though, even lowering the nozzle temperature to 210°C doesn’t keep it from darkening and looking scorched.
A new post! Love your blog. Your original posts on your CupCake were my original introduction to 3D printing, making me think maybe it would someday be something more than ugly, janky, yellow plastic cubes.
That said, this update is a bit reminiscent of “I got a web browser running on a Commodore 64!” Fascinating as a bit of retro archeology, but when you can now buy a budget 3D printer for under ~$200 that will reliably turn out quality prints out of the box, I question whether it is worth the effort to bring a zeroth generation CupCake into the modern era.
But if that’s what it takes to bring your blog back to life, I welcome it.
JC, wow, it’s great to hear from someone so fast! You must still have an RSS aggregator aimed my way.
I don’t want to get a web browser running on a Commodore-64! I’d just like to get my Commodore-64 and its floppy drive working again to play Jumpman, and my Amiga working to play Arctic Fox.
Those statements are both literally true and metaphorical for what I want from the CupCake. I don’t want to go buy an E3D hot end and a RAMPS board set and build a no-name printer in a CupCake frame, and I don’t exactly want to uplift the CupCake into the modern era. I want to get the CupCake working the way it was starting to work back in the day, but I lacked the time to dedicate to completing the job. I’d like to add only a few upgrades, like the Wade’s geared extruder and the TwoTimes low-rider X-Y carriage, that were available at the time.
Part of my interest is historical preservation. I’m privileged to own a pre-release printer from the company that catalyzed the hobbyist 3D-printer revolution, and I’d like to get and keep it working as close to original condition as possible. I’ve visited the Altair display (apparently now dismantled) at the New Mexico Museum of Natural History and Science more than once; and as reverent as I felt about the exhibit, the machines there were doing nothing. I’d much rather keep the CupCake working, if at all possible.
Finally, I do have some ulterior motives.
I love printing in ABS; but in my experience, it requires a heated chamber and gentle air circulation, neither of which my Prusa has. Yes, I could build it an enclosure; but the ABS I’ve bought for it doesn’t stick to their PEI sheet nor (strangely) to the same kapton tape I use on the CupCake. Albeit at a lower resolution, I think the CupCake has the potential to print ABS better than the Prusa.
And man, is that 0.6-mm nozzle fast compared to a 0.4-mm nozzle. With about twice the cross-sectional area, one could expect the CupCake to print almost twice as fast as the Prusa, again at a lower resolution — and at the same time that the Prusa is busy printing something in PLA. Preliminary slicing with the CupCake profile I’ve built in PrusaSlicer bears that out.
So I have a few plans up my sleeve, and you should be seeing more soon.
Another rss reader here.
I’d think it wouldn’t be too bad to take the pwm signal for the h-bridge and use it to drive the stepper. You’d have to make some decisions about max speed and scale that to max pwm. I would probably stick an arduino pro mini where the h-bridge is as a matter of simplicity and drive any off-the-shelf stepper driver from that. You’ll probably end up filtering a couple pwm channels and reading them as analog before synthesizing stepper driver signals. You may be able to do it entirely in logic gates but that design really puts you at the mercy of chance that it will move even close to the rate you want it to. I did something similar turning step and direction signals into quadrature to drive ancient shop bot motor controllers with a modern cnc brain. Then again, if your goal is historical accuracy I bid you good luck searching to find out how it used to be done. I’m currently trying to revive my old c64 dtv board and all the information is websites on the internet archive now.
I was right, sorta.
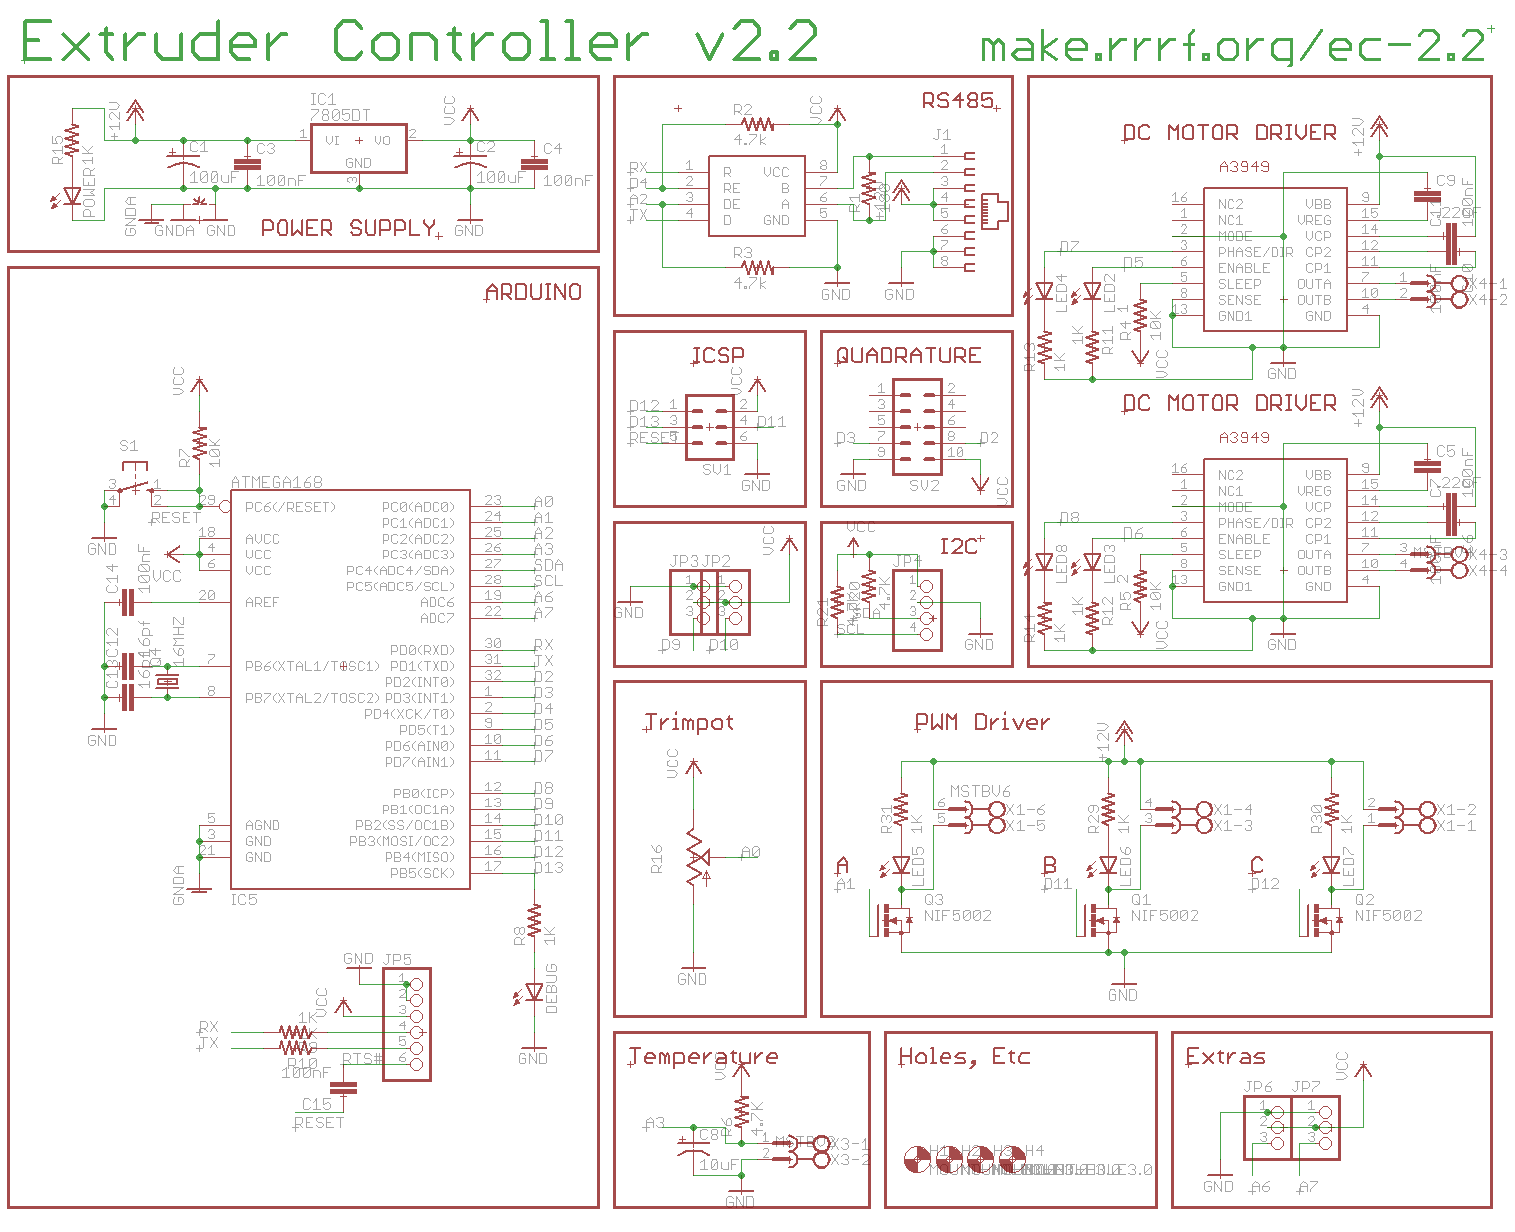
https://reprap.org/wiki/Extruder_Controller_2.2#H-Bridges
These have enable and phase. Phase as described is direction, enable is being used to turn the motor on and off. The original code (I think) uses this as a PWM speed control. Because you want a change in frequency for the step and direction pins on a modern external stepper controller you need to convert that pwm with a variable duty cycle and presumably some fixed frequency to a 50% duty cycle variable frequency signal.
I would probably stick an arduino in like I said and read the pwm low passed as analog and synthesize the speed to run the stepper from either a function or lookup table. a pro mini is about the size of a postage stamp so it’s not like you’re hanging an arduino uno off of the thing. The other option is you could do it in a more analog way. An LM331 and support circuitry would be a solution pretty small and could probably be tuned to do exactly what you need in terms of range of voltage inputs and frequency drive output. Without using any ‘specialized’ chips you could use an op-amp to do the same thing but the setup is a bit harder: https://bestengineeringprojects.com/voltage-into-frequency-converter/#:~:text=The%20circuit%20of%20voltage%20into,converted%20to%20its%20corresponding%20frequency.
Oh, all of this ignores the lack of an ‘enable’ signal which modern stepper drivers seem to want. Step, Direction, and Enable. The last one basically says that when you’re not moving do you lock the steppers in place or let them spin freely. No enable signal means your stepper controllers are burning whatever current they drive with all the time holding the motor stationary. This isn’t a big deal when you’re constantly extruding anyway but can be a bit un-nerving to have your motor sitting there burning current whenever the unit is on.
That’s all without changing the code for the atmega168, which you totally can do. But the amount of changes you want to make is up to you.
As I said a couple years ago, your blog convinced me to…open a Shapeways account.
I’ve since written up my experiences with printing at 3rd party services – it’s not without their own issues:
https://saccade.com/blog/2019/12/fit-testing-block/