The dark horse in my pulse sound programming demo is my Roland M-OC1 Sound Expansion / Orchestra module, built to provide a library of orchestral sounds for studio work. Let’s just jump right to the finished sound sample and then I can tell you about how to get there:
“Cheaty McCheaterpants!” I hear you cry. “You have multiple instruments playing there — where’s the challenge in that?!”
Well, this whole series is about how to achieve as close as possible to a particular imagined pulsing sound using the particular features (or working around the particular limitations) of different synthesizers; and this one has particular features that are particularly well-suited to this particular task.
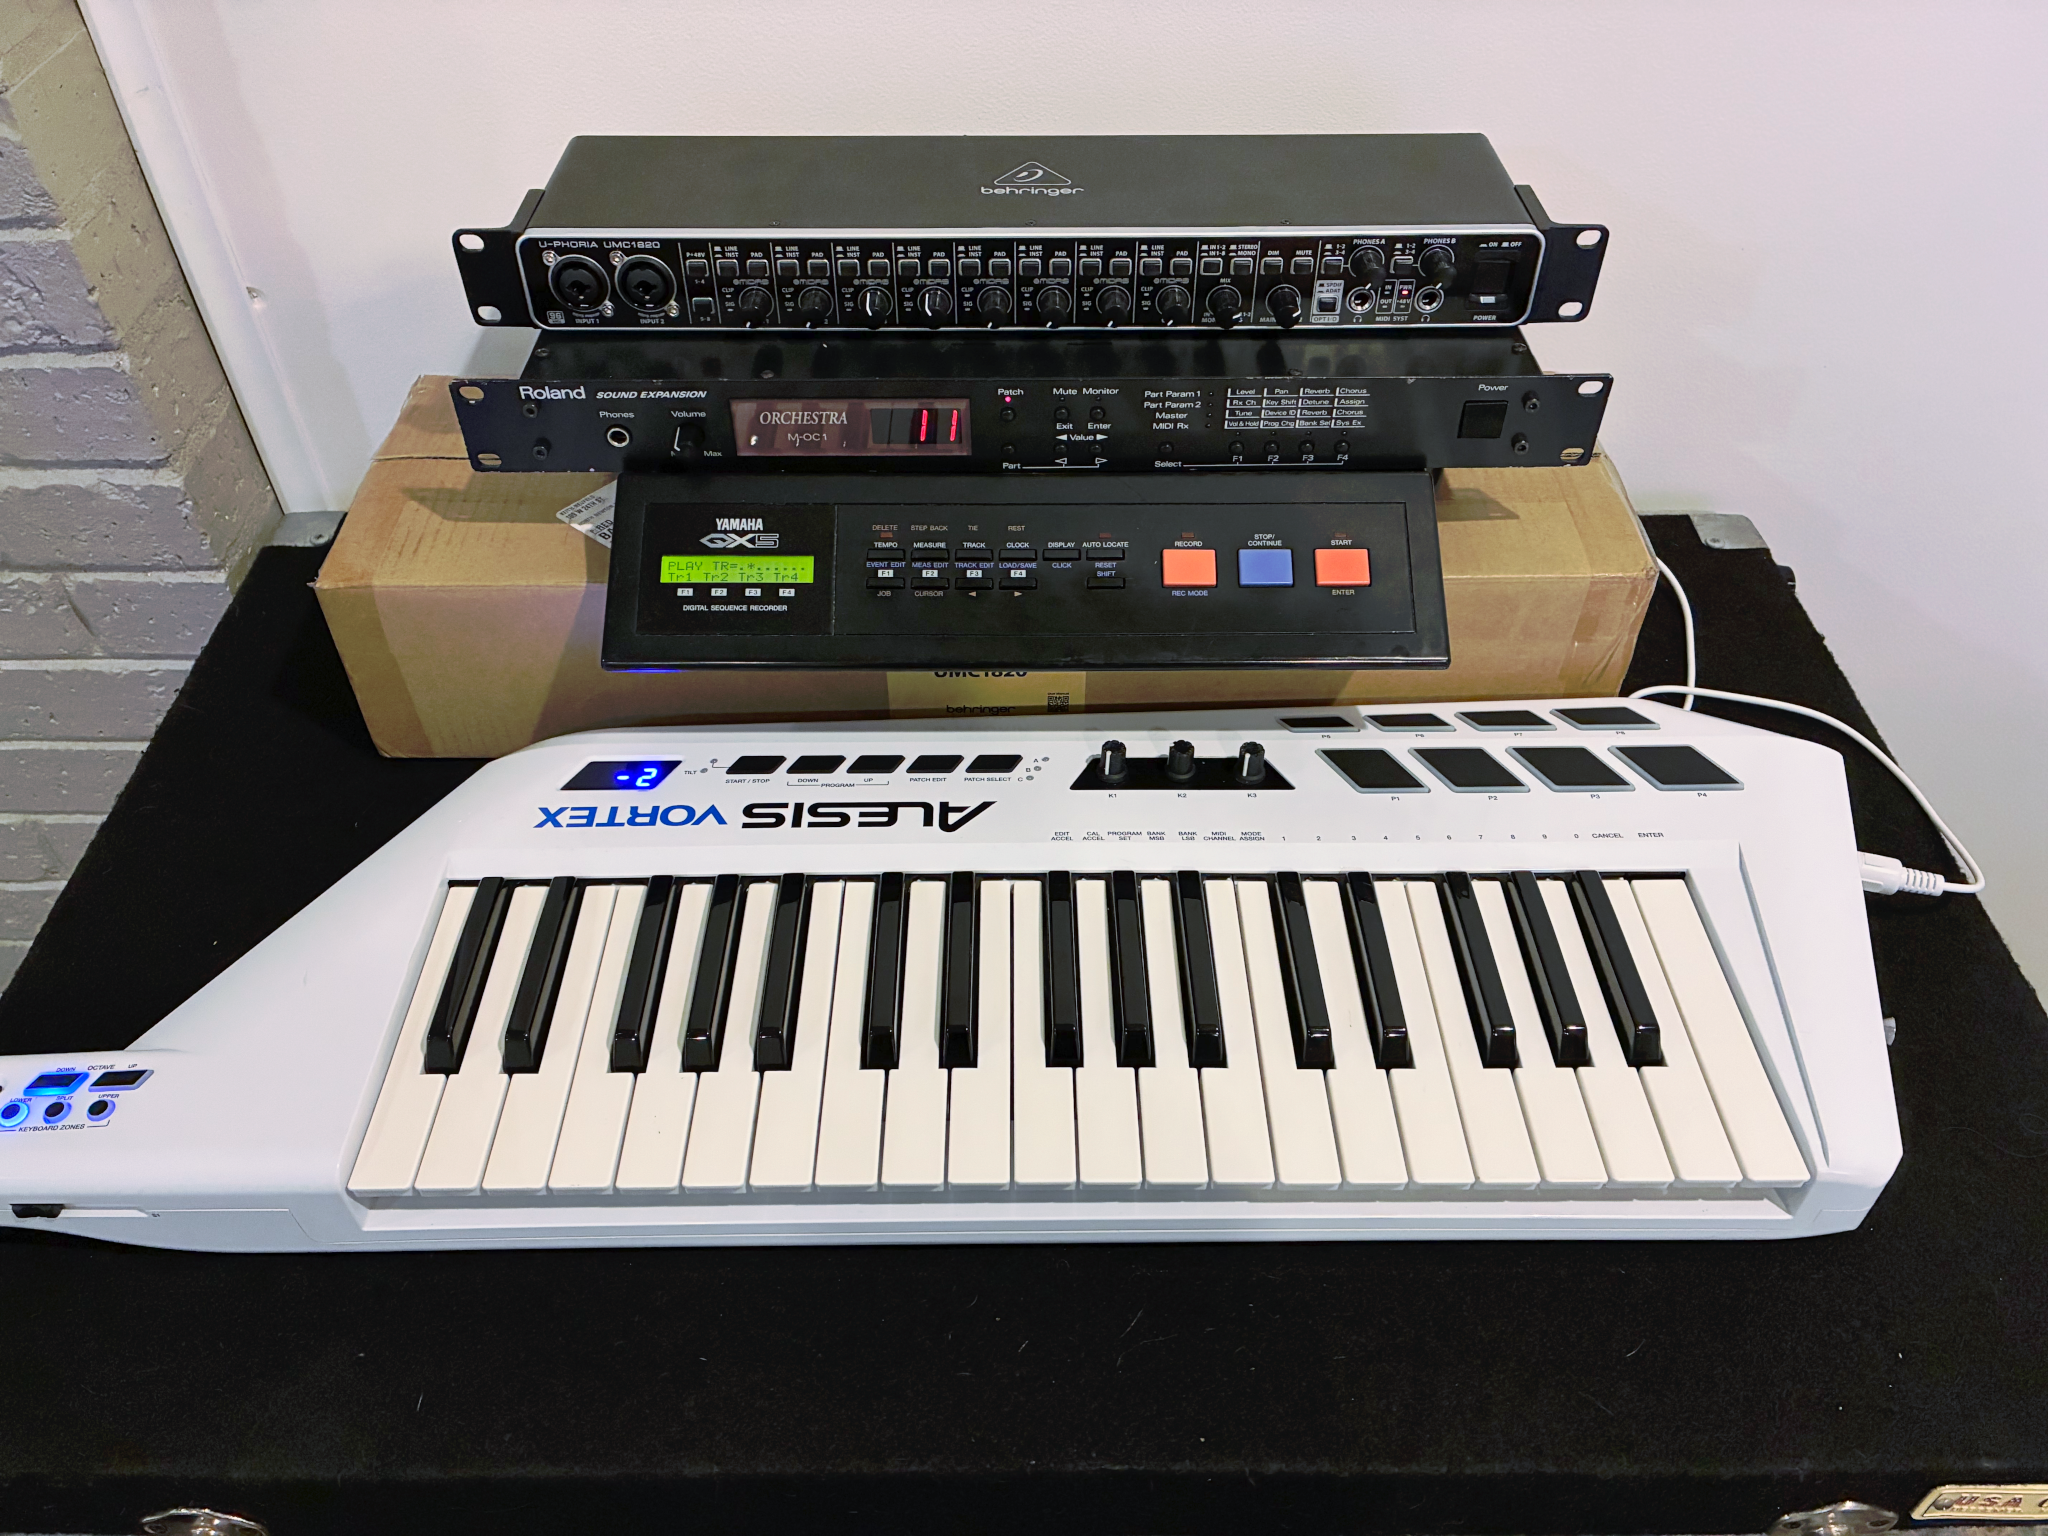
(rackmount module second from the top)
Features:
- 28-voice polyphony across 8 “Parts” (instruments)
- Stereo audio output
- All voices played from PCM-encoded waveforms of recordings of real instruments
- Velocity received and used, in some cases not only for amplitude but for the way instruments sound different when played at different dynamics
Let me walk you through the orchestration and development of that sound sample on this platform, which relied heavily on the Yamaha QX5 (1986) MIDI sequencer for execution.
Roland M-OC1 Overview
The orchestral sound module has a common architecture with several other related sound modules — eight “Parts,” of which the first seven can be assigned any “Patch” (instrument variant) in the system and the eighth is dedicated to a drum kit or related percussion section. The module has “patch” and “performance” modes, with (if I understand it; I’m still learning the architecture)
- a Performance being a container for the Patches assigned to each of the eight Parts plus Effects (hazy on this one)
- a Part being one of the eight different instruments/variants, which is assigned a Patch and can be assigned its own MIDI channel
- a Patch or maybe Tone being a particular instrument/variant, of which there are 226 on this particular module, each of which is made of up of one to four Waveforms
- a Waveform being a PCM sample and the smallest unit of sound
So to look at the most granular level, Waveform List entry 68 and 69 are Timpani Roll forte and Timpani Roll piano; but I don’t find any Patch that provides Timpani Roll. I suspect the PCM samples are provided to allow you to build your own timpani roll … but I haven’t got that far yet.
In any case, with that much of the architecture sorted, my task was to decide what instruments to use, assign one to each Part (up to seven, optionally including a separate eighth for percussion), and decide what to have them play.
The Musical Plan
I’ve had this sound module in mind from the inception of this series as a very different approach from classic synthesizers. And I knew a few things in particular about how I wanted to score the pulse sample for this module:
- I wanted to use a mix of low strings, low woodwind (expecting English horn or contrabassoon), and low brass for the long pedal tone.
- I wanted to have a different but related set of instruments play just the pulses.
- I wanted timpani to introduce the pulses.
- I wanted to demonstrate what orchestral composers (which I am not, just a past performer) know — that the audience perceives the “activity” of the fastest-moving notes they can hear, even when some (or many) of the instruments are holding longer notes. In other words, the pedal tone can continue throughout; the pulses can be separate instruments; and the pedal tone needn’t change to a faster rhythm.
So my process was:
- Audition the different Patches to find candidates for the pedal tone and for the pulses.
- Start programming the candidates into different Parts, making sure their timbres blend the way I have in mind (because I can’t rely on a conductor to give feedback about blend to human performers who will adapt their playing to what’s needed for my mix).
- Program the different musical lines into a sequencer on different MIDI channels, because I have three musical lines and I don’t have a keyboard with me that can split into more than two zones.
- Set and check and set and check and set the levels of the different Parts in the final mix, making sure they balance the way I have in mind (because again I can’t rely on a conductor to give feedback about balance to human performers who will adapt their playing to what’s needed for my mix).
- Automate the dynamics on the sequencer.
Selecting Candidate Patches
I sat down with the module, a keyboard, the manual, and Google Keep to try out the Patches pertaining to my orchestration.
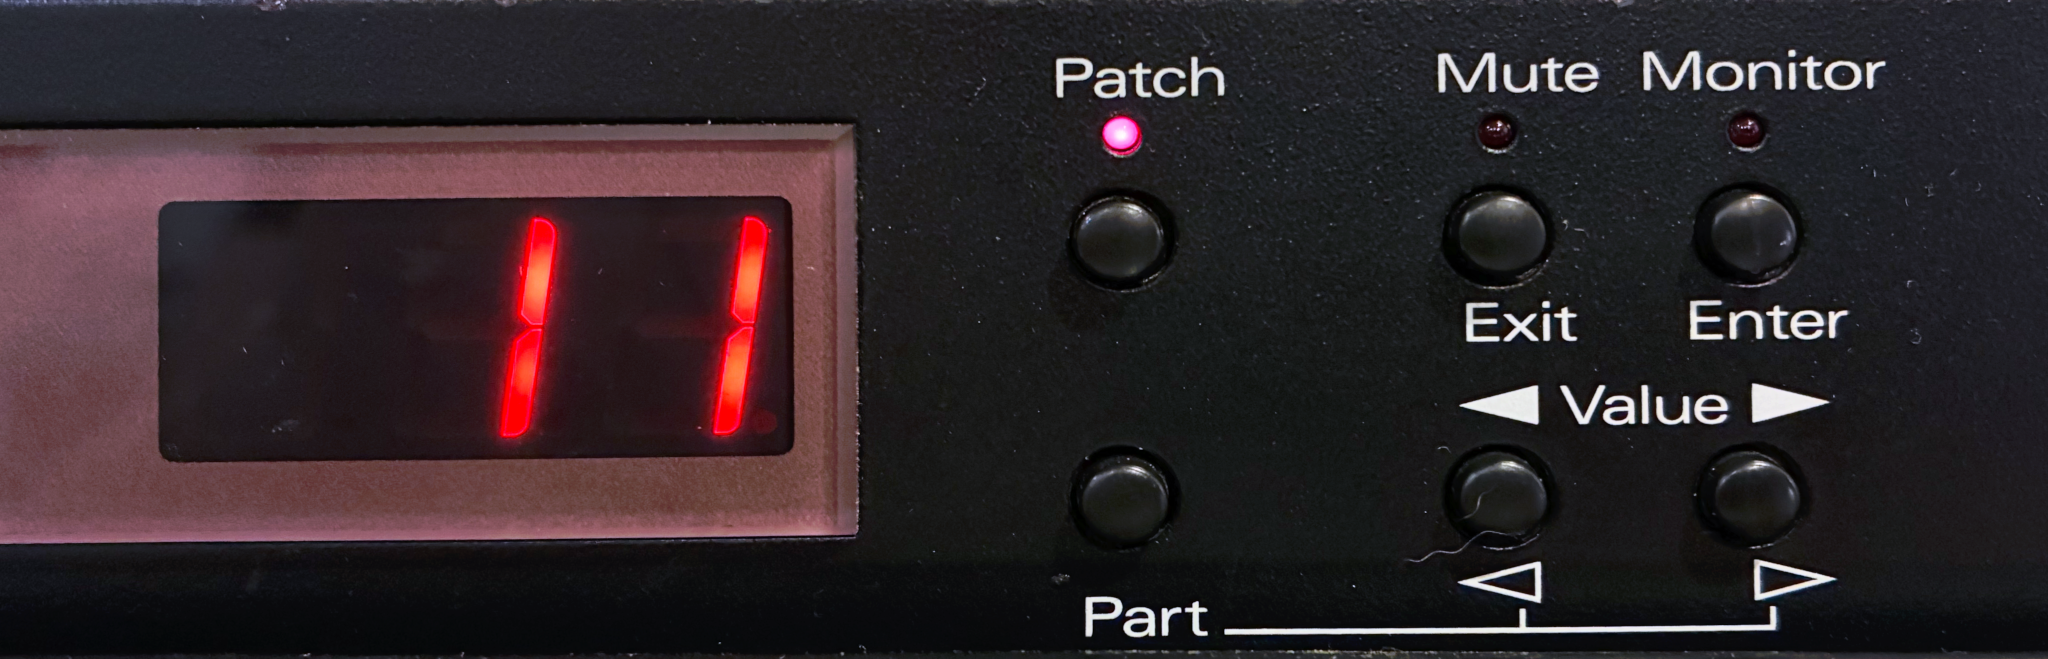
To do that, hold the Part button and use the arrows to pick which of the eight Parts you’re editing, then release and use the arrows to scroll through the available Patches.
For the pedal tone, trying out low woodwinds — 11 English Hrn1, 12 English Hrn2, 13 English Hrn3, 18 Bassoon 1, 19 Bassoon 2:
For the pedal tone — which will quietly change pitches at the end — I wanted something without a significant initial attack, so I put 11 English Hrn1 onto my list.
For low brass, I listened through a lot of brass, ultimately choosing 58 Tuba 2 and 79 Big Bones to put onto my list:
For low strings, 221 Chorus Vc (violoncello) and 222 Stereo Vc were the only realistic choices:
On to the pulses. I wanted timpani to introduce them, so I tested 140-143 Timpani 1-4:
You might be wondering where 143 is in that recording, and so am I. It seems to be much quieter and I wasn’t hitting the keys with enough velocity to really make it speak. I entered the second and third onto my list.
For pulsing pitches, I wanted instruments with a brighter timbre but (because I want the pulses to be more “wuh”) not particularly sharp attacks. First, 82 Full Brass and 83-90 Brass Ens 1-8:
The latter several sound very similar, but my recollection from an earlier session is that they may have different attacks when played at a higher velocity than is really comfortable for me on this springy keyboard. I ended up putting 82 Full Brass, 84 Brass Ens 2, and 90 Brass Ens 8 onto the list.
Next, sampling low strings for pulsing — 165-171 Strs L-H (low-high) 1-7, 172 Agitato Strs, 173 Vivace Strs, 174-175 Strs M-H 1-2, and 176-178 Strs L-M 1-3:
Of these, 166 Strs L-M 1, 172 Agitato Strings, 173 Vivace Strings, 176 Strings L-M 1, and 177 Strings L-M 2 made the list.
Finally (for auditioning instruments), 203-204 Pizzicato (plucked) 1-2:
MIDI Assignments (and Woes)
With some options on the table, I started “mixing” them (setting levels to blend well). In the sound module, which is not what I’d have preferred to do.
The whole time, I’d envisioned writing the orchestral score in MuseScore, including dynamics for the different instruments, and letting it play back the parts for me to the sound module. Alas, at least on the Mac, MuseScore has removed playback to external MIDI devices. Not to worry; I can save the score as a MIDI file and learn enough Ardour to import it and play it back from there. Alas, MuseScore writes a bunch of Program Change information at the beginning of the MIDI file that resets every carefully-selected patch on the M-OC1. Not to worry; surely the Internet can tell me how to delete those in Ardour. Alas, an hour gone by and no such occurrence.
Sooooo … I’ll do the playback from the 1986 Yamaha QX5 hardware sequencer. It has 8 tracks and each track can hold (mix down) multiple MIDI channels’ data which can be broken back out (extracted) if needed … so record the parts into track 1 and mix down to track 2.
The typical M-OC1 operating mode is one MIDI channel per Part — channel 1 for Part / instrument 1, channel 2 for Part / instrument 2, etc.. However …
Dynamic (volume) changes will be stored/edited in the QX5. But for the pedal tone instrument group, all the instruments will be playing the same notes and all the instruments will have a constant mix — I won’t be swelling one up above the others.
So why record the same part and duplicate exactly the same notes and dynamics into multiple channels? Instead, I glumped all of the pedal tone Parts / instruments onto MIDI channel 1 (I configured the M-OC1 with Parts 1-4 on MIDI channel 1), put timpani (Part 5) for timpani alone on MIDI channel 2, and glumped the pulse Parts / instruments (Parts 6-7) onto MIDI channel 3.

To set the MIDI channel, first hold Part and use the arrows to select the desired Part. Then press Select to enter parameter-edit mode, press it until the LED next to row 2 is lit, and press F1 to select column 1, then use the arrows to set the desired MIDI channel.
Selecting and Blending Instruments
Next was to tediously go through the Parts deciding which Patches (instruments) blend well together. In my case, after sampling for similar attacks (starts of notes) and ambience (echo/reverb, some of which I believe is in the wavetables and some of which can be edited if you know what you’re doing), I ended up with:
- Pedal tone
- 11 English horn 1
- 58 Tuba 2
- 79 Big Bones
- 221 Chorus Vc
- Timpani
- 141 Timpani 2
- Pulses
- 84 Brass Ens 2
- 177 Strings L-M 2
I wanted the tuba in the tooty low end of its range, so I used the parameter edit (Key Shift — row 2 column 2) to lower it by 12 semitones (an octave).
And then to blend, again parameter edit, this time Level (row 1 column 1) to set the master volume level of each instrument for a nice blend.
As an exaggerated example to make the point, here the cello starts out dominating the mix and then trims down to take its place in a nice blend.
Recording and Editing
Because I have three independent musical parts (some of which incidentally comprise multiple M-OC1 Parts) — pedal tone, timpani, and pulsing notes — and not enough coordination to play them simultaneously, I recorded them into the Yamaha QX5 MIDI sequencer.
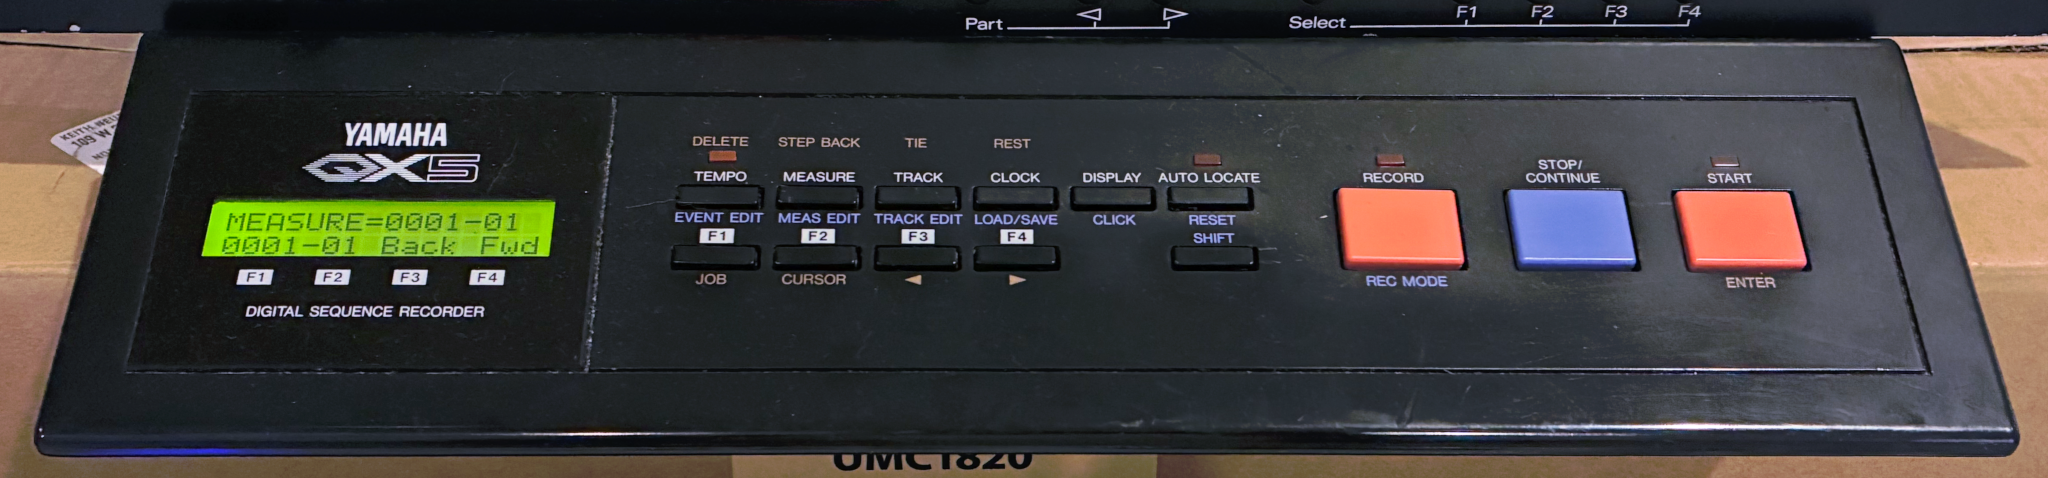
I set it for 4/4 time and recorded the pedal tone into track 1, holding the low E for the first 9 1/2 measures, then F and D for a beat each, E for a measure and a half, etc. After recording, I entered Measure Edit, selected all measures, and quantized to eighth notes because I’m not used to recording one part at a time; and let’s face it, I’m sloppy.
I then had the notes recorded and edited to the desired timing for the first part, but with no dynamics. In Measure Edit, I selected all measures, subtracted Velocity down to the minimum, added a crescendo over the first four measures (these M-OC1 instruments respond to velocity changes mid-note; not all would), then added Velocity to measures 5-19 to bring it up to the finishing level of the crescendo.
With the first part ready in track 1 (recorded and playing back on MIDI channel 1), I “mixed down” track 1 to track 2.
I then played back track 2 (containing the pedal tone on channel 1) while recording the timpani part into track 1 on channel 2. Again quantize, drop Velocity to minimum, add crescendo to measures 5-8, add Velocity to remaining measures, and mix down to track 2.
Lastly, play back track 2 (containing pedal tone on channel 1 and timpani on channel 2) while recording the pulse instruments into track 1 on channel 3. Quantize, drop Velocity, crescendo, add Velocity, mix down to track 2.
Then to perform, play back track 2 and record the audio into Audacity. All of the notes and dynamics are automated; nothing to touch. It’s a matter of “rendering” from MIDI to audio.
Applying This Method More Broadly
“Wait, wait, wait!” I hear you cry. “This is the same as recording multiple takes! You could do this with any synthesizer!”
Well, certainly! I mean, it’s not the same as recording in multiple takes. That requires either a digital audio workstation (DAW) that can play back MIDI (Audacity can’t and I haven’t learned Ardour yet) while recording the resulting audio or playing the later takes while listening to the click track or to earlier takes; and it requires either latency correction (playback isn’t quite instantaneous and A/D recording is surprisingly far from instantaneous) or playing all of the parts to the click track without hearing the earlier ones. But yes, I could absolutely record multiple takes using the same synthesizer. I plan to.
“Or,” you cry, “you could play back the MIDI sequencer through multiple regular synthesizers!”
Yes, again, yes. Might do that as well.
But the point here is to explore the technique of using multiple instruments to accomplish the drone + pulsing effect and the capability of performing or “performing” those multiple instruments in a single take using the M-OC1, which makes it so easy.