I’ve used my 1986 QX5 MIDI sequencer for a project and it was quite challenging because the pushbuttons were unreliable, taking many button presses to get one to register, as well as sometimes bouncing.
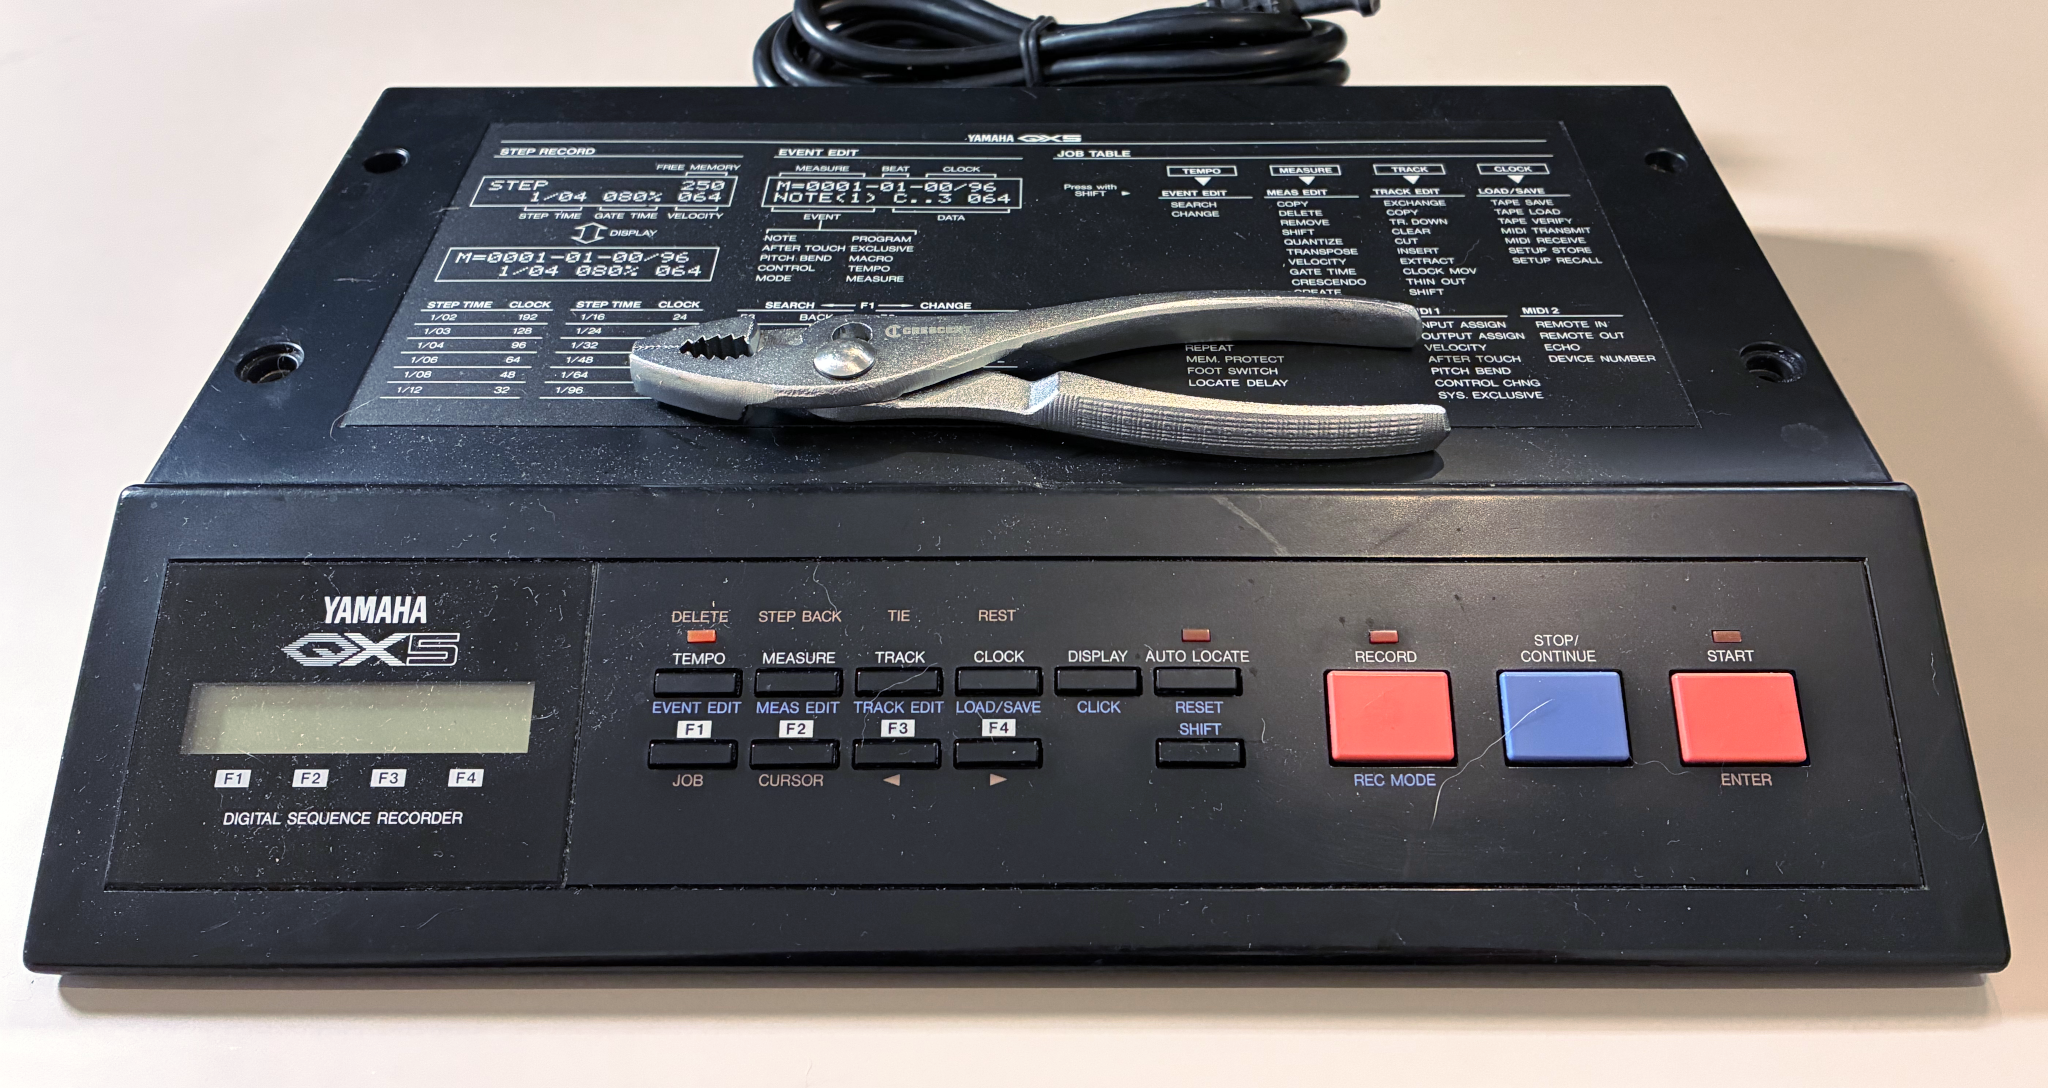
The Internet told me that the buttons are tactile switches and I figured I could easily replace them. YouTuber “Unrelated Activities” measured the switch dimensions and found a specific replacement that’s not available to me, but the dimensions were very handy. Searching Amazon for 12mm tactile switch got me what looked like a close-enough replacement, with the 7.3-mm height from base of switch to tip of stem, allowing me to order the switches in advance and open the sequencer once instead of opening it and waiting for delivery.
With the plausible replacement switches in hand, today I did the replacement. After removing the bottom panel and the screws from the bottom PCB, “fold” it up and unplug the white wiring harness from the bottom PCB. It helped to flex the connector away from myself, toward the back of the sequencer, slightly to break 40 years of stiction. Then fold it further up and it makes room to unscrew the control panel. (I didn’t bother figuring out how to detach the power wires in the back corner and remove that bottom PCB entirely.)
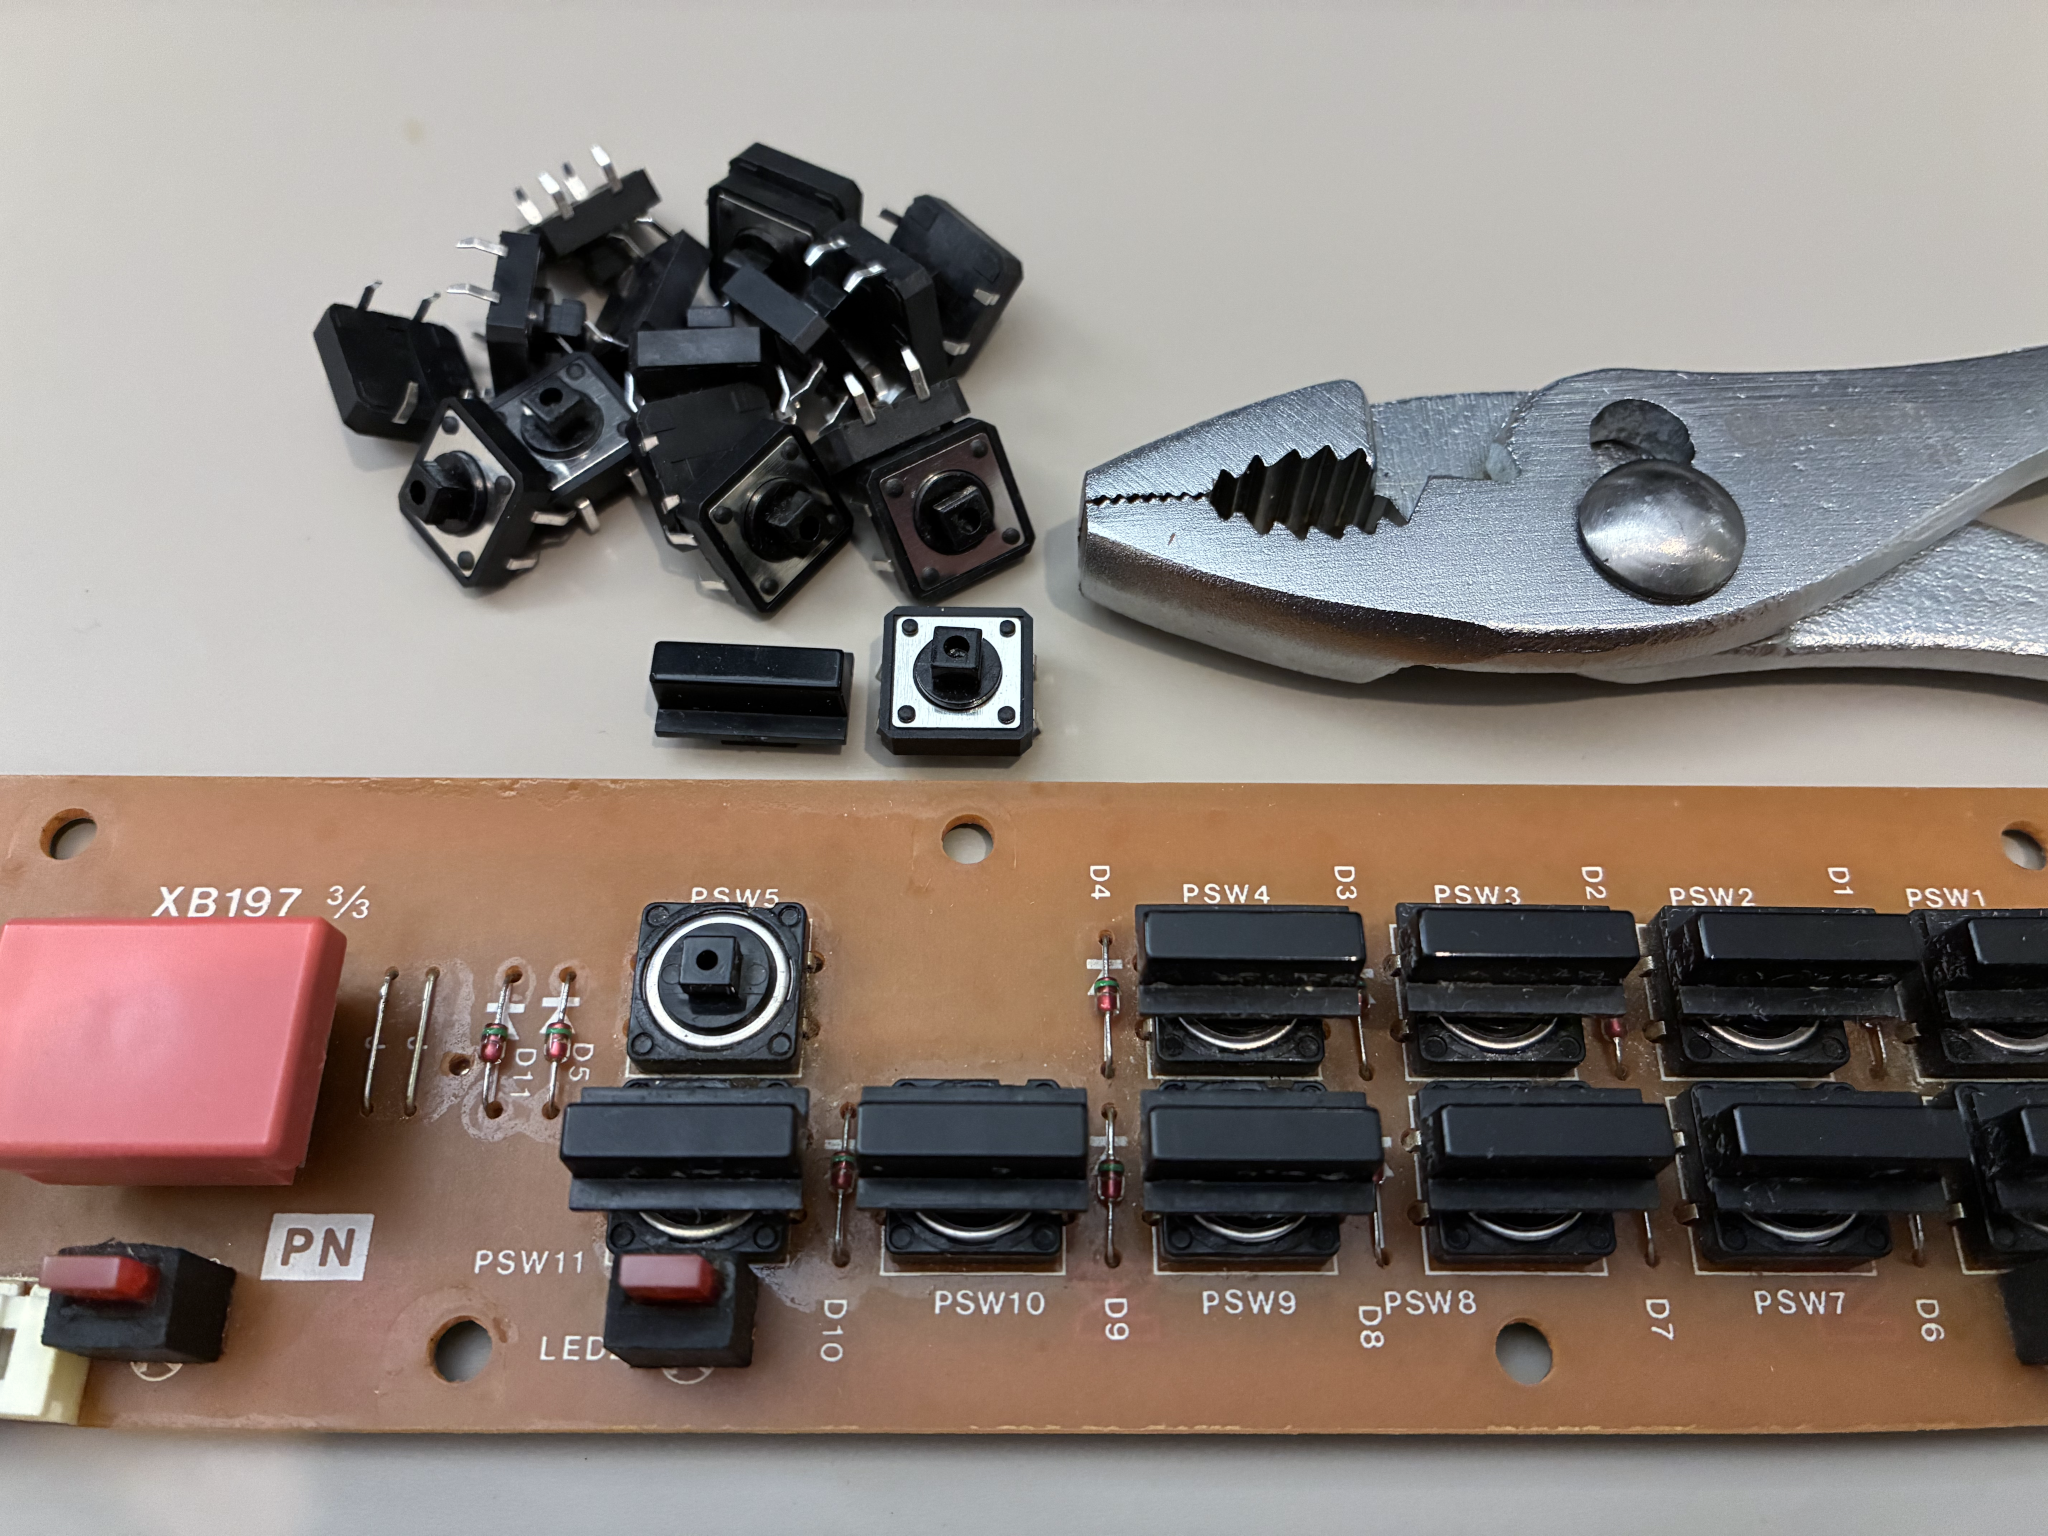
The replacement buttons (at top) continued to look plausible. I found it easiest to remove the keycaps by putting my pocketknife’s can-opener attachment under one end at a time and gently camming it to lift them off the stems. I desoldered and replaced all of them.
The switch mechanisms under the large Record, Stop, and Play buttons were different:
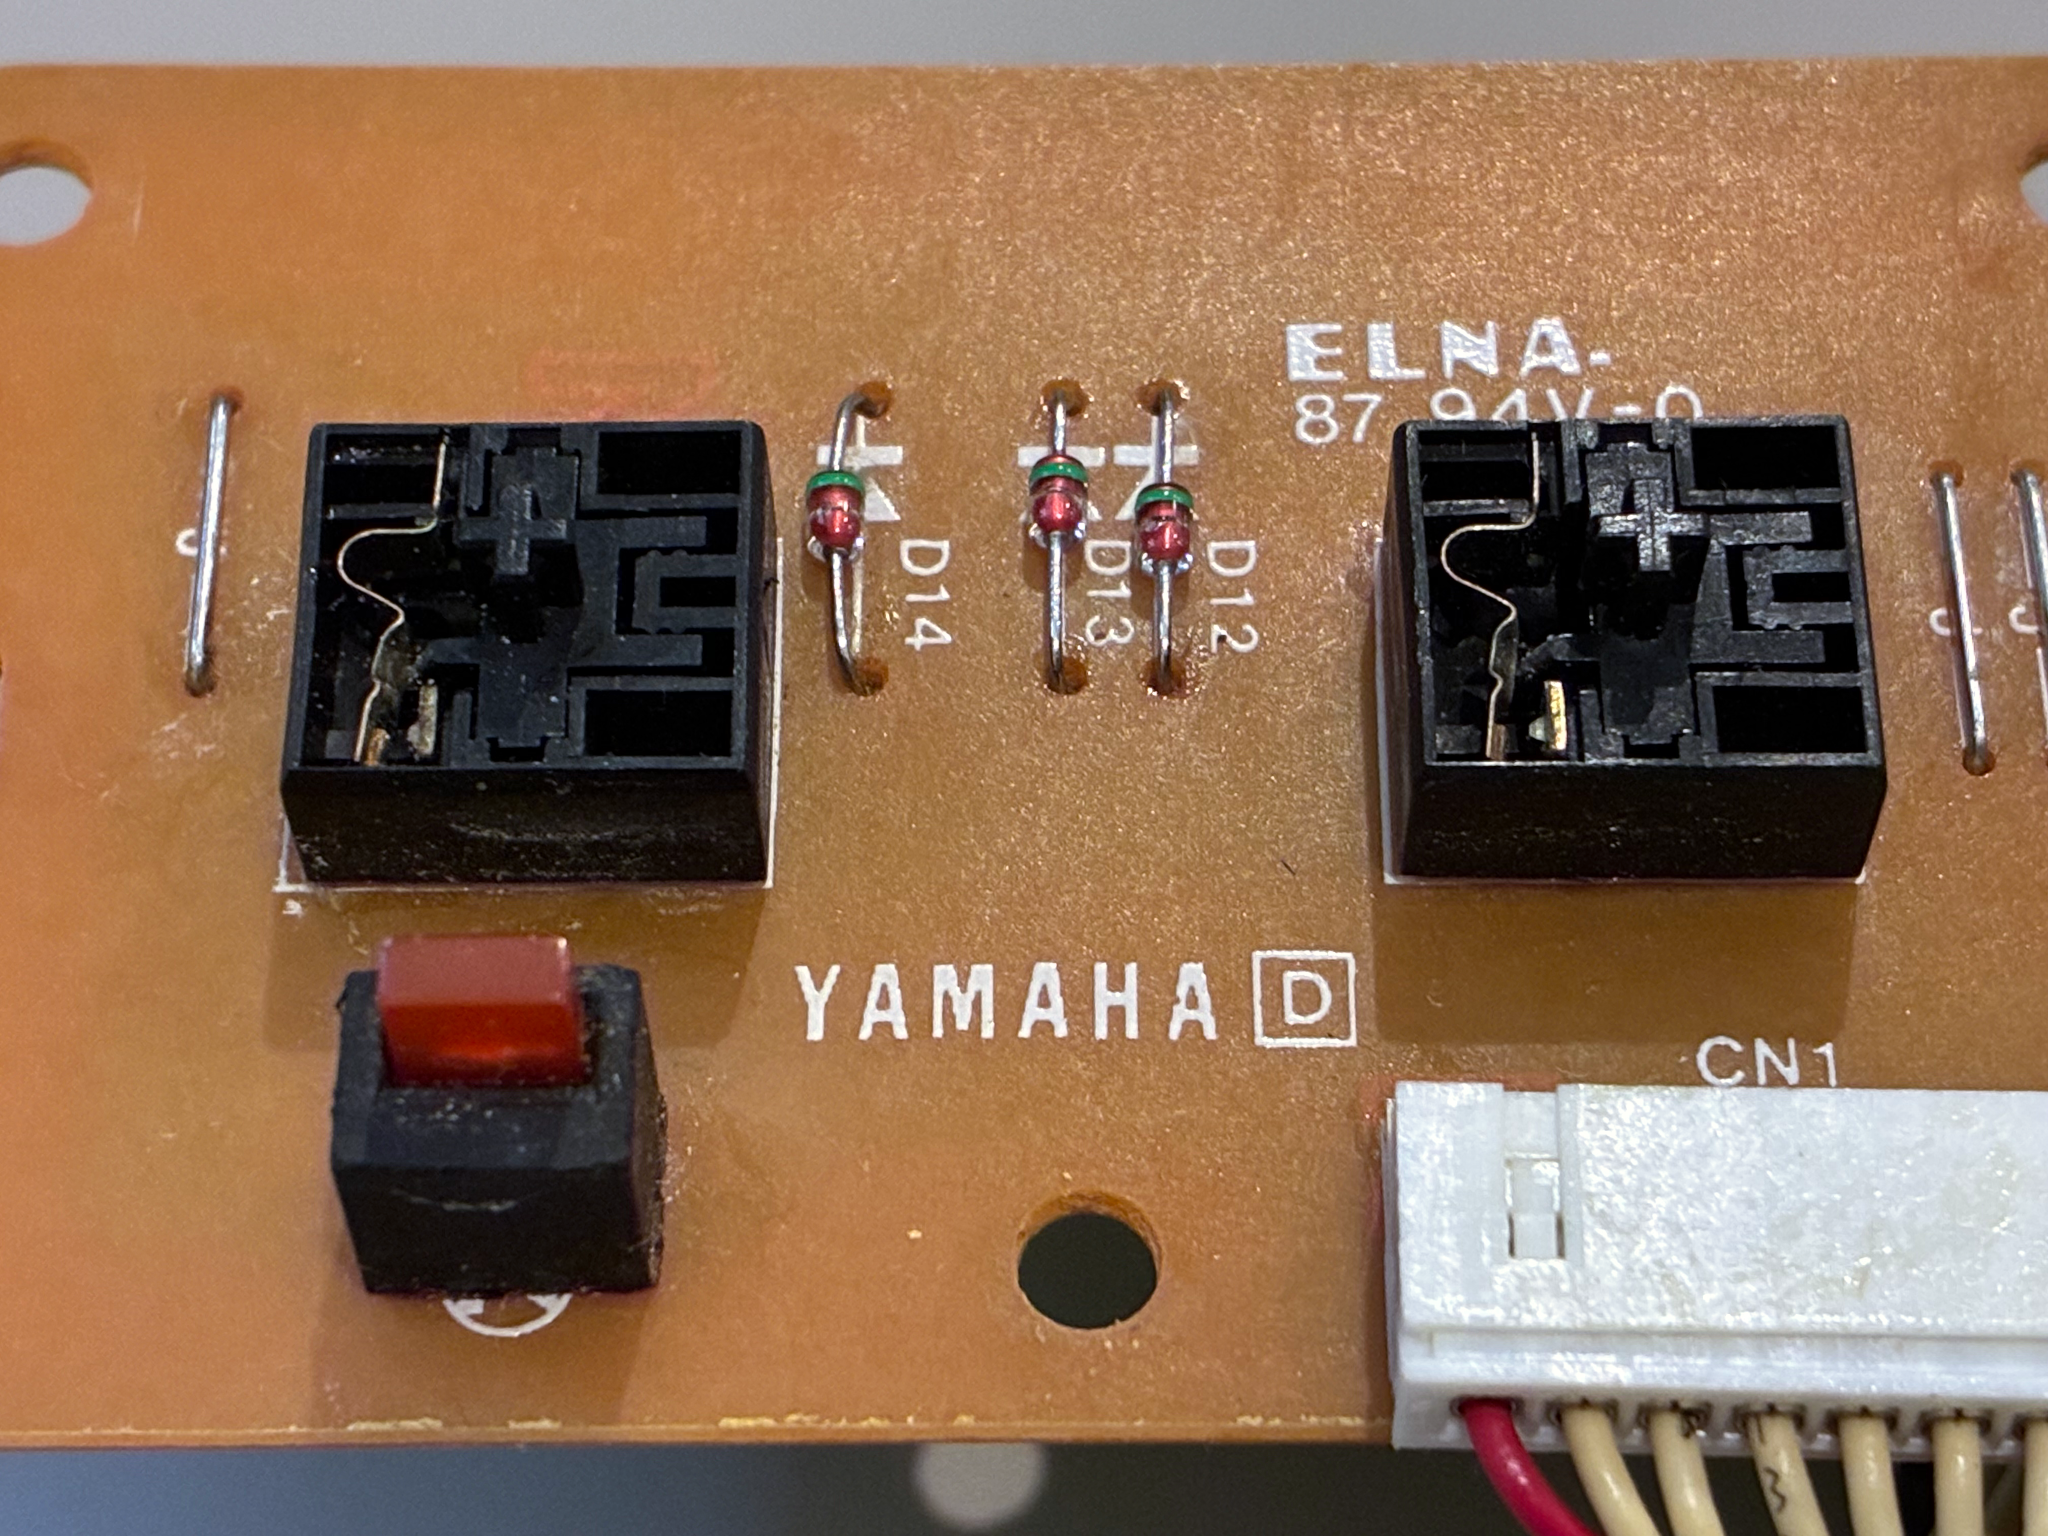
Without my contact burnisher handy, I folded fine sandpaper and lightly sanded the contacts.
Reassembly is easiest with the sequencer right-side-up, placing the control-panel PCB back in from underneath. Focus on folding the white wiring harness under the sharp burred edge of the metal rail and lining up the LEDs into their holes and everything else falls into place.
On the first reassembly, several buttons were pinned in place, pressed/engaged by the control panel. I thought I must have got them out of alignment, but I hadn’t. I noted that a slight relief on the PCB screws disengaged them and I thought some must have dangled loose while I was soldering and were installed with a gap between them the board, but they weren’t. I thought that the tolerances were different and I’d need to shim up the PCB with washers under it, but I didn’t. I realized that the stems of the replacement buttons were just different enough from the originals that instead of the keycaps snapping into place, they have a tight friction fit and I simply needed to press them all further on. Success!
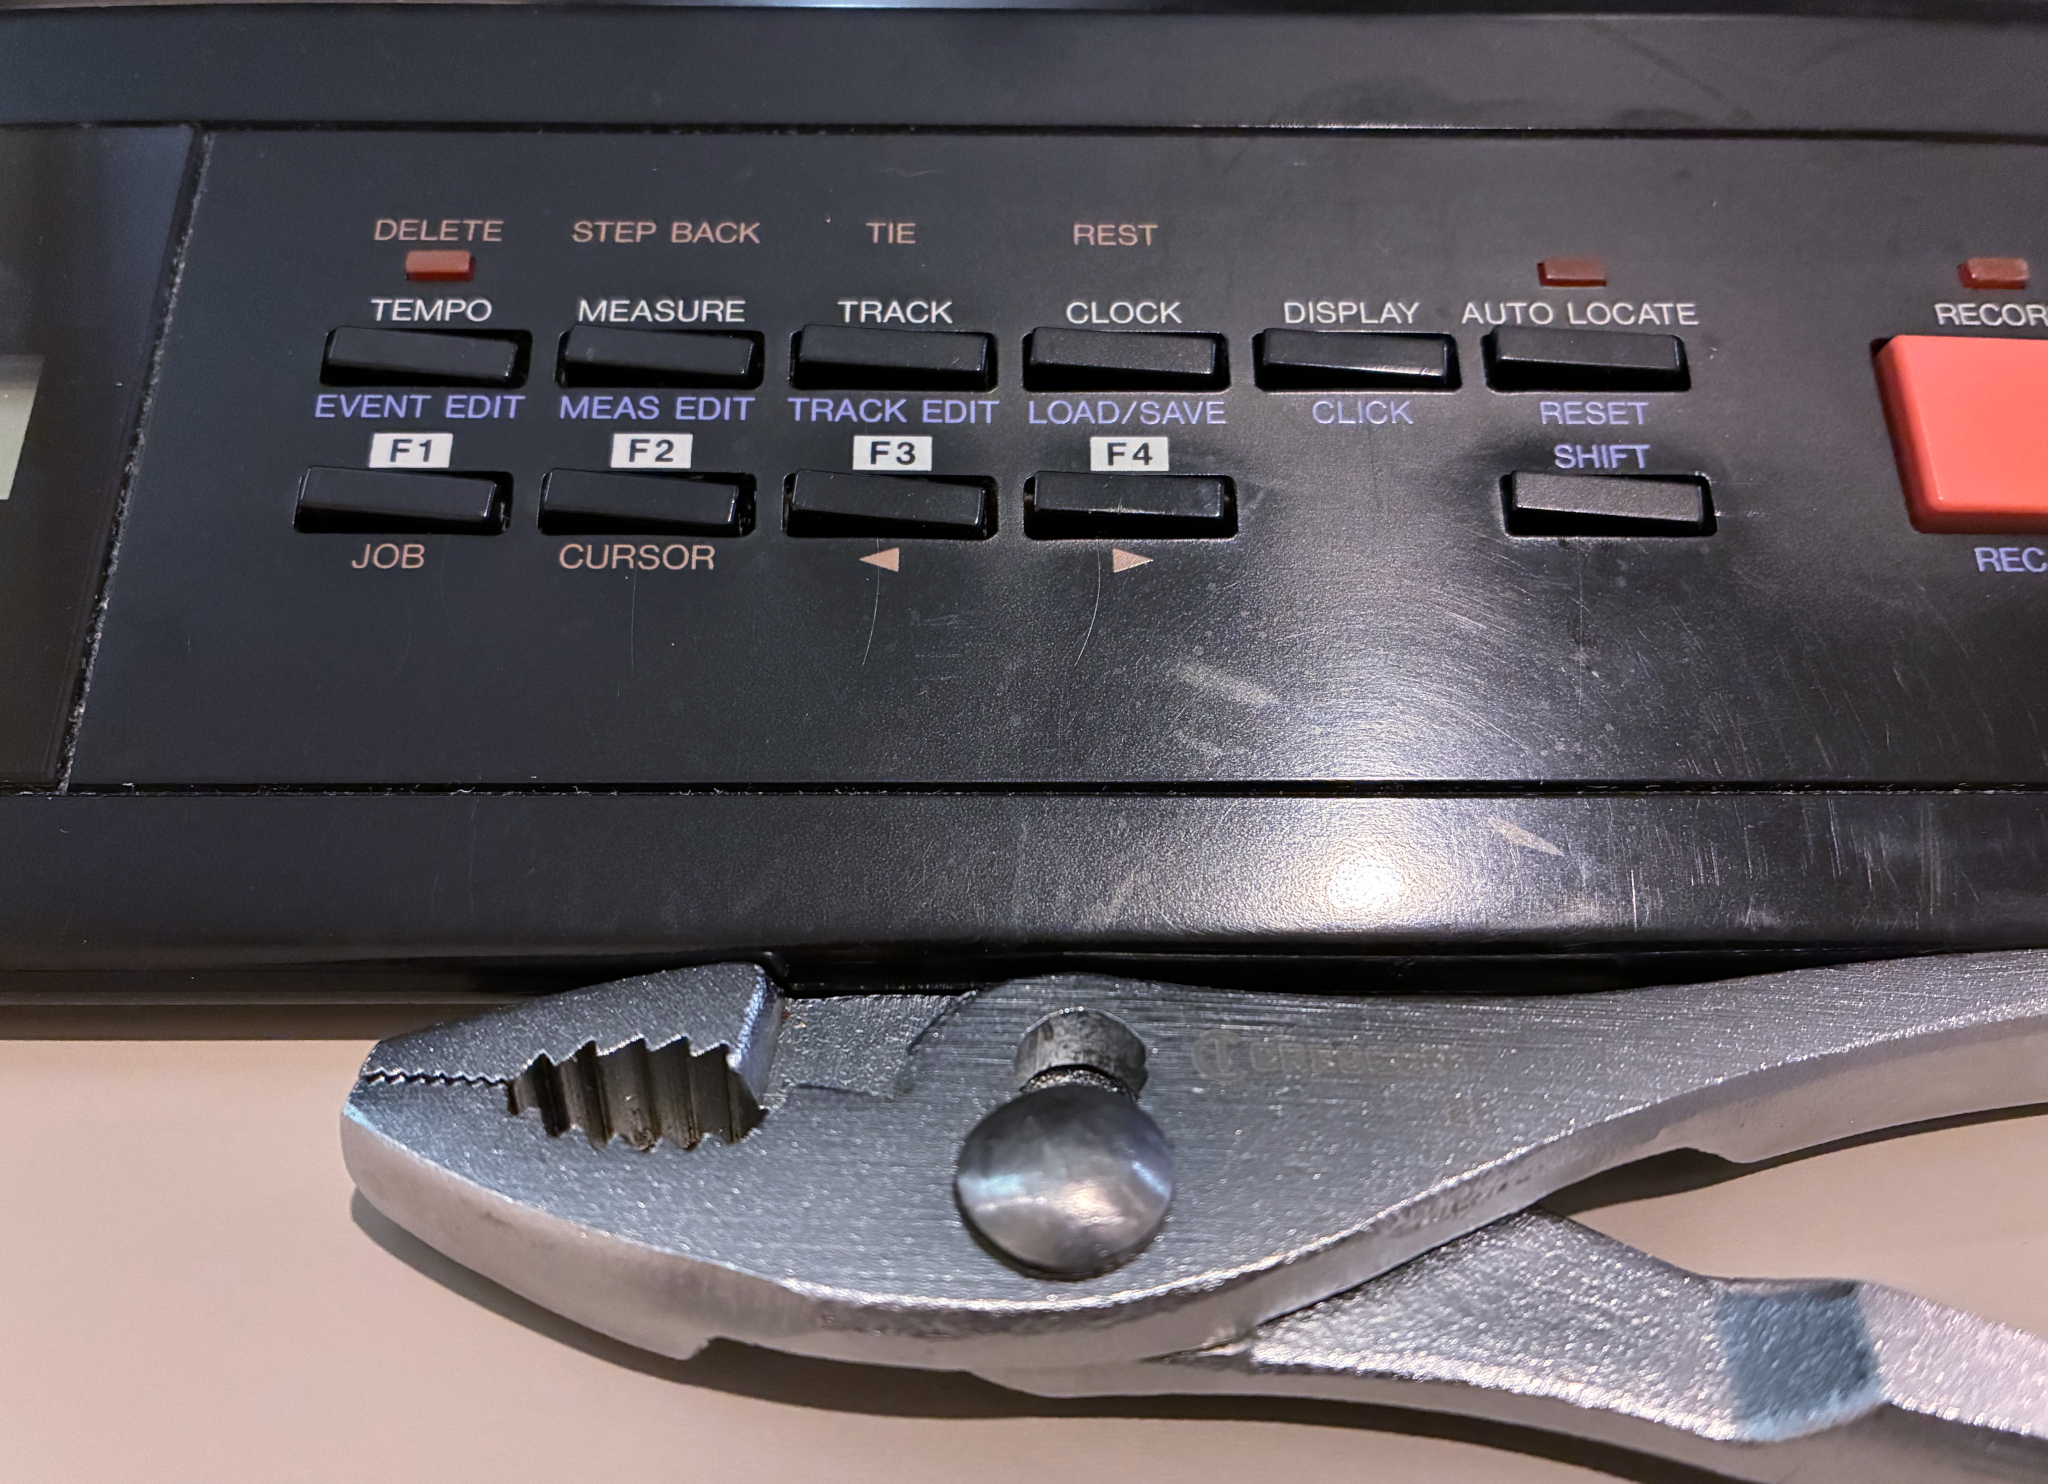
I mean, mostly success. The original buttons were well-manufactured and have very little yaw. The replacements have considerable yaw internal to the mechanisms, so the buttons are all snaggletoothed unless I carefully turn them all into perfect alignment and then don’t touch them. I don’t care for this and I may have to print little shimming jackets to put around all of them … but it will require busting out the Ender 3 that I keep fitted with a 0.2-mm nozzle, because in spite of appearances, there’s only about 0.5 mm total clearance in the X and Y directions.
Nevertheless, every button now works on the first try and it’s a dream to navigate the menus. Looking forward to the next sequencer project.
Solder Rework Station
I’ve had the privilege of watching a couple of my buddies use their solder vacuum pumps to desolder PCBs for me, and those machines are a real treat. For a long time, they cost more than I could justify with my infrequent use; but a few months ago I check again and the Yihua 948D III, well-regarded by online communities, is only $140. I bought one and it’s not quite as fast and probably not quite as fancy as what I’ve seen used, but I’m thrilled to have it.
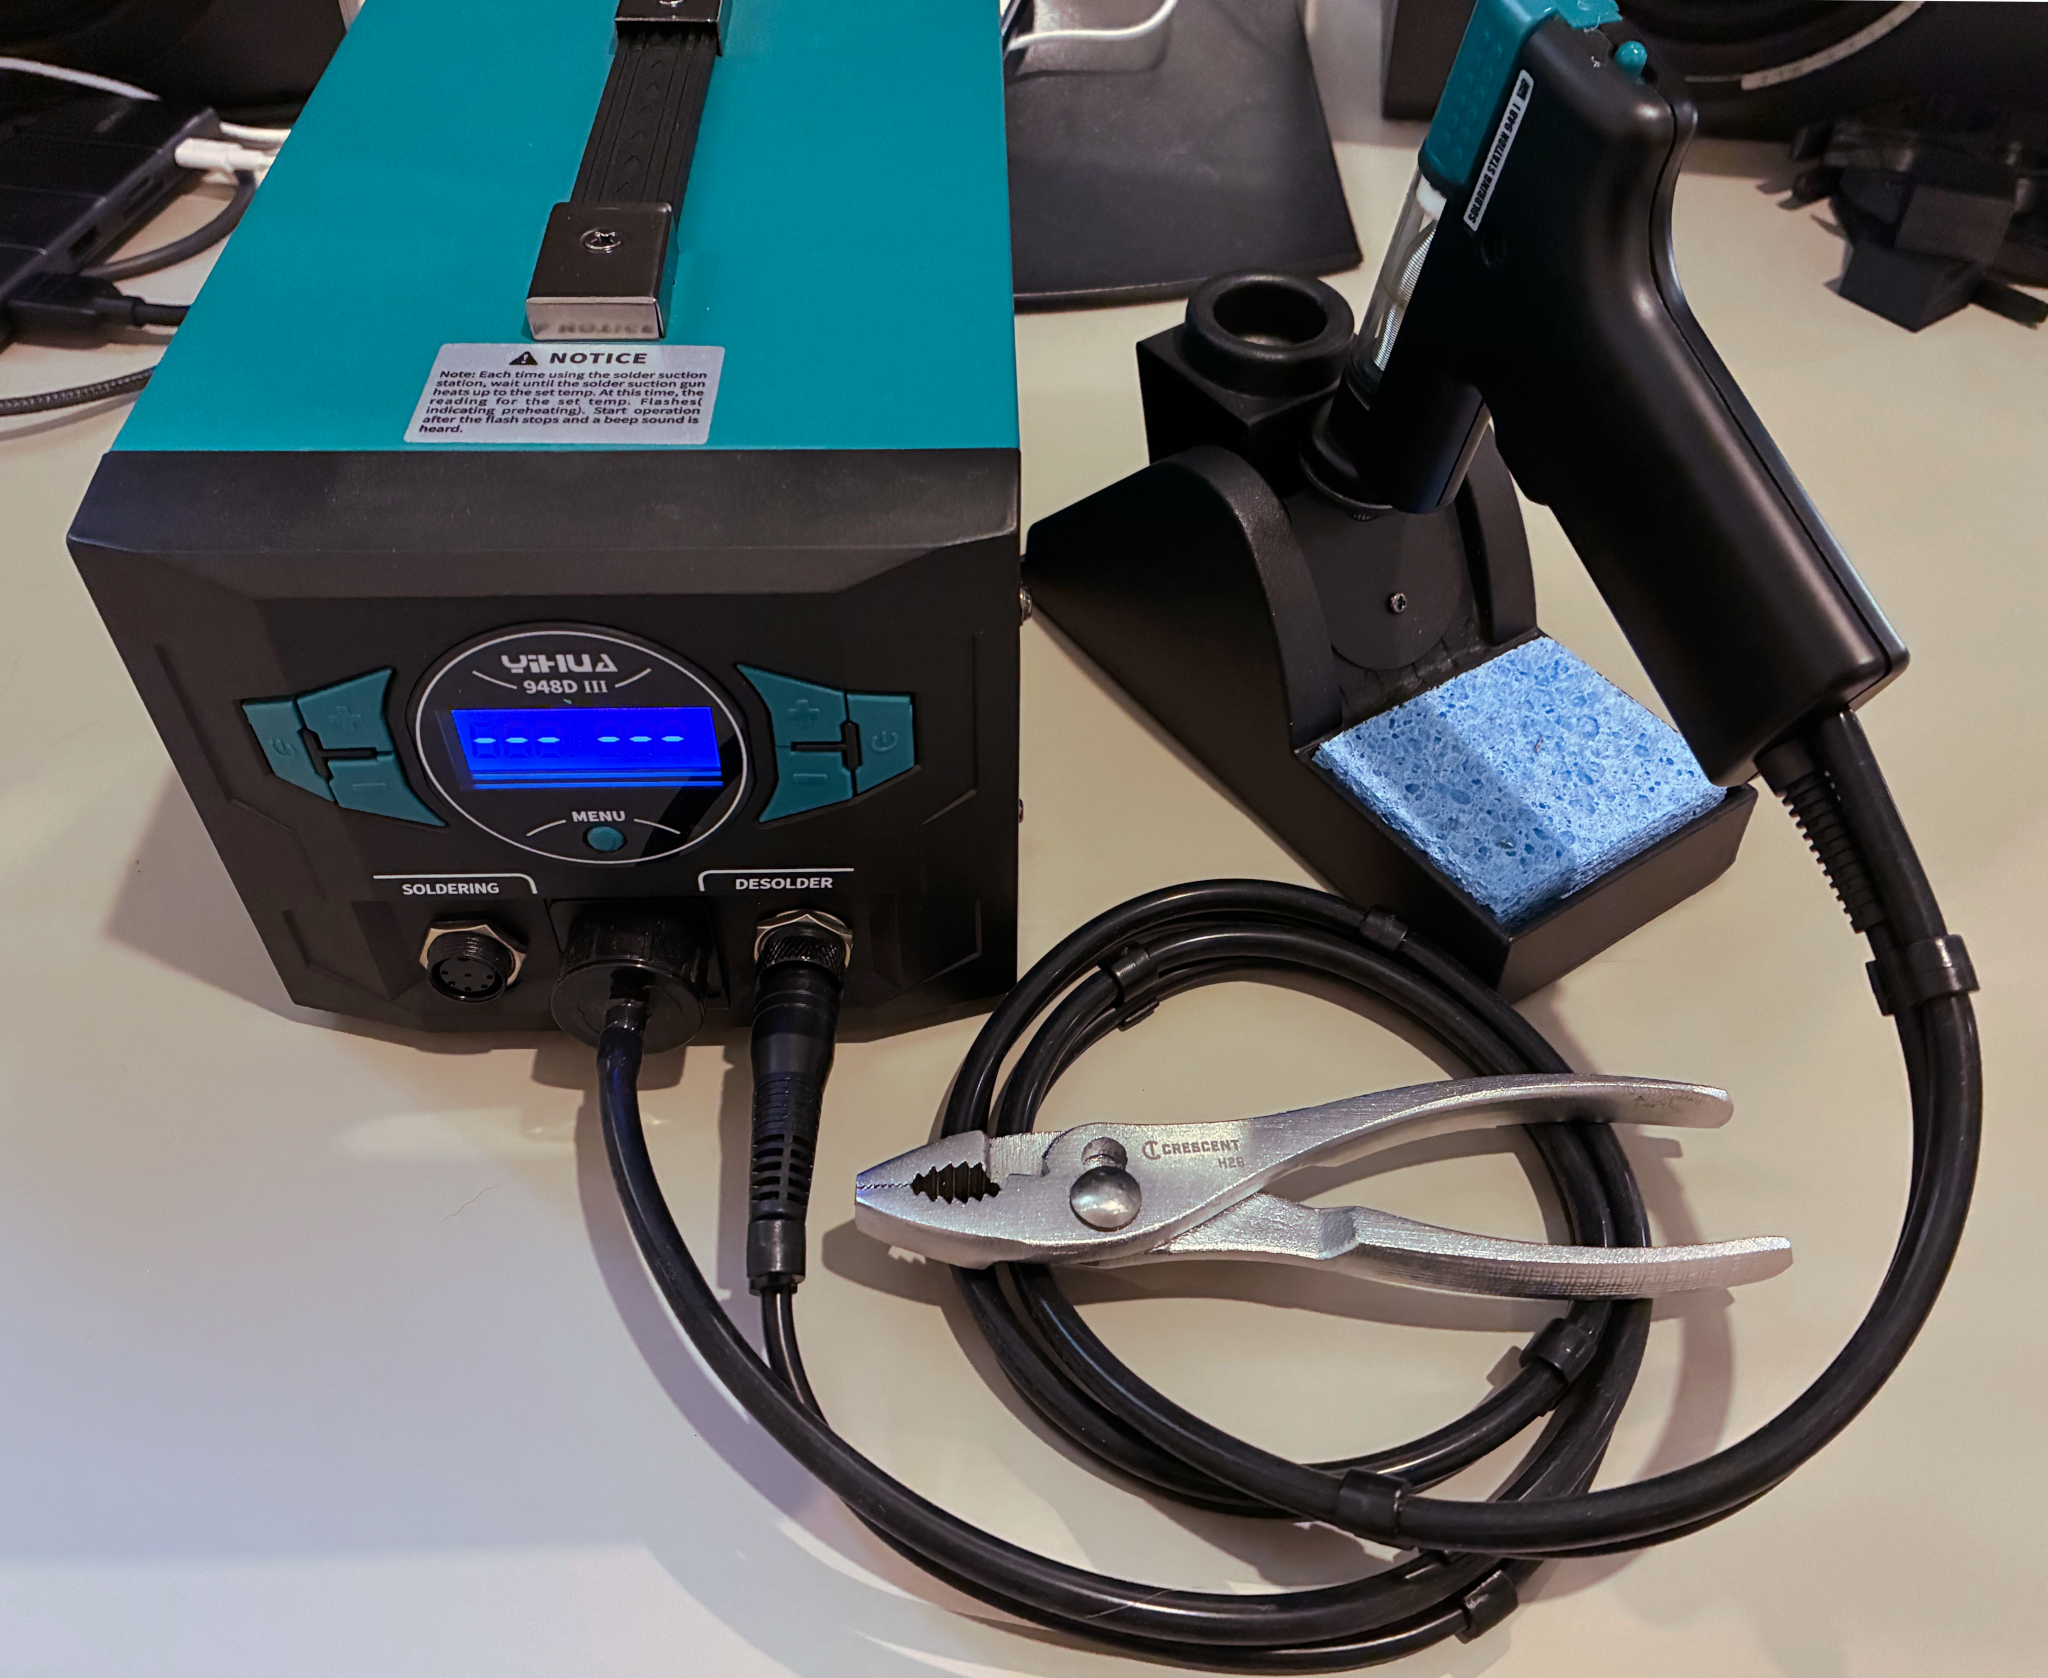
I have no affiliation other than being a happy customer. If you’re in the market and that’s in your price range, I think it’s worth a try.
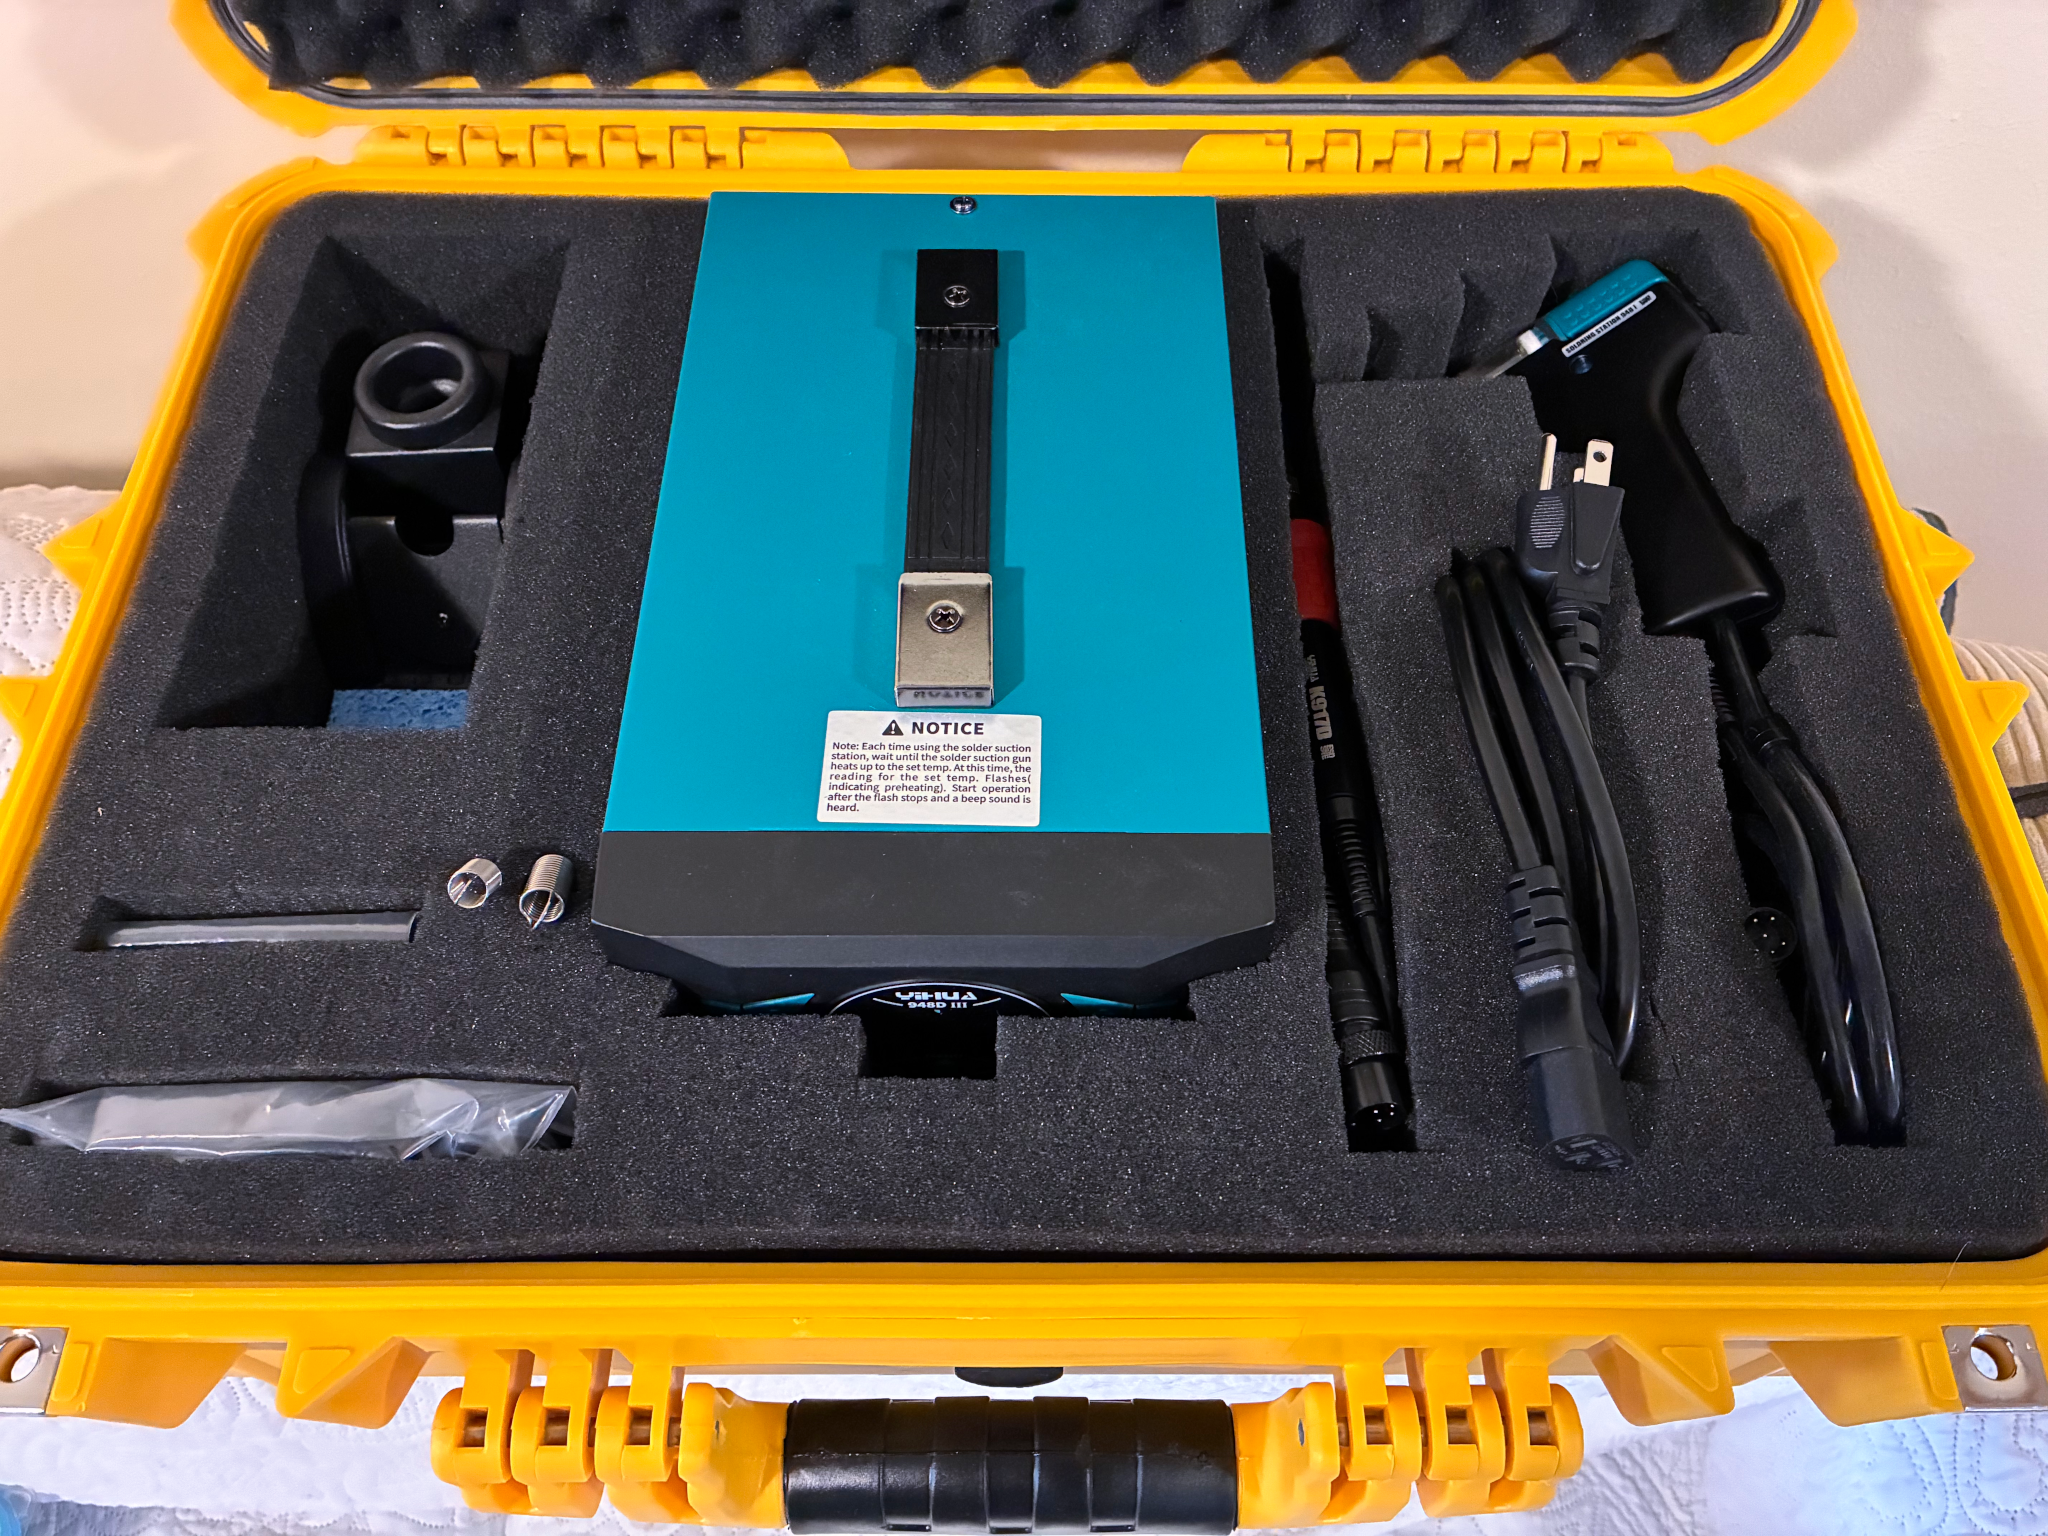
Incidentally, if you want to be able to take it on the go, it packs into a Harbor Freight Apache 4800 case with a little bit of layout and planning.