I’ve been massively interested in the RepRap project since I first heard of it a few years ago. RepRap — short for replicating rapid-prototyper — is a CNC machine to extrude hot plastic and build up a model additively, like a robot hot-glue gun. It promises to lead the affordable desktop fabrication revolution, printing at home on a sub-$1000 machine what the aviation lab at work printed for me on a $30 000 machine (which itself is already orders of magnitude less expensive than the ones I saw in use when I worked at Cessna Aircraft).
The RepRap can replicate many of its own parts — so once you get one, it’s a matter of feeding it plastic and a few hours (and motors, and circuit boards, and commonly-available hardware) and you can have another one for your friend. It should be pretty viral once it gets going — but getting going is the problem. Even with various “RepStrap” (RepRap bootstrap) designs, the barrier to entry to build my own from scratch was still a bit too high for me — particularly for the heater/extruder nozzle.
So when I saw that Zach “Hoeken” Smith (a member of the RepRap team who’s designed most or all of the current-generation electronics), Bre Pettis (the “talent” on the first Make Magazine videos I remember seeing), and a couple of guys I don’t recognize (sorry, couple of guys!) had teamed up to found MakerBot and were selling the CupCake CNC kit, a complete set of parts to build a RepRap-compatible machine, I was onboard in a heartbeat. The price still feels a bit steep, but the time was right and I got one of 20 presale kits.
It came last week and what with other obligations, I haven’t even had time until last night to start working on it. So I’ll be doing this a slow step at a time; and the first step was assembling the through-hole optical endstop PC boards.
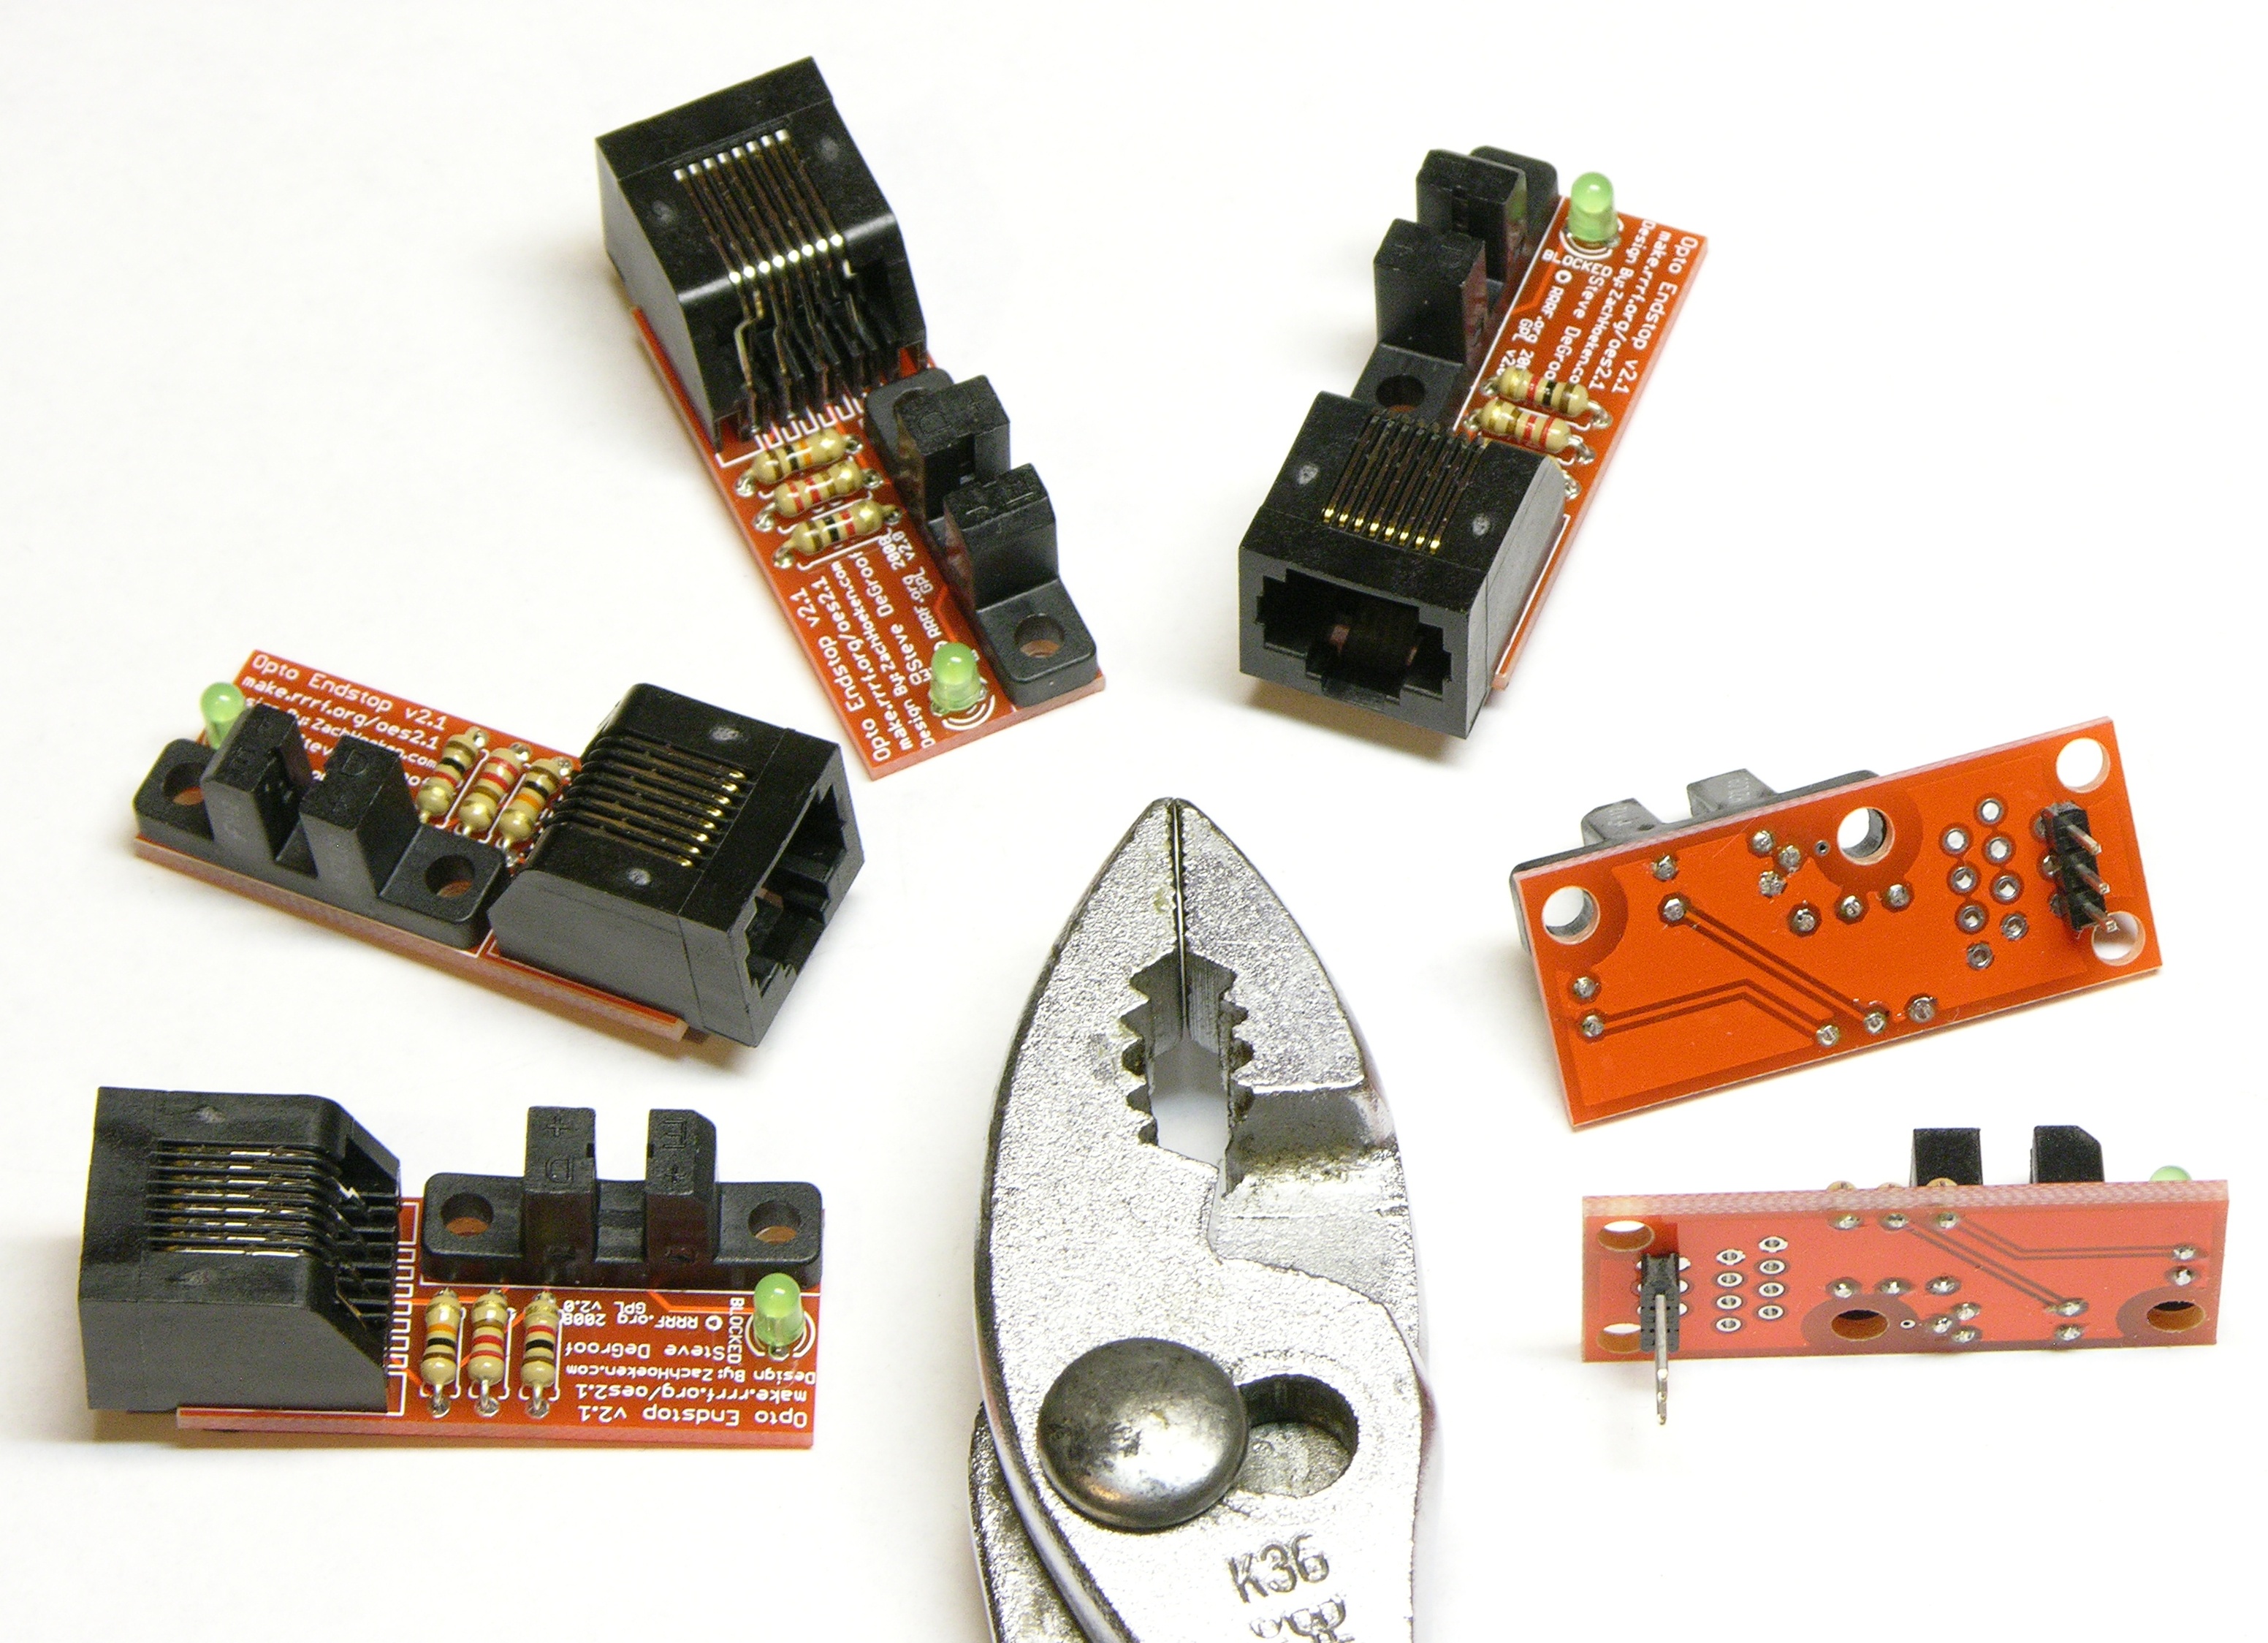
The CupCake calls for six endstops — two for each axis — and they use RJ-45 cables for most of the connections, but three-pin headers for the Y axis due to space considerations.
The boards are nicely made; I like it a lot that they’re no larger than they need to be; and I really enjoy the red.

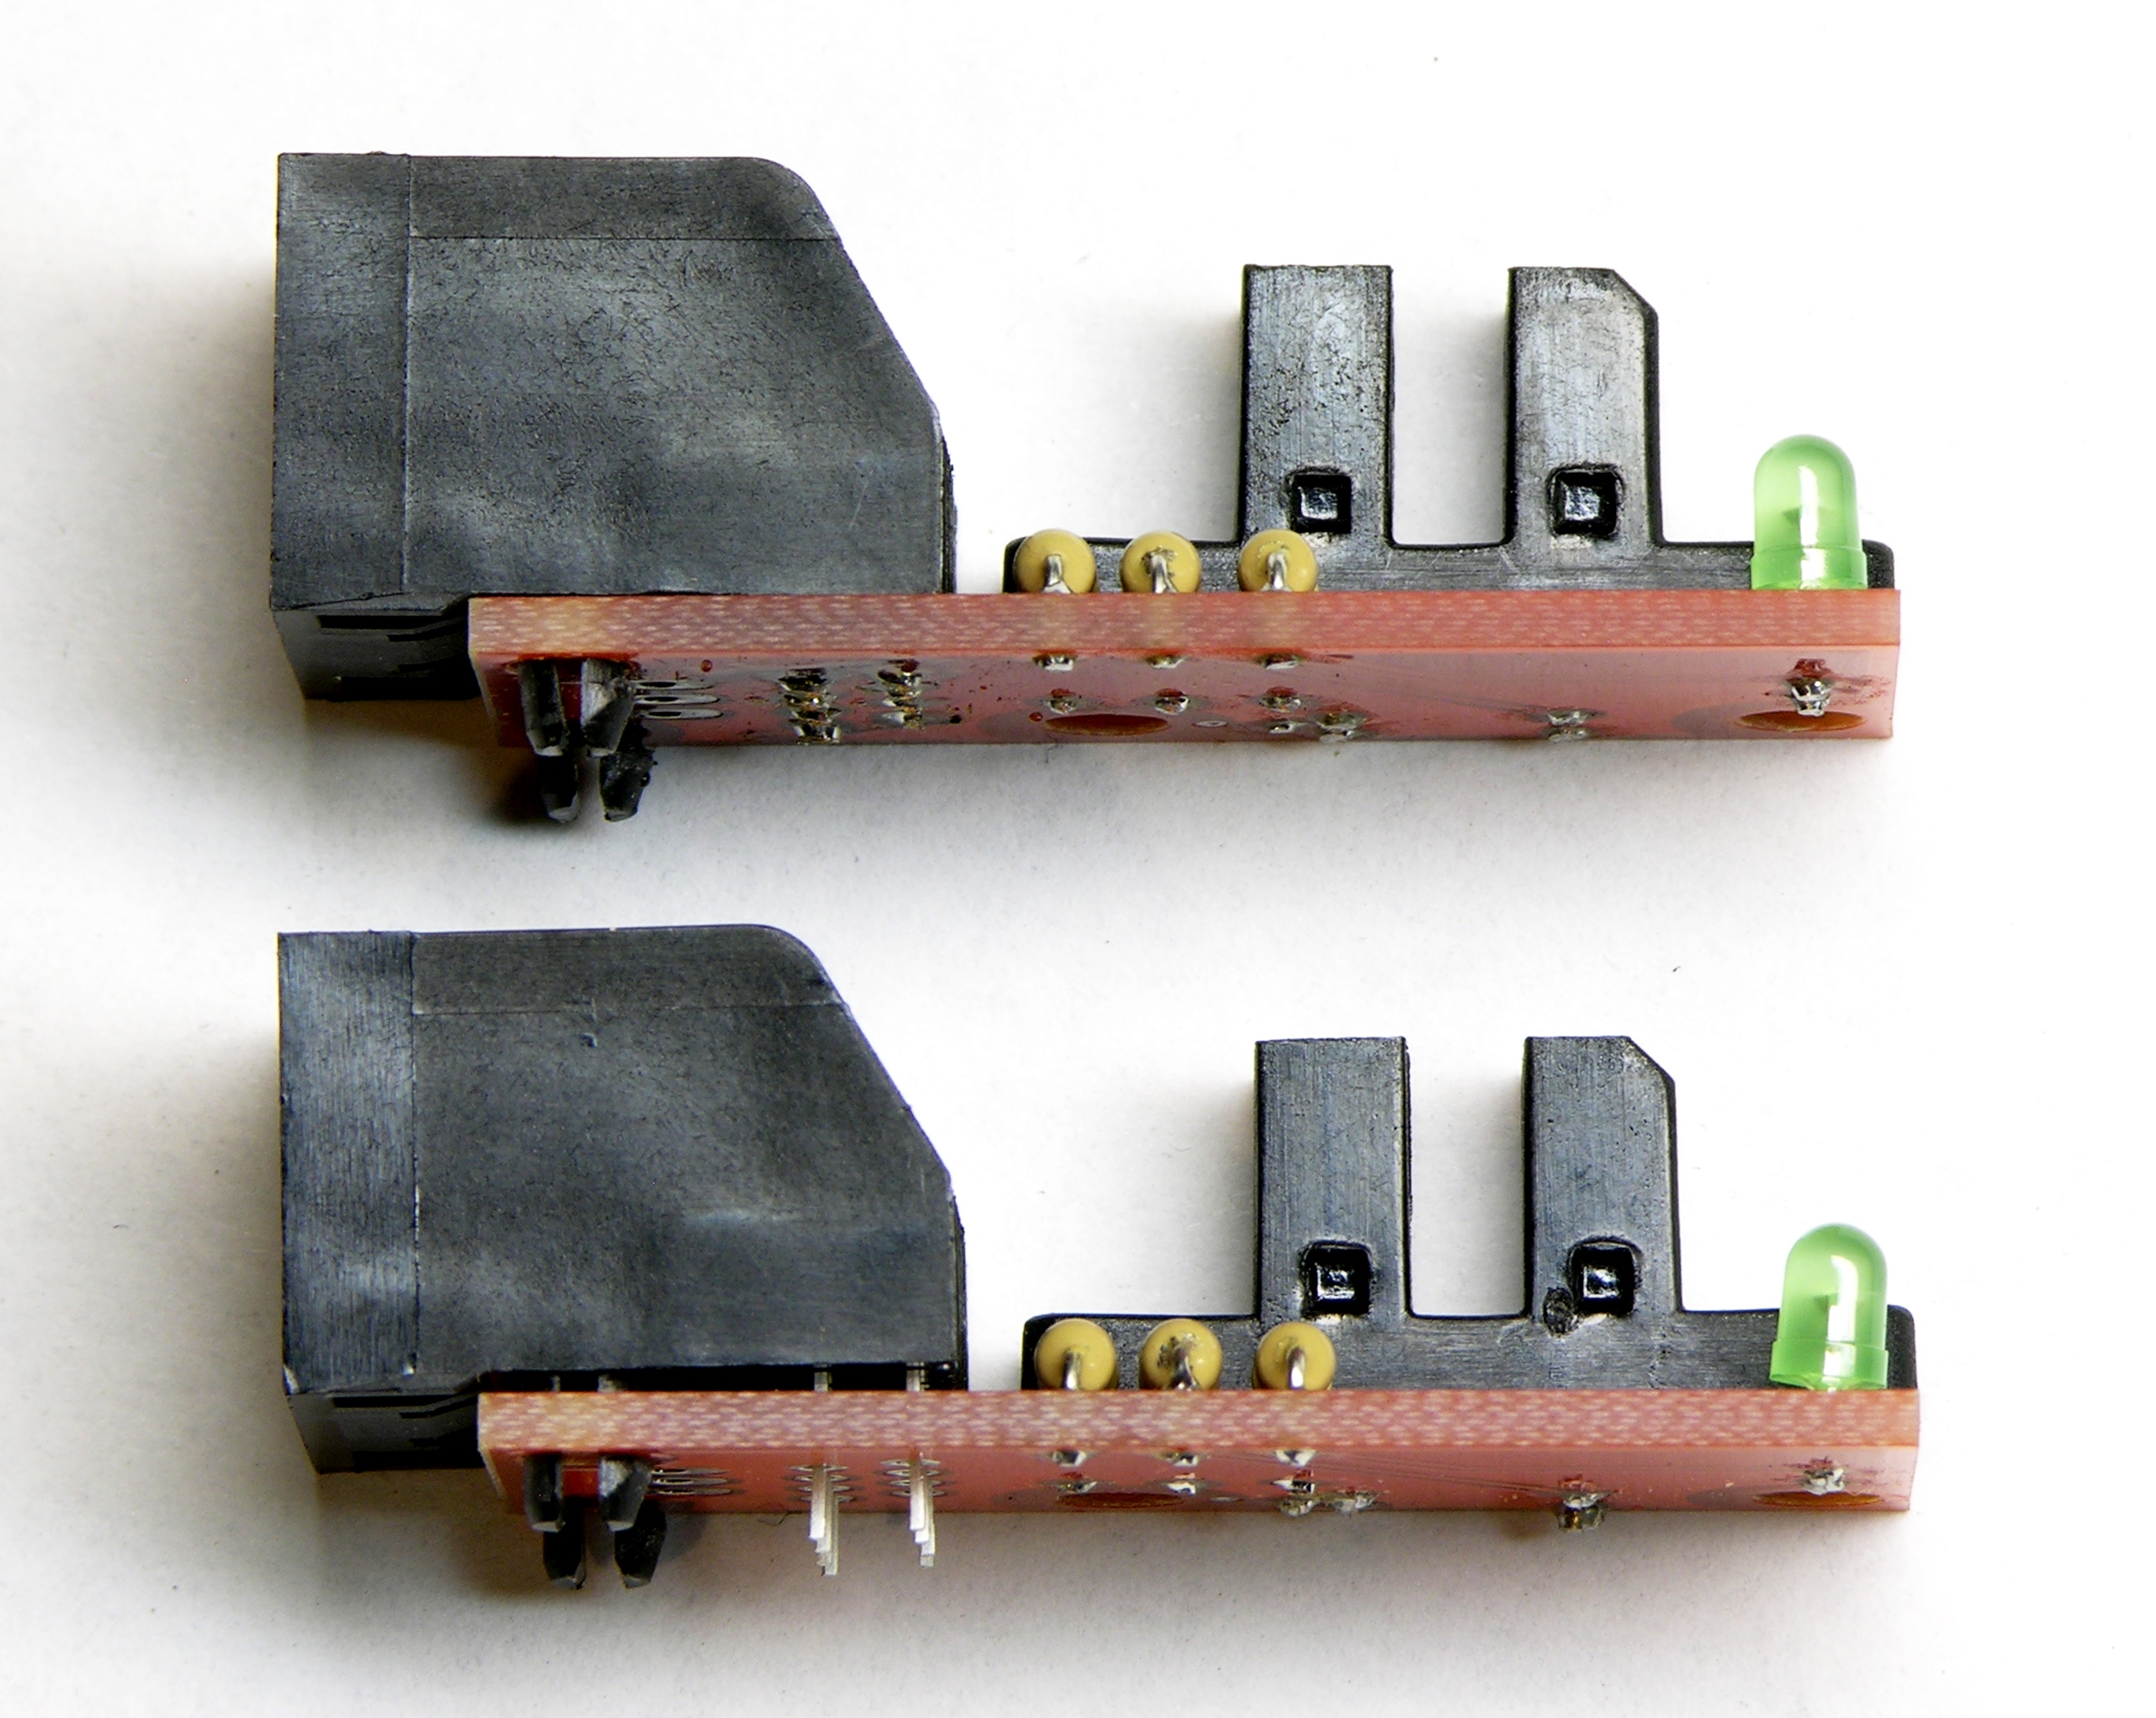
I have only a couple of cautions for assembling these. First, as noted in the CupCake electronics assembly instructions, the PC board’s optointerruptor footprint is a little off, and it takes some shoving to get the mounting holes aligned. This does matter because these holes are how the board mounts to the chassis, so take the time to get them as close as possible.
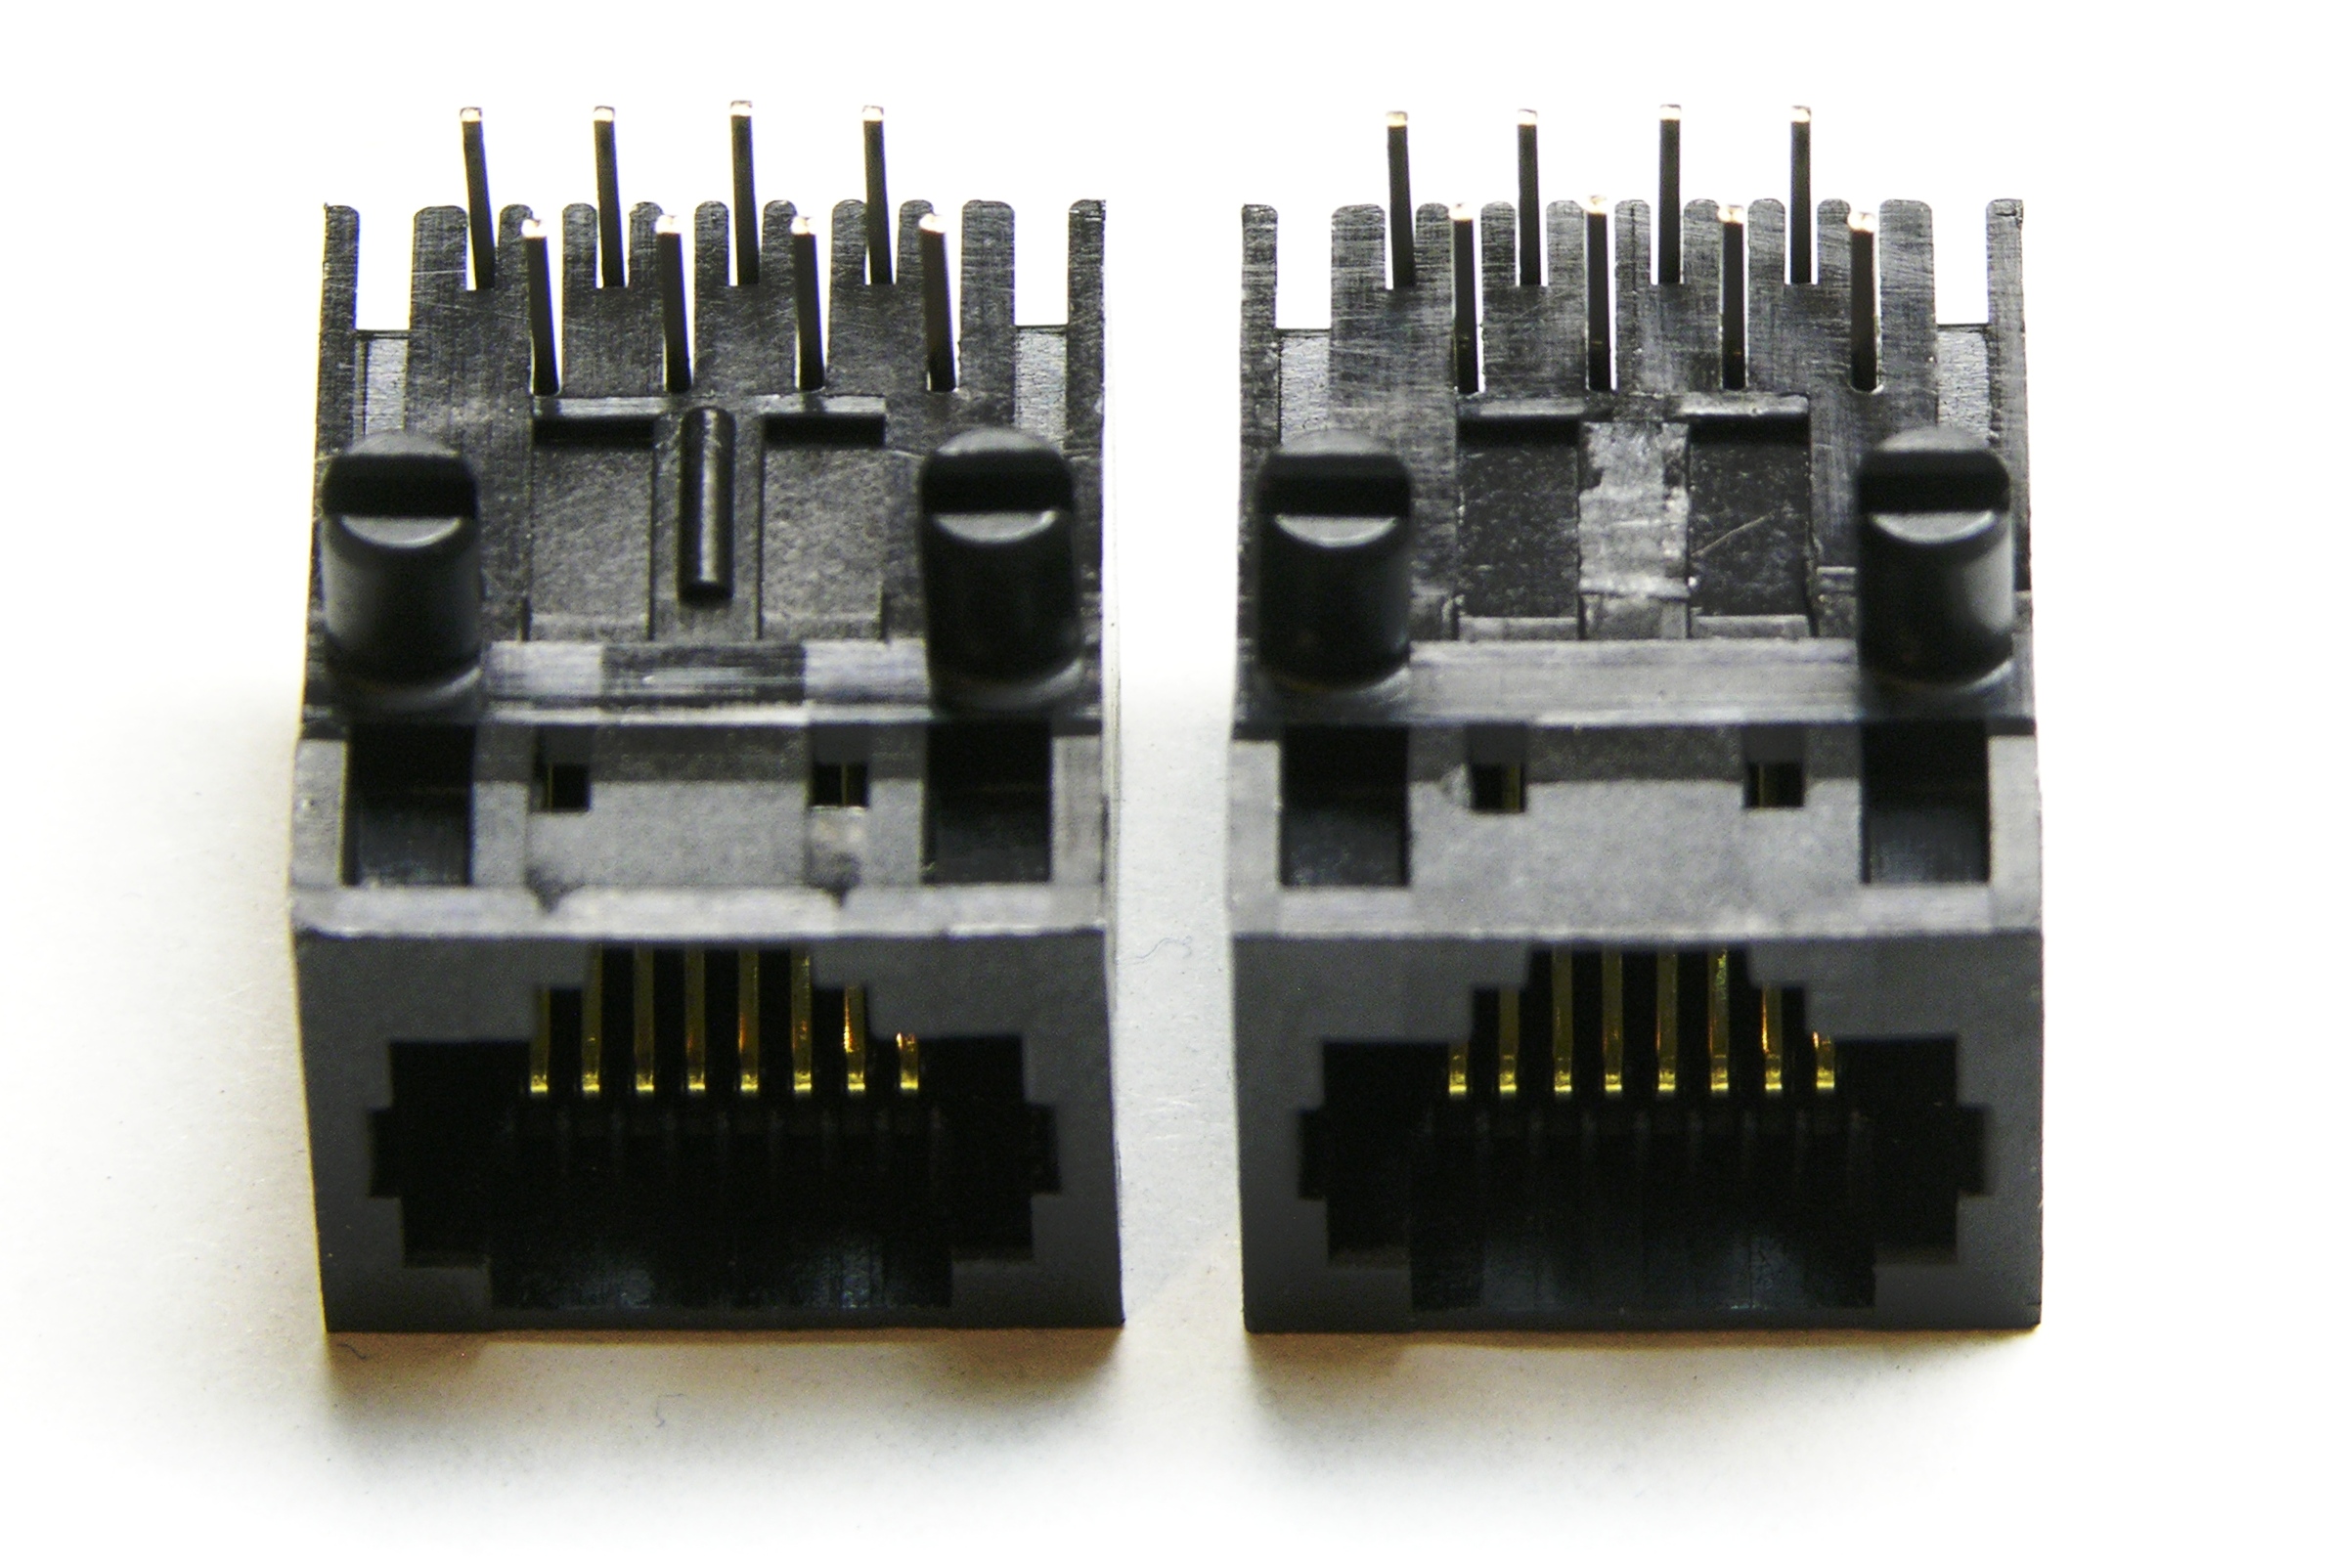
Second, use a chisel to shave off that spacer tab on the underside of the RJ-45 jacks. If you don’t, they won’t sit flush, and that bothers me.
Take my word for it, it’s way easier to do this before you start soldering the pins.
Hi Keith,
I have been following your blog for some time. I am a member of the RepRap team so I also follow a lot of RepRapper’s blogs. Got a shock seeing RepRap parts on your blog though! Good to see it spreading.
Good luck with your build.
Sooo jealous. =)
That is not a rj-45, it is a http://en.wikipedia.org/wiki/8P8C
Arun, I know, and I don’t care. I wrote what I did in anticipation of the connector pedants arriving to correct me. Welcome!