I received my CupCake kit around the end of April; it’s now August and I haven’t completed it yet. What’s up with that??? Well, I’ve been finishing the case.
That’s a pun. Here, let me spell it out: I’ve been completing the case by applying wood finish to it.
White “Stain”
I decided early on that I wanted the case to be as light-colored as possible so the interior would illuminate well to watch and photograph builds; but that I wanted to honor the fact that it’s made of plywood and let the wood grain show through.
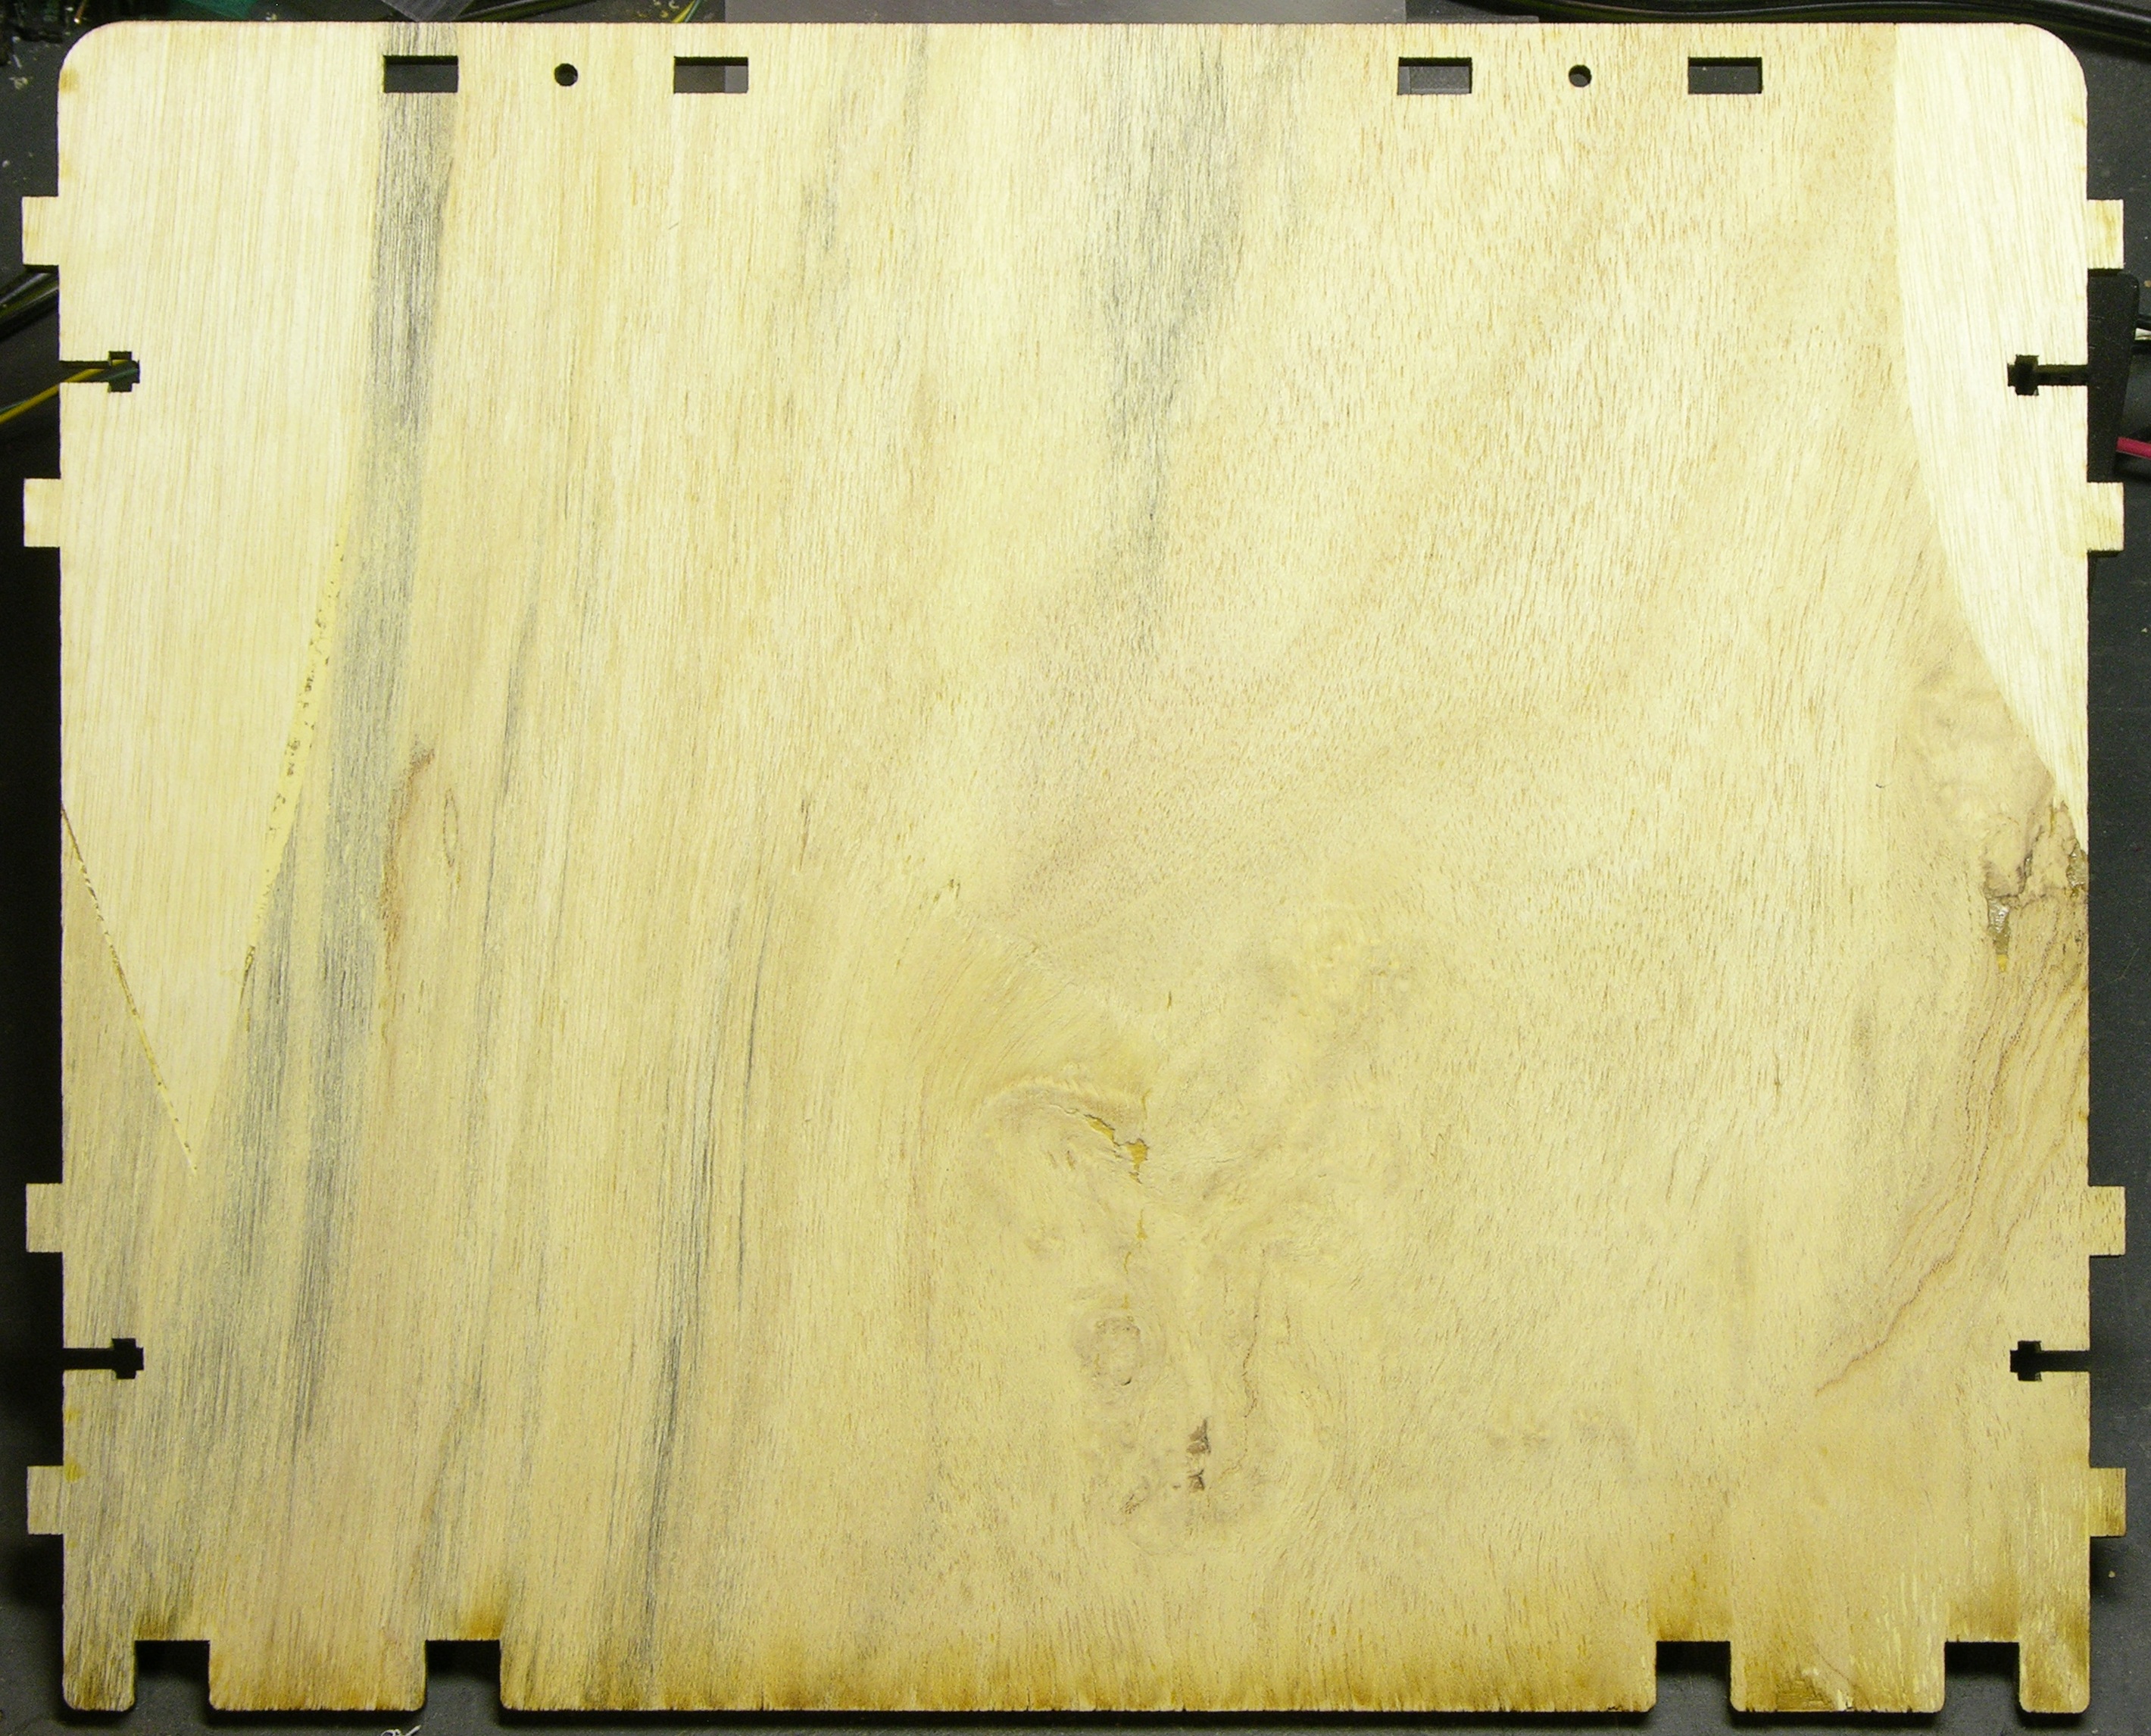
That said, the back sides of some of the plywood pieces are a bit rough. (The fronts are all very nice, and both sides of the 1/8″ pieces are nice.) Although the rough sides all face the interior, the interior is where I’m going to be looking and photographing a lot. So a lightening agent with a bit of opacity –but not too much — seemed like a good idea.
Vicki the Paint Lady at Graber’s Ace Hardware led me to a Zar “country white” oil-based wood stain that she had used before and which very closely resembles an oil-based paint. It applies like a stain, but the color particles are white and more opaque than I’m used to from regular wood stain. I had to be a bit careful in the application not to leave it on so thick as to completely hide the wood grain; but I was pleased with the result.
The smaller, upper piece is untreated; the lower background piece has one coat.

I ended up doing two coats over a weekend, carrying “trays” of them out to my cargo van to dry, then letting them all fully cure in the van for a week.
Those are empty boxes brought home for sorting and storing, by the way. I’m not in the Dell monitor sales business.
Clearcoat
I knew I wanted a clear protective coat on top of the stain to seal moisture out of the plywood parts. I had got a tip from legendary arcade game restorer James Marous when I visited his showroom to apply clearcoat with a roller instead of sprayer; it gives better drip control and creates a slightly crinkled surface that hides flaws and doesn’t glare. At first I thought of using that technique on the plywood parts, and even bought a cute little 4″ roller that came with its own cute little plastic paint tray.
Then I thought more and more about how to seal the edges — the main places moisture would enter end grain and cause the most damage — and it just didn’t seem practical to do with a roller. Contemplating that — and procrastinating because of the anticipated difficulty and tedium of the job — is what stalled me from May to August.
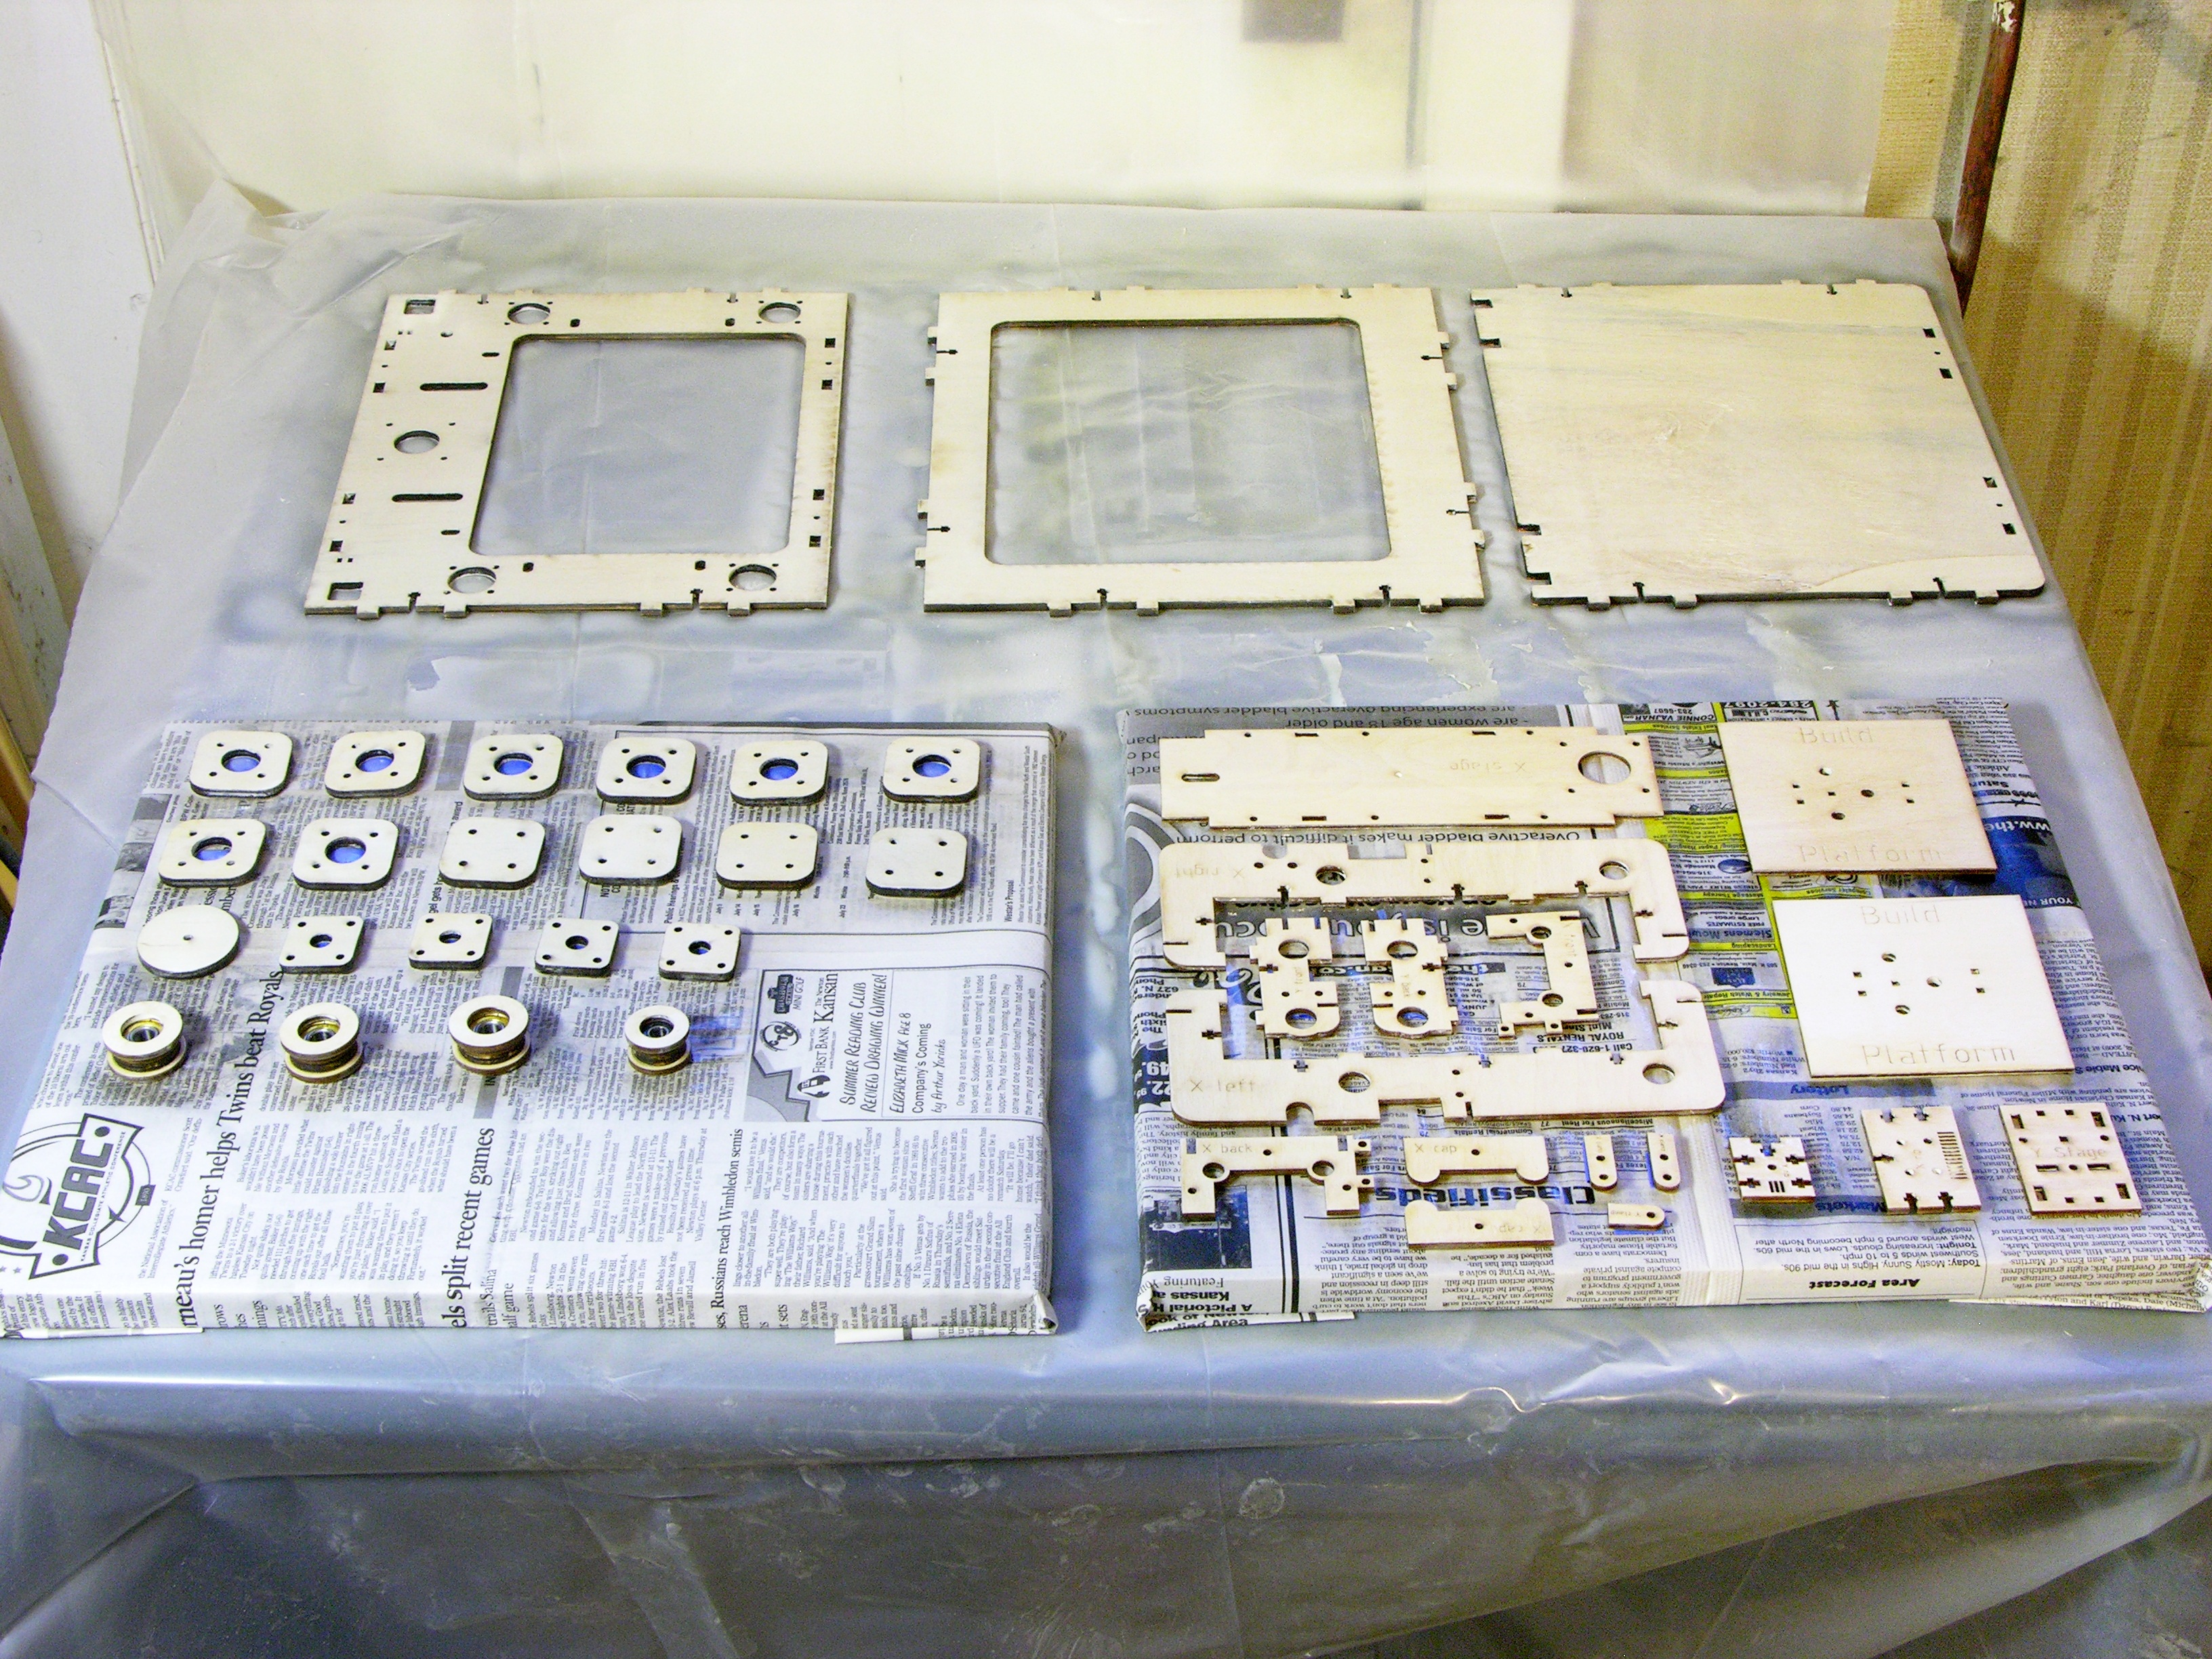
After getting validation from a cousin who builds custom cabinetry, I settled on spray cans of clearcoat. With a little attention to spray angle and parts rotation between coats, it was fairly easy to cover all the cut edges with spray while finishing the faces.
I attached all the small parts to “trays” with tape loops to raise them so the edges wouldn’t stick; the large parts I just lifted free from the plastic after the clearcoat dried but before it cured. I lightly sanded all but the tray of square bearing mounts and rod covers between coats.
Recall that I wanted my case to come out as lightly-colored as possible. When I was planning to roller the clearcoat onto the pieces, I had carefully selected a can of non-yellowing polyurethane that really did appear from the hardware store samples to be non-yellowing.

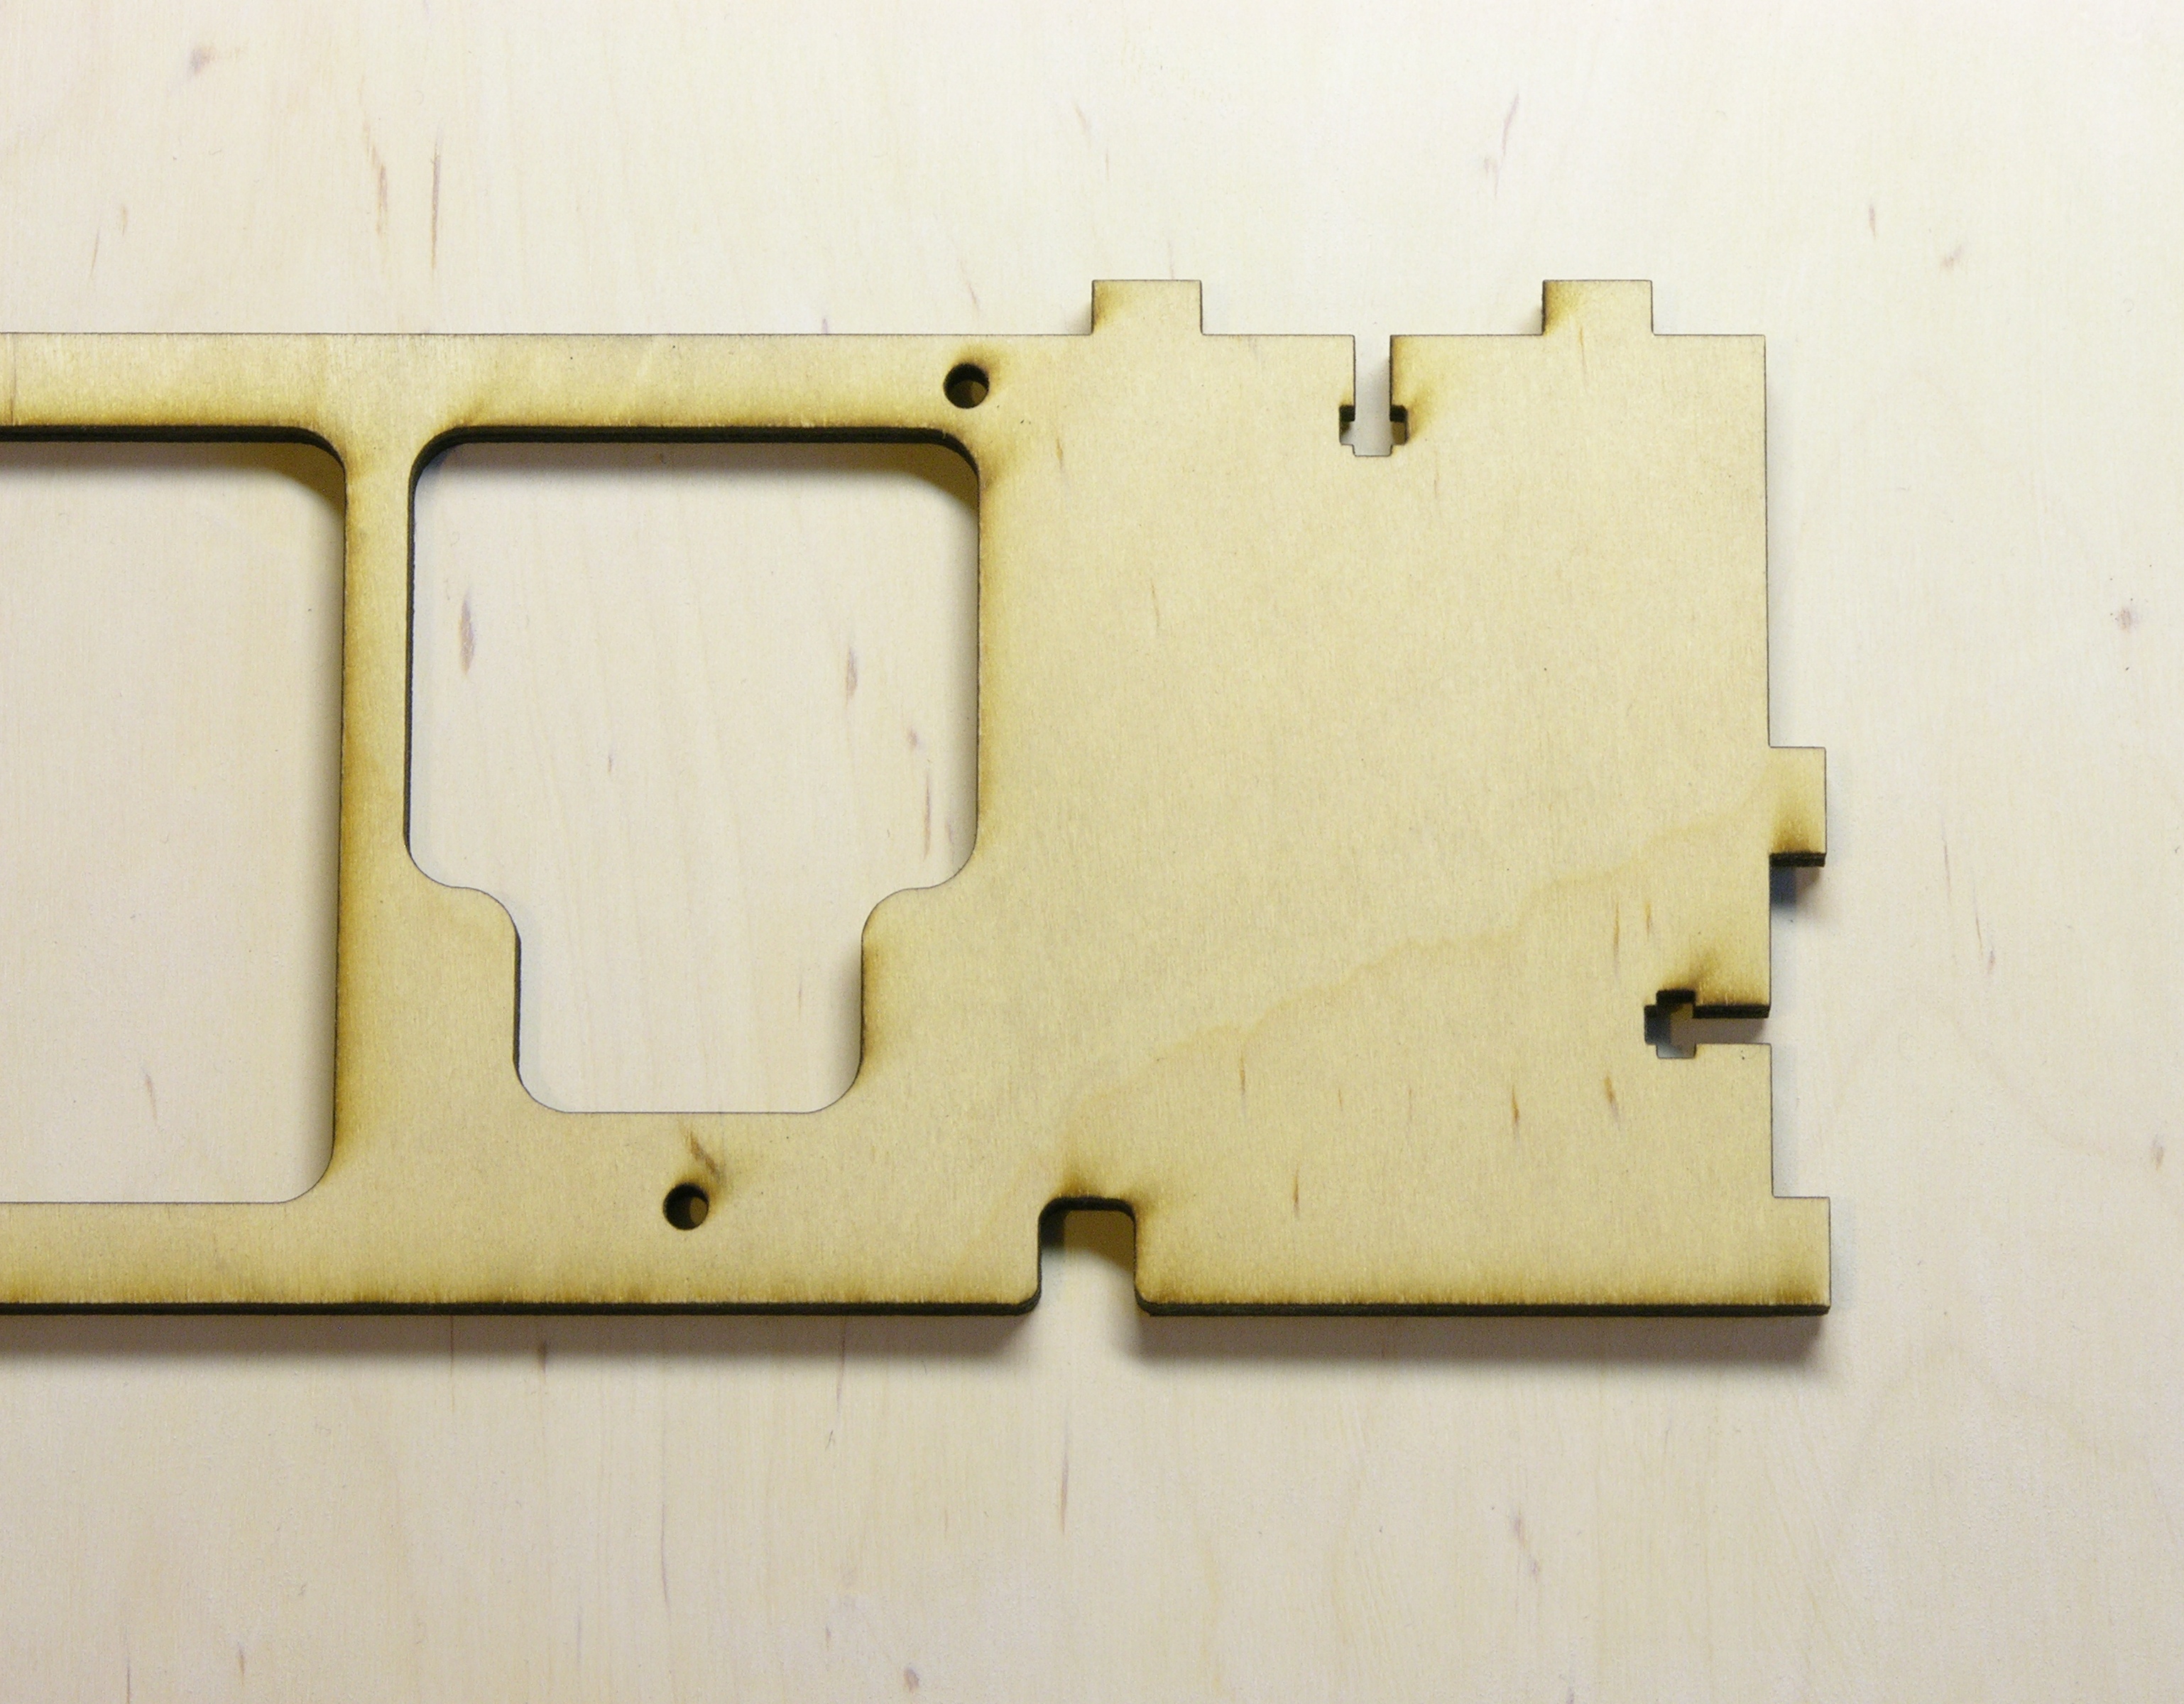
Oh, would that that were so with the Krylon “crystal clear” spray finish. The large piece in the background has either two or four coats of Krylon (I started with four light coats and ended up getting better results from two heavy coats) and the smaller piece in the foreground has only the white stain. The pieces appeared identical in color before the Krylon.
Normally I’m cautious to test finishes before applying them to the “real” pieces; but here I didn’t have a lot of choice. There were only two clear spray finishes at my hardware store, and I bet the other one would have had a similar result.
I really should have taken the time to find or borrow a spray gun and thinned my can of non-yellowing liquid finish to spray that. But it’s too late now — and at least the CupCake project is moving again.
The parts are now in the van to cure for probably a week. Even though they feel very dry to the touch, they currently fail the thumbnail test and they feel squishy when pressing together tightly-fitting joints.
We clearcoated Goldie, one of our first MakerBots from batch 1 and it took forever and we haven’t done that again. She’s still the prettyest one though!