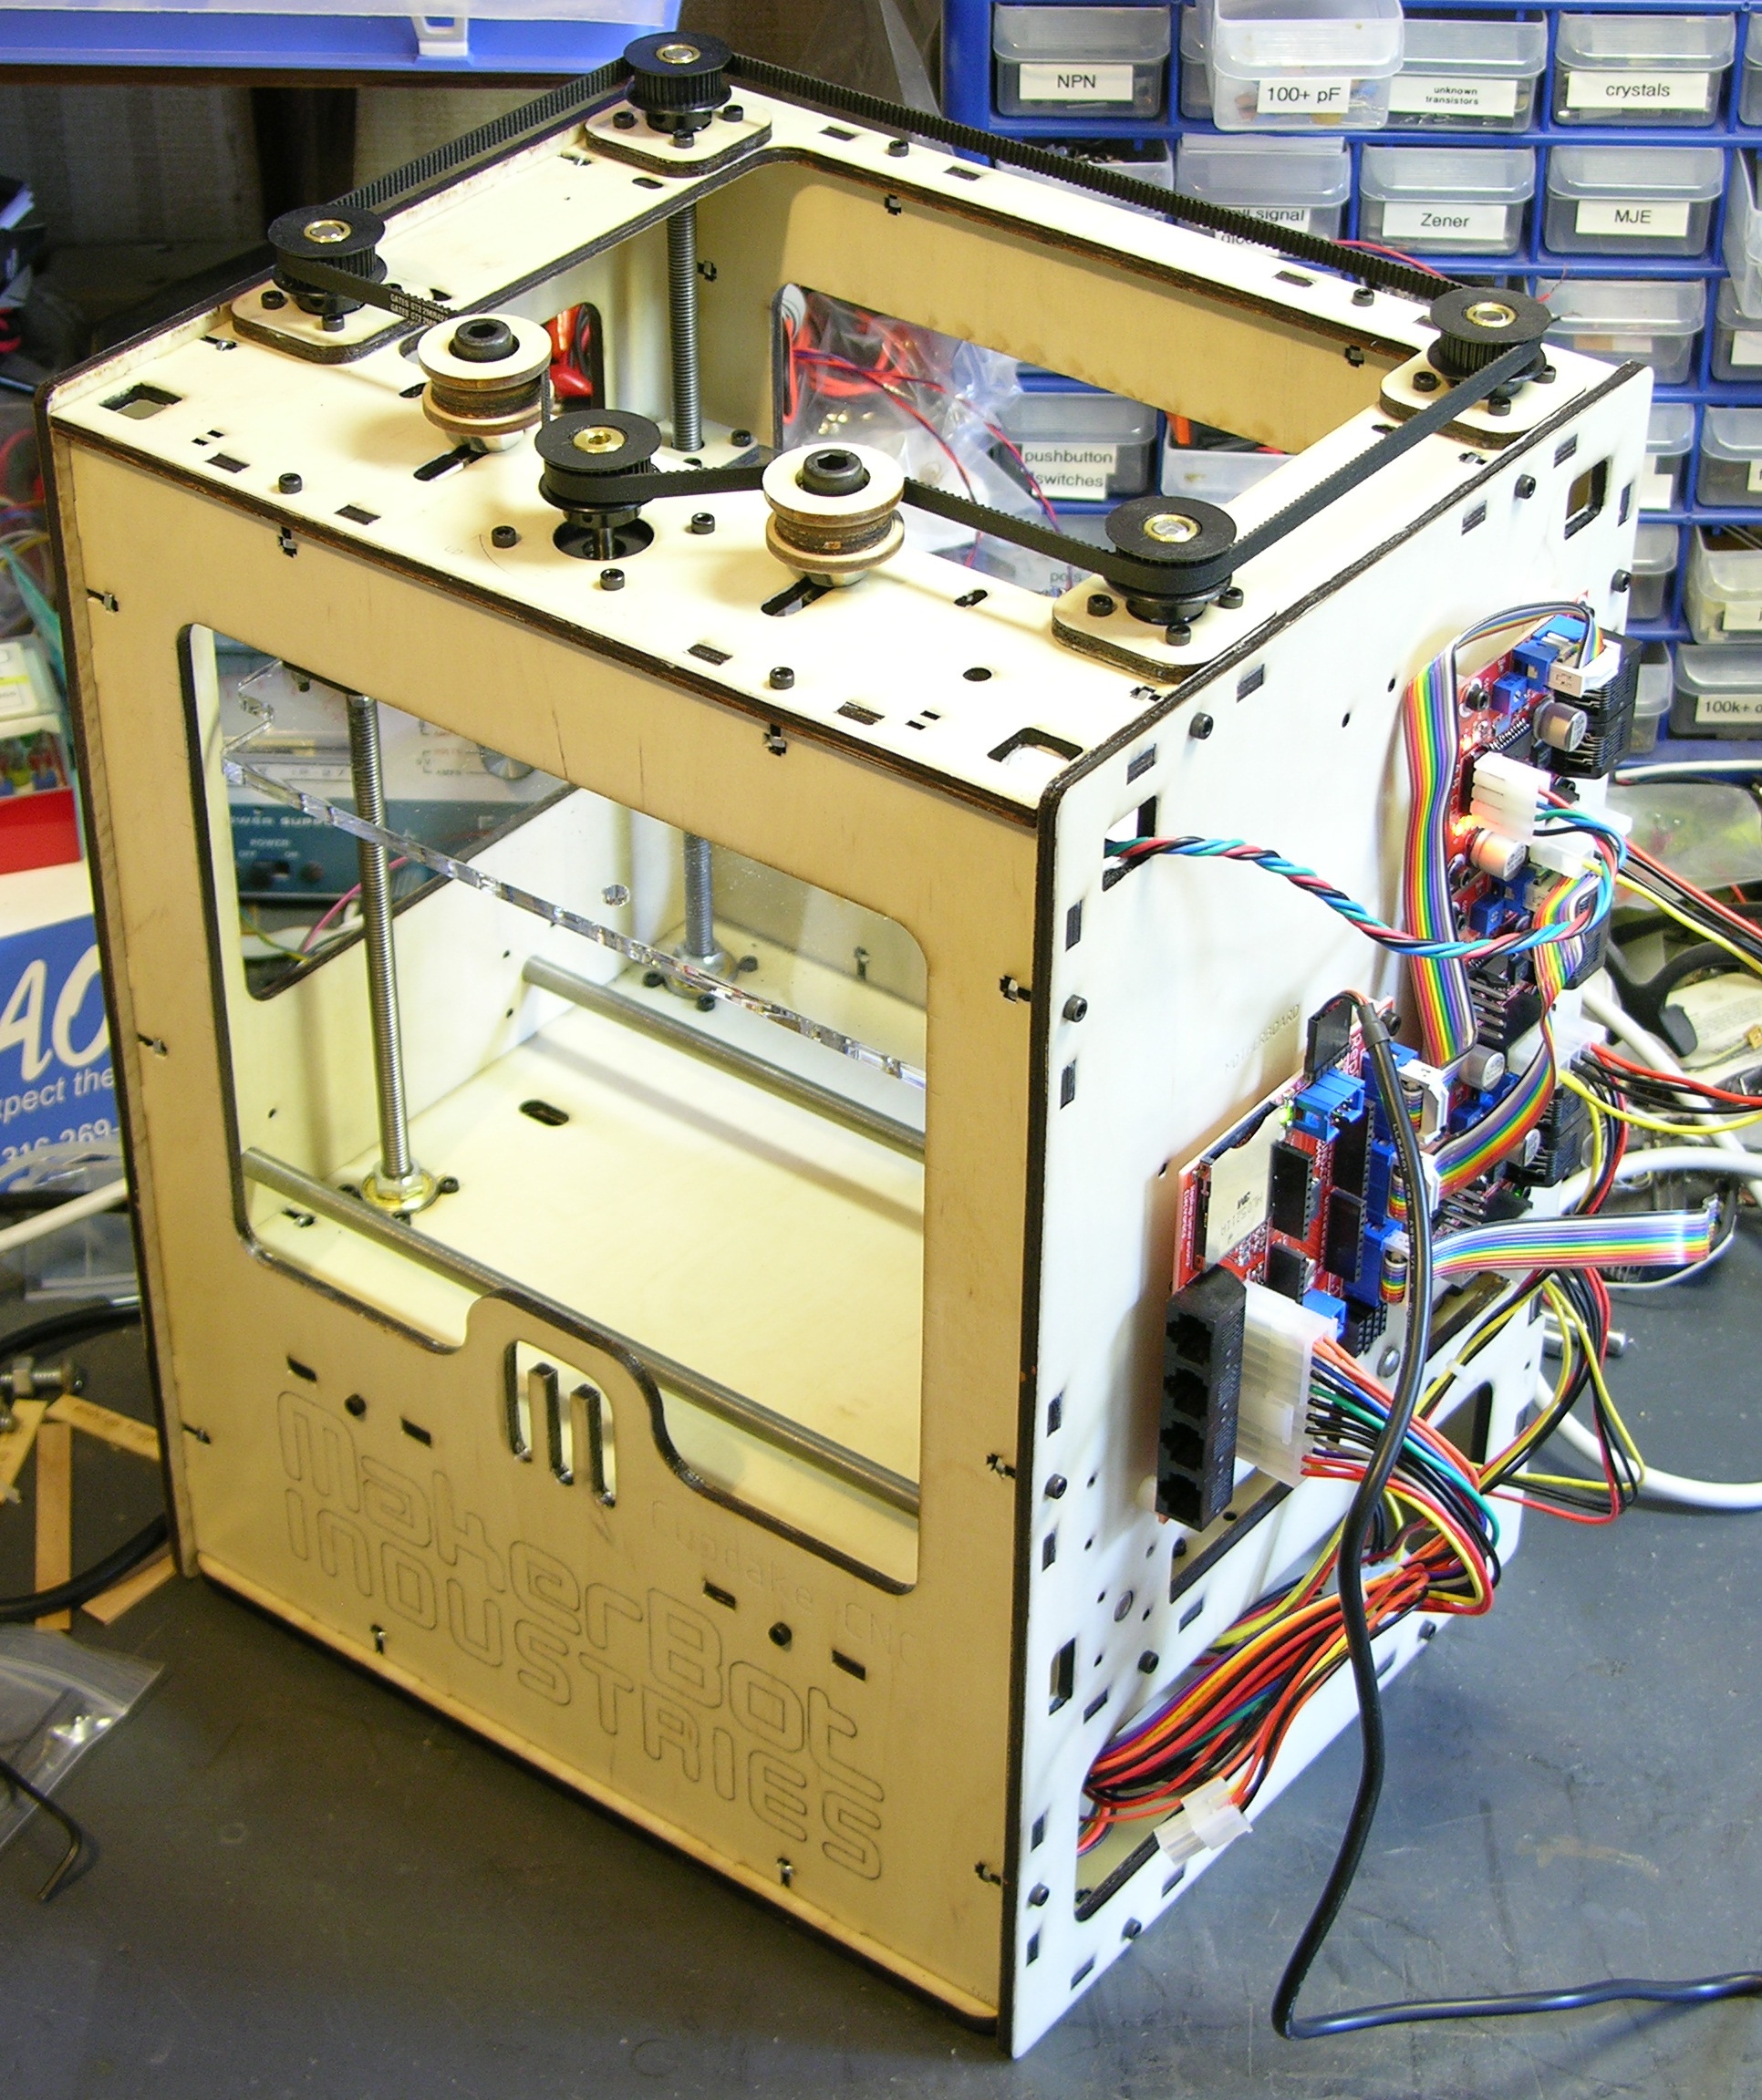
After leaving the case parts outside in the van for a week to cure, by Saturday they were nice and dry and didn’t feel squooshy when I was putting together tight-fitting pieces. Saturday evening I got the case assembled and the Z stage installed:
And more yesterday afternoon and evening.
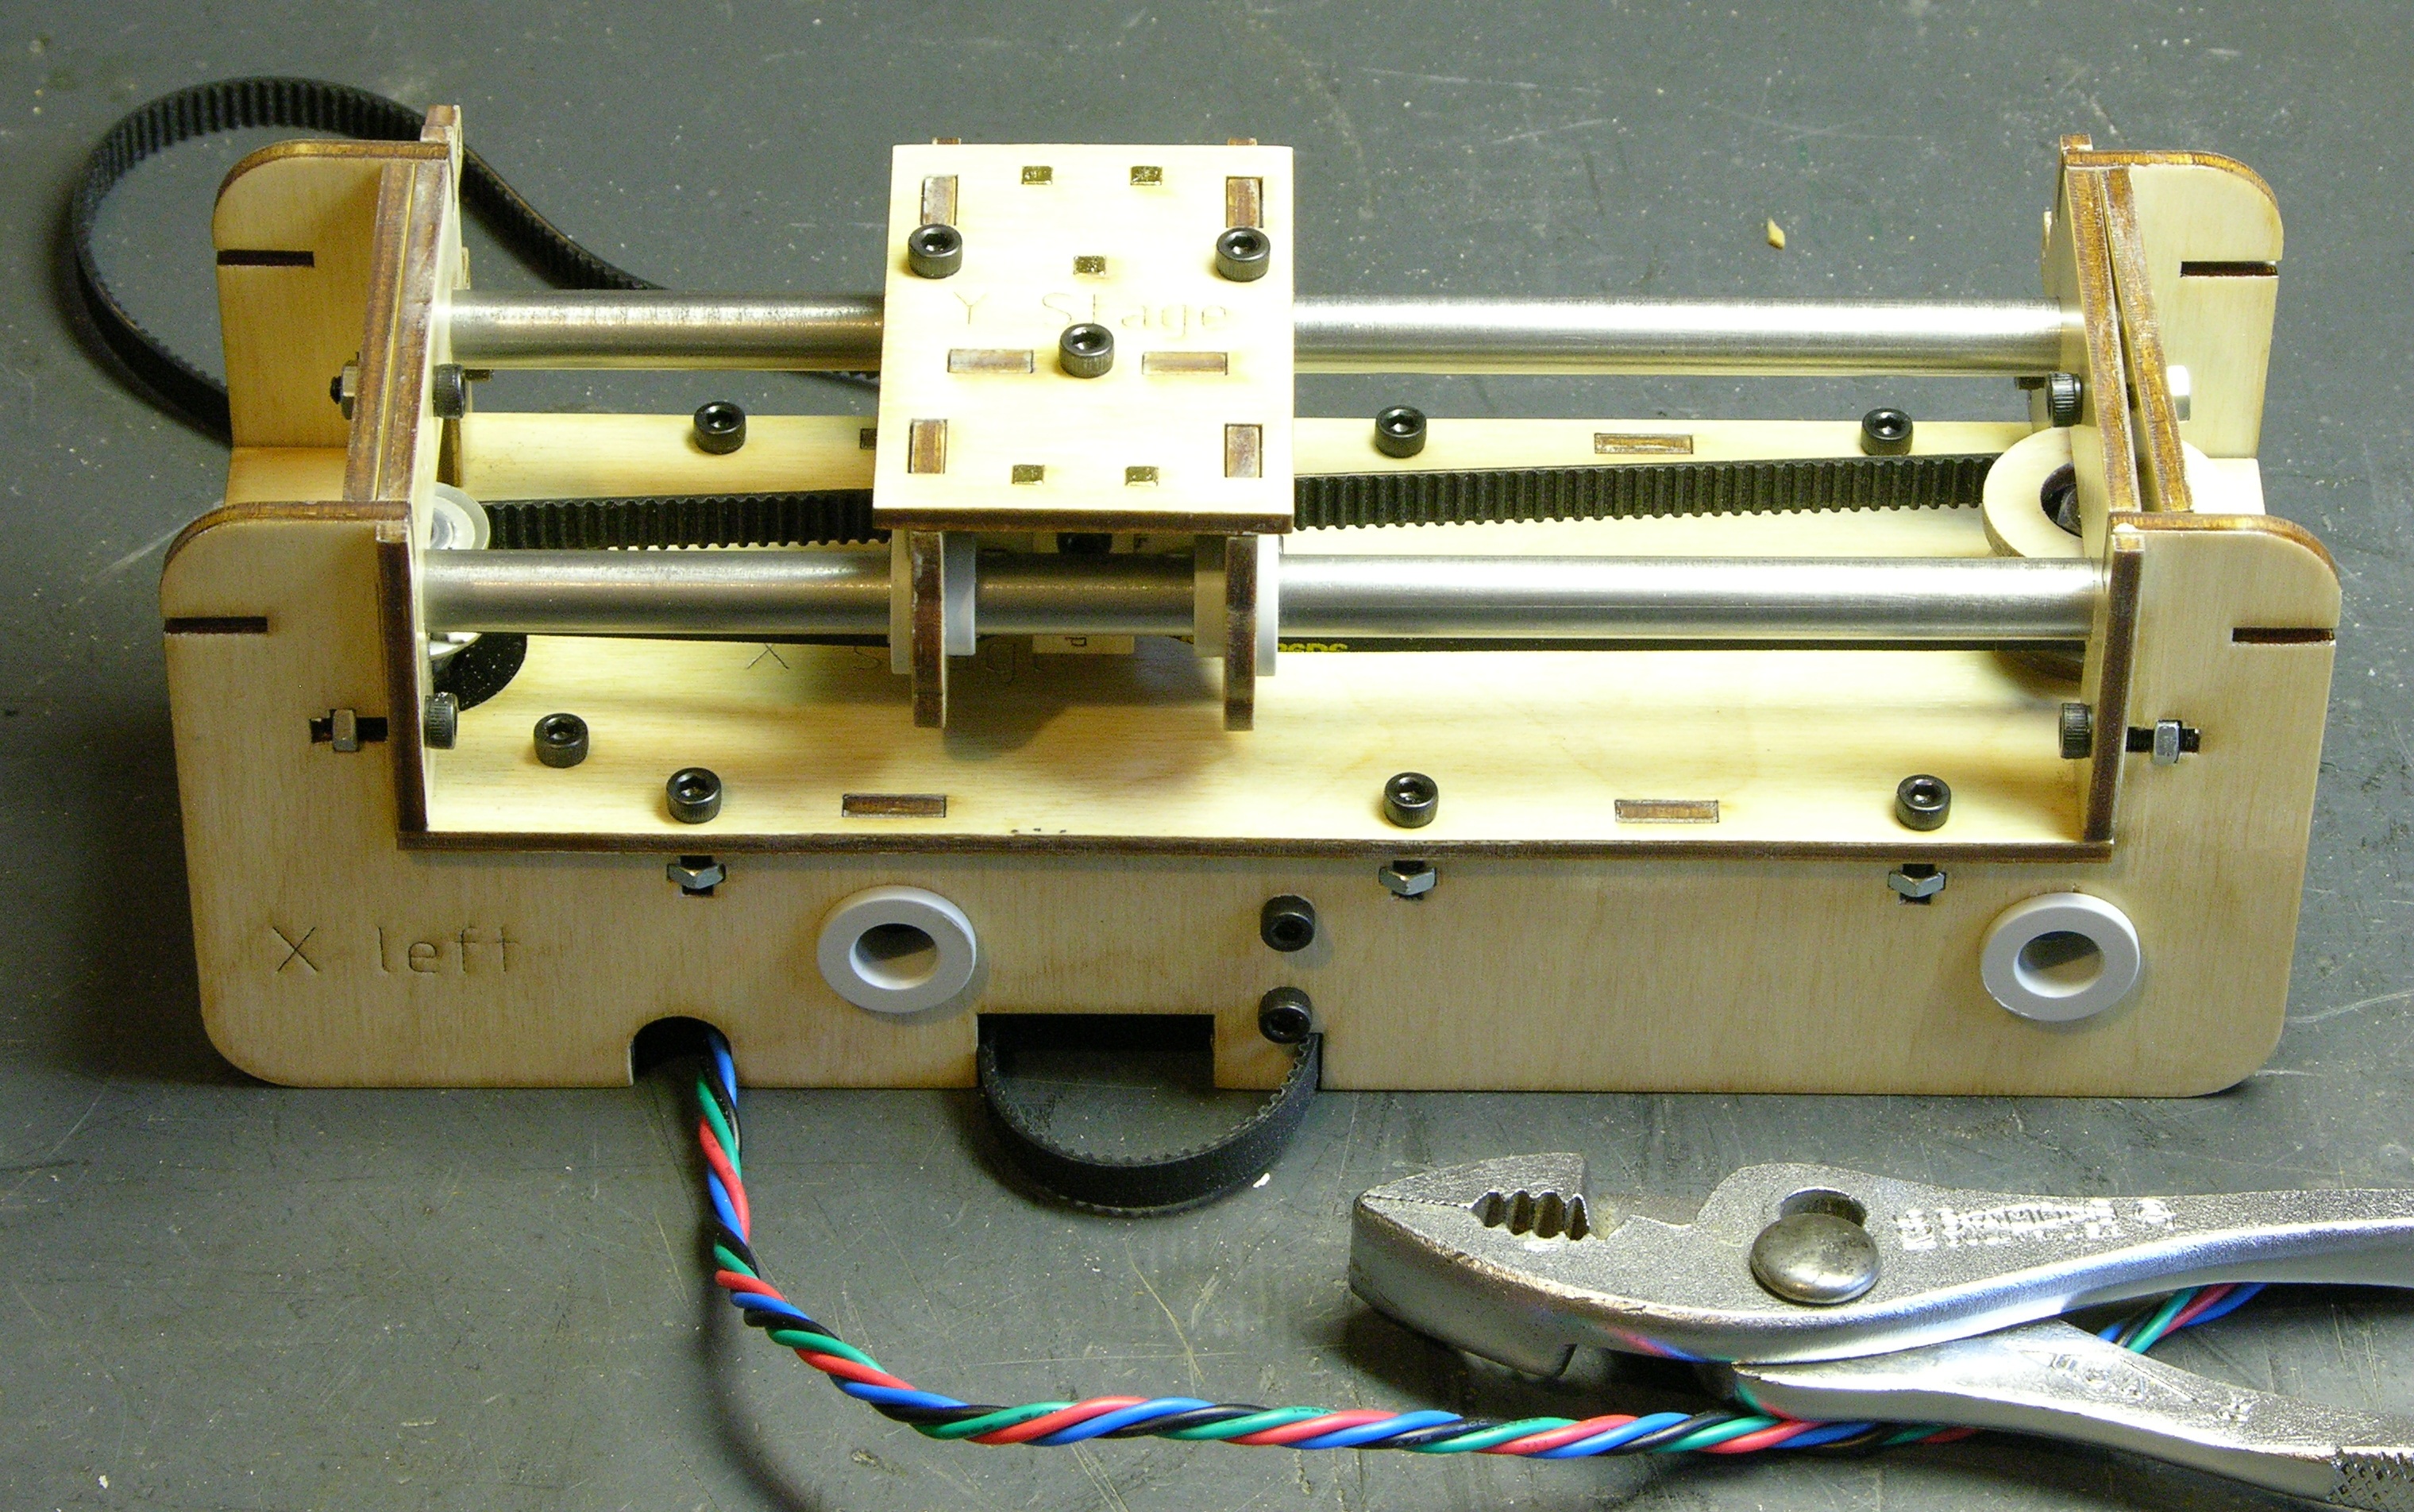
Y Stage
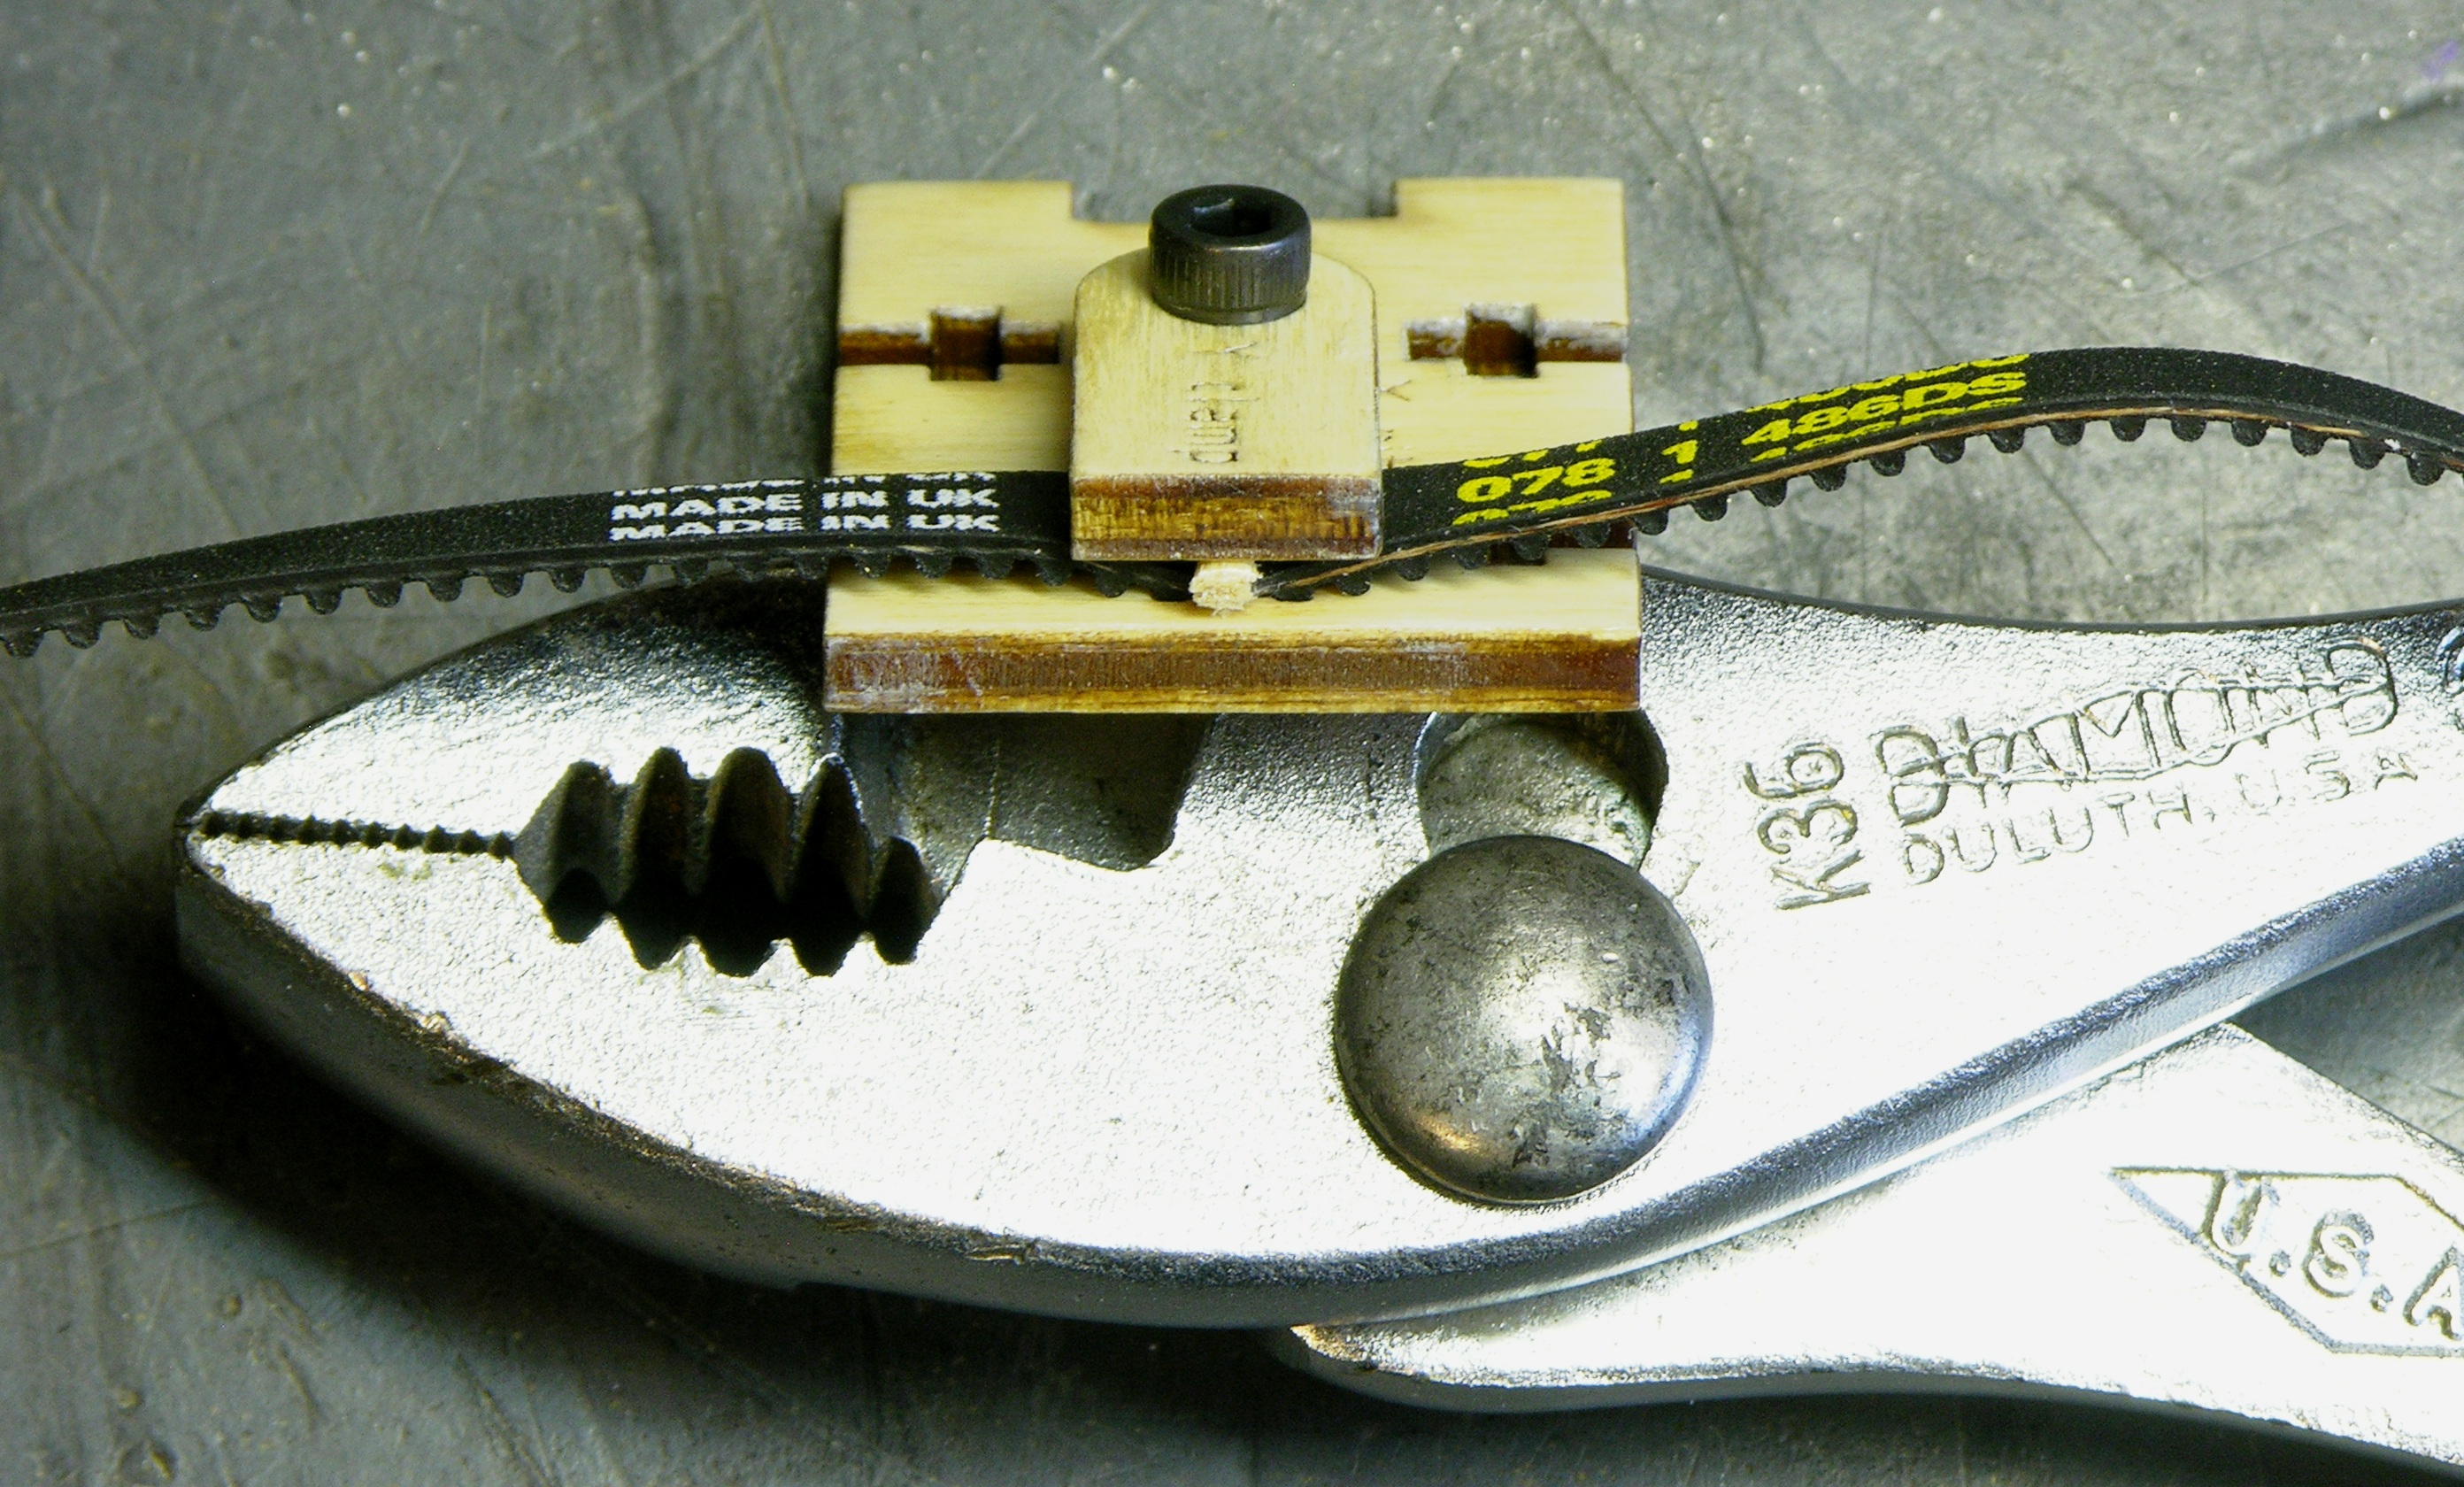
The X and Y stages have notches cut into the ribs to mesh with the belt teeth, but the Y stage’s notched section wasn’t wider than the clamp so the belt wasn’t being pressed into the notches. A piece of toothpick did the trick.
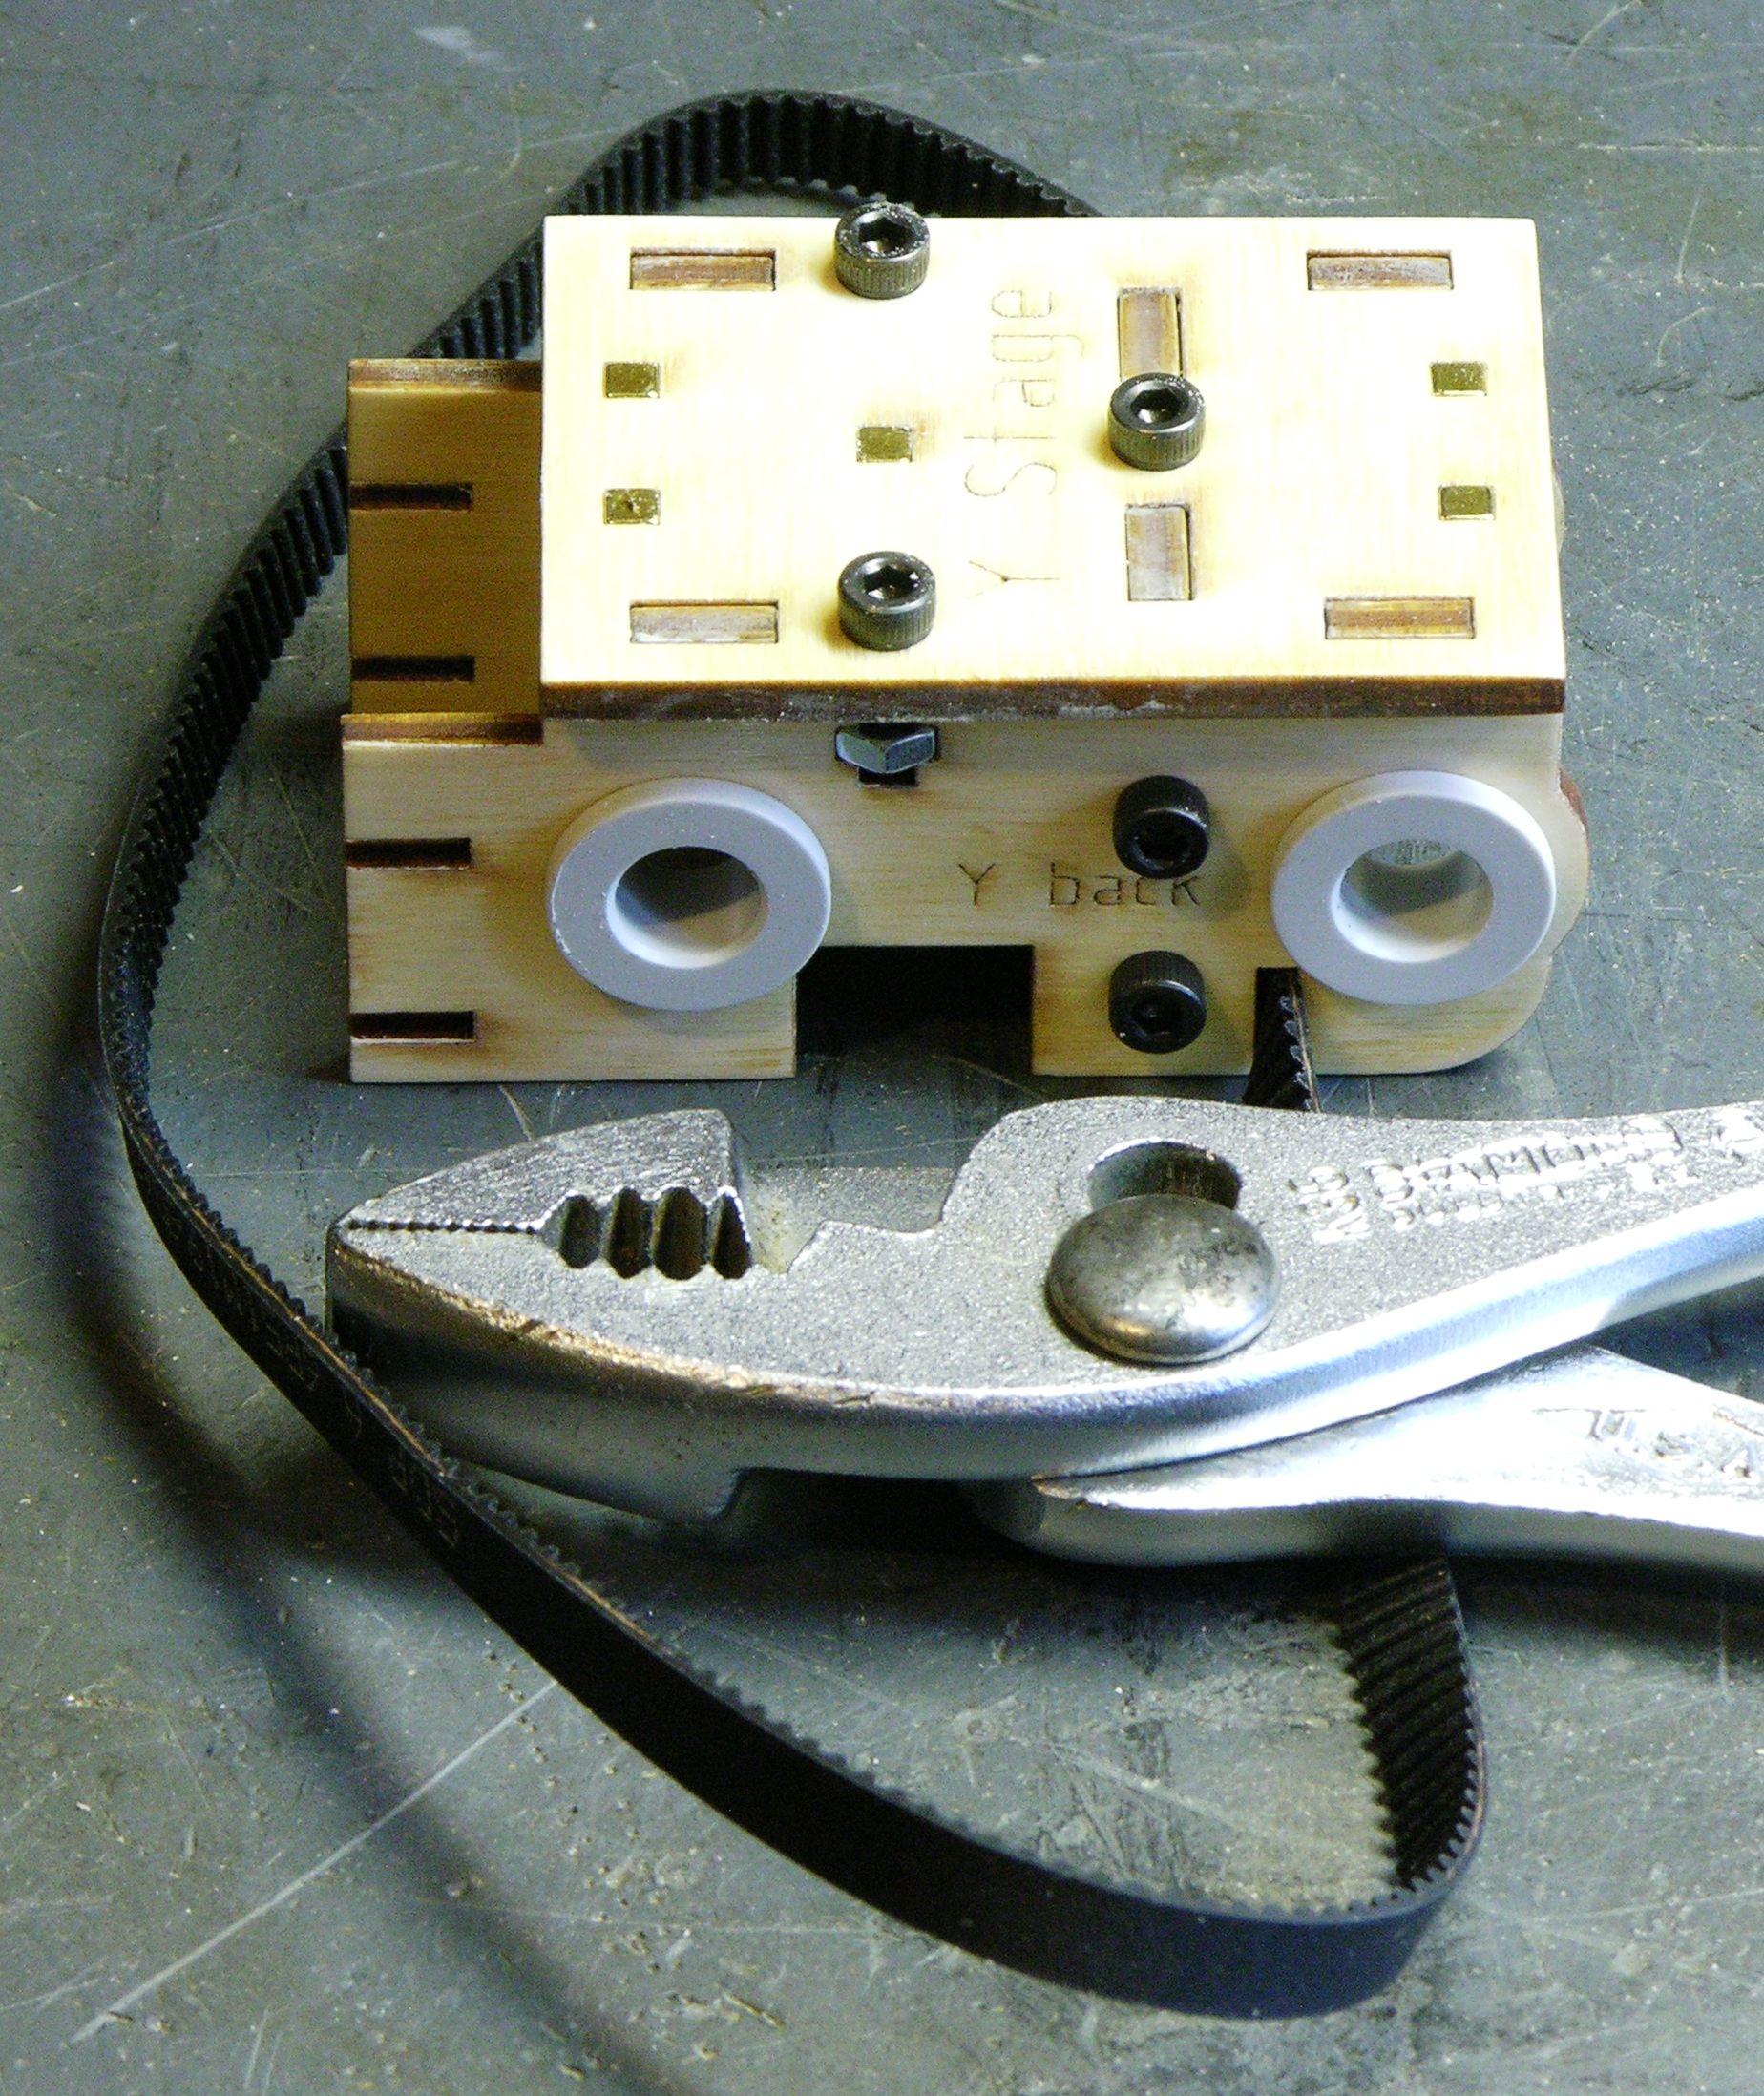
Here’s the completed Y stage,
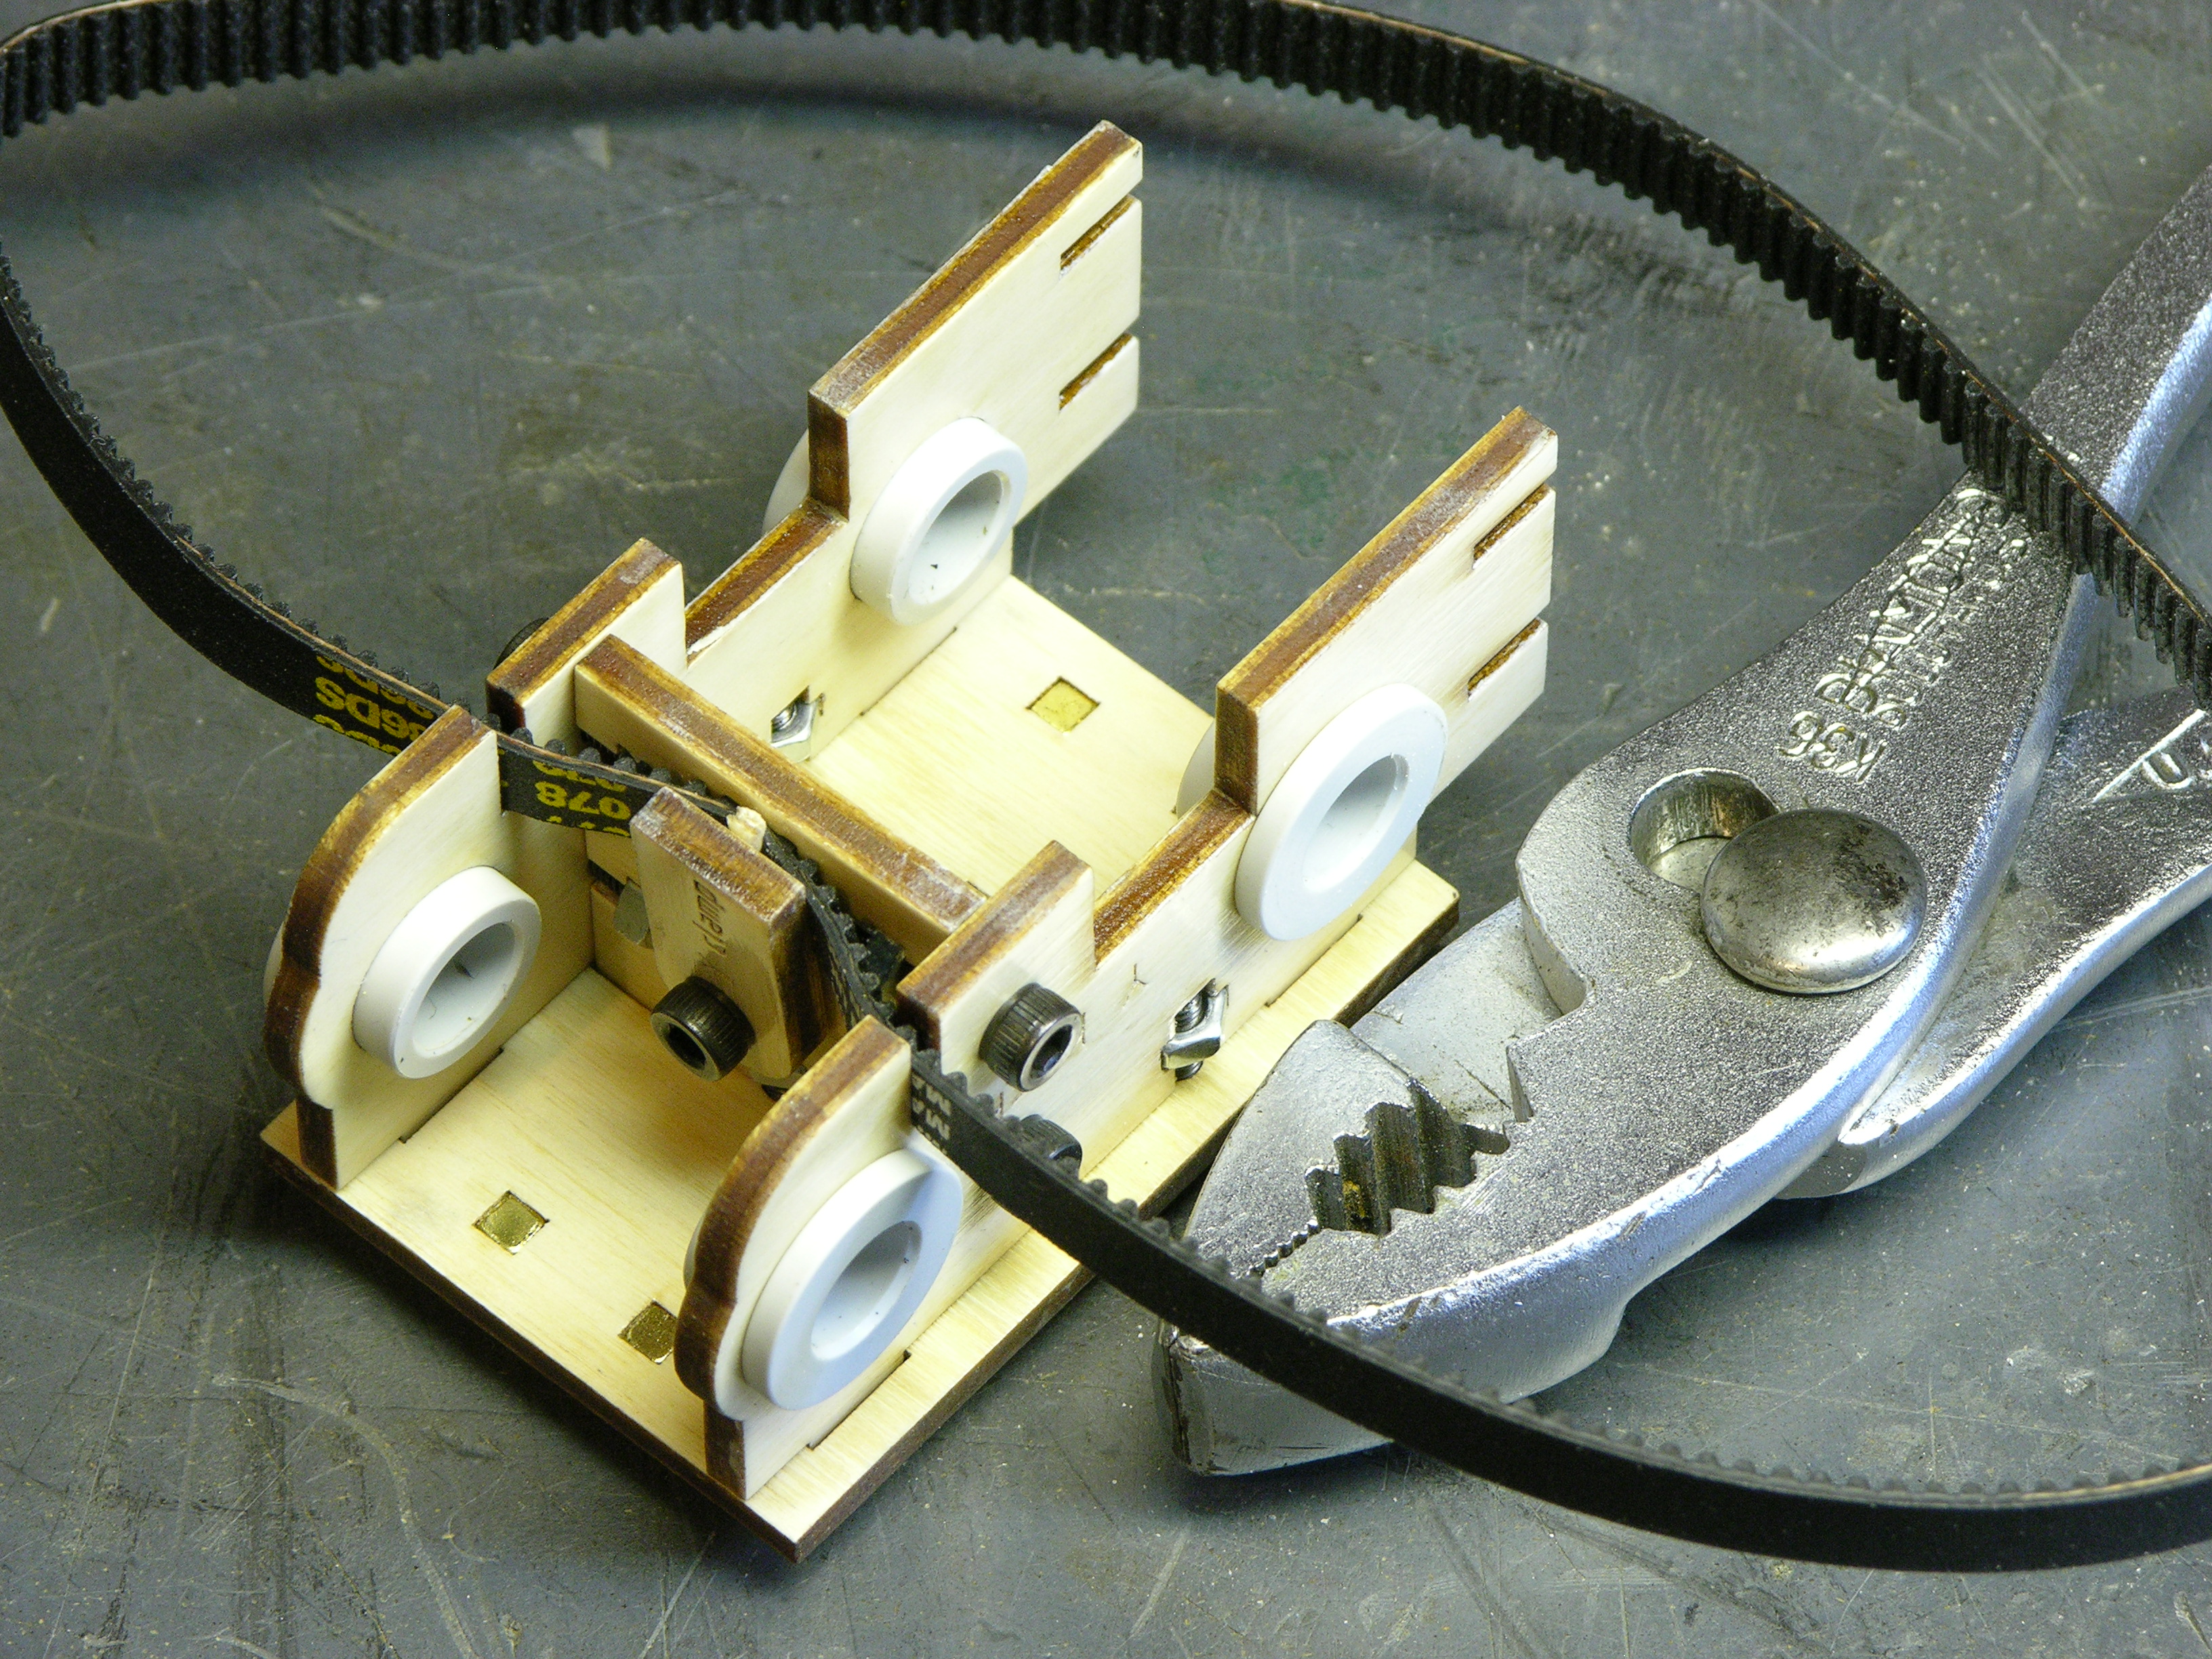
and the underside showing the belt mounted and passing through.
X Stage
The X stage is more of the same — captive nuts and hex-head machine screws holding it together, plus the slide rods for the Y stage. I can’t figure out why the idler pulley at the right end should be so large, and I think the action of the Y stage would be more even if the pulleys were closer to the same size. Maybe it doesn’t matter, but I’m tempted to experiment.
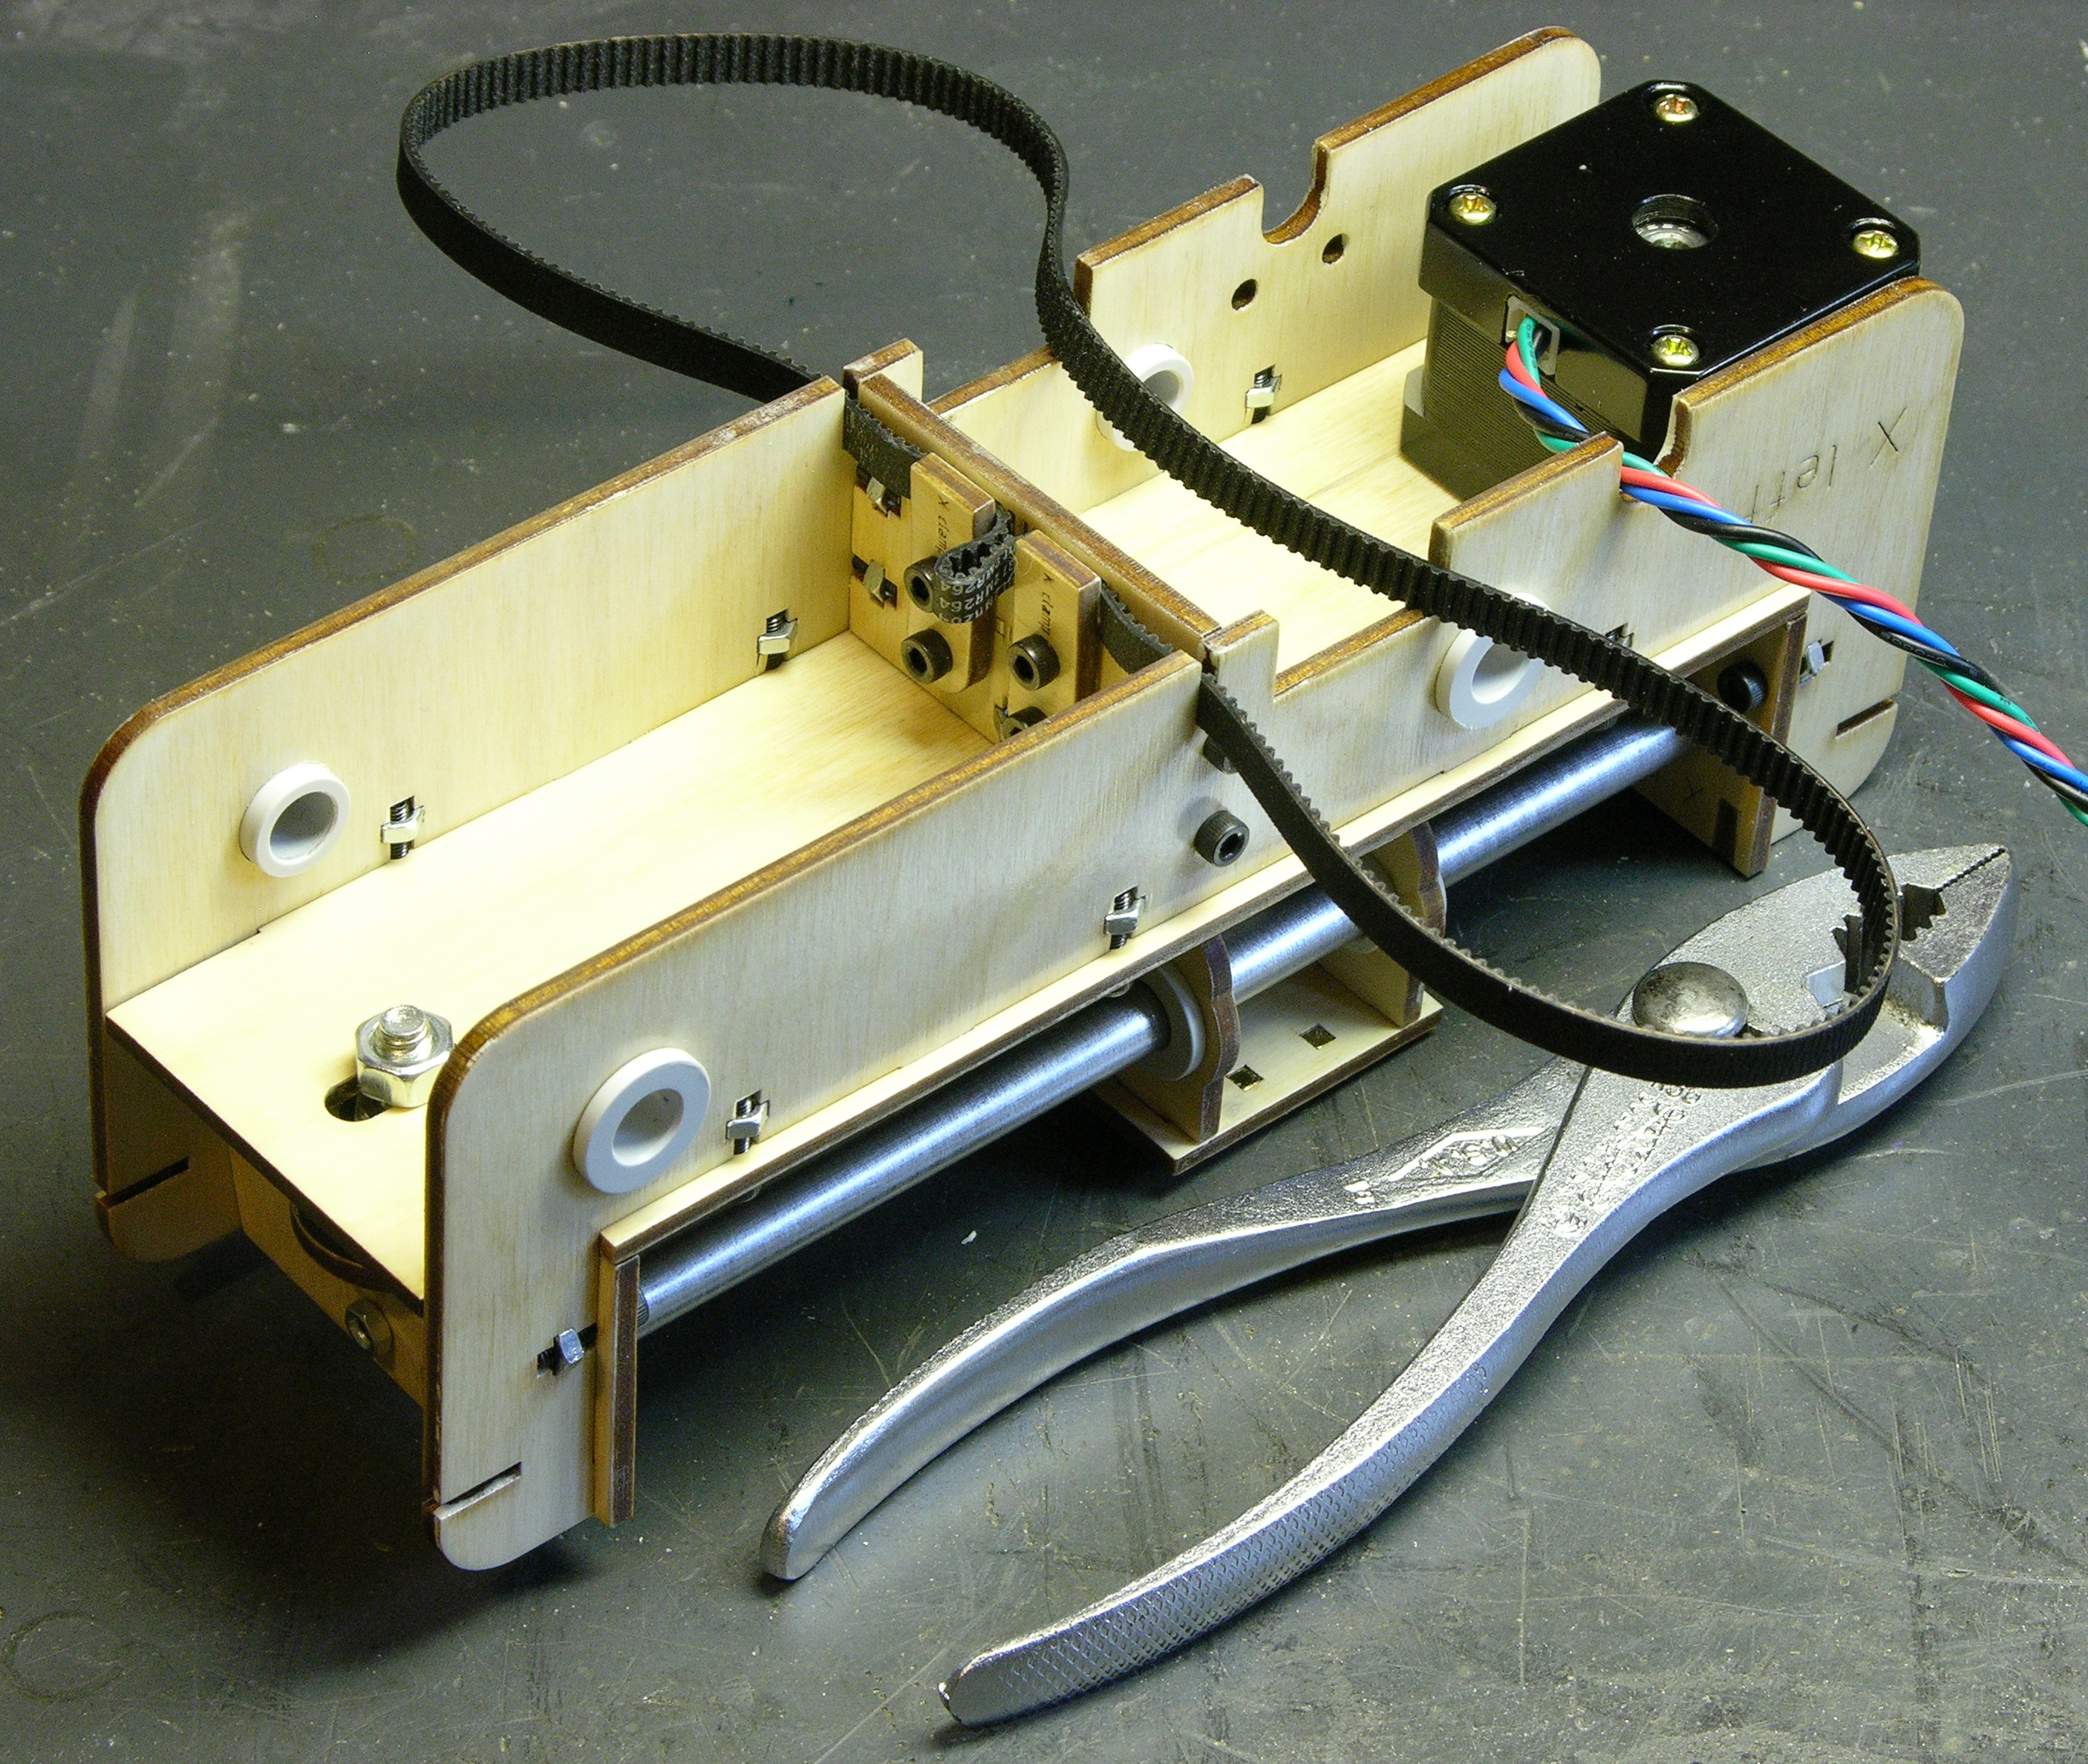
Here’s the underside with the stepper installed and ready to go. Note the little bit of belt pinched in the clamp — the belt is a little too long for the distance between the X pulleys across the floor of the case, so you need to waste some of the length here. It’s surprising how closely it needs to match the proper length for the idler pulley to fit and still be able take up the slack, and what’s pictured here is a little too much — I had to come back later and reduce this.
Table Installation

By last night I had the X-Y table test-mounted in the case and most of the electronics connected. I installed ReplicatorG on my iBook (slow but close at hand) and I could click buttons in its on-screen control panel and move the Z stage up and down.
X Stepper Control Problem
After connecting the X stepper driver, I could move the X-Y table to the right or … the right. Whether I hit X+ or X-, it kept going to the right. Hm, sounds like it’s getting step but not direction. Is the problem in the motherboard, ribbon cable, or driver?
I connected the same MB port to the Y driver board (and moved the stepper cable accordingly) and the behavior didn’t change. I connected the MB Y axis stepper port back to the X stepper board and I could make it go right and left. Looks like a motherboard problem.
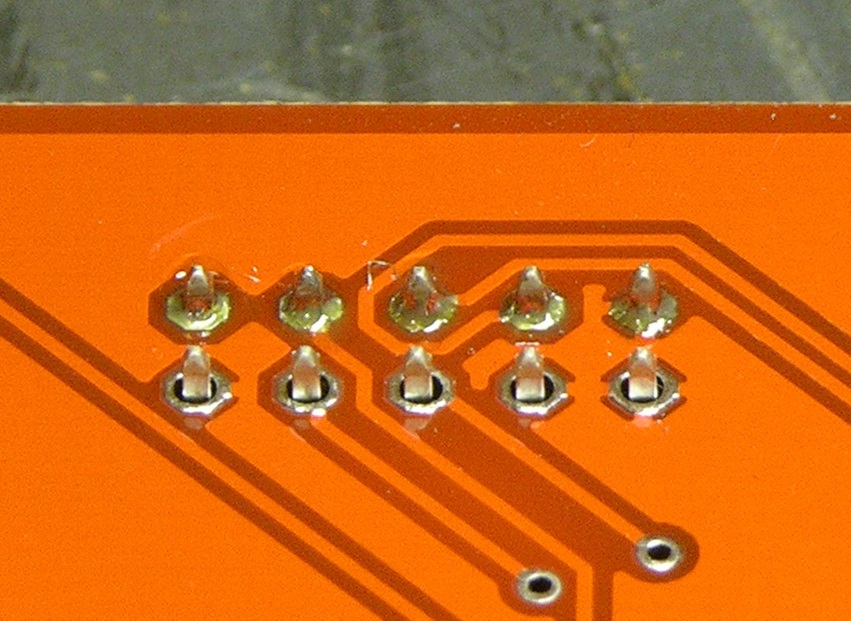
After disconnecting all the cables from the MB and unbolting it from the case for the umpteenth time, I flipped it over to inspect the X stepper control port and found what I shall generously call some very cold solder joints. After touching them up and reassembling, the X axis worked exactly as it should.
Remaining Assembly
- Sand the X slide rods a little more. Curiously, all the slide rods have significant circumferential milling marks on them that take a lot of sanding to deliver smooth carriage operation.
- The wires on the Y stepper weren’t long enough to reach any of the driver boards. I’ve spliced on longer wires and I need to figure out cable routing, cut the wires to length and terminate them, and test the Y axis.
- Wire the Y opto endstops, mount and wire the X and Z endstops, and test all of them.
- Mount and cable the extruder assembly.
- Figure out cable management. This rats nest is fine for testing, but it’ll be under control before I call it done.
Thanks for sharing with us the detailed build reports. Given the cost of this kit I am somewhat surprised at the quality control issues you seem to be experiencing.
William, to be clear, the unsoldered pins on the stepper connector were my omission during assembly. MakerBot is now delivering preassembled electronics.
But in general, I agree. I’m very disappointed with the difficulties I’ve been having — even more so with firmware problems I’m having with the completed unit that prevent it from being at all usable for me. I’m actually packing it up and putting it away until MakerBot can work through that issue because there’s no point in even trying right now.
At the same time, I do believe they’ll work through the problems, I’ll be able to upgrade mine to the latest fixes at little to no expense (maybe a new idler wheel but mainly just firmware and software), and I’ll have absolutely amazing fabrication capabilities right at home. And I’m still very excited about that possibility, and very much look forward to it.