I had previously noted the shrinking of the first few layers of a build on my CupCake and attributed it to the ABS shrinking too rapidly after extrusion because the room and the build chamber weren’t terribly warm. Although I’d leaned things against all of the CupCake’s windows so the heated build platform warmed the whole chamber, I thought that too much heat was leaking out when I prepped the print and removed the pre-print test extrusion and that it took a number of layers to heat the interior back up to non-shrinking temperature.
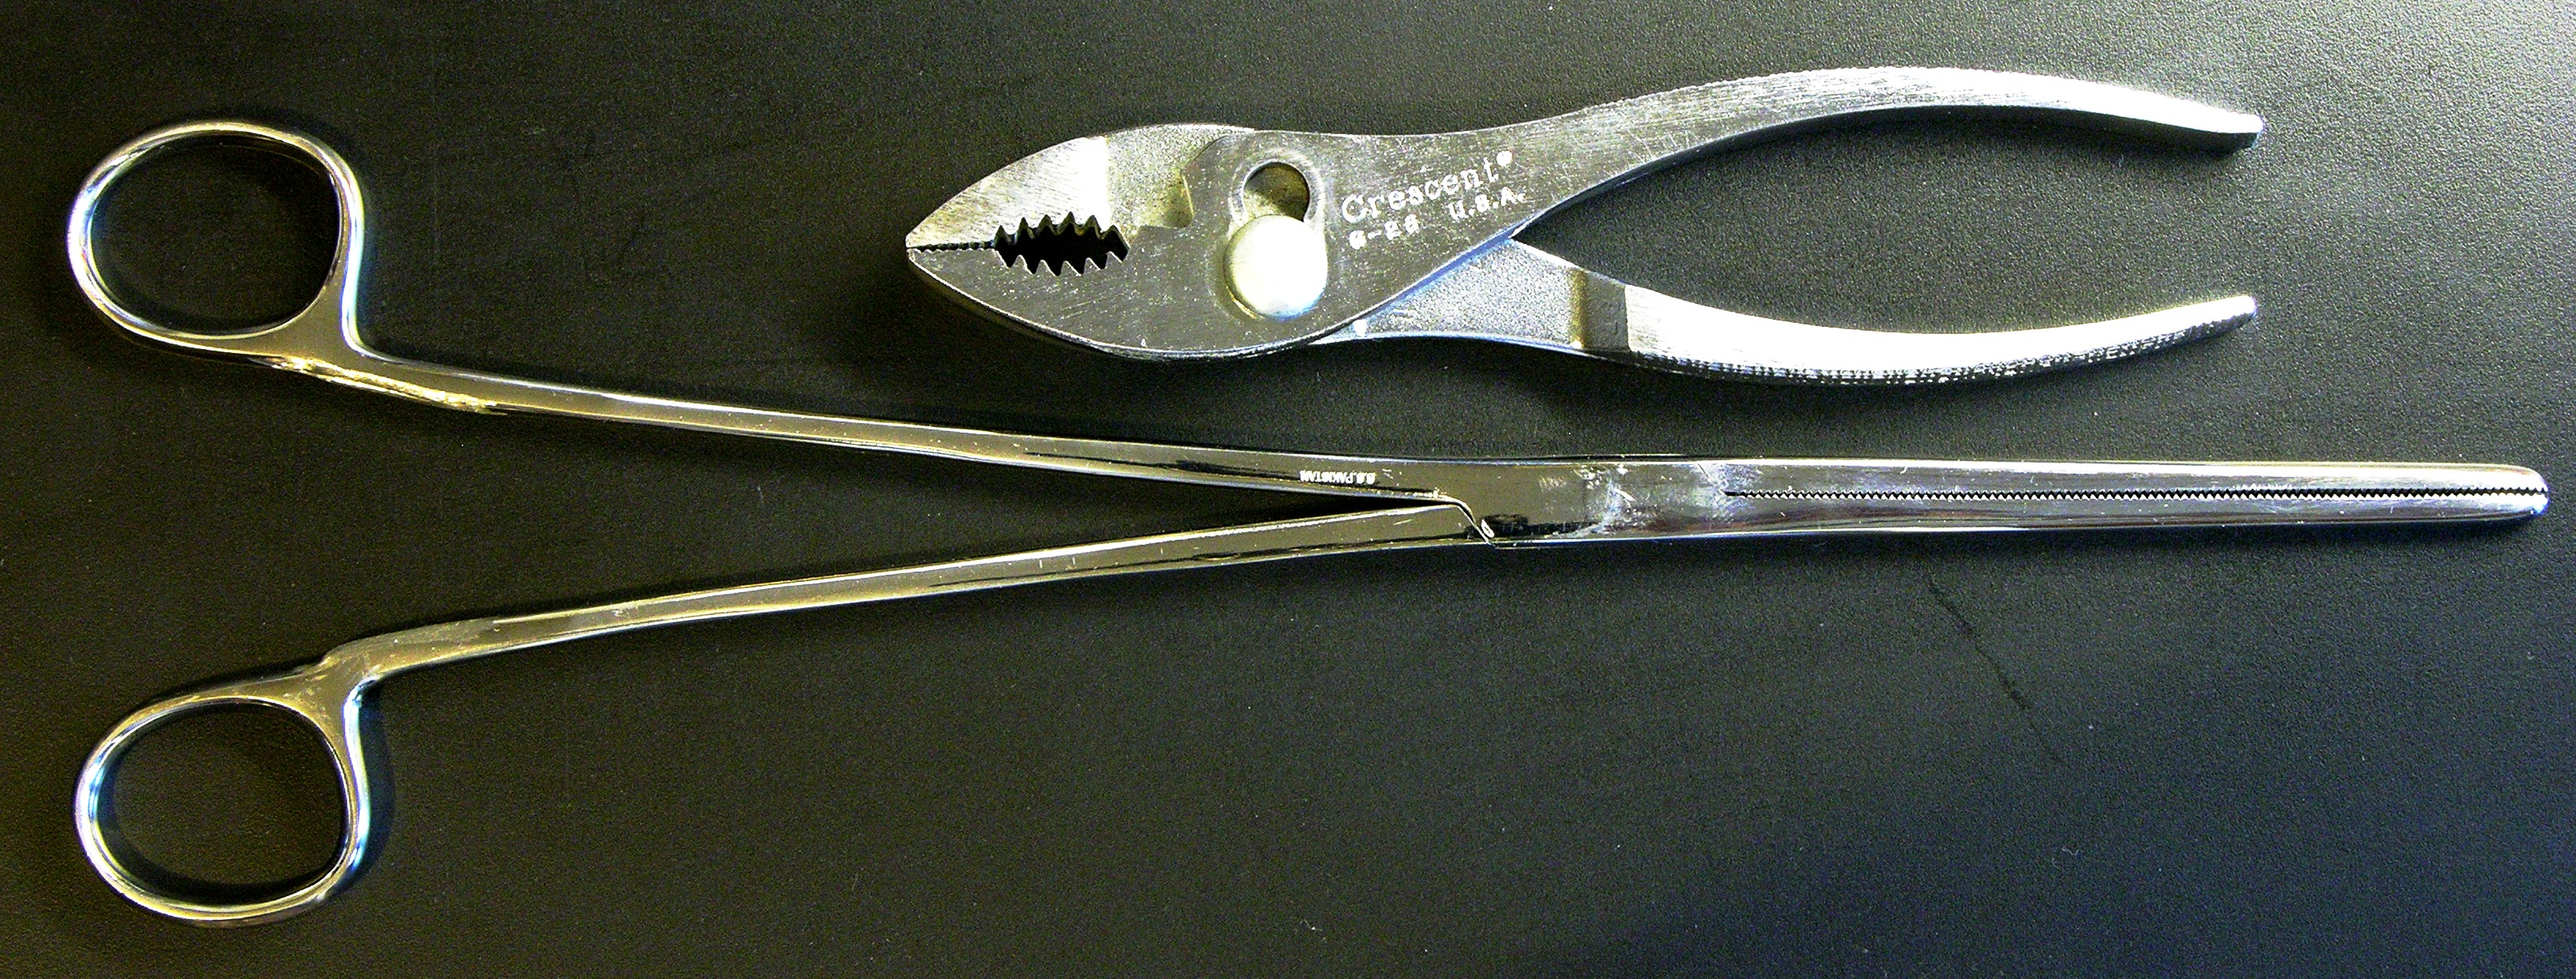
I figured I could retain more heat inside if I didn’t have to move the front “curtain” to remove the test extrusion, so I went to The Yard and picked up a big pair of Kelly forceps. Since I wanted to use them as giant tweezers, I Dremeled off the locking mechanism, leaving myself with a big pair of plain ol’ forceps.
I heated the build platform and the now-more-enclosed chamber for half an hour (longer than the time it takes to print past the warped area), then sneaked the forceps in and snaked out the test extrusion. Whaddya know — the build warped in just the same way as before.
Hm.
I don’t yet have my build platform’s thermistor connected, so I’ve been running the heater open-loop using a lab power supply to adjust the temperature via current regulation. I remembered a while back when I had it so hot that the bottom half inch of my objects stayed melty-squishy while being built … and although I no longer run it that hot, I’ve been sloppy lately about turning down the current once the first layer is adhered to the platform.
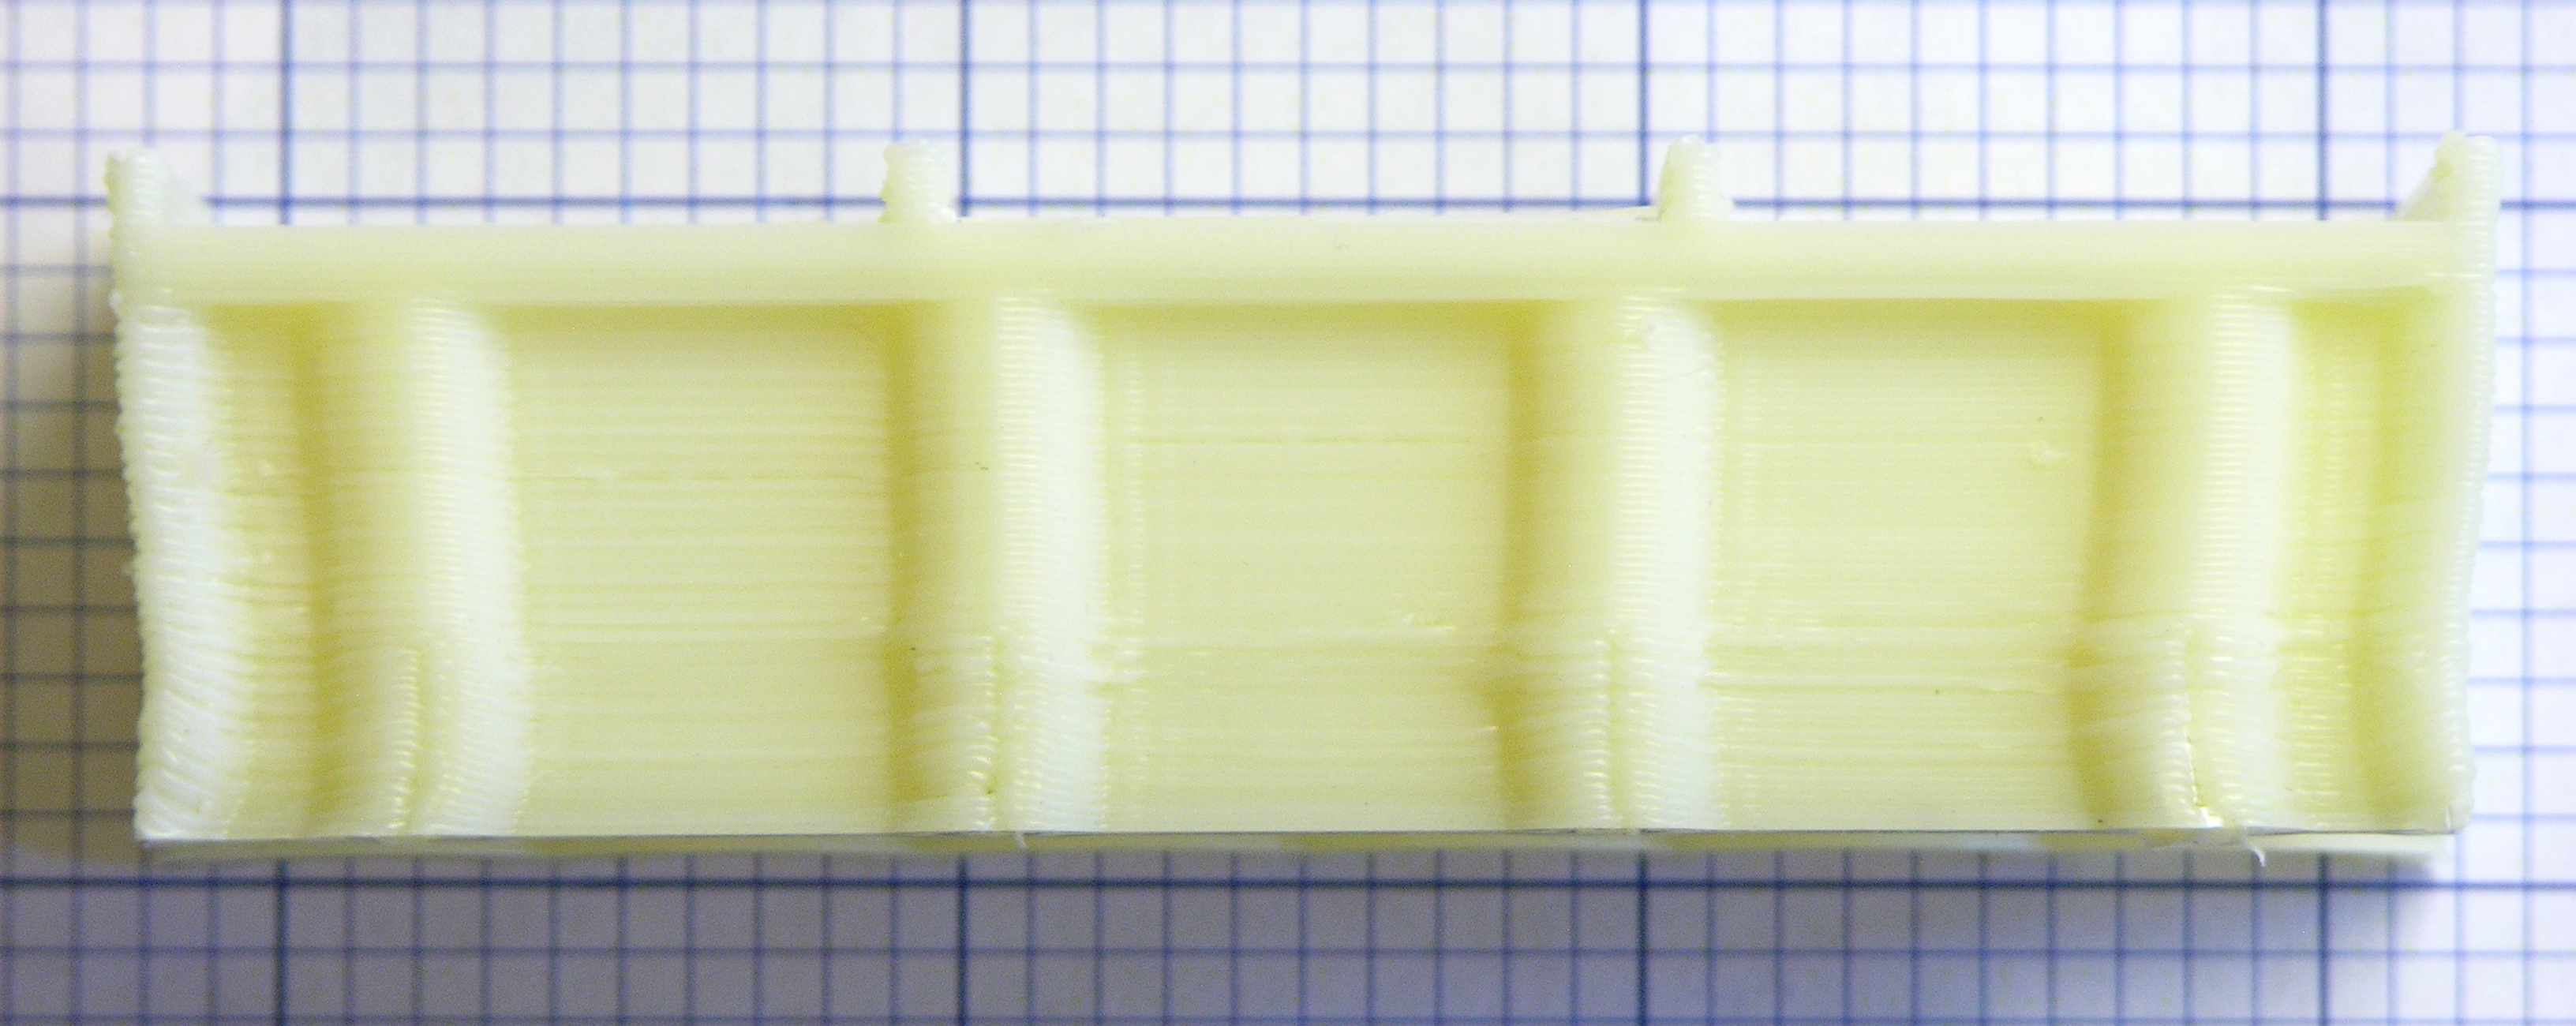
Maybe, I thinks, maybe the first few layers are too warm and pliable and get compressed as the layers above them cool and shrink. I uncover all the CupCake’s windows, start a print, and dial the heated platform current down from 2.7A to 1.8A after the first layer sticks down. I get perfectly straight walls, so I’m finally on the right track and it’s less heat that I need, not more –
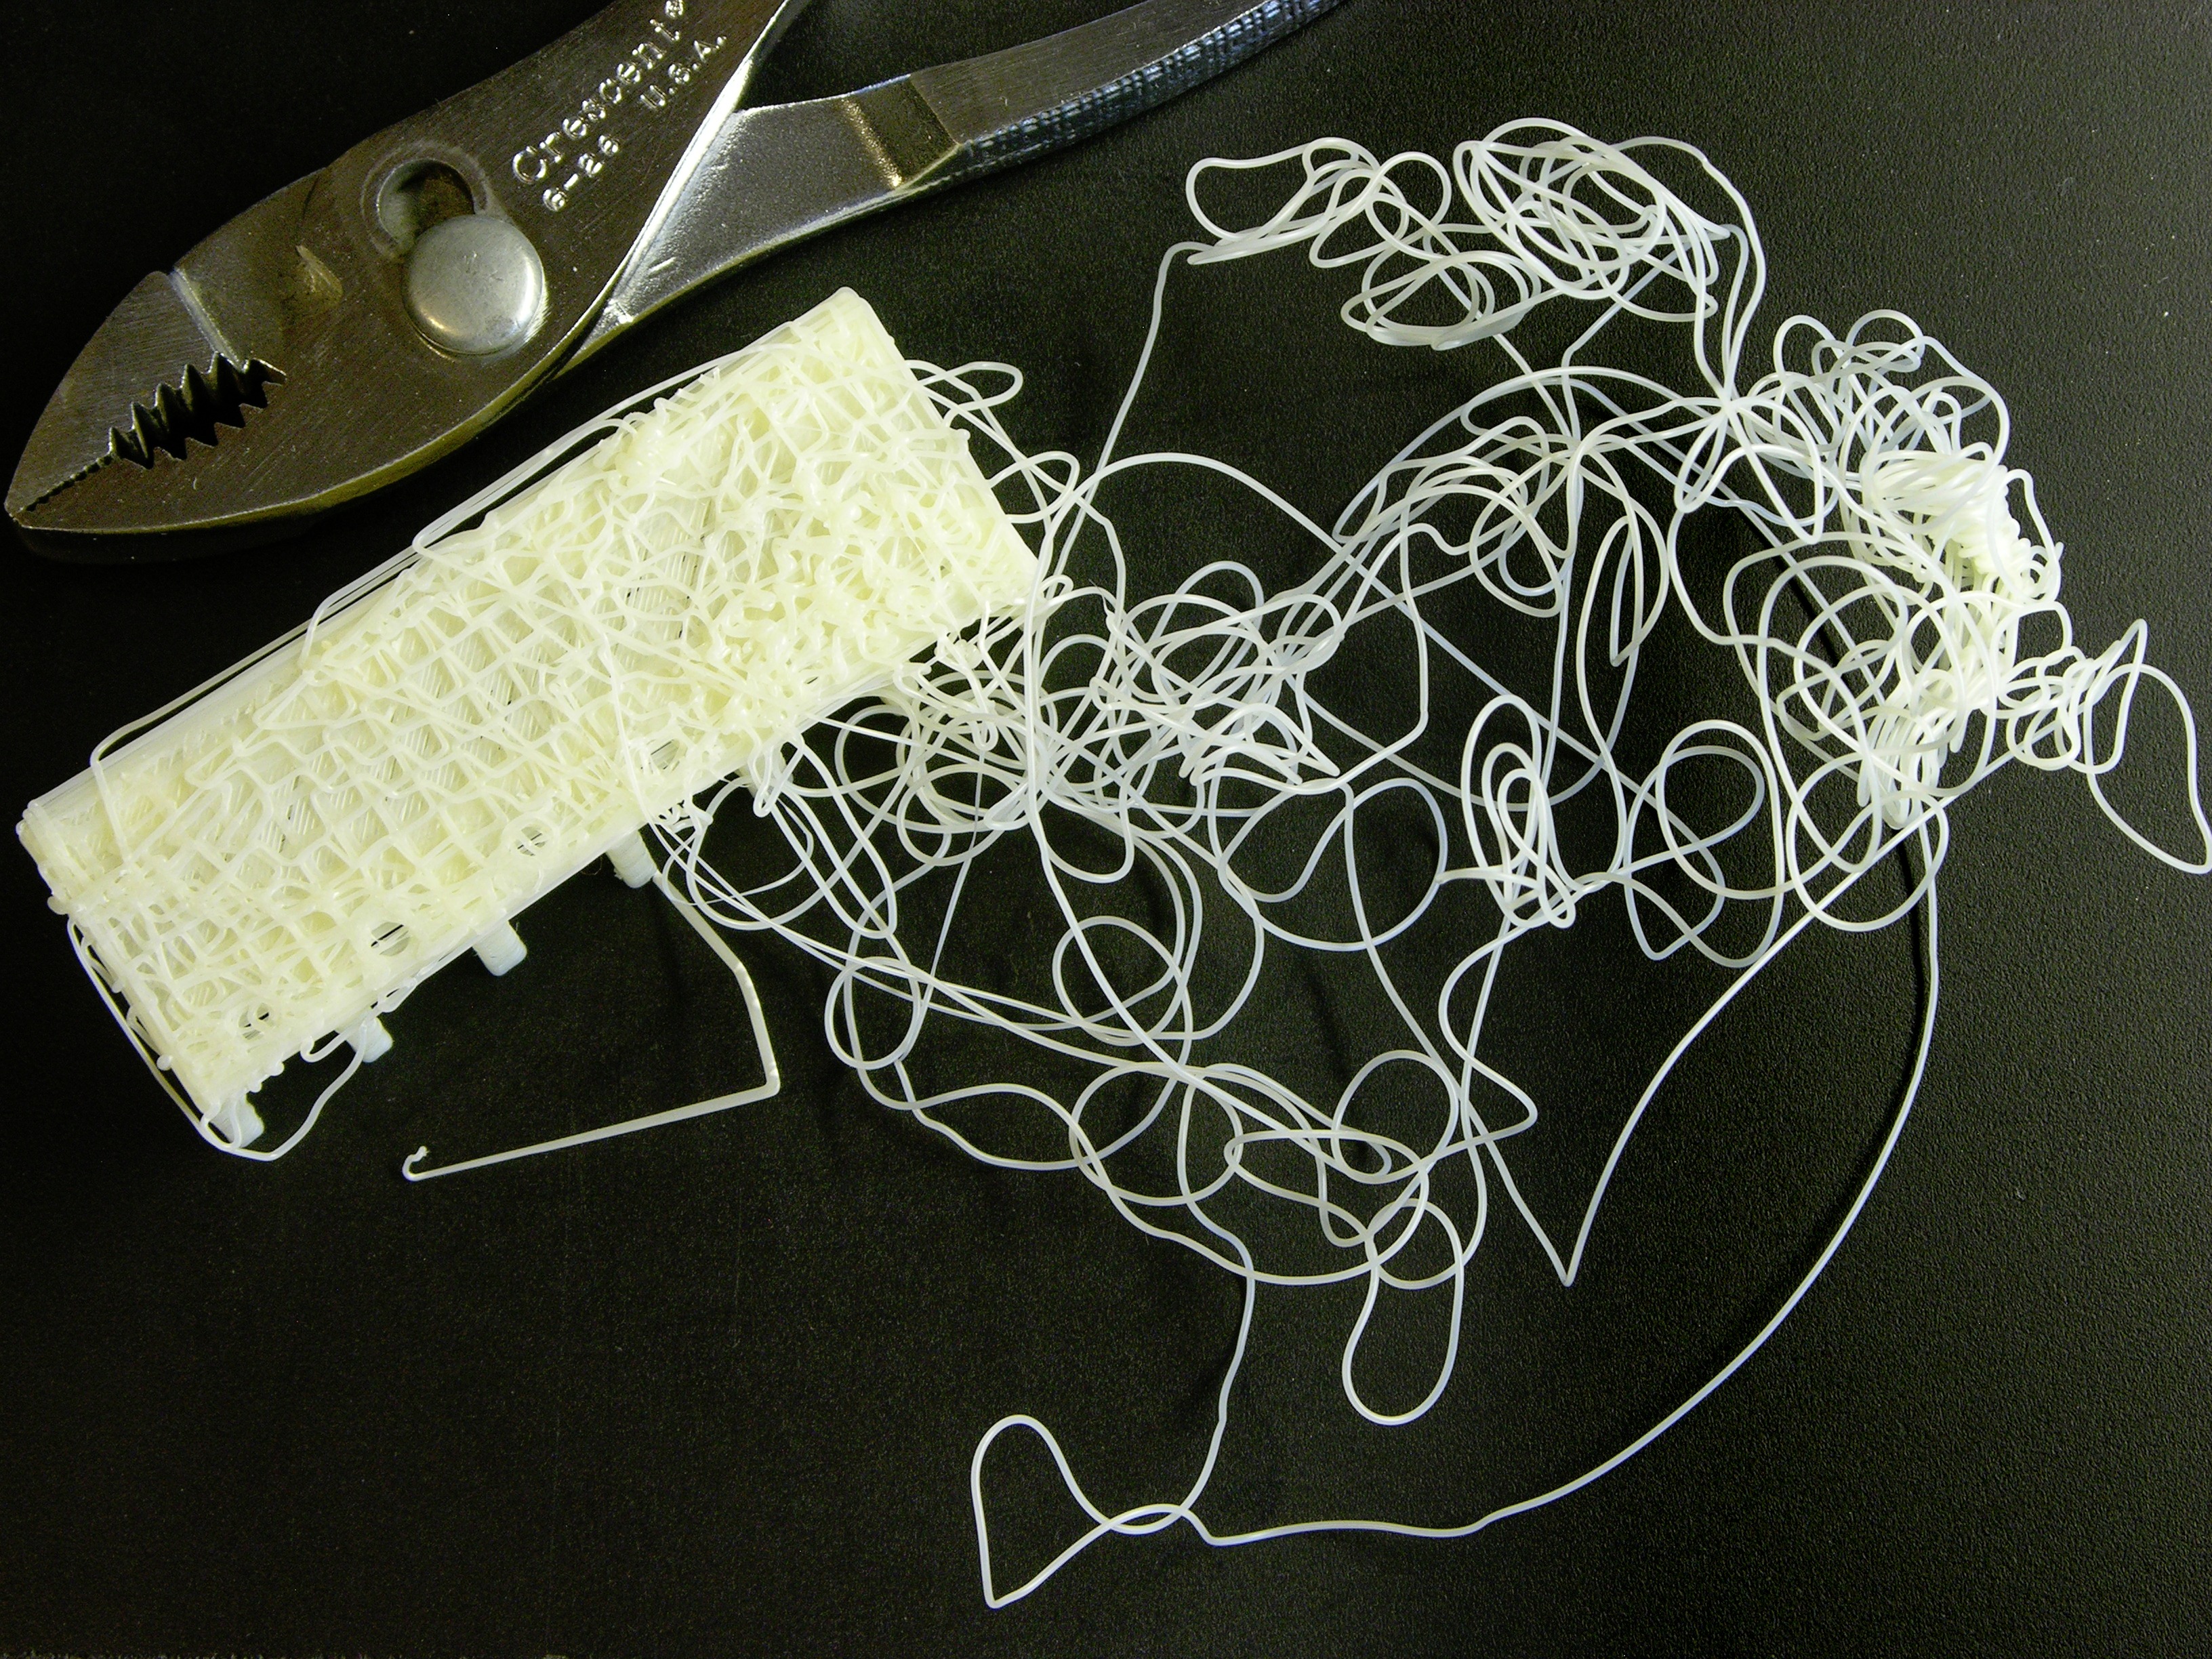
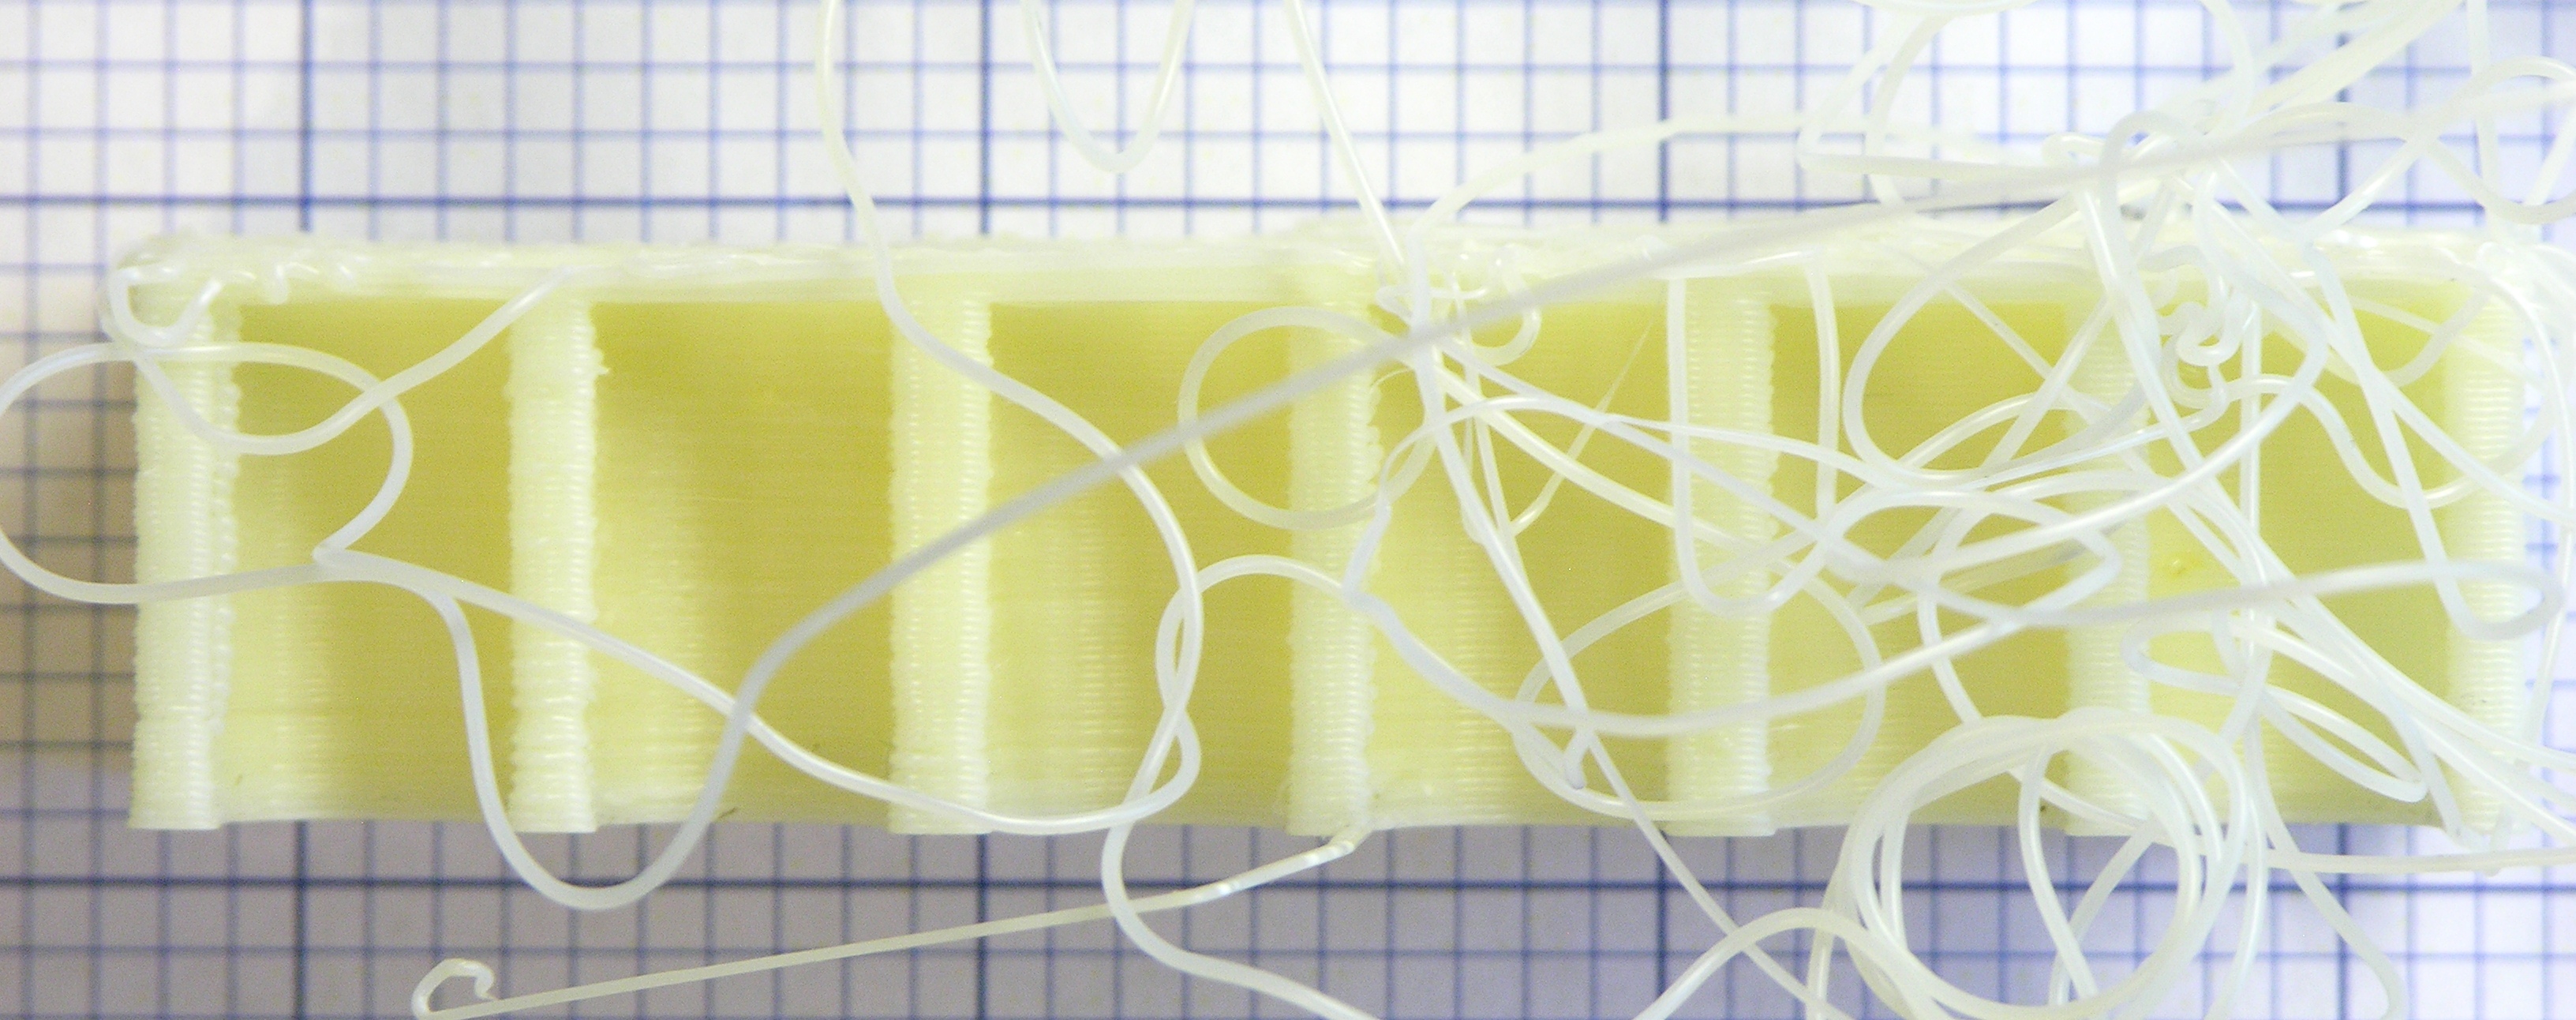
but whatever temperature 1.8A delivers isn’t enough to keep the object stuck to the kaptan tape and the bracket I’m building pops loose when it’s almost finished, naturally when I’m in another room, and the last half mile of extrusion doesn’t adhere particularly well to the bracket when the bracket is no longer on the platform.

2.7A for first-layer adhesion, 2.2A after first layer, slight shrinkage, no popping loose from the platform. Now to the point of tweaking for diminishing returns. I should maybe add a fan pointed at the platform like other folks have done, although that has its own dangers (easy to cool the platform too much).
I’m eager to get the thermistor wired up (heater PCB v1.1 will have less restrictive connector spacing); translate these currents into temperatures; and connect the heater and thermistor to the CupCake for closed-loop, PID control. I will not abide the clickety-clack of relays, so I’ll find some big FETs.
I’ve lost count of the number of times I’ve been reminded to turn our oven off by the subtle click of the thermostat relay. I’ve been in cars that electronically re-create the relay click when the turn signals are on.
Sure you don’t want those relays? : )
Couple things,
Check to make sure your not running too hot on the extrusion, and on the heater.
I can get away with extruding ABS as low as 197 as opposed to 220.
I run the heated build platform at around 110 instead of 120 (just lowering that setting helped for my bot).
Try using Blue painters tape on the platform to increase adhesion. and if you want to go a step further mix acetone and ABS plastic to make like a slurry and spread that mix over the blue painters tape,Warning object will not want to come off!
I actually do use a relay for JUST the HBP and the clicking is tolerable for me and in reality for how your heating the board , couldn’t you just set the temperature to a range you’ll never hit so it doesn’t cycle the board on and off while printing ?
JP, how come you have to be so logical? No, seriously, I’ve watched a video of a Thing-O-Matic printing and the HBP relay clicking on and off drove me nuts. Granted, the camcorder was right next to the relay; but I really don’t want more noise. I’m more likely to tap into the thermistor circuit and build a HBP temperature warning lamp on the front of the machine, probably with a “heating” indicator lamp next to it.
James, I’ve tried different nozzle temperatures and even five degrees lower than nominal causes feed problems on my machine. Keep in mind that I’ve calibrated my thermistor and it was over 5°C off (as I recall) before calibration, so I remain politely skeptical of people who claim extrusion at 200°C. With gearmotor filament feed, anyway.
I wouldn’t say I have any trouble with adhesion, so I’m not interested in giving up the super-smooth kapton-on-aluminum surface for the relatively rough texture of blue tape. And I’m definitely not interested in having to repaint the platform every time I want to print something. Seems to me I have about the best system (for me) that I could — I just need to not use it incorrectly.