This has been a tough post for me to get around to writing, mainly because I don’t feel I have particularly good pictures of the process or the result, as I was working so intently during the installation that I really didn’t have time to stop and document. But here’s what I have.
Back in November, I made a small edge-lit plexiglass demo as a technology study for a large LED and plastic piece that came to be called “Organic Energy Cloud.” I’ve already written about the design and construction of the LED driver modules; all that remains is the Arduino code and the installation.
Assembly
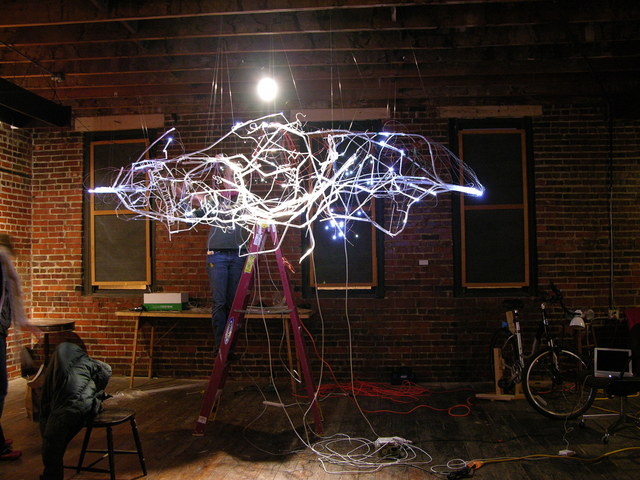
That Friday, while I was connecting all the wires together and working on Arduino code, Lisa was hanging plastic,
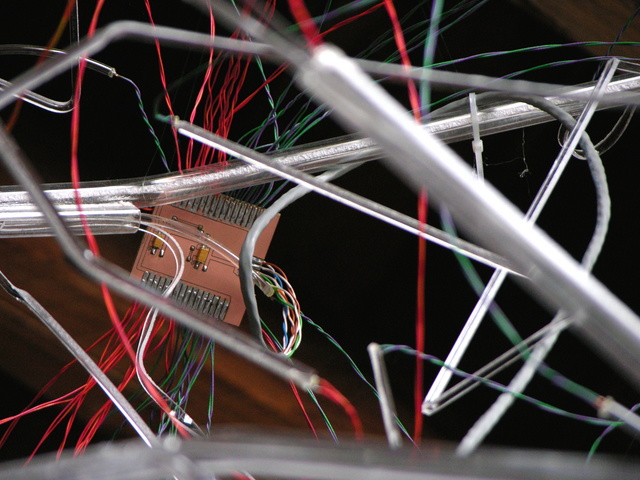
placing LED controllers in it,
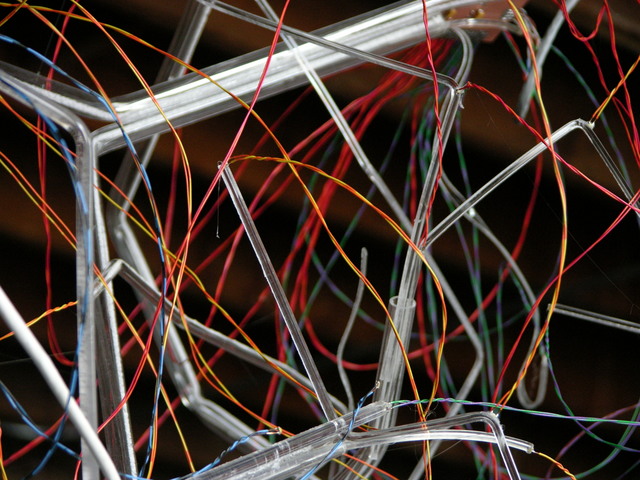
routing wires, and hot-gluing the SMT LEDs onto the ends and bends of the plastic pieces.
Melty Disaster (Having Nothing to Do with Hot Glue)
I had been programming LED patterns into the Arduino, testing and fixing some bad connections, and occasionally alarming Lisa and her helpers by making everything go dark (Alarmed words from the ladder: “Did I do something???”) or light (“Whoa!, what’s that?”).
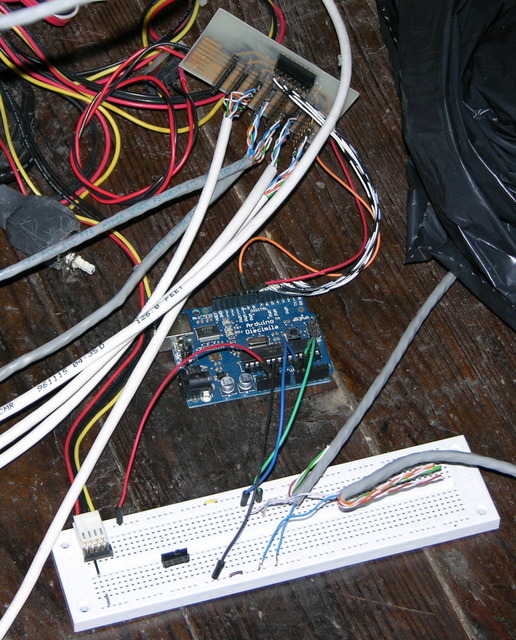
About 18:50, ten minutes before the show was scheduled to open, I was running wire from DC motors attached to a couple of bicycle wheels (it was a bicycle-themed show called rEvolve; more on that when we collect all the materials and get the web site up) to the breadboard, and the black jumper wire between the breadboard and the Arduino melted right in front of my face.
It turned bright orange, the insulation was dripping off of it, and I couldn’t figure out what tool I might have at hand that I could use to disconnect things without getting burned. It only lasted a second before it melted the wire, too — even had I jumped for the switch on the PC power supply I was using, the circuit would have opened from the wire melting before the power supply’s capacitors had drained.
After discarding the scorched ends of the jumper wire, I looked over the circuit carefully and couldn’t find anything wrong, and I still haven’t figured out what happened. The melted wire was the ground wire connecting the power supply to the Arduino via the breadboard. My wild speculation is that I bumped something that shorted, the wires warmed up and increased their resistance, and the ground wire became the resistor that now dissipated all of the circuit’s energy.
I hooked things back up and with great trepidation (and this time ready to kill power if needed) turned things back on, and they seemed to work. The Arduino booted and resumed its test pattern, the lights came on, etc. But I quickly found that I no longer had connectivity between the iBook and the Arduino.
Since the Arduino appeared to work except for the USB interface, my immediate guess was that the FTDI USB-serial chip had burned out — which turned out to be correct, and which I have since successfully replaced. I had brought another Arduino to use as a backup if anything happened to my first one; but with now five minutes before the official gallery opening, and early arrivals already wandering around, I didn’t feel I had time to swap out the Arduino, program the new one, and be confident everything was going to work.
Fortunately, I had a reasonable program running at the time, which picked a random LED out of the entire piece and then randomly turned it on or off:
  cont = FIRST_BANK + random(LAST_BANK + 1 - FIRST_BANK);
  led = random(32);

  if (random(10) > 3) {
    leds[cont] |= (long) 1 << led;
  } else {
    leds[cont] &= ~ ((long) 1 << led);
  }
  a6276_long(leds[cont]);
  a6276_latch(cont);
If that doesn't make sense, spend a little time thinking about how you would program a nice, random flickering effect with a bunch of LEDs.
Here's the whole program, commented-out test code and all, since even this was still supposed to be test code. That's what we left running all evening.
And the Show Goes On
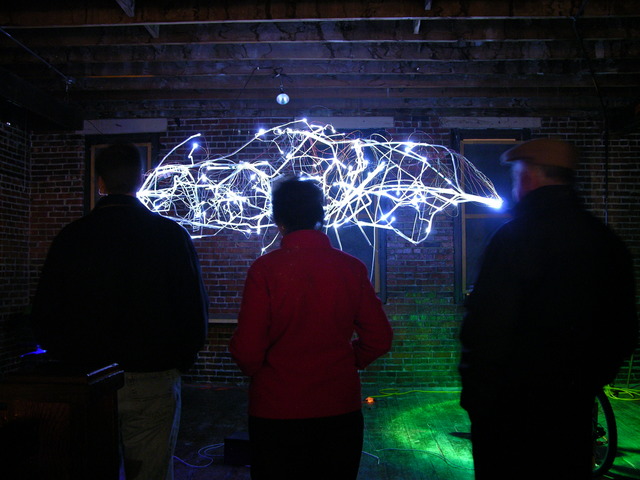
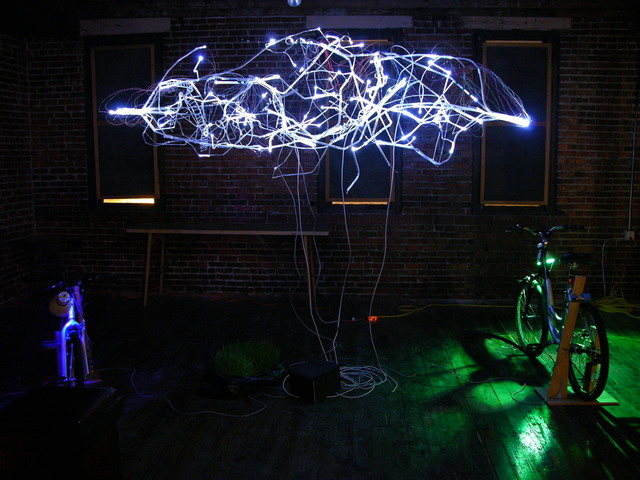
Ready or not, the lights go out, the people come in, and the girls at the refreshments table start serving coffee and hot chocolate "with or without something fun in it."
This piece deviated far from its original conception, and also ended up not being fully realized due to scheduling and time issues, but it's only fair to show it with the bicycles, even though they no longer made sense as part of the exhibit.
Finally, here's a video of the cloud that was shot by Tom McGuire. Tom had already posted it to YouTube, but I found that the compression had blurred almost all of the detail. He graciously gave me a copy of the raw footage from his camera (which looked fantastic), and between iMovie and Vimeo, I think I managed to keep a little more detail in some of the closeups.
Aftermath
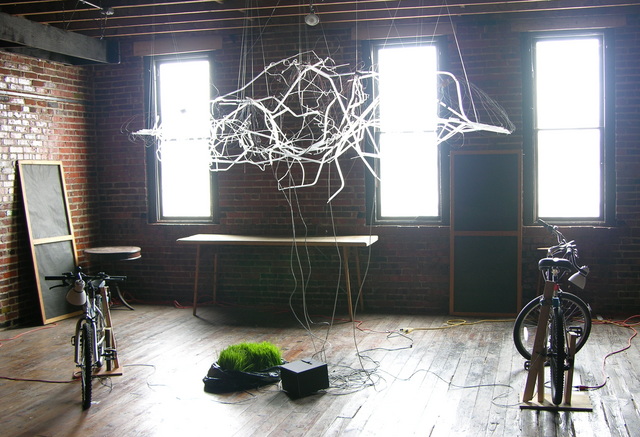
The group opened the gallery for another show on the next Thursday evening when I had to be out of town, and we had to be cleared out of the space by that Saturday morning. Arriving at 06:00 Saturday gave me a chance to take a few more pictures with the space lighted, which show a little more detail of the components of the piece and of the space in which the cloud was installed.
Sweetness! Sorry it didn’t turn out quite as you had hoped….
Also – Could I come over the next time you create a PCB? I’d love to see how to do it – I’ve read some of your pages on it, but I’m a visual learner.
Cool project. I watched the video and a few suggestions I have include a proximity sensor such that the cloud could be interacted with, also some lightning, thunder and rain sound effects as beam lines light up when interacted with.
Phill, of course you’re welcome any time.
Are you more interested in the design stage in the CAD software, the production stage of iron-on and etch, or all of the above?