On January 5, nophead wrote of his serendipitous discovery that ABS sticks well to hot kapton tape and releases well from warm kapton tape. Coupled with difficulties I’d been experiencing with my plexi build platform not being rigid and flat enough, I knew immediately that I wanted the top of my heated build bed to be aluminum plate covered in kapton.
When Tom McGuire built me a PCB heating element, he offered me some sheet aluminum for the top; but although not thin, it wasn’t thick enough to be as rigid as I wanted it to be. I contacted my friend Scott Smith who has taken up machining and he offered to mill me a piece from some 1/4″ plate he had on hand. I sent dimensions and he did the rest, including taking pictures and sending me the following commentary.
February 6:
Having rough-cut a 100mm square piece of polished flat 0.25″ aluminum on the band saw, it’s time to square off the edges.
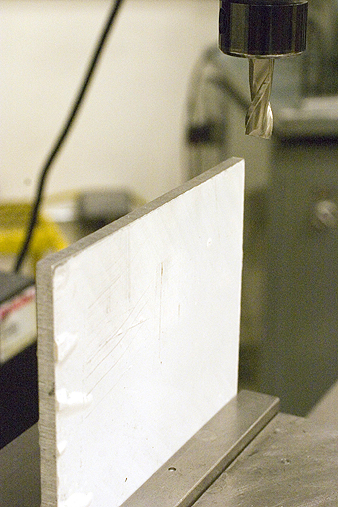
After one edge is flat, I can flip the piece over and mill the opposite side. Once done, I have at least two sides that are guaranteed parallel.
When I rough-cut the piece, I left some extra so that I could square the piece off without losing too much material. Now both sides are parallel.
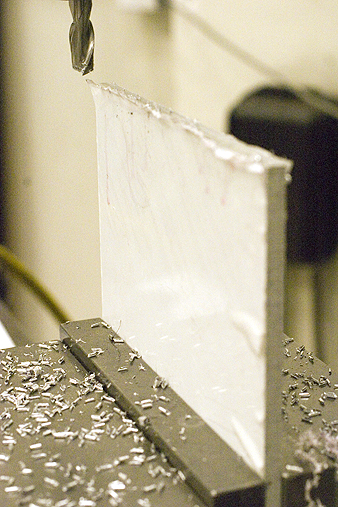
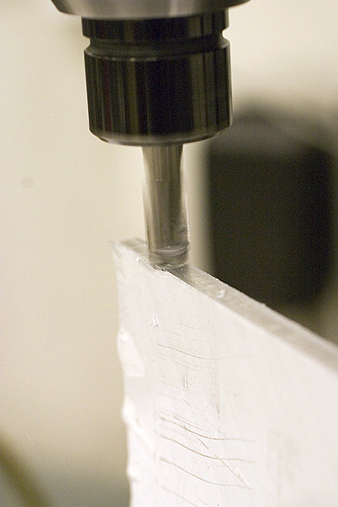
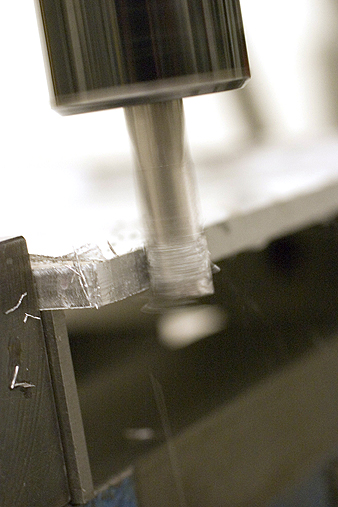
Next, I lay the piece flat in the vise with the non-parallel edges on the left and right sides. I can run the mill in the Y direction to square these last two edges off.
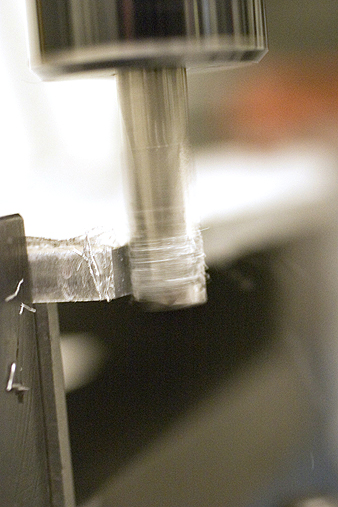
Using a macro lens in rather low-light, so I had to crank up the ISO and open up the aperture. Still, my shutter speed was too slow to catch individual chips flying around…
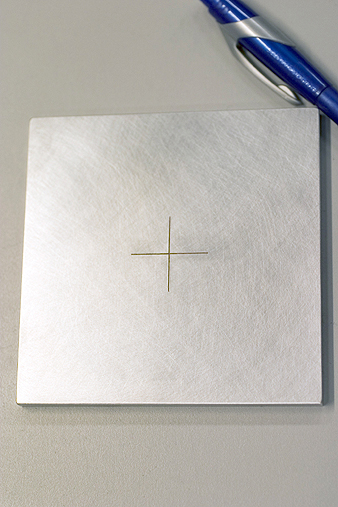
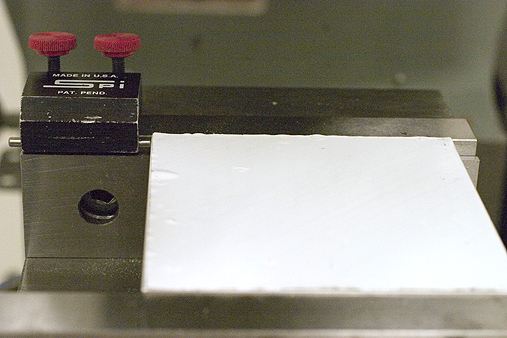
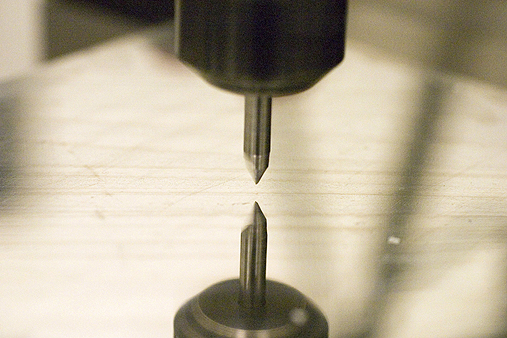
Once the piece is square, I use an edge finder to zero out the CNC at the center. The stop is placed in the vice so that when I flip the piece over, I don’t have to re-center the CNC again.
The crosshair is made using an 60 degree engraving bit at high speed.
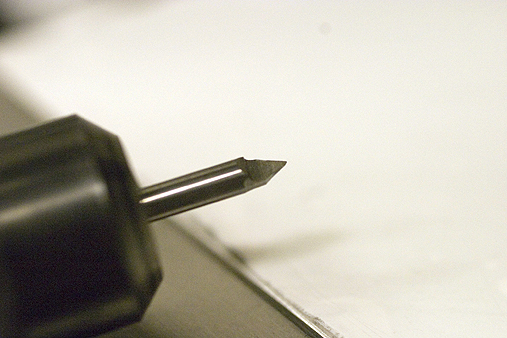
To zero out the Z axis, I wiggle a piece of paper back and forth under the engraving bit as I slowly lower the spindle. When the paper stops moving freely, I set the Z position to the thickness of the paper.
After engraving there were burrs around the crosshairs. Before I use Scotch Brite to clean it up, I take a red sharpie and ink in the grooves.
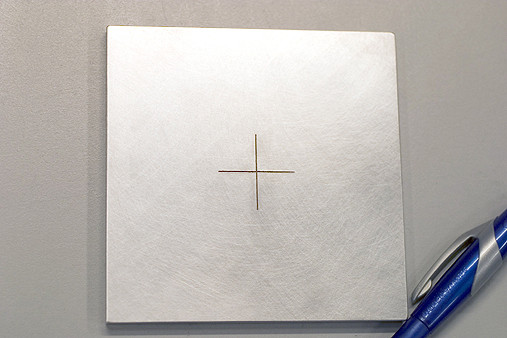
The Scotch Brite takes any excess ink off of the surface, but leave the ink in the grooves. Hard to see in this photo, but the crosshair is red.