As noted in Googly Eyes Part 1, I built a demo back in February out of a CD-ROM drive optical sled assembly and a couple of ping-pong balls. In the earlier installment, I discussed reverse-engineering the sled’s electrical connections; now here’s how I rebuilt it to operate eyeballs.
I had thought I might find some googly eyeballs in the Wal-Mart craft department, for making big puppets or something. But all their googly eyes were the flat, button-like kind that just stick onto a surface, so I went with my fallback plan of ping-pong balls.
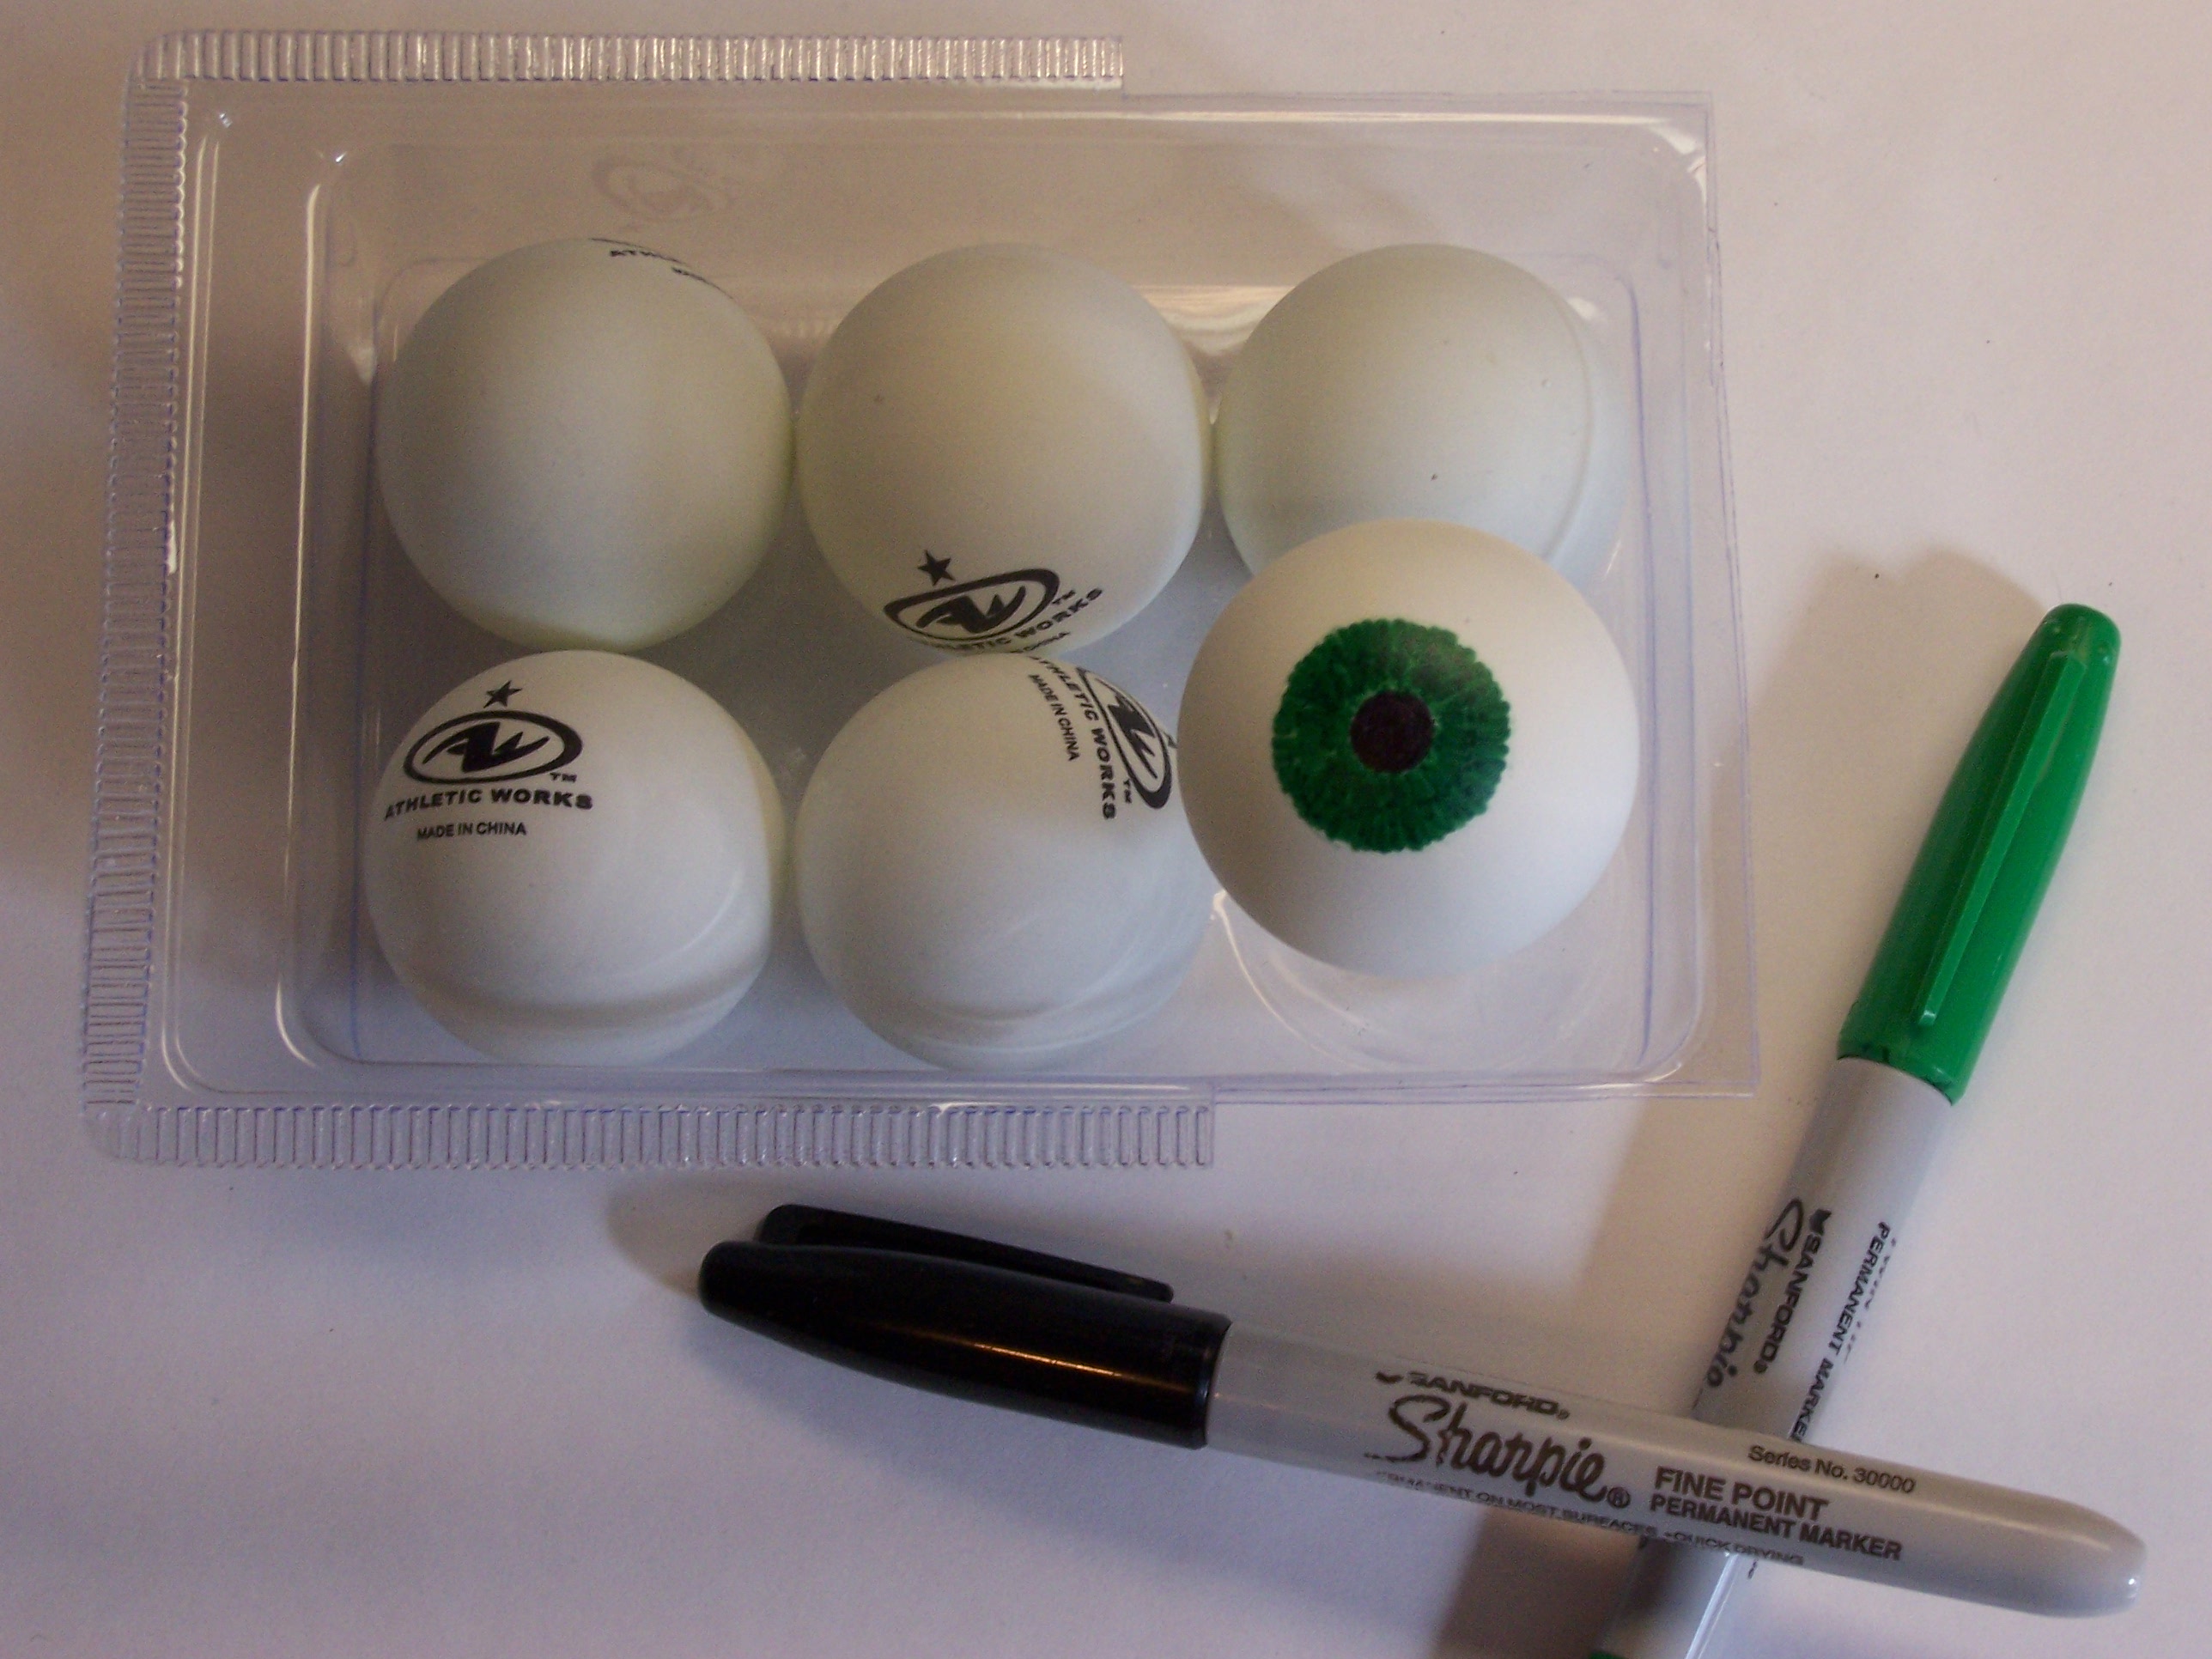
I drew an eye onto two of them, with a black pupil and green iris. I didn’t mean to get the iris quite so dark, but at least I made it with radial lines.
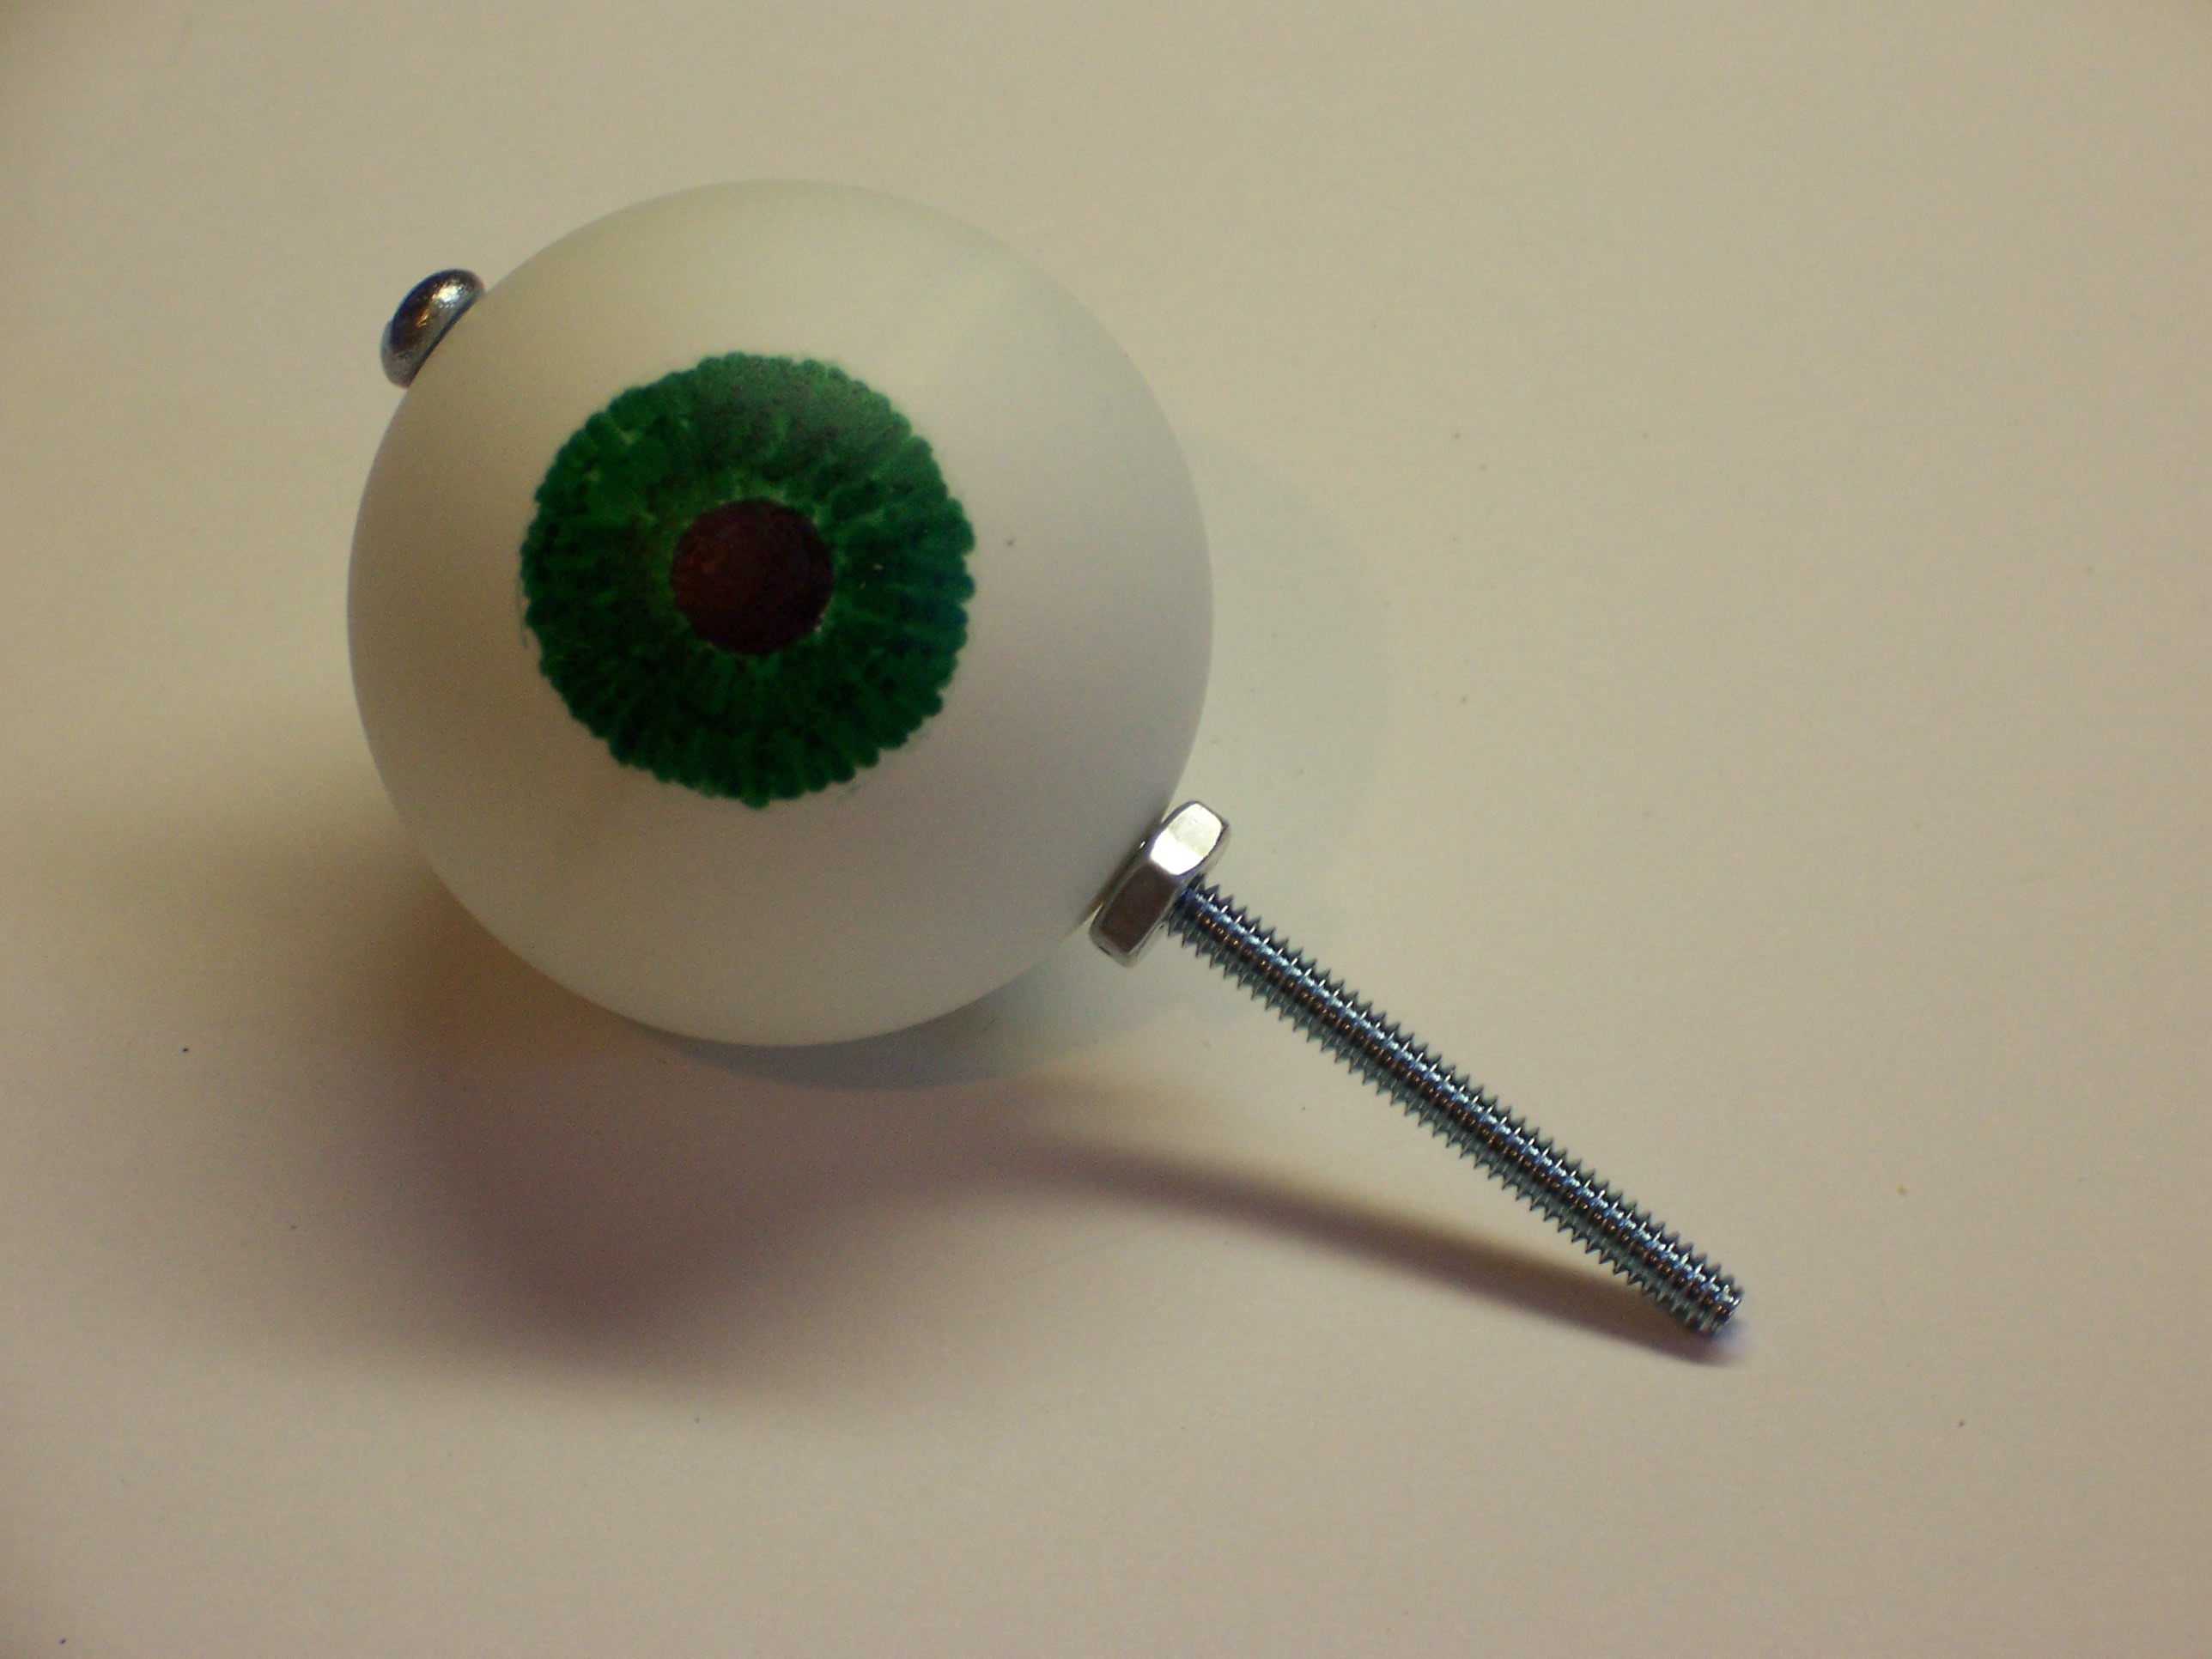
I located and marked the north and south poles of the ping-pong ball as carefully as I could, then drilled through with PCB drill bits. After stepping through several increasing sizes, I was able to use my stepped drill bits to make nice, round, even holes for the axle. I stuck a bolt through and threaded a nut up fairly close to the ball, so it could swivel but not move up and down much.
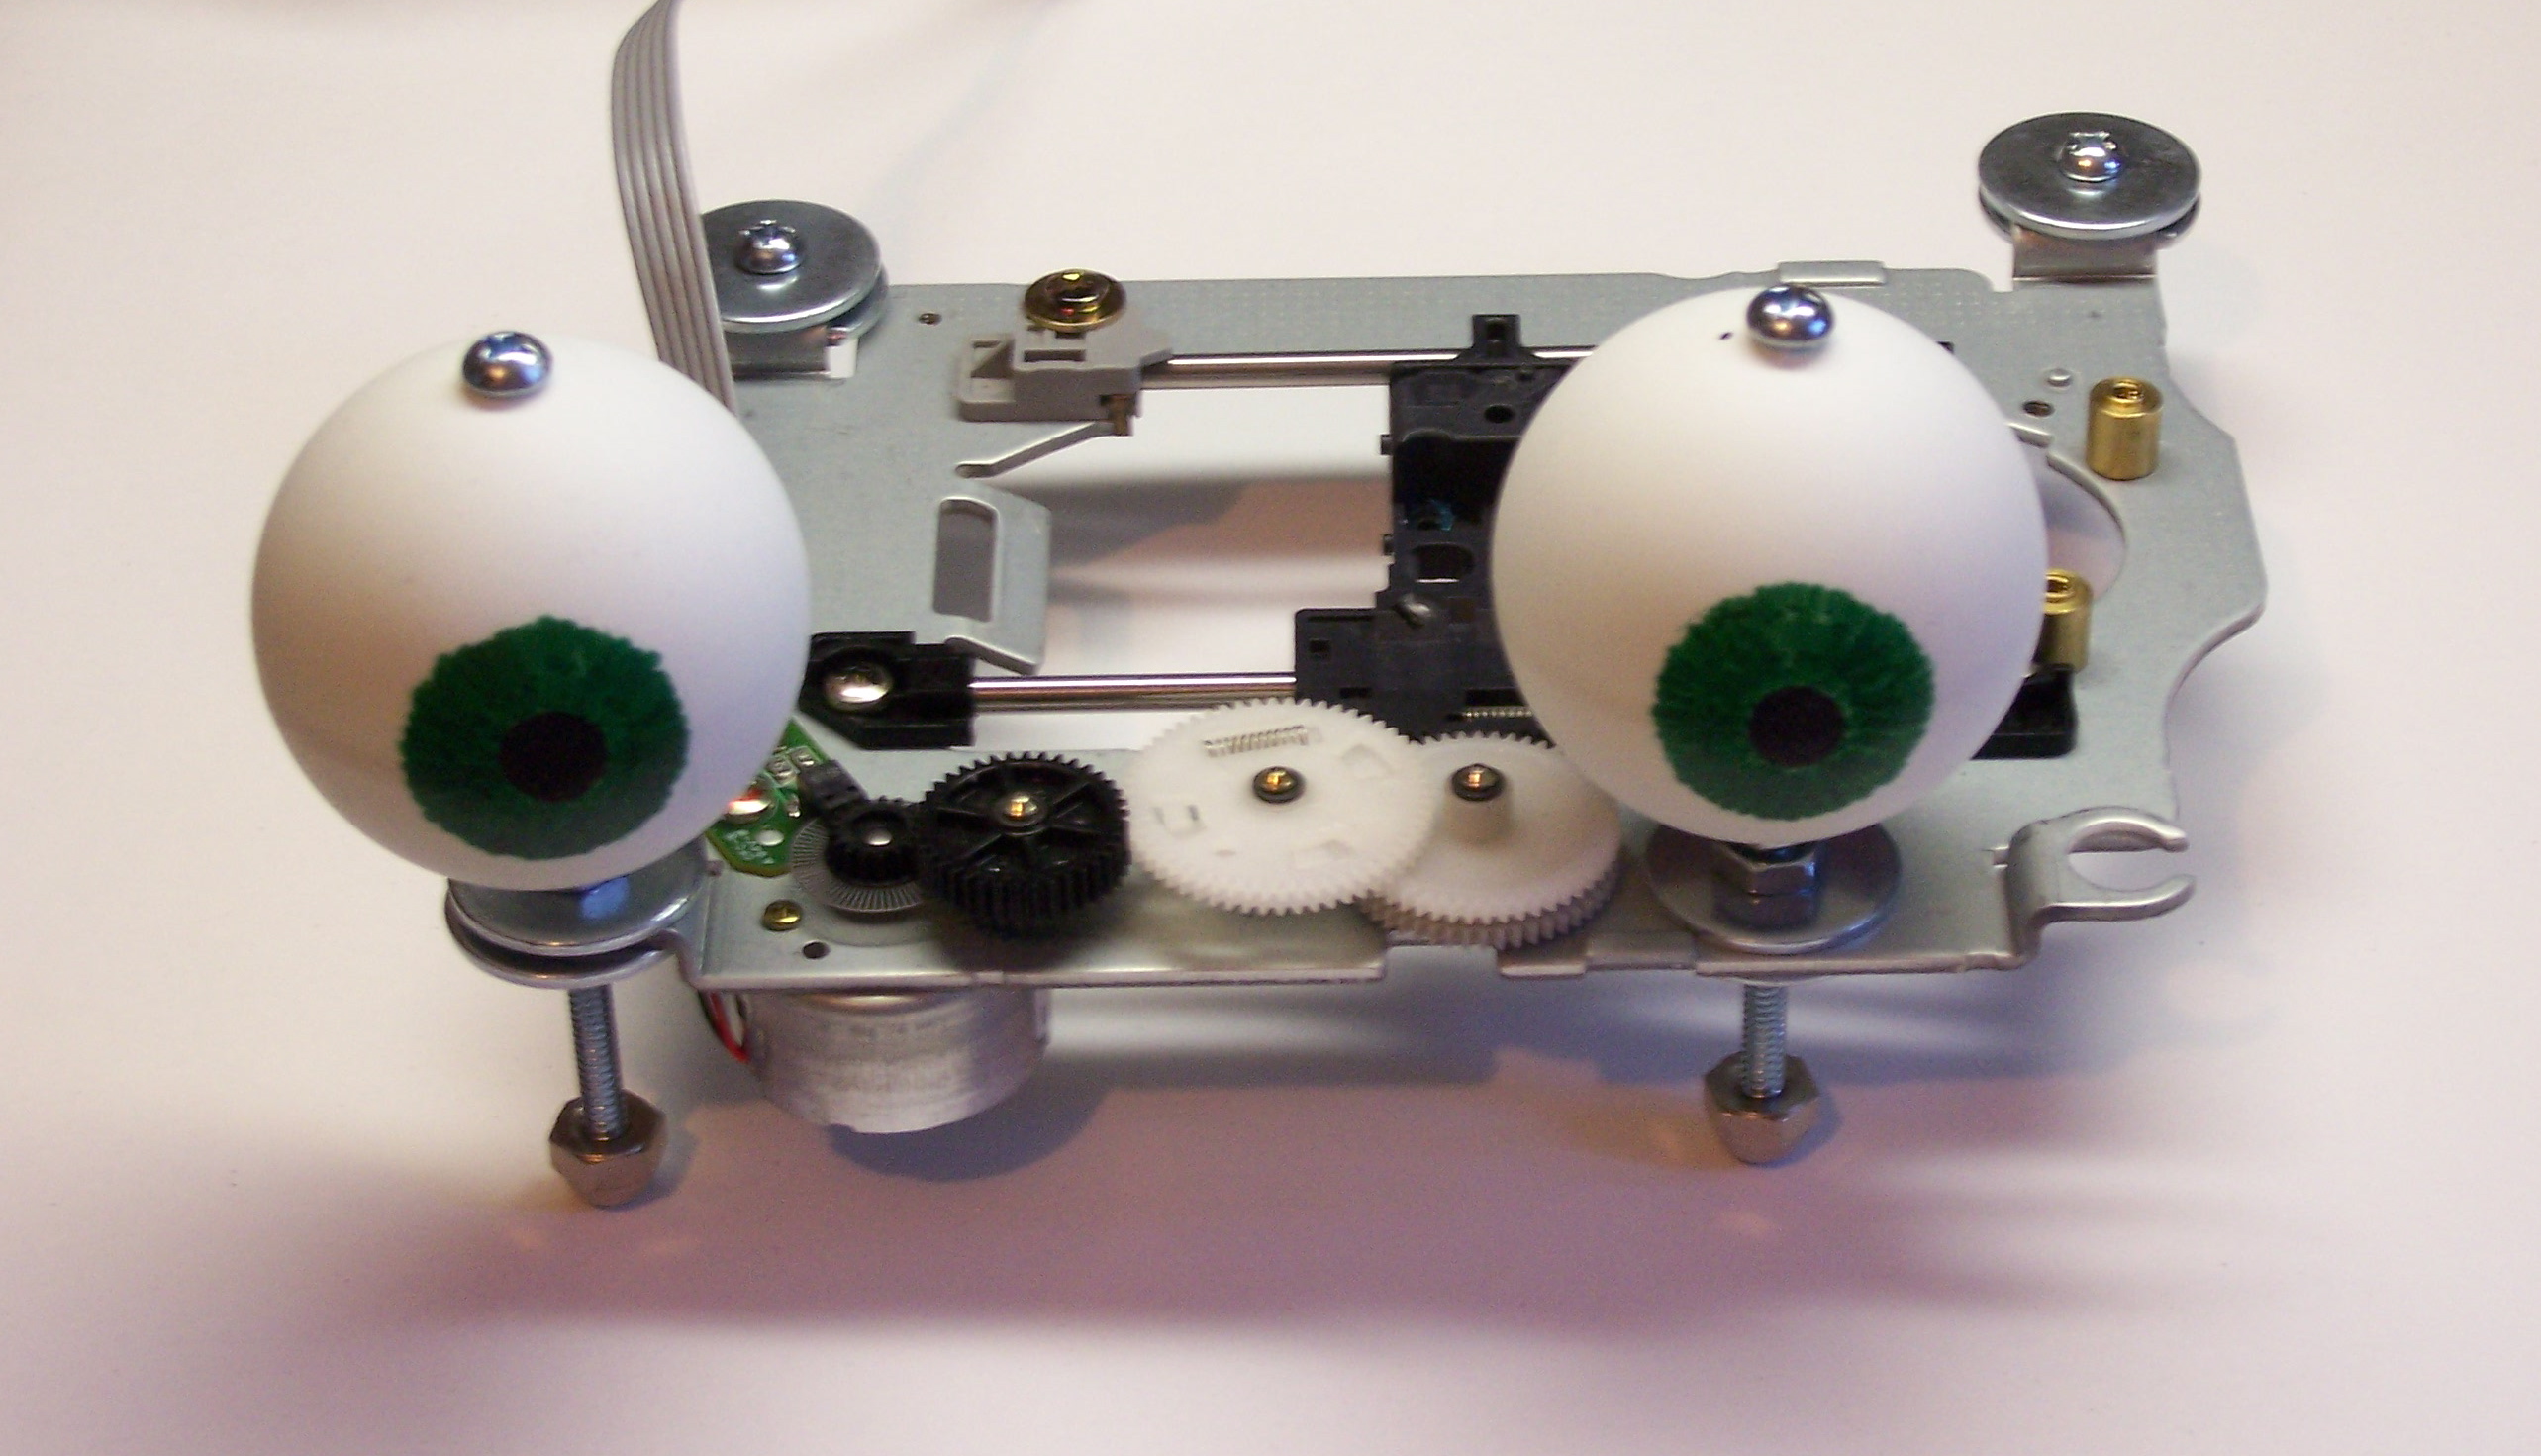
The sled assembly didn’t have the right sized holes in the right places, so I used big fender washers to make things fit. The eyeball-mounting nut is tightened against the fender washer, with another washer and nut on the bottom side. The bolts continue through the frame and act as legs to raise the underside of the carriage off the surface it’s sitting on, with cap nuts (acorn nuts) for feet to keep the end of the bolt from scratching.
This was actually a bit less than ideal, because the mounting hole for the right eyeball (left edge of the picture) is in a section that’s bent up and raised above the plane of the other holes. I tried compensating for the height difference with an extra nut under the left eyeball, but it’s still not quite right. Probably a washer in between the two nuts would fix it up.

Finally, I needed to translate the sled’s linear motion into the eyeballs’ rotary motion. I turned a loop into the end of a couple of pieces of stiff wire, and . . . had to take the eyeballs back apart again. I drilled another hole in the back of each one, then pushed the wire loop into the interior and reassembled them with their bolts going through the wire loops. Once reassembled, I dabbed some hot glue where the wires came out of the eyeballs; now I could use the wires as control rods to rotate the eyes.
I removed all the optical parts from the carrier sled, then ran a bolt up through it to the height of the eyeballs. I made a loop in the center of another piece of wire and sandwiched it between two nuts on the sled bolt, then made a loop at each end around the eye control rods. After a little tweaking of the angles, I got it set up for fairly smooth movement, with the ends bent to keep things from slipping out of the loops.
In Part 3, I’ll discuss the software that moves the motor and watches the optical disk to monitor travel.