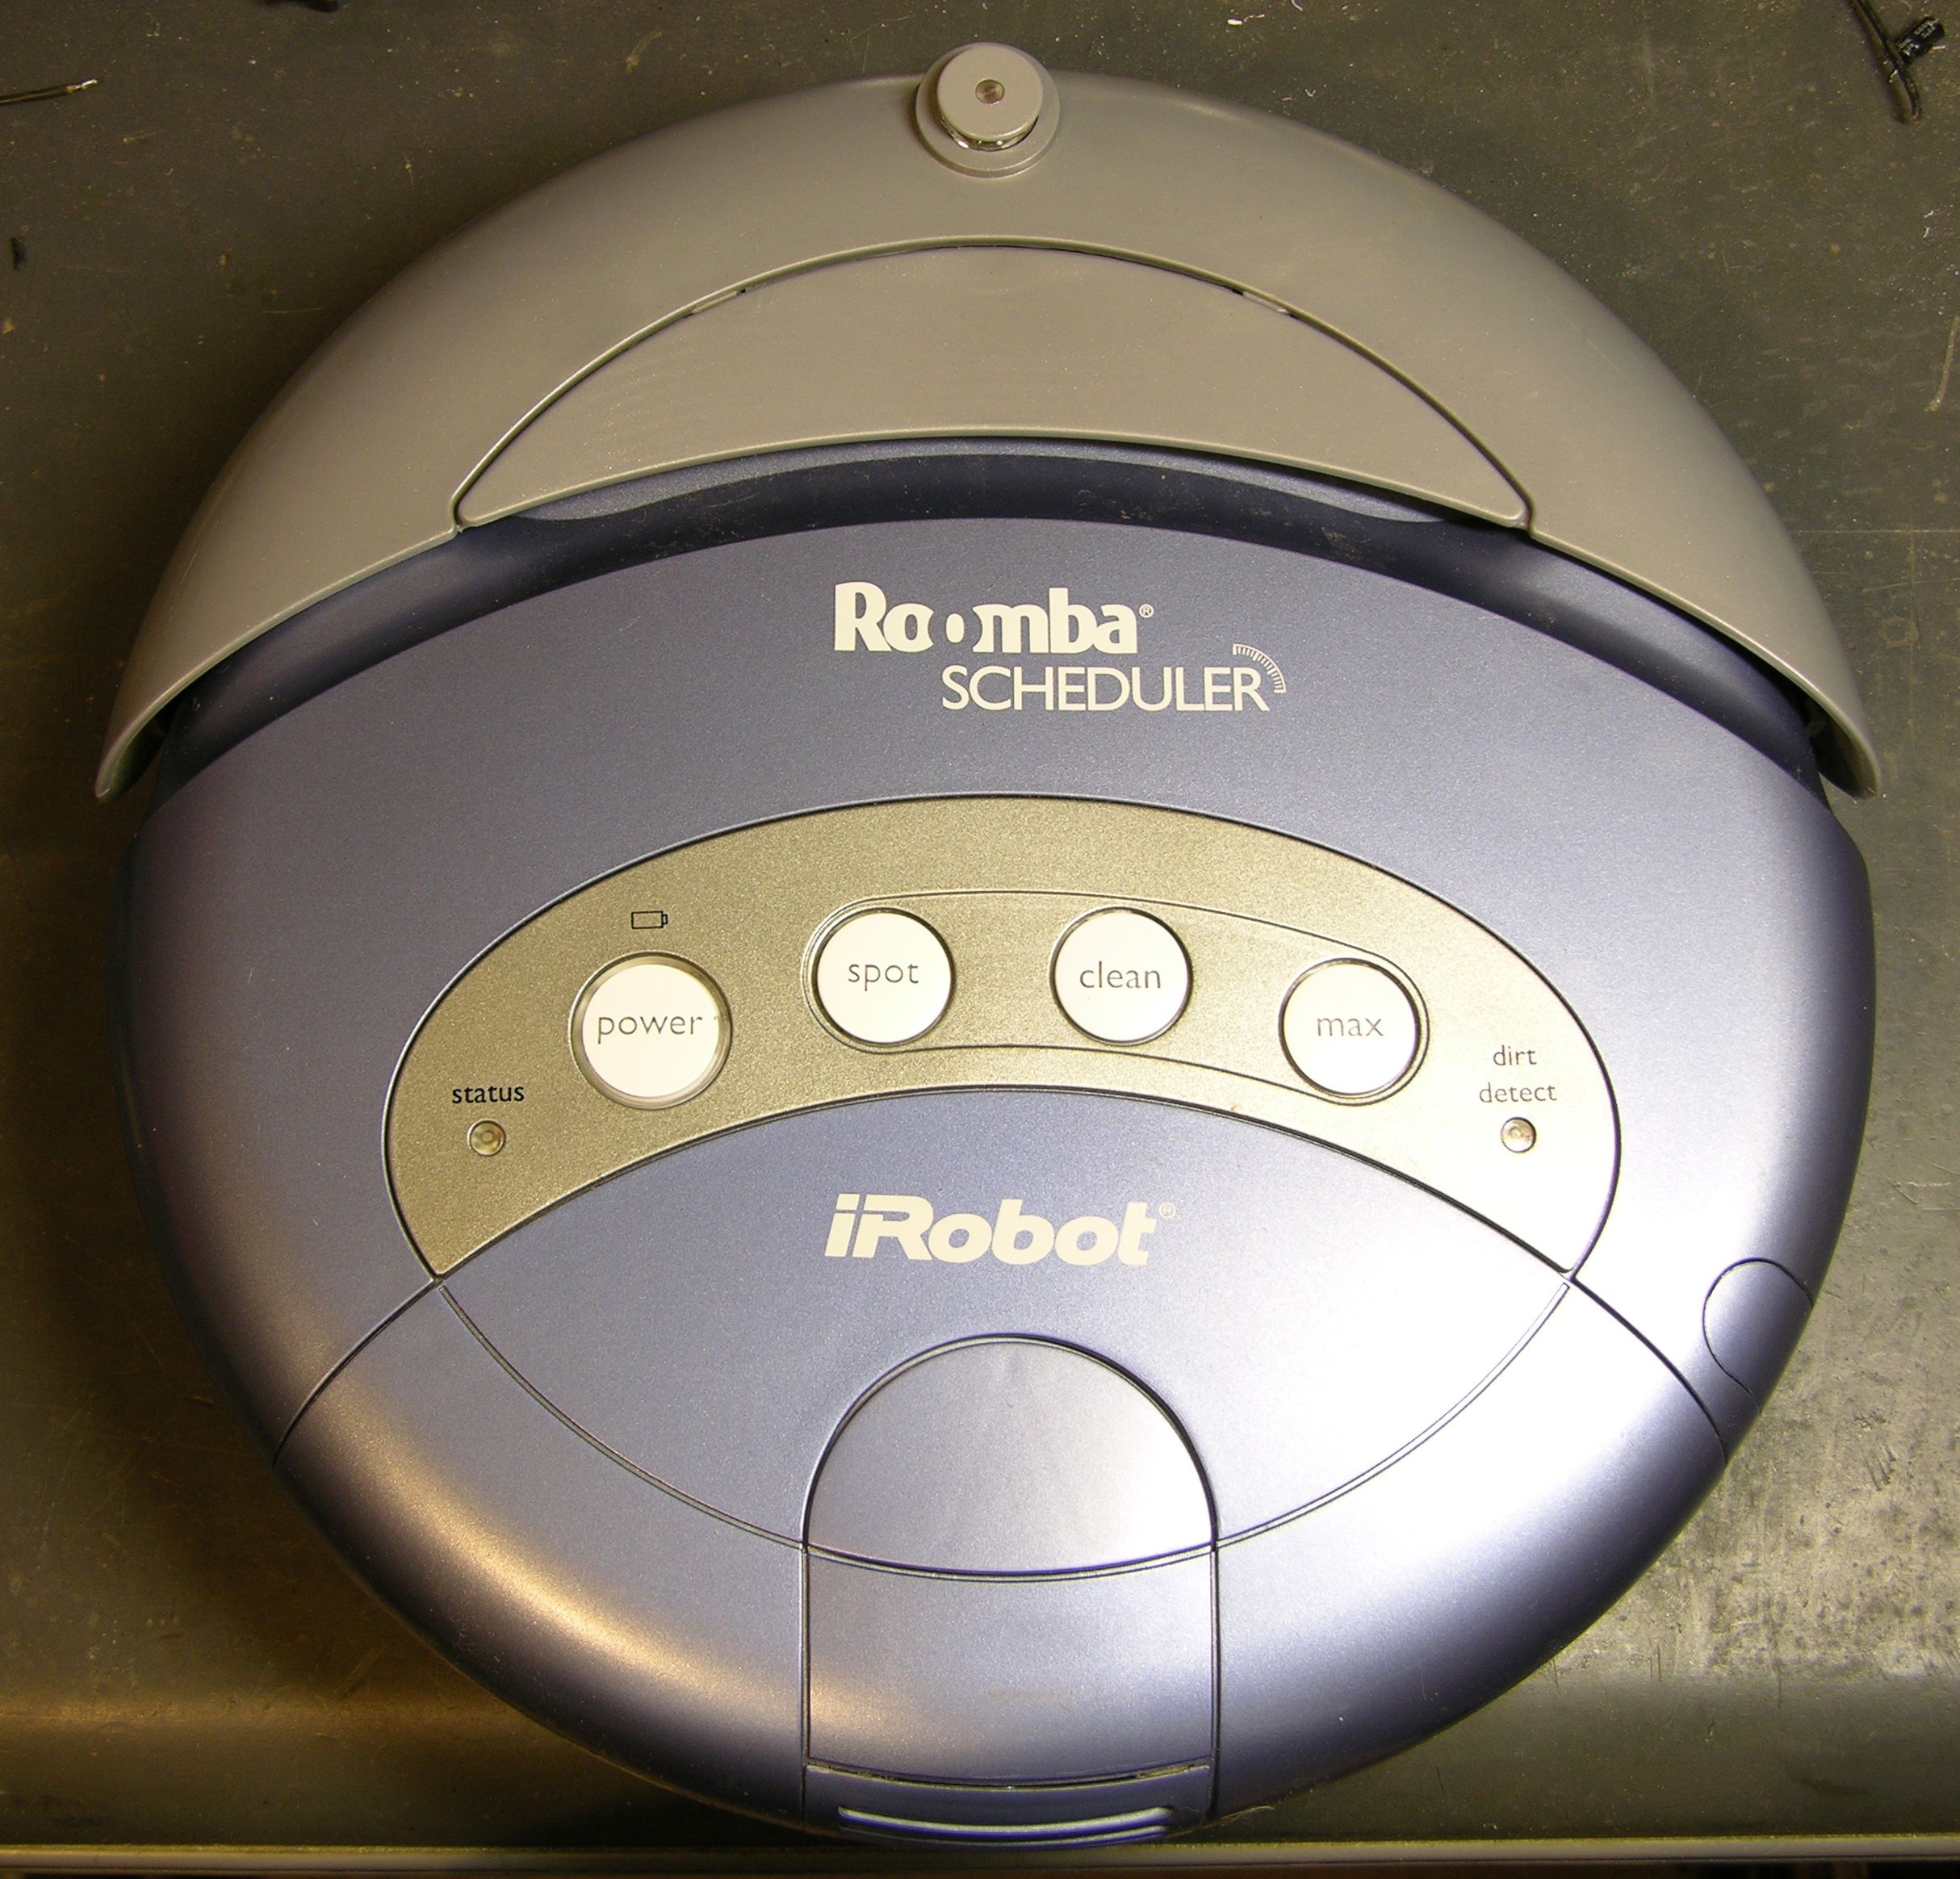
About two and a half years ago, I did something foolish in trusting the wiring instructions from a Roomba battery rebuild supplier and blew up my brand new Roomba Scheduler. Hasn’t worked since, because I wanted to see if I could find the problem and fix it myself before sending it back for factory service. Turns out I can’t (or at least haven’t), but the inside is interesting nevertheless.
Opening
Getting into the Scheduler is easier than getting into the first generation, mainly because it (almost) all comes apart with screws, instead of the (few) latching tabs in the original Roomba. These instructions on fixing the Roomba Discovery “Circle Dance” do a good job of showing the screw locations, although the site then goes on to describe processes specific to cleaning the wheels’ optical sensors that weren’t relevant to my problem.
The most important part that wasn’t obvious to me from the instructions is that the front bumper holds down the front edge of the top, so you must remove the bumper, even if you don’t need to work on the bumper area.
Guts and Wiring
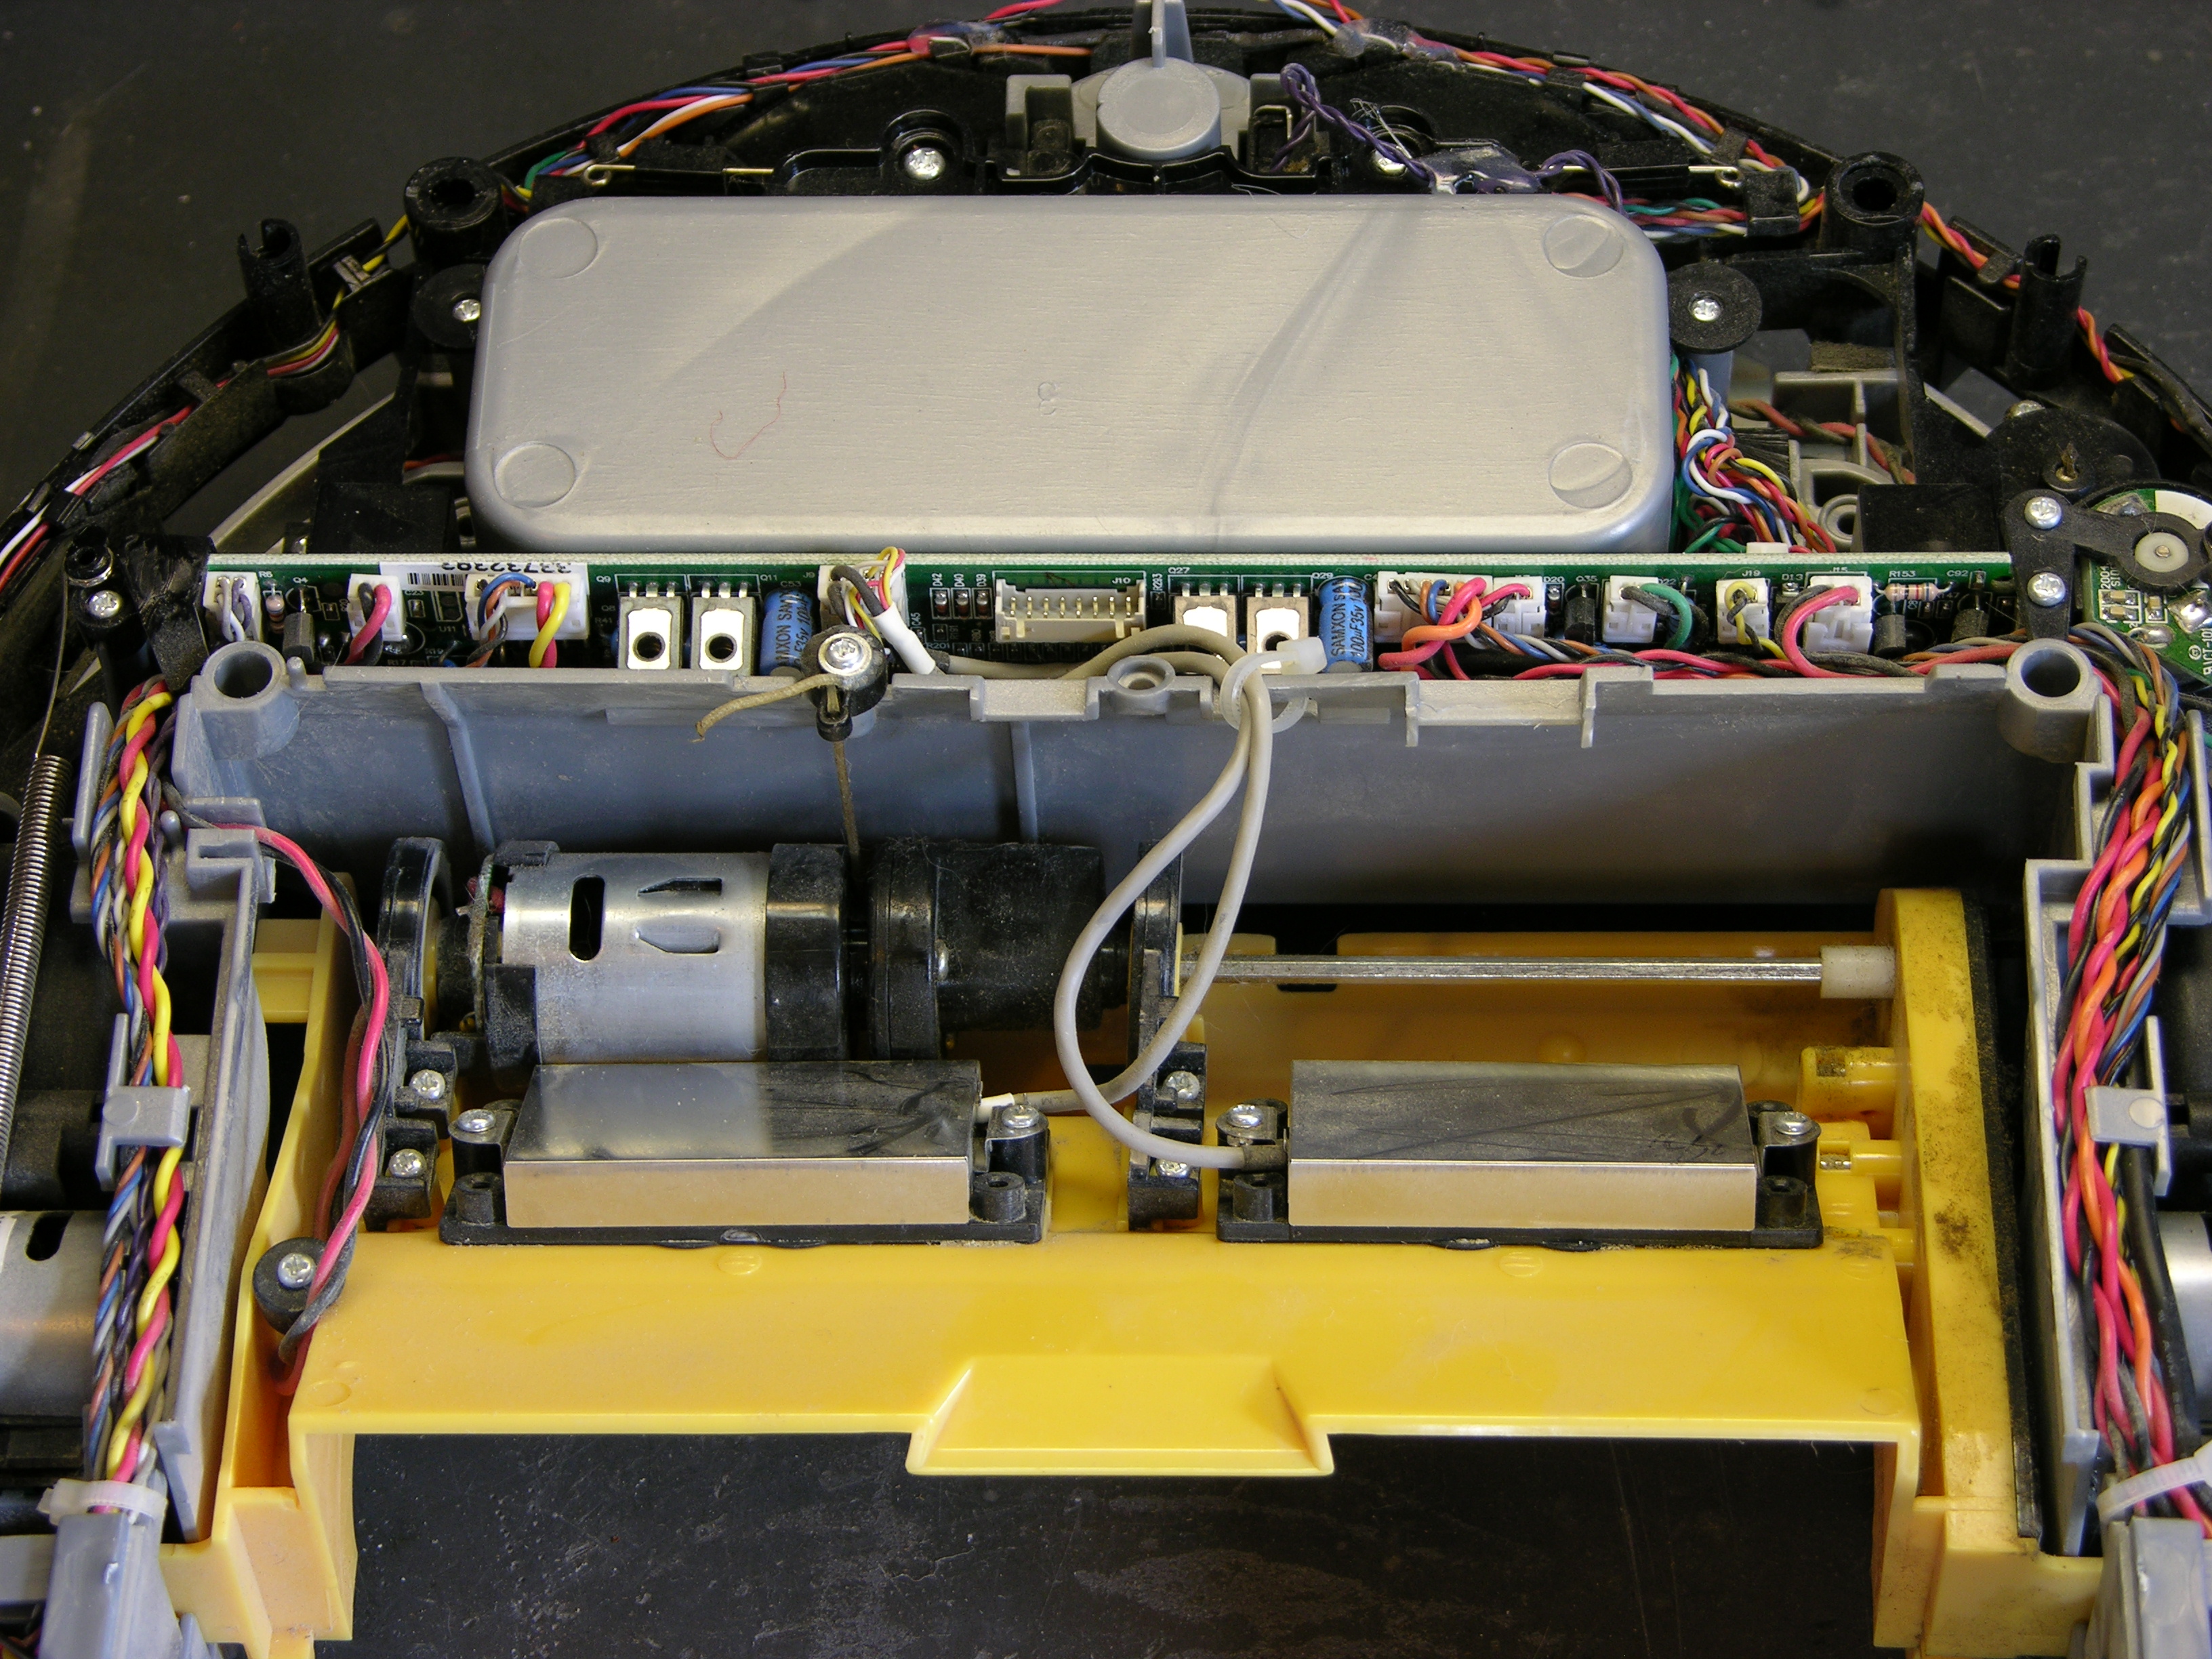
Once the cover is off, the inside looks pretty tidy. As on the original Roomba, there’s one main board sandwiched between the battery compartment and the brush deck, and all the sensors and motors cable up to it.
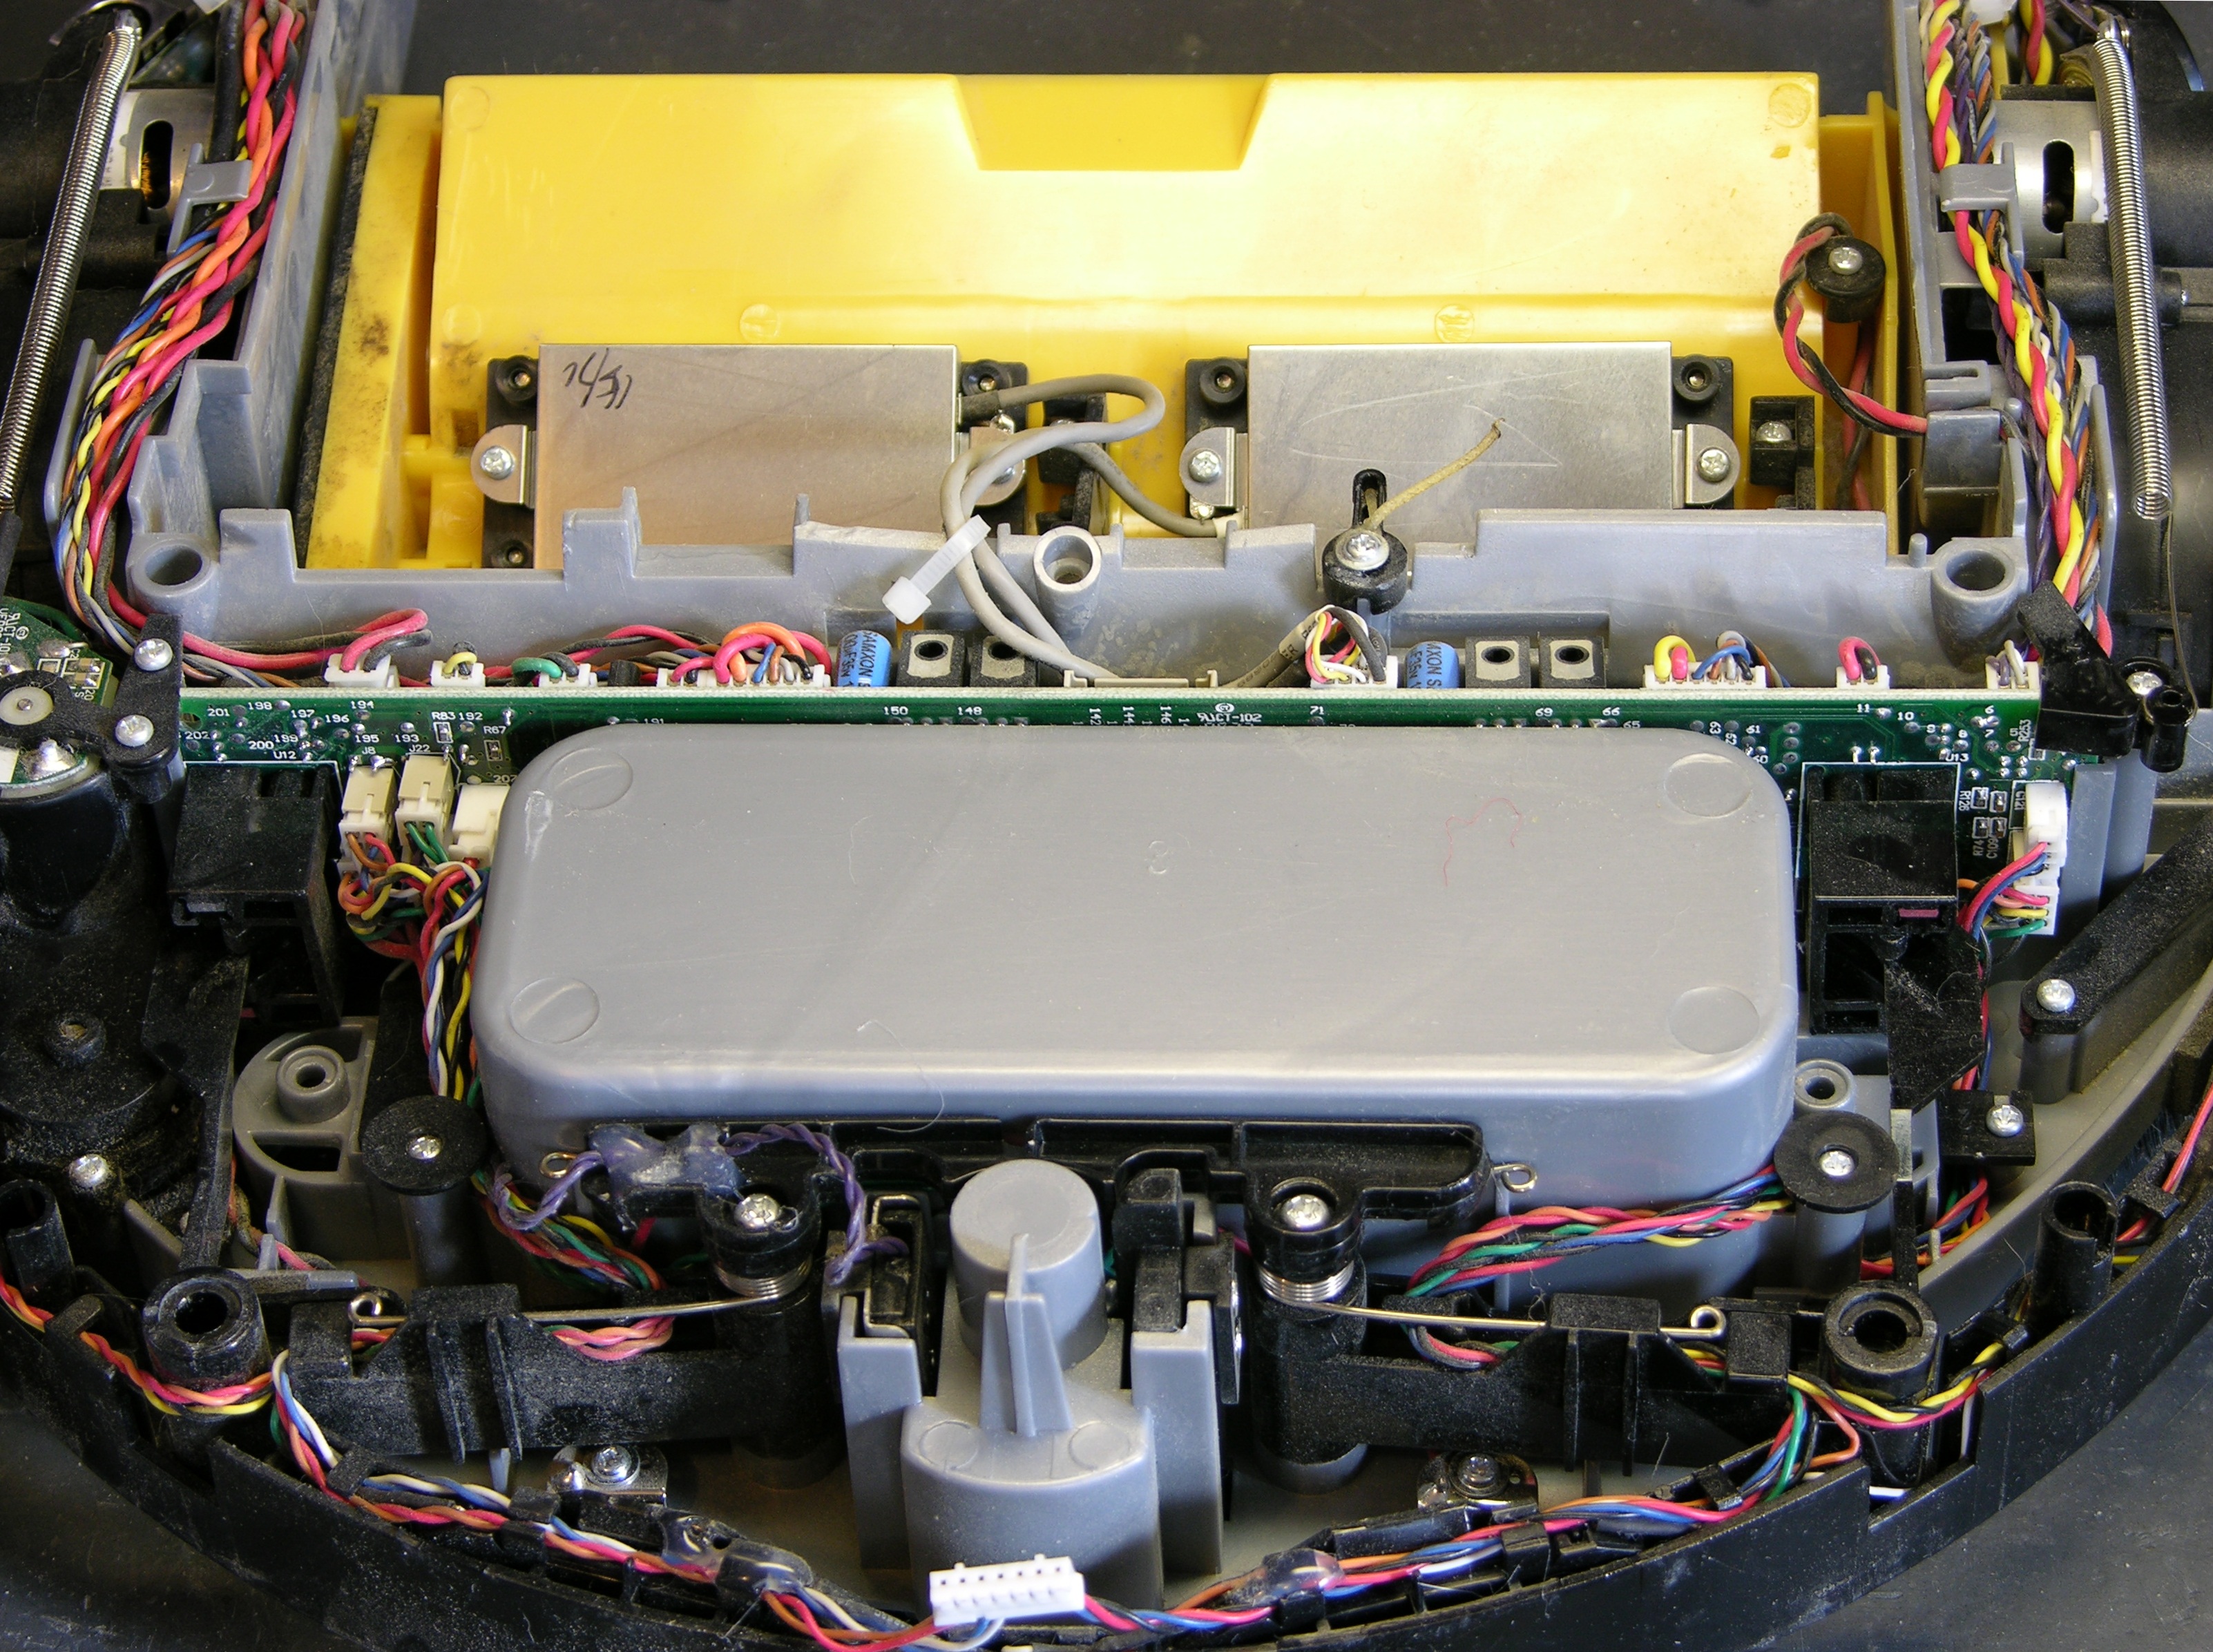
I had to pull all the cables before I could get the board out, and most of the cables had only one place they’d logically plug back in, but I still took pictures to make sure I’d know how to put it back together again, shown here for the convenience of all the king’s horses and all the king’s men who might be trying this themselves at home.

Having removed all the cables, there’s still an optointerruptor at each end with a bumper lever latched into it. It took some prying to get those loose — port (left when in motion, right when facing it to work on it) side first, then pull the board itself loose of the starboard side.
Main Board
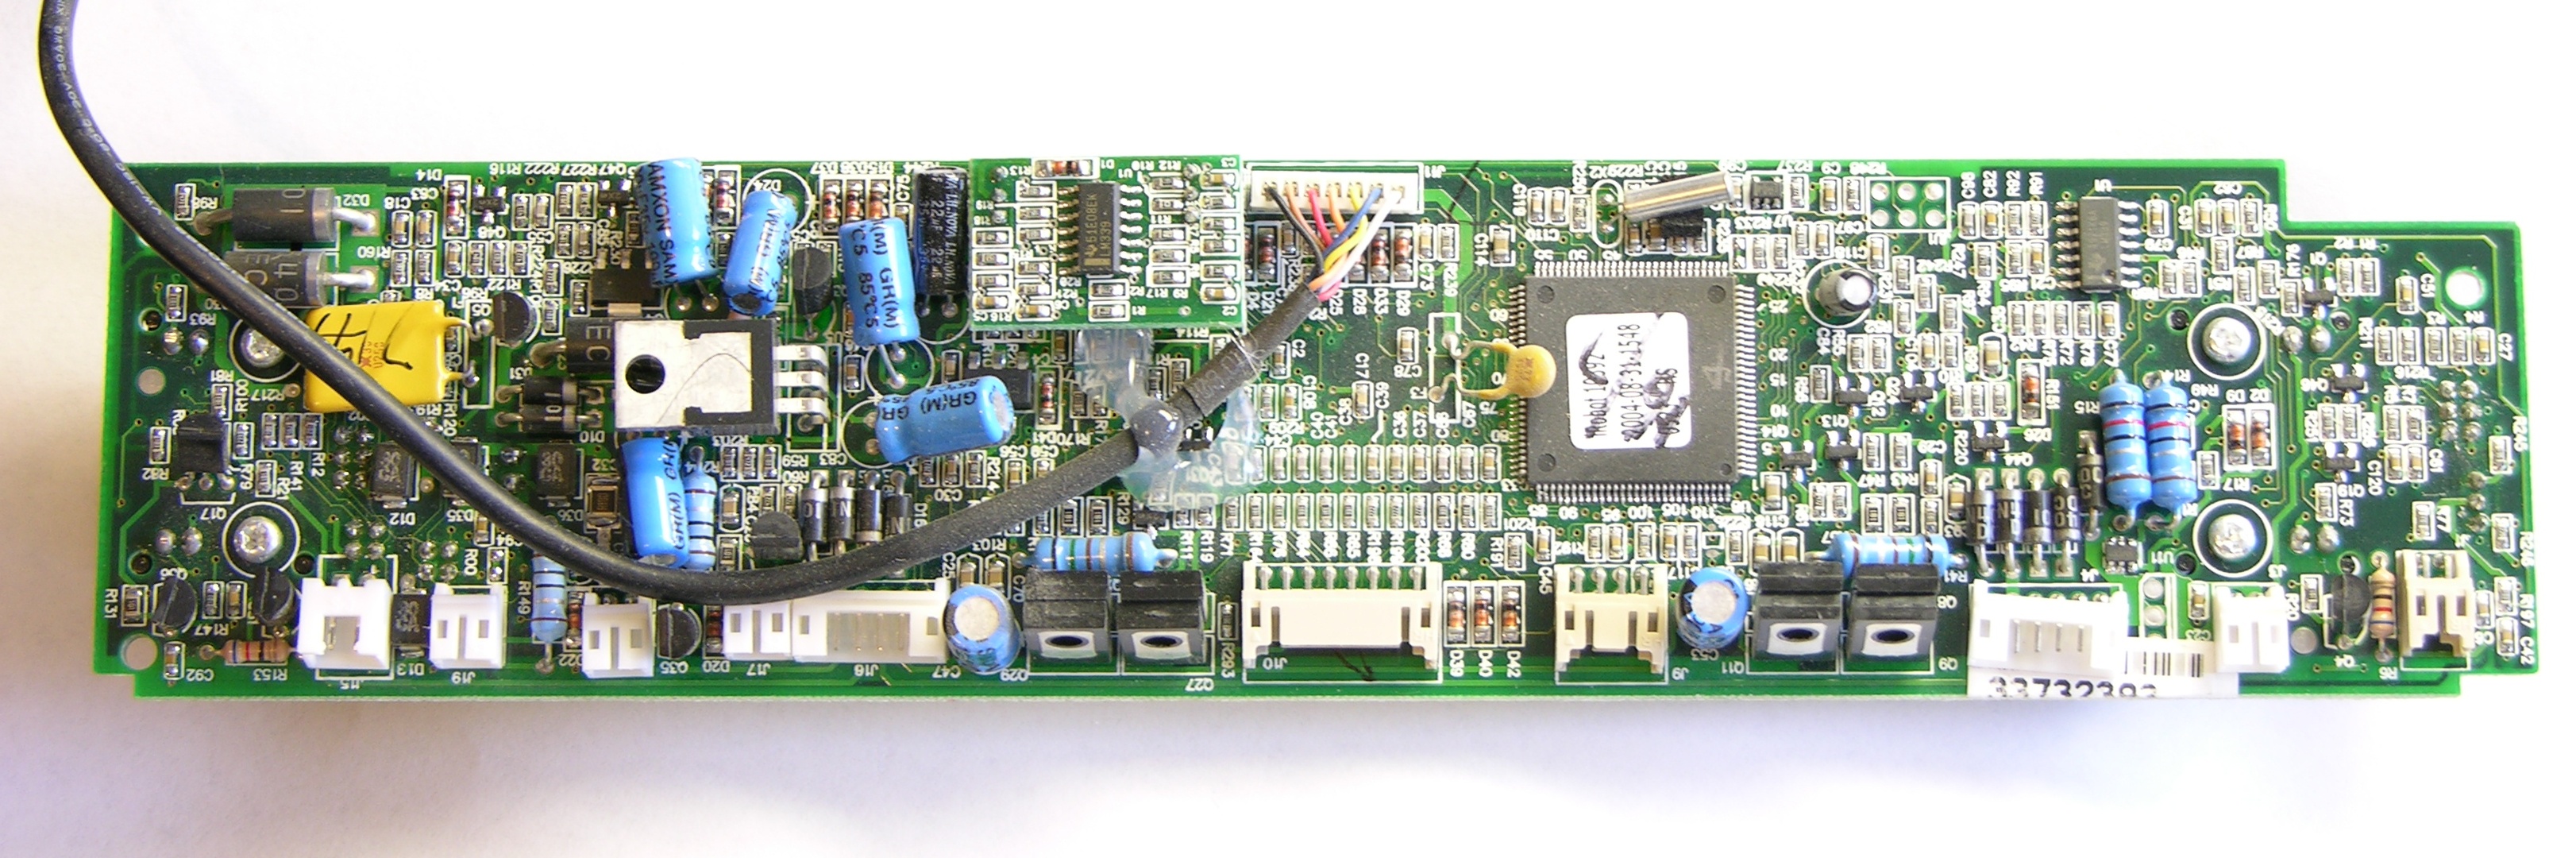
And here’s my main board, with nothing that I can see wrong. No scorched components,
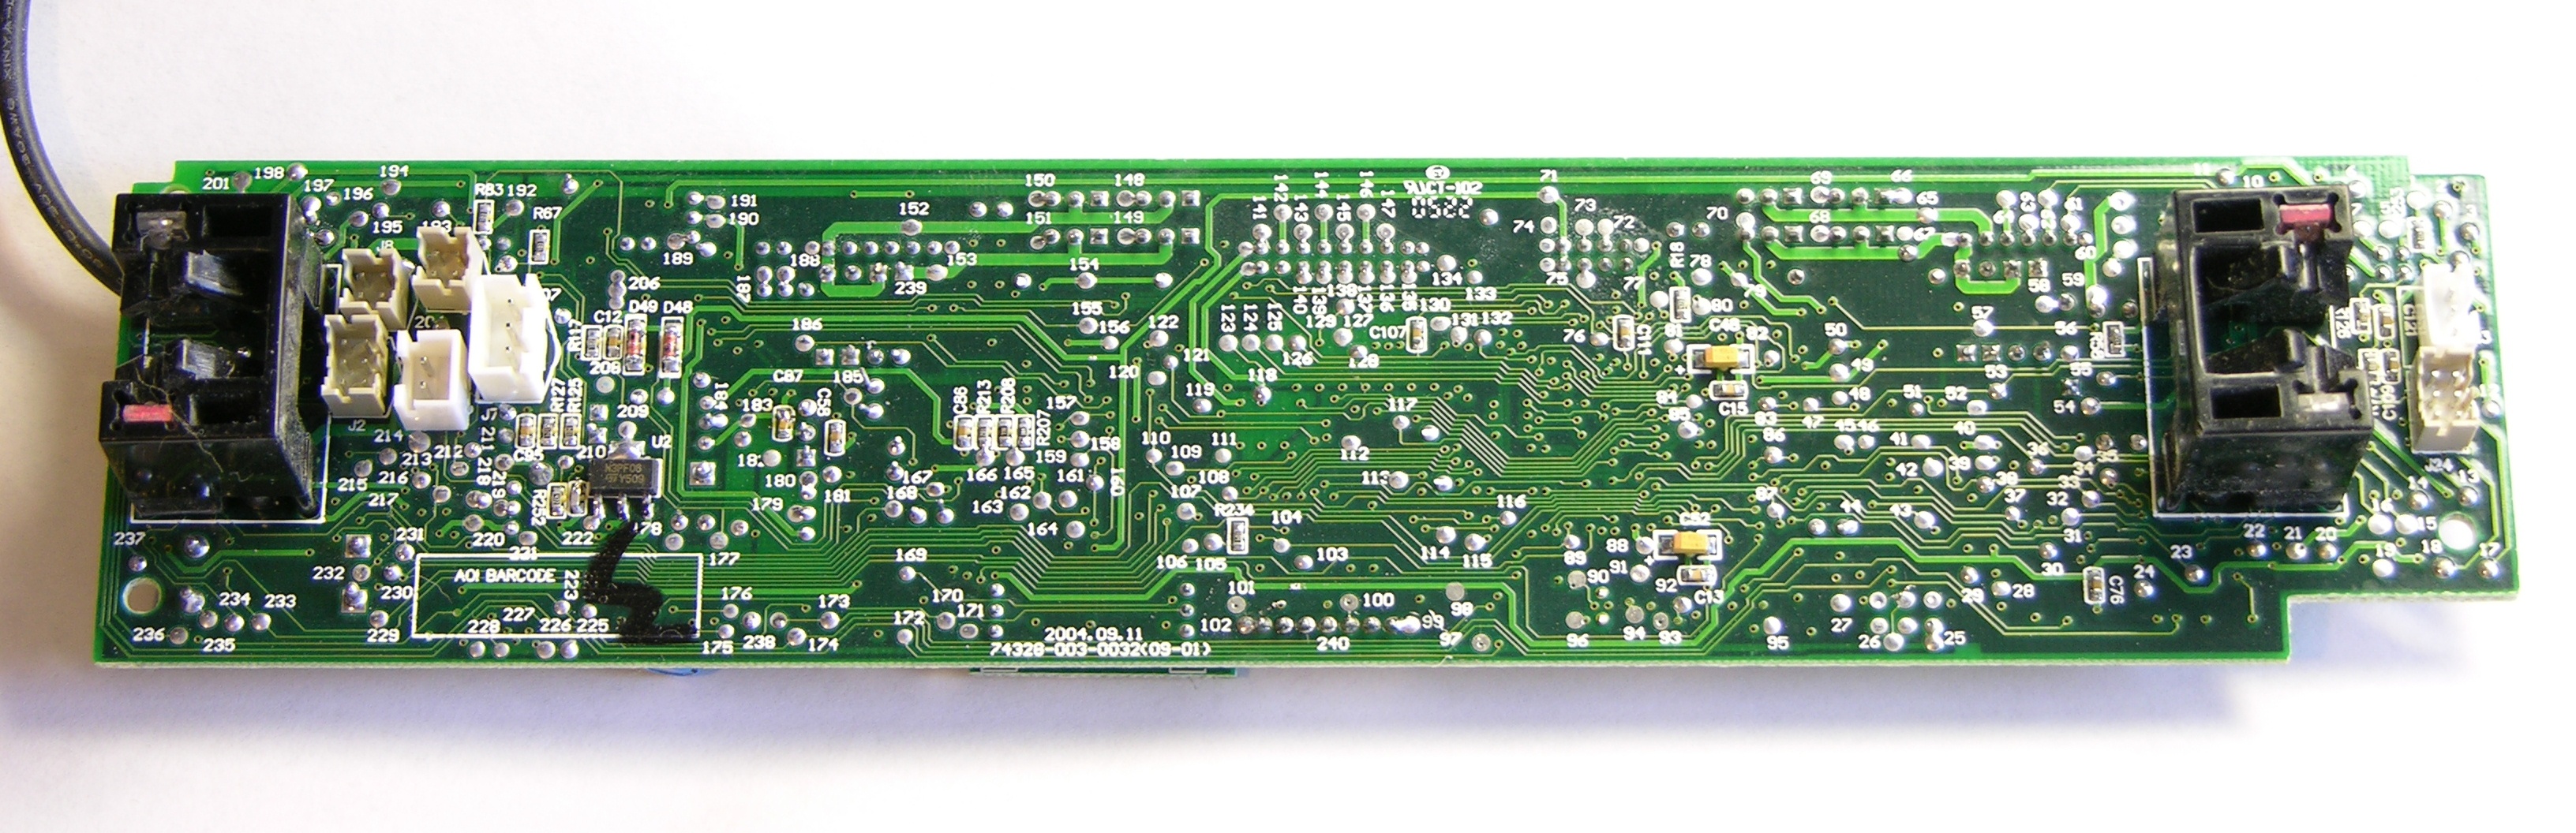
no scorched traces. Foo. (The battery connector is J7 on the solder side, in case you want to trace out from there and try to debug this for me.)
With the component spacing so tight on the board, and no obviously damaged components to investigate first, I didn’t feel like bothering to plug all the connections back in and trace battery voltage while the board was out of its little home. So I gave up (for now, anyway), contacted iRobot to ask about repair, and reassembled the Scheduler.
Reassembly
The most noteworthy thing about reassembly is getting the bumper’s port-end (I think) mounting bosses back into their mating holes. Do those first, then the starboard (I think) end of the bumper, then ease the rest of the port end the rest of the way on. Whichever end it is, do the posts first.
Dirt Sensors
The last thing to mention while we’re in here anyway is the dirt detectors. The second or third generation of Roomba introduced dirt detectors that are supposed to be able to tell when Roomba is actually picking up dirt, so it can spend more time vacuuming that area. I think my dirt typically has a fairly uniform distribution on my floor; but maybe some folks like to send Roomba out to clean up knocked-over flowerpots and whatnot.
Anyway, I’ve always wondered how it could tell when there was dirt — some fancy-schmancy optical sensor pointing at the floor??? — and here’s the answer.

Piezo sensors. Dead simple. Dirt hits them, ting-ting pting tang, and they translate the sound / force into an electrical signal that the Roomba interprets as the influx of dirt. Brilliant!
Next
iRobot promises to respond to a customer inquiry within one business day of receipt, so . . . they’re late. But we’ll see what they say about repair service and cost. I understand they also sometimes have returns and refurbs available for purchase; and at the right price, that could get me a new Scheduler and leave me a spare for parts.
Hm, looks like entire used Schedulers are running ~$100 on eBay, and I just found someone selling the circuit boards for $20 plus shipping. I can’t imagine iRobot touching that price for a factory repair, so it looks like I may be able to do this myself after all. Maybe get a spare Scheduler just for the fun of it, too.
Hi,
On the repair topic, I have an exercise bike that I damaged while trying to fix its power adapter. I ended up inverting the polarity of the cables when I fixed it and now the circuit no longer works.
Any suggestions on where to start looking for damaged components? I mean, electrolytic capacitors, etc… that would be most likely to damaged and may be cause of the problems?
Francisco, I assume you’ve already corrected the polarity of the cable and it still doesn’t work . . .
Have you opened it up to look at the PC board that it feeds into? Often the shorted/damaged components will be obviously scorched, broken, etc.
If they’re not obvious, have you traced from where the power signal enters the board? On the Roomba I gave up because it enters in the middle and the board was so complex; but if you’re lucky, power will enter the board at an edge and you’ll be able to see what it hits first.
It’s a little hard for me to guess what failed. My recollection with polarized capacitors is that when they fail, then tend to fail open (not shorted); so if you reversed polarity and damaged a filtering capacitor, the circuit should still work, just with less power supply filtering. But that doesn’t seem to be the case.
Do you have any digital pictures of the circuit that you could post online somewhere?
Keith, try looking for zero ohm resistors. They will often use them for fuses, they will be the little components labeled 000.
Nice tut. But with my customer’s Roomba 560, the LED itself is damaged. Now if only I could get a replacement LED without purchasing a set of Cliff Sensors. Anyone know what type are these LEDs?
all my roamba scheduler irobot does the red light wont quick blinking
if any one knows what to do email me at follettjon@yahoo.com