Having got my reflow soldering hotplate assembled Sunday, last night I sat down to build the first stepper controller for my CupCake rapid prototyper. Besides being the first of the CupCake’s stepper controllers, this is also the first thing I’ve ever reflow-soldered, EVAR (although not the first SMT I’ve soldered, as I’ve done that by hand before).

There are lots of solder paste and solder reflow tutorials online, and that this ain’t. This is just my observations about parts of the process I hadn’t previously picked up from reading.
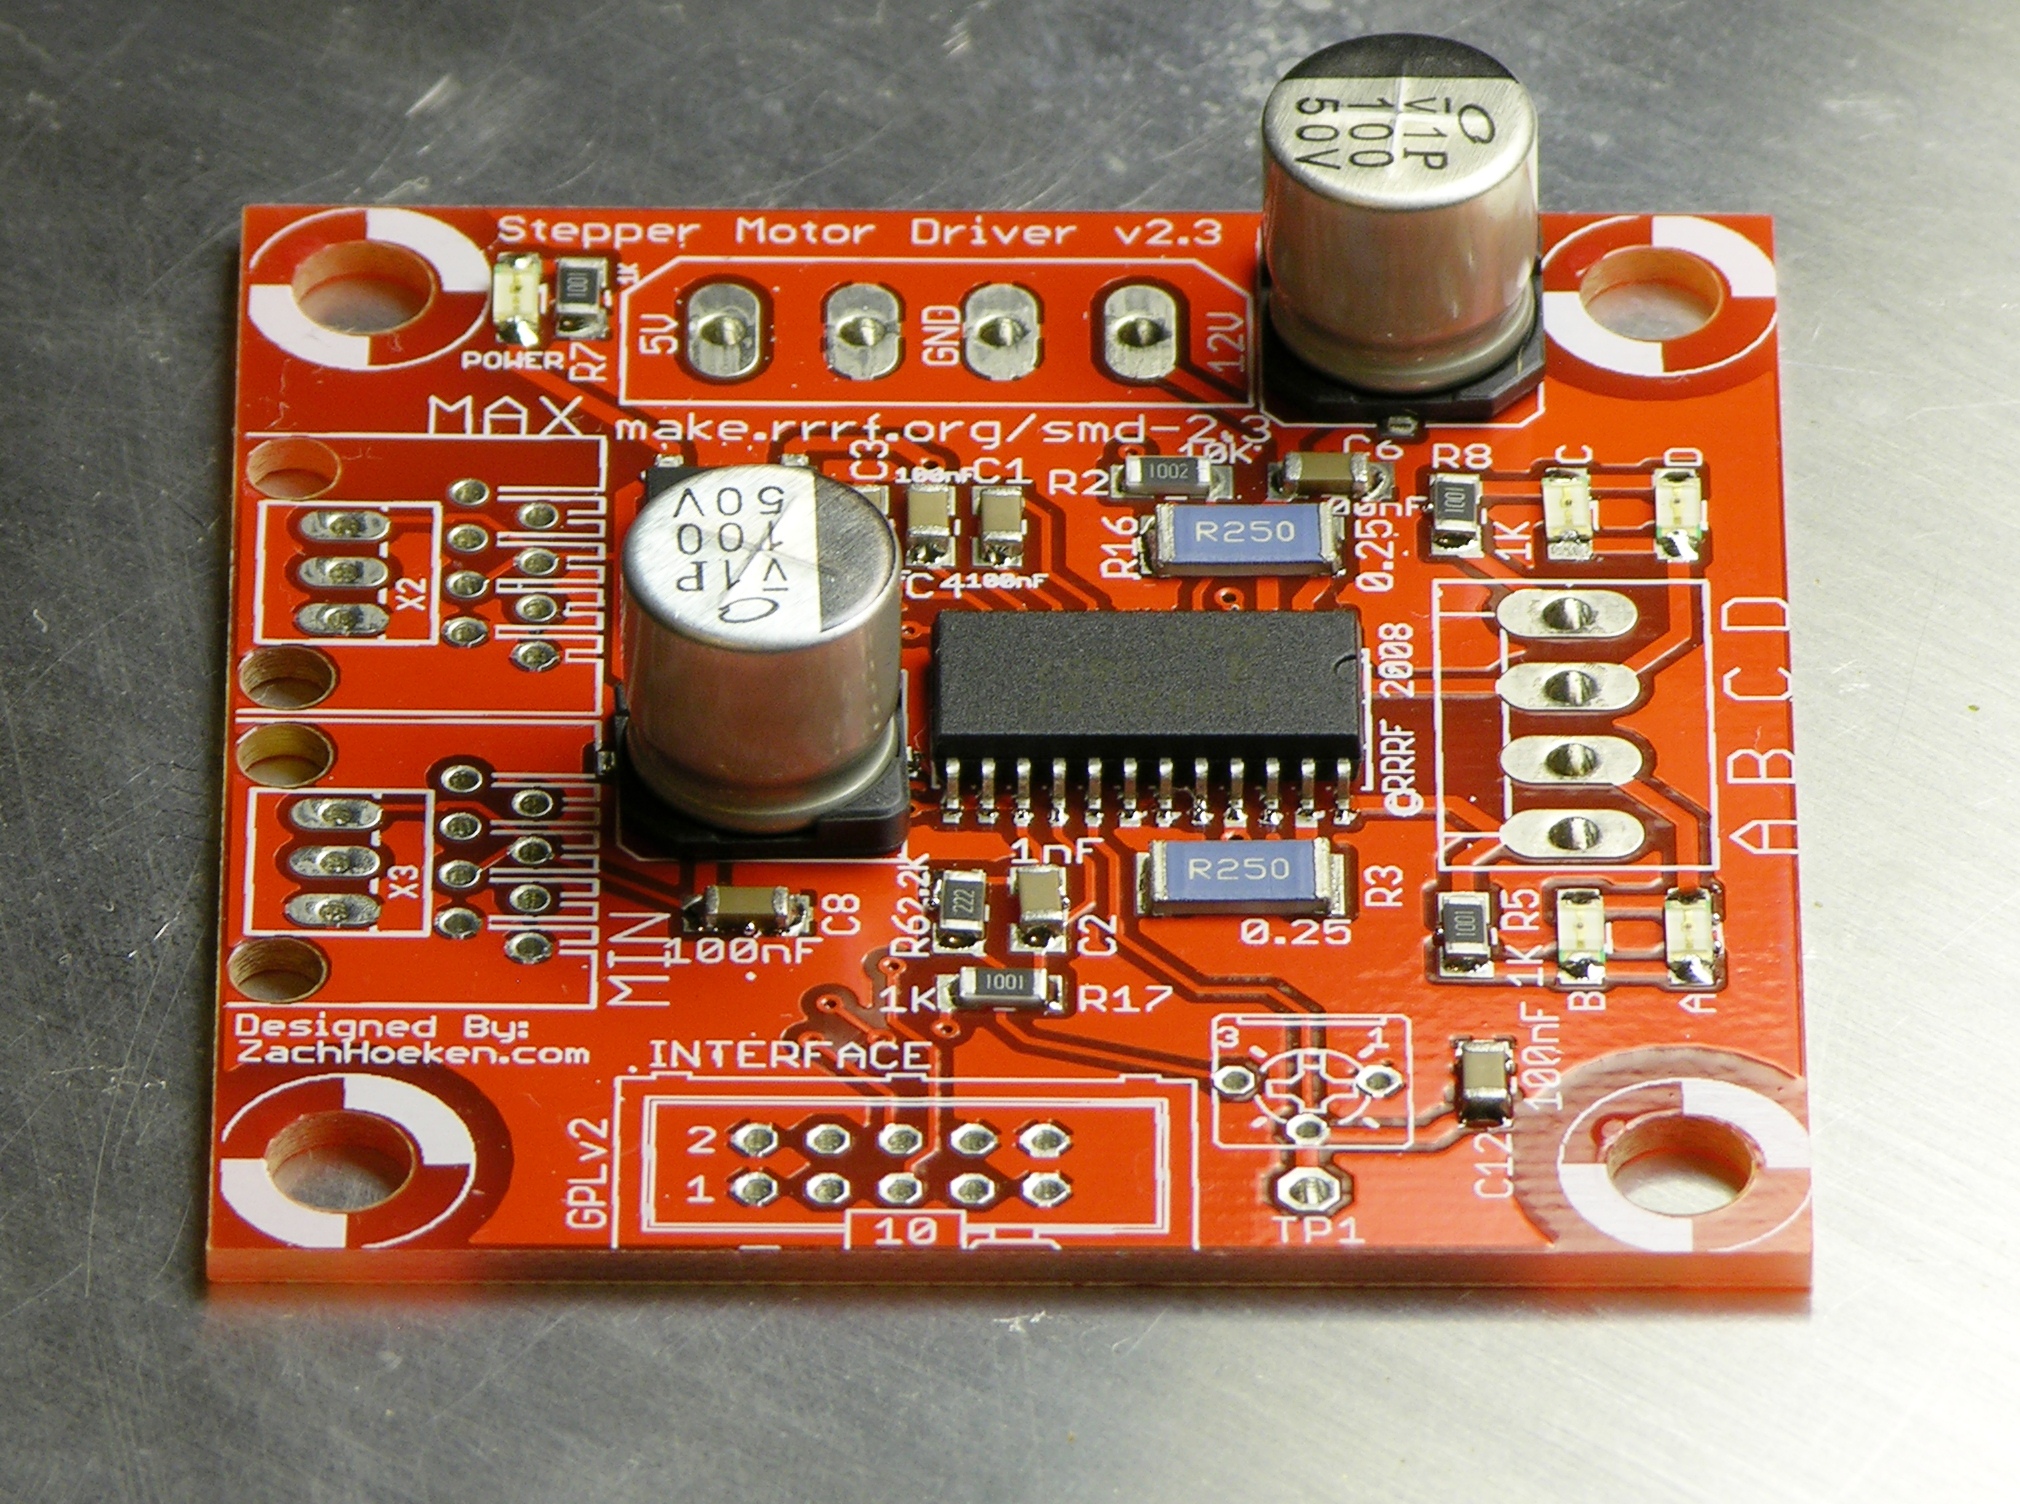
Assembling the Board
The CupCake uses RepRap electronics, and RepRap has switched from the ST Microelectronics L297 stepper controller plus L298 driver in their earlier designs to the monolithic Allegro A3982 stepper controller/driver. The “3rd generation electronics” use SMT for everything except the big connectors around the edge.

If you’re paying extremely close attention, you’ll notice something missing from my kit — the other (SMT) electrolytic capacitor. All three of my stepper controller kits had only one of the two electrolytics (how does that old Uriah Heep song go? “Drinking when I should have been packing?”), so I snagged one from another kit to get by for last night. I also emailed MakerBot, and Zach has already emailed back to say they’ll get my other three on the way.
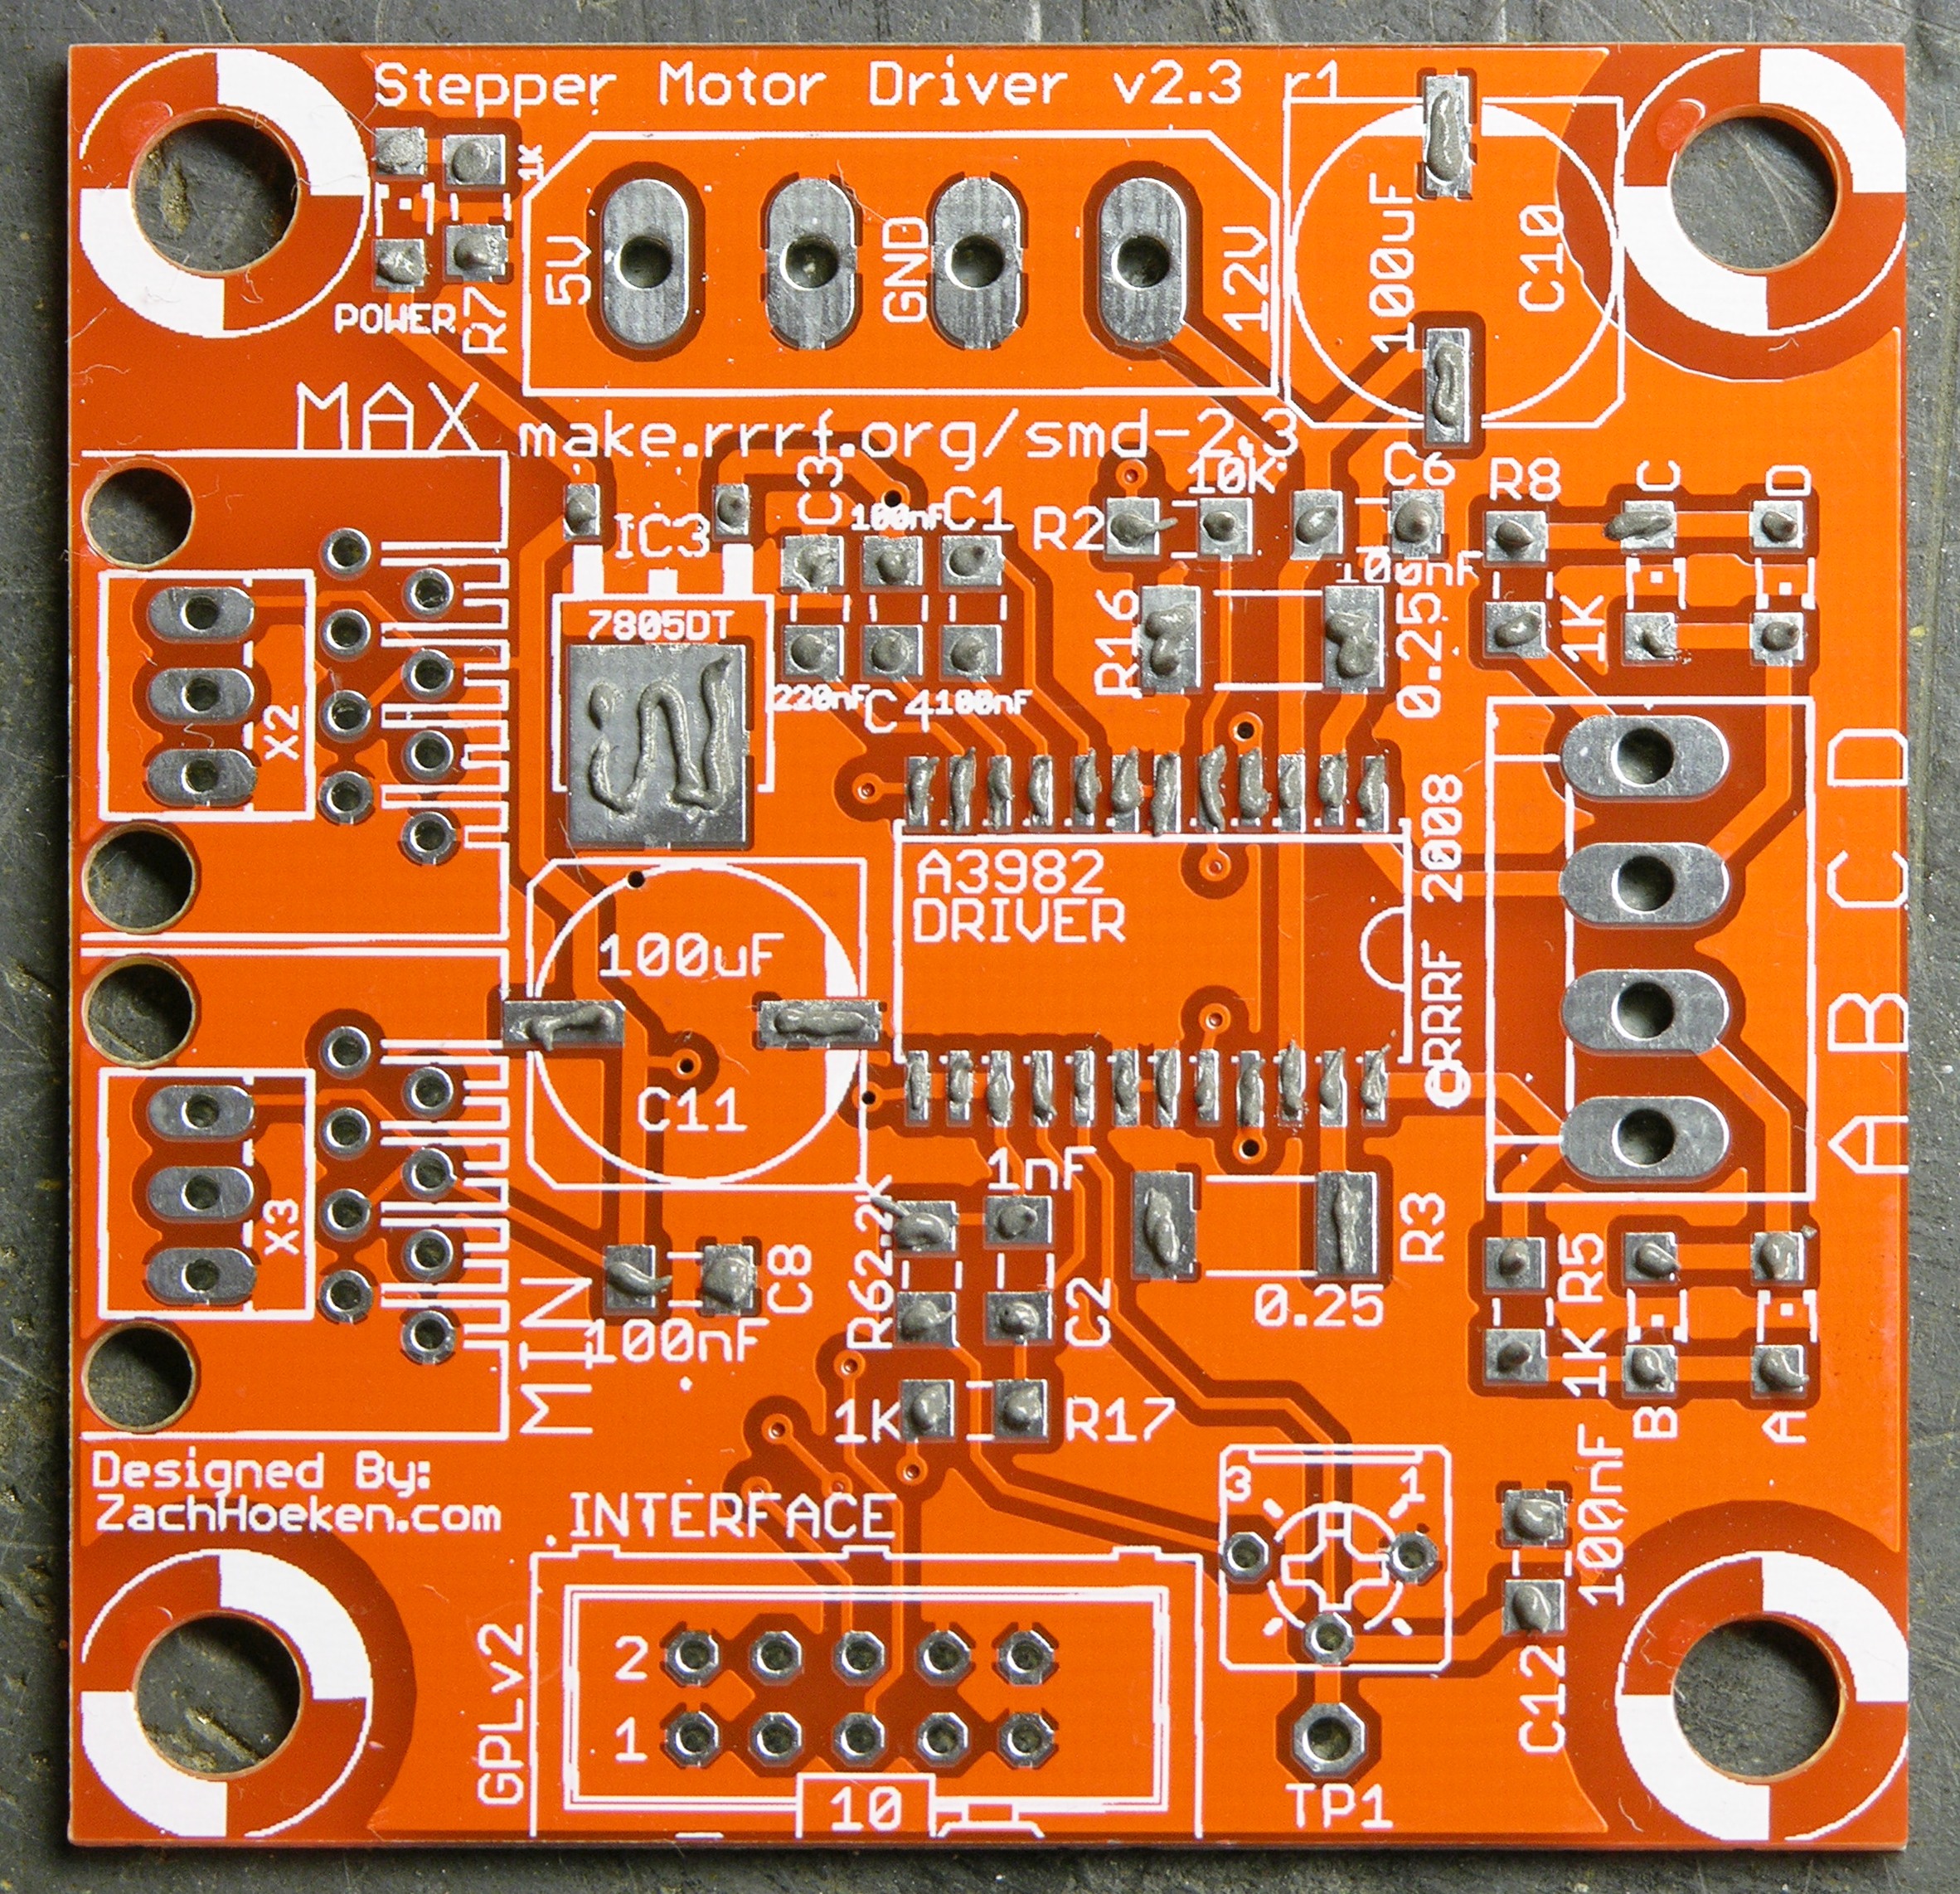
The CupCake presale kit included a small syringe of solder paste, so I was squoozing it onto the board (as opposed to dabbing out of a cup of paste). At first I was having terrible trouble getting the paste to stick to the board, so I wiped off the one tiny successful dab and buffed the board clean with a paper towel to make sure it was grease free. It was much easier to get the paste to stick after that, so I think I’ll clean future boards with rubbing alcohol before loading up the solder paste.
What you see in the picture is not enough paste, by the way. I mean, I dig the minimalist look of tiny fillets of solder on the completed board, but I know now it should really have more — maybe twice the volume on every pad except the IC pins.
Then I tweezed all the little parts onto the board. SMT reflow soldering is supposed to be fun and less work than through-hole soldering, but I’m not so sure about either part of that claim. It’s only my first board, though; and I have several more to get used to it.
Reflow
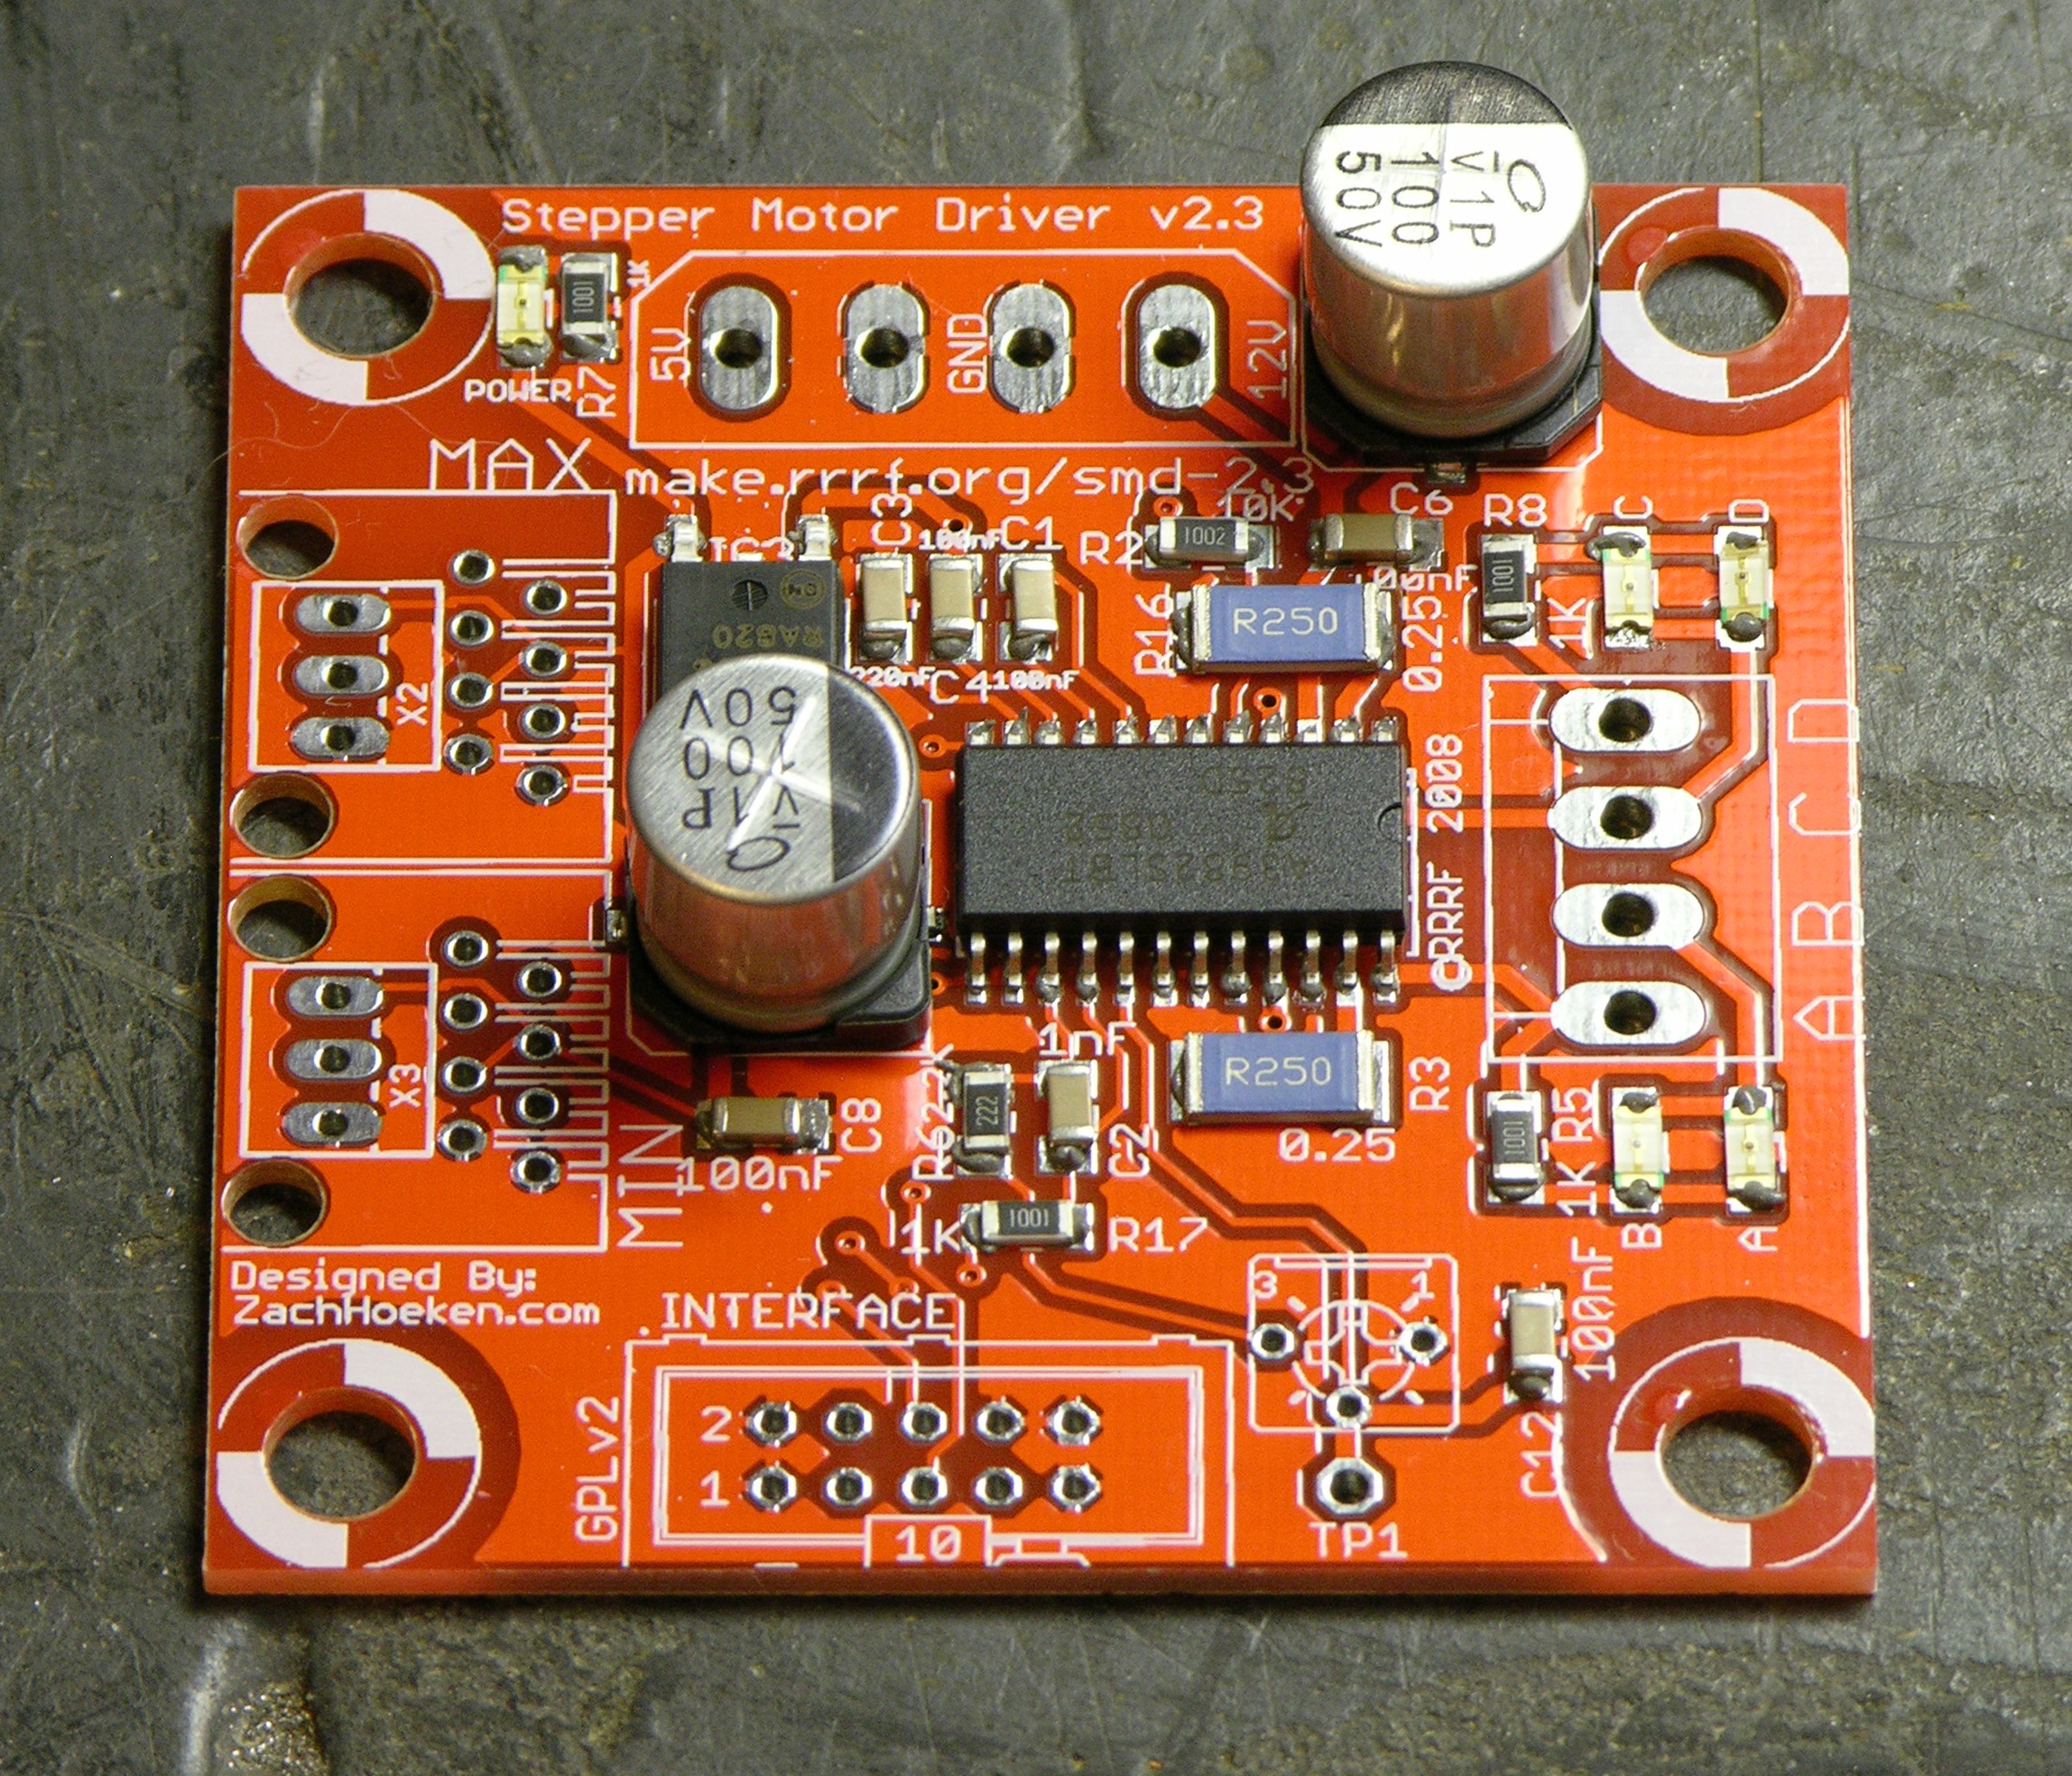
I put the board on the hotplate, cranked it up to 190°C, and waited and watched.

Around 130°C the paste got very liquidy in appearance.

By 160°C, the paste was starting to form fillet mounds and had almost a dry plastic appearance.

Around 185°C, the solder was starting to melt and get shiny on a few of the pins closest to the center of the hotplate (R17, C2, R6, a couple of the IC pins, and C1 and C4).

Sitting at 190°C, I was surprised at how long LED A was able to hold out without the solder melting.
Finally everything visible melted.
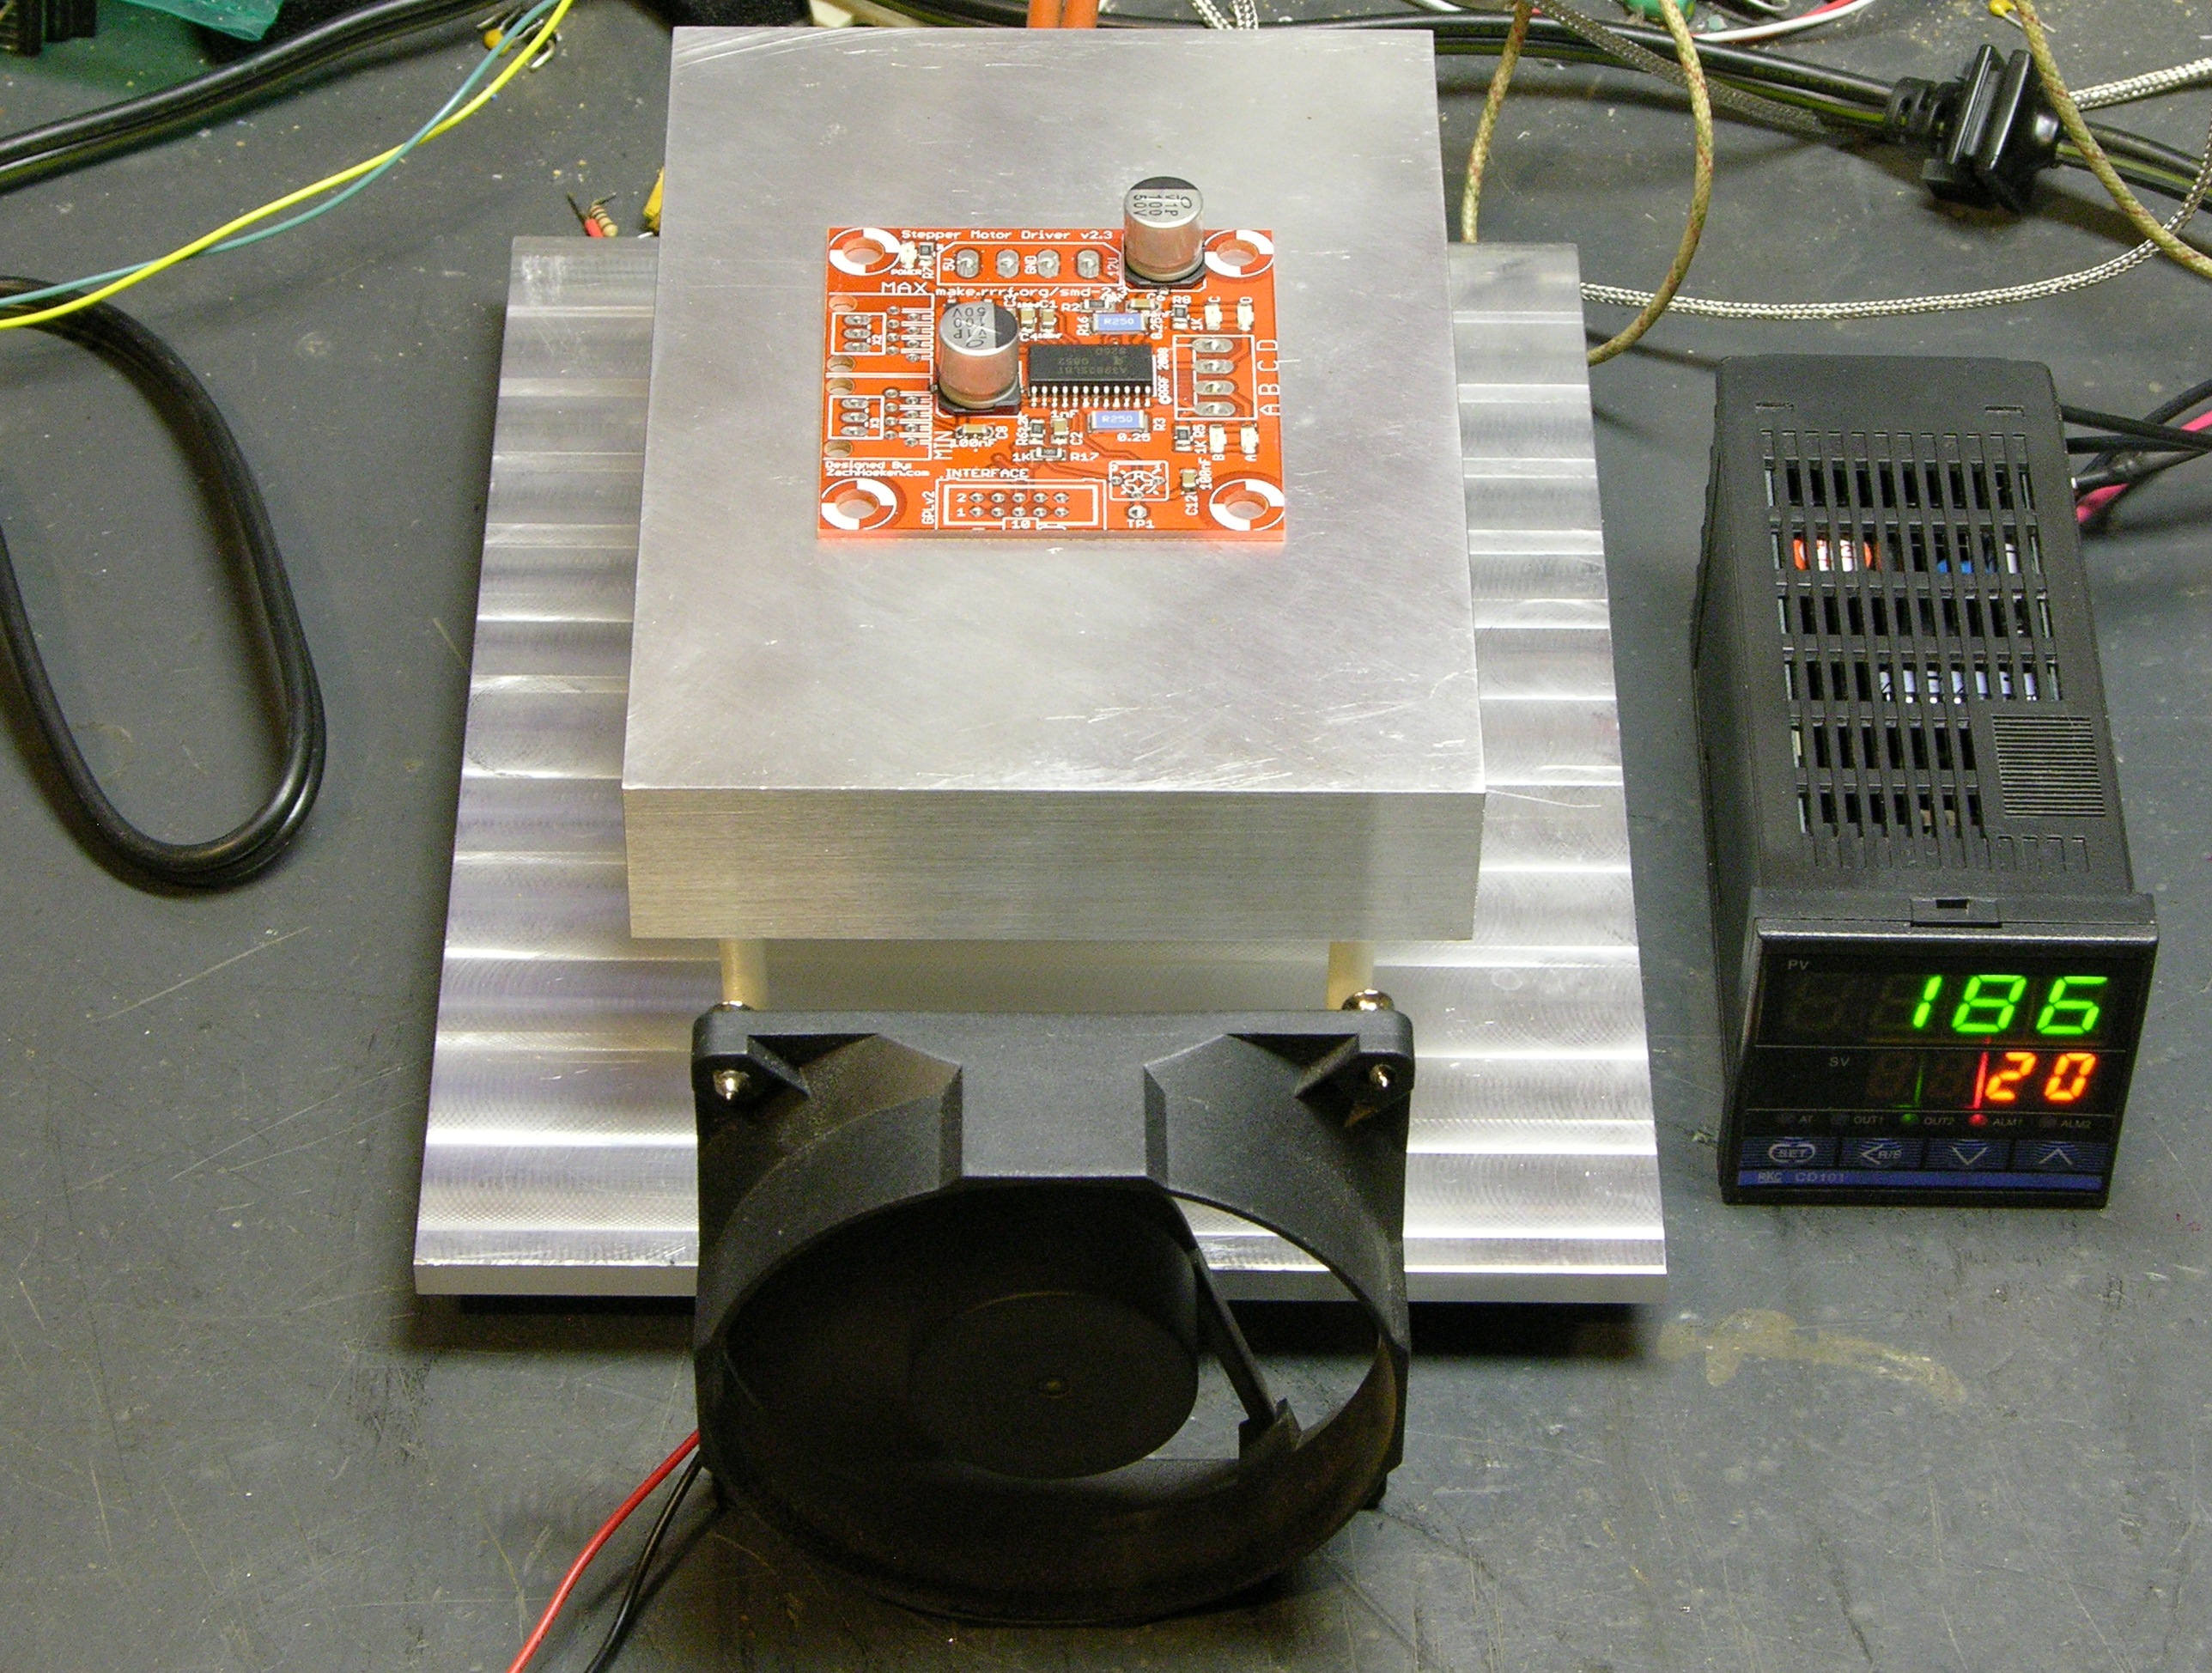
Time for a little cool down with the fan on the underside of the block. Only took about ten minutes to get down to room temperature — very nice.
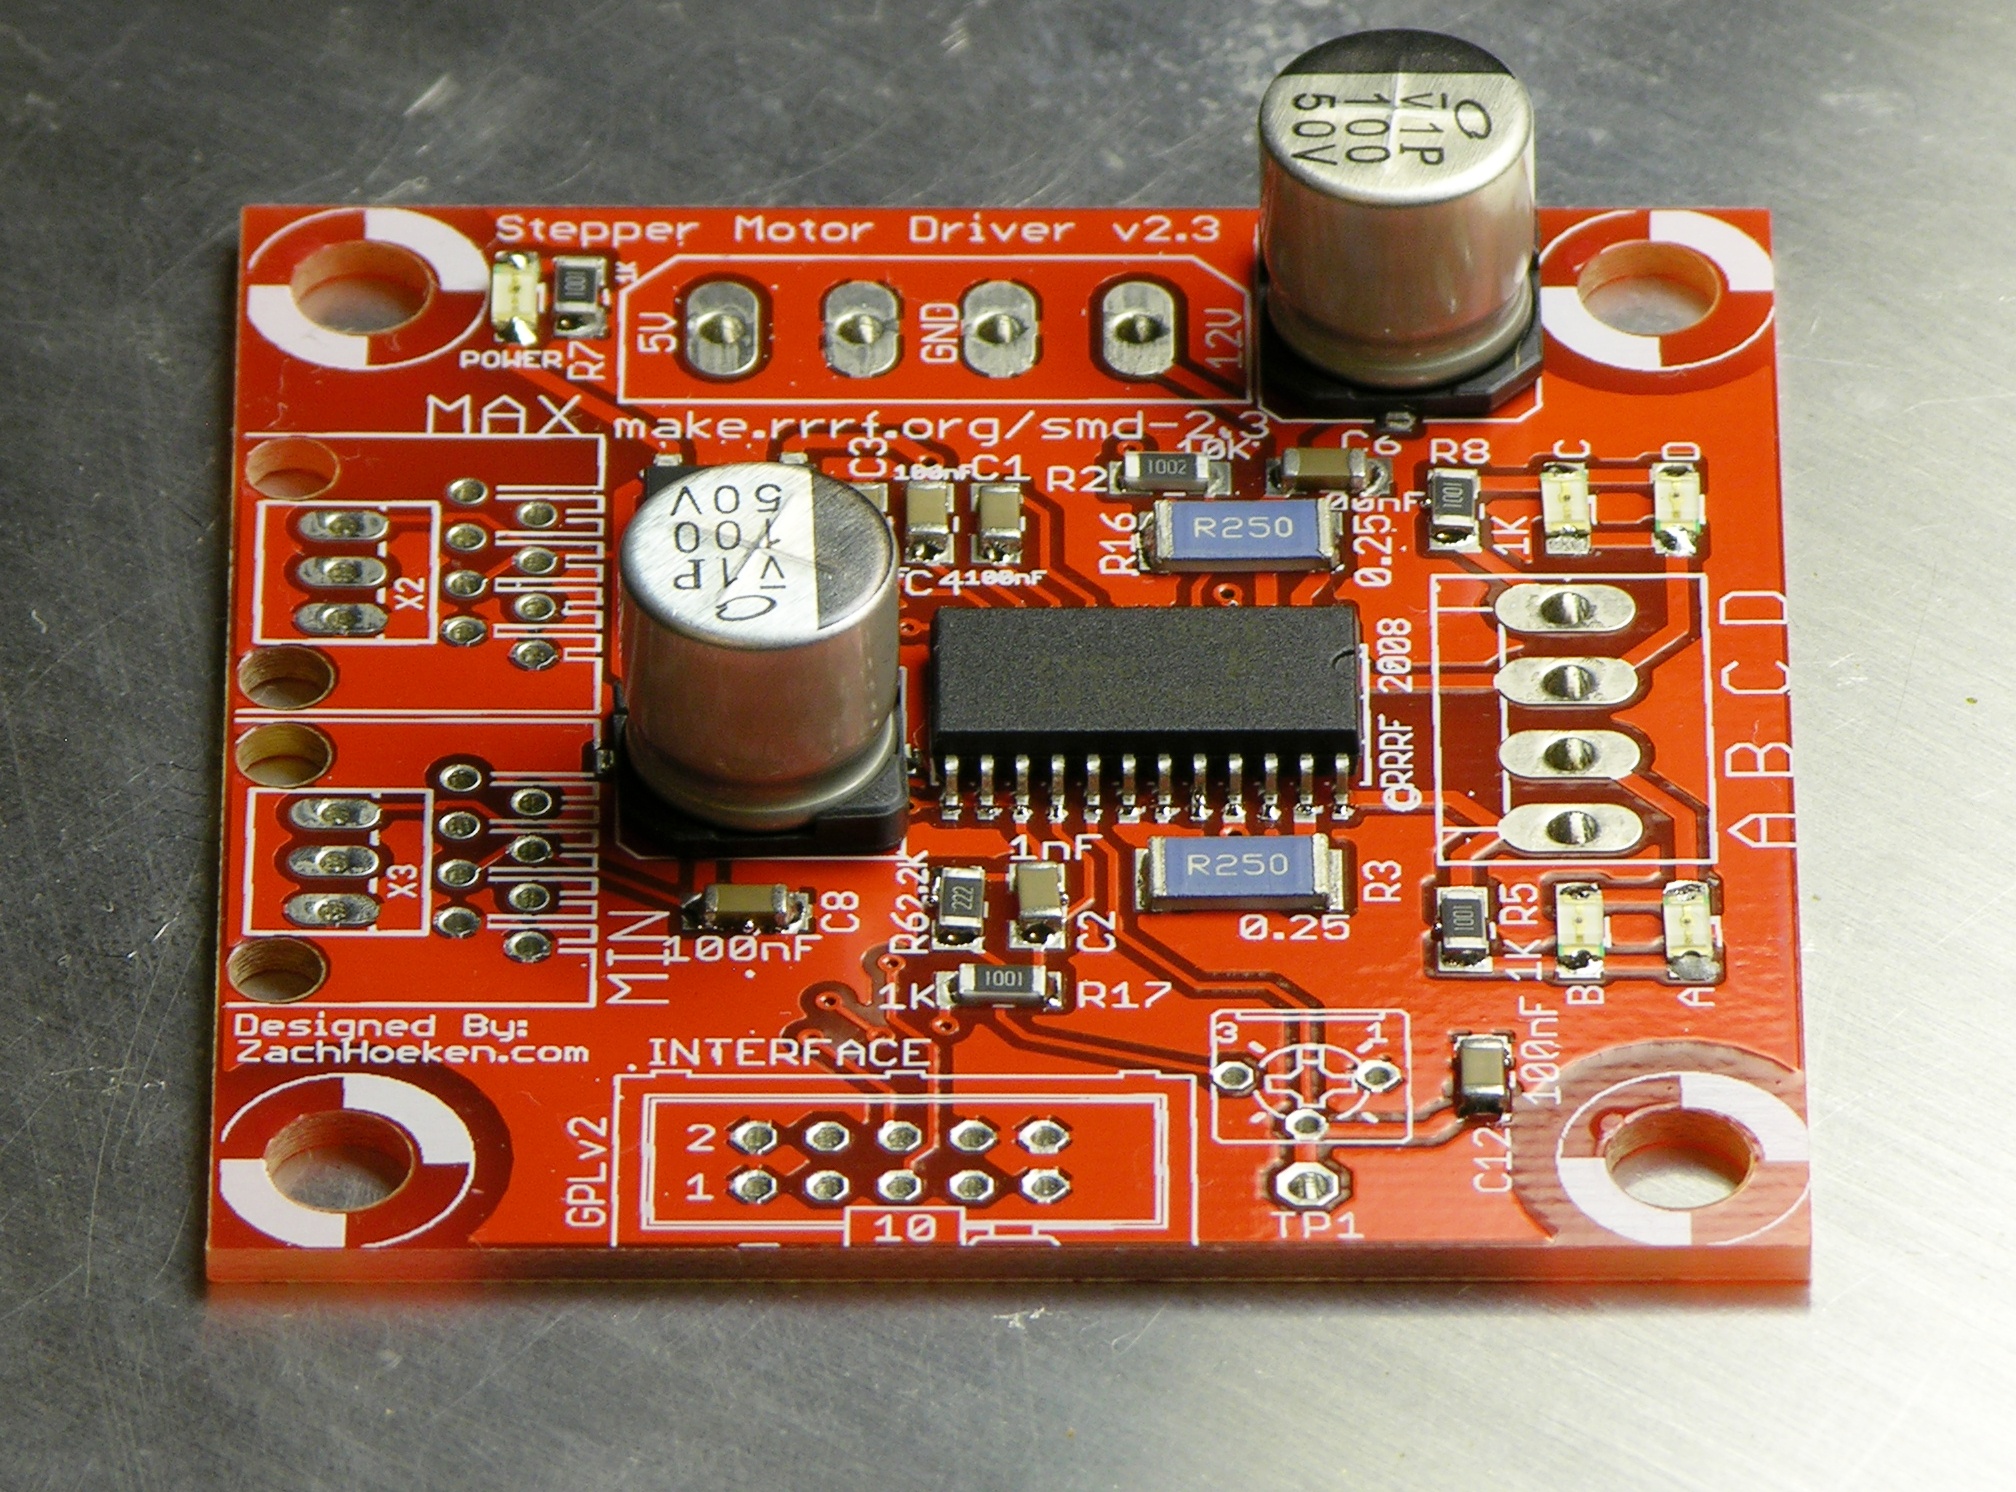
Finishing the Board
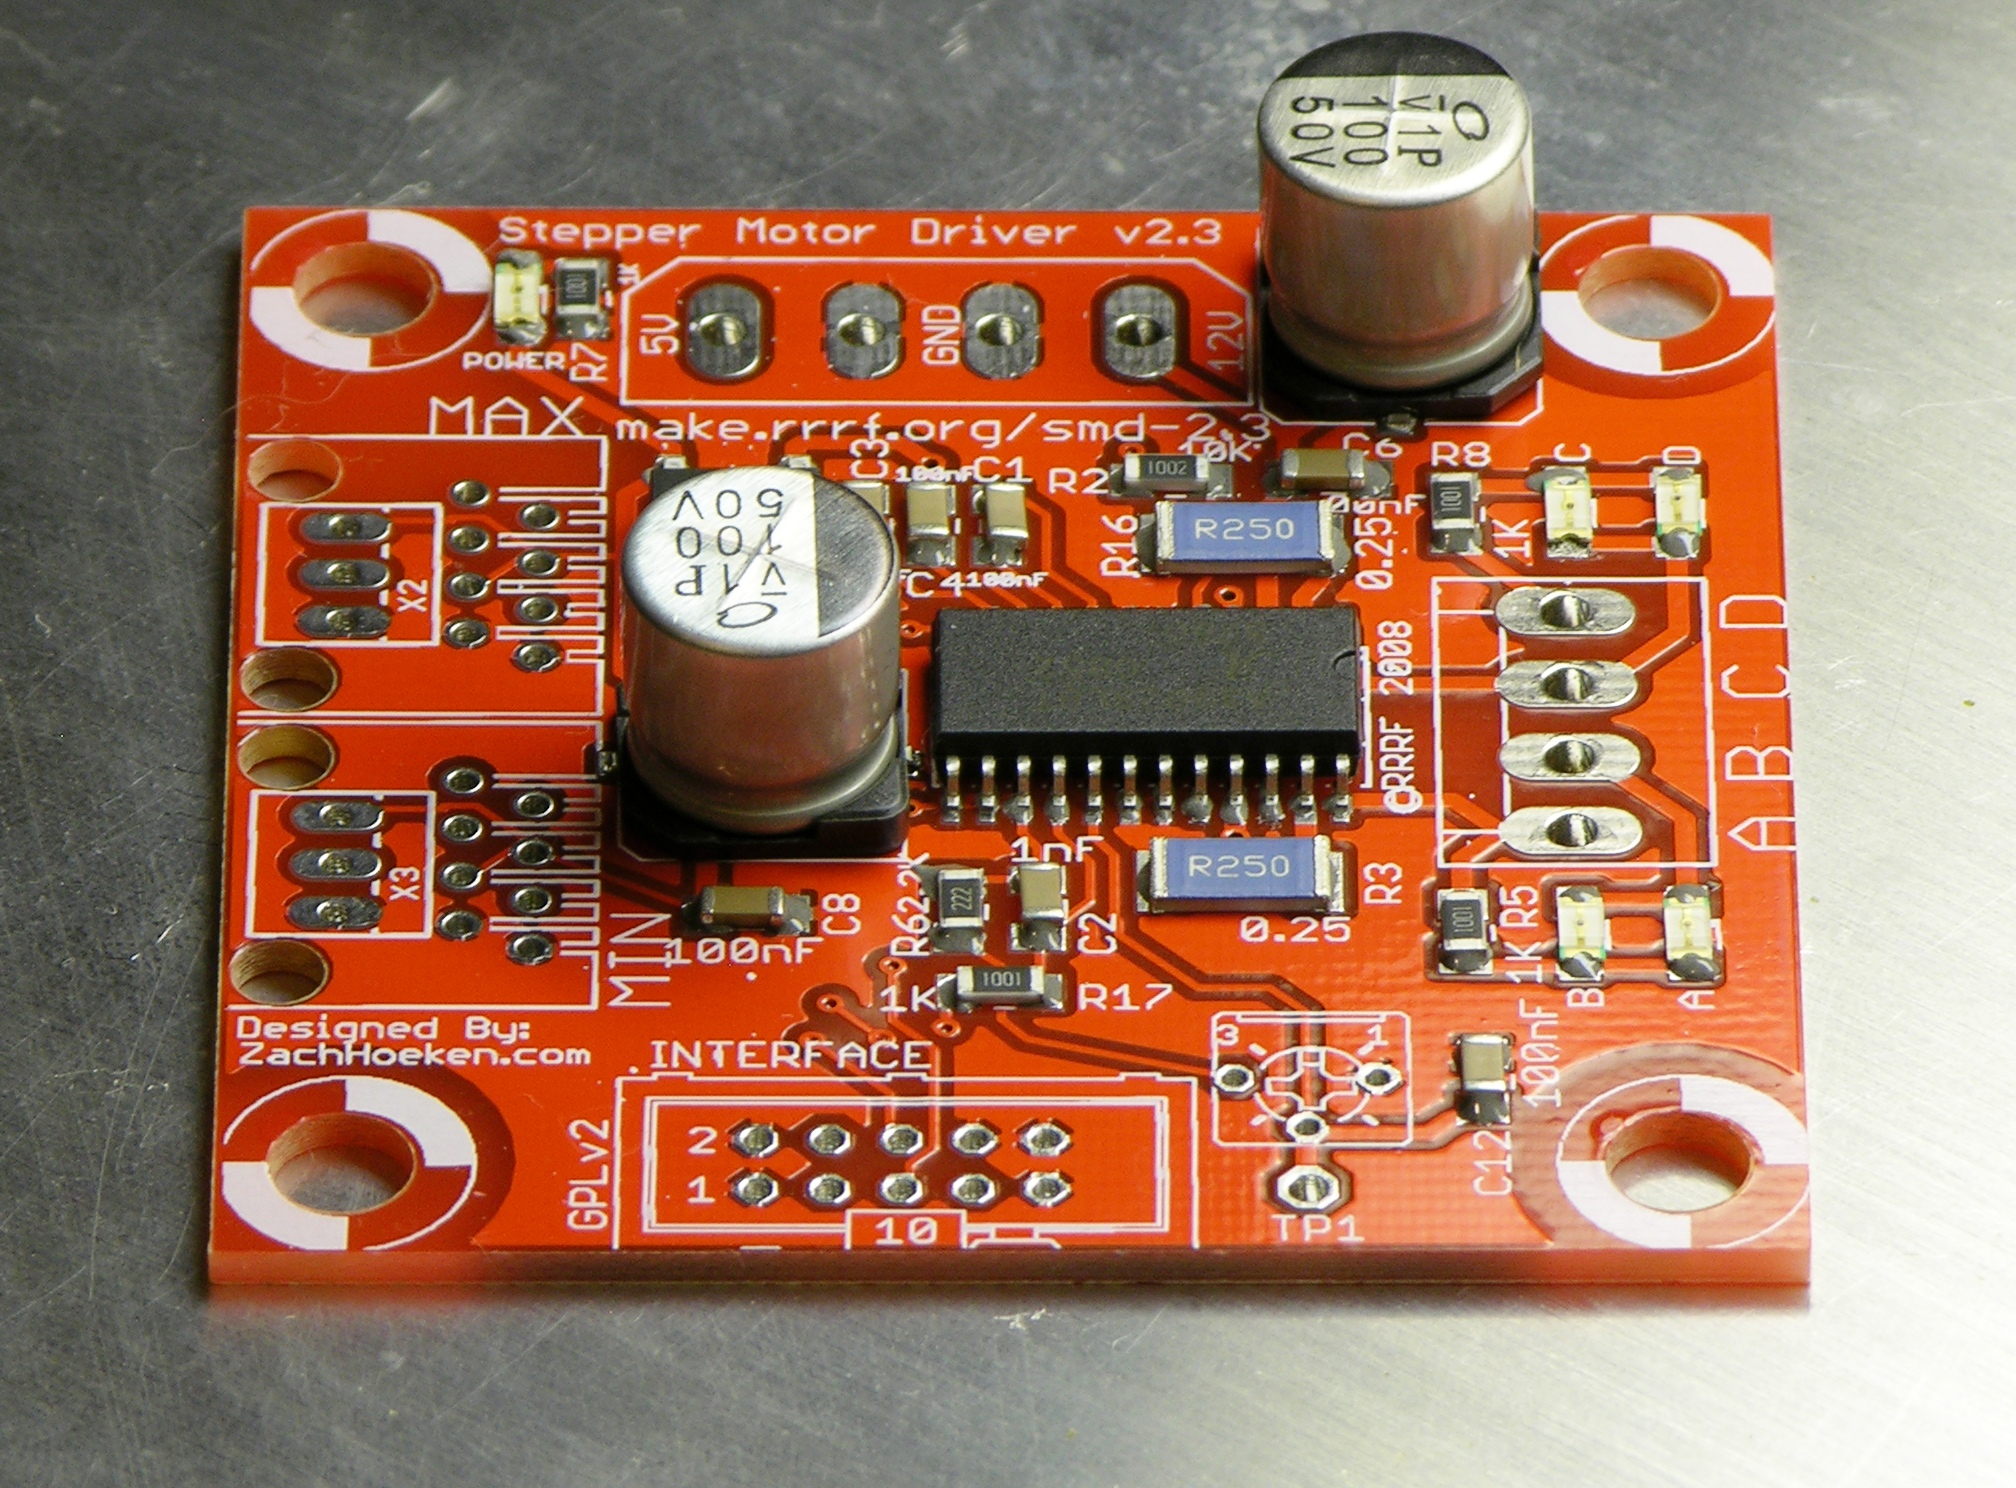
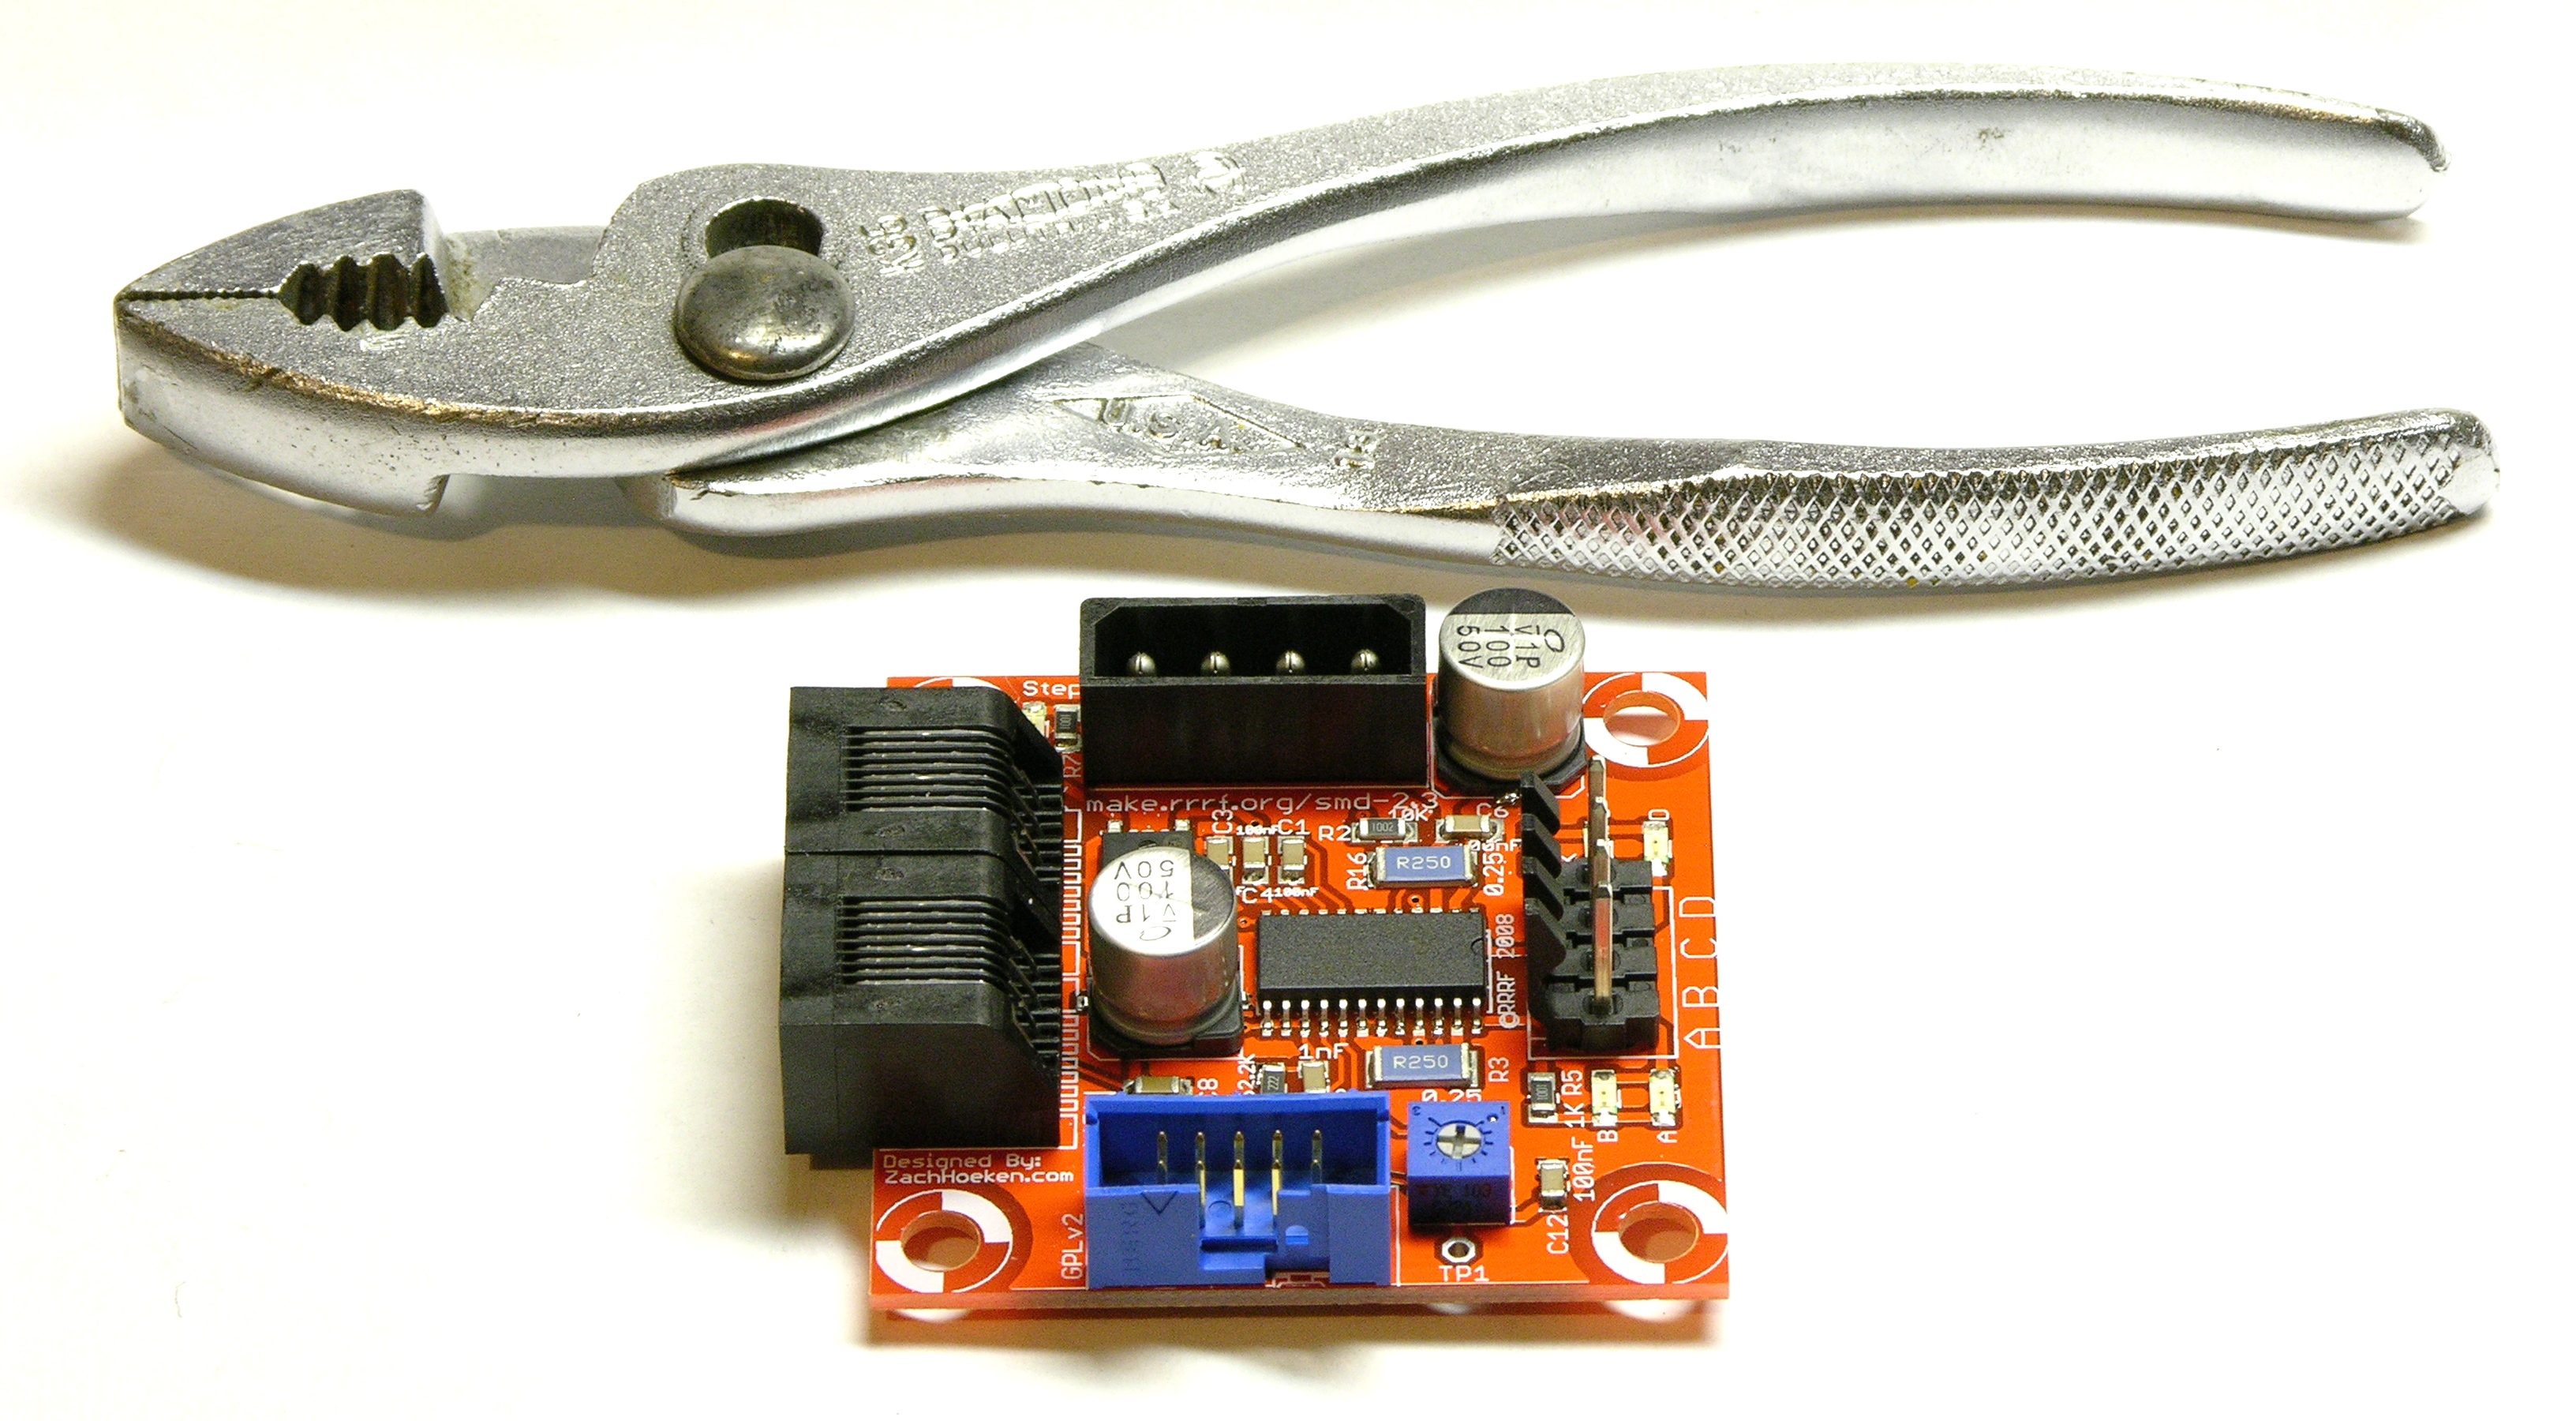
It took but a few minutes to solder in the through-hole components — again shaving off the tab on the underside of the jacks-commonly-known-as-RJ45 so they fit flush with the board.
After getting all the through-hole soldered in so I couldn’t put the board back on the hotplate if I wanted to, C6 (the upper right electrolytic) popped right off the board. The solder paste underneath looked plasticky and clearly the solder had not melted — I assume partly because it was further from the center of the aluminum block where the heater is, partly because the capacitor provided a large heatsink, and partly because I couldn’t see what was happening under there. ![]()
I held the capacitor in position with a spring clamp and touched up the ends of the leads with the soldering iron and my fine solder. In retrospect, I should have melted the solder paste under the cap first, and thoroughly tinned the traces — I bet I could have wicked enough heat under there to get some pretty good meltage. As it is, I do have what feels like a solid solder joint (I couldn’t rock the capacitor loose), but I do question how good it is underneath. I may heat the ends loose and rework it.
Also, on the next iteration of the hotplate, I think I’ll sink the heater lower in the block so the heat diffuses across more of the width of the block before making it to the top. Jeff got this right on his original DIY hotplate on the first try.
Gaaaaaah. That is so cool. This hot plate is now on my ever-growing list of home projects.
Heh, this is also the first board I have ever reflowed too, though I’m not using it for it’s intended purpose. I just used a $29 hot plate from Target to solder this board with no control. I have been building a reflow controller based on an Arduino. I’m using a k-type TC with a max6675 and the accompanying library the 4bitLCD library and the PIDLibrary. After seing your, I ordered the heater cartridge from McMaster-Carr and picked up an aluminum block from my local surplus supply for $3/lb, so about $10. You may want to look up the reflow profile for your solder paste. Usually a profile has a short warm up period, then a 2-4 min “soak time” where the temp is held to SLOWLY drive off any moisture and then a shorter reflow time where the solder is actually melted. See here: http://smt.pennnet.com/Articles/Article_Display.cfm?Section=Articles&Subsection=Display&ARTICLE_ID=186600