Archive for June, 2009

Sc(h)oo(l)ba

Sunday, June 21st, 2009

Filthy rear area of schoolbus

Pick the grossest, nastiest, filthiest job you have available …

Scooba floor cleaner in aft starboard area of schoolbus

And give it to a robot.

Scooba floor cleaner in aft port area of schoolbus

Scooba ran like a champ for me all weekend, with the bus parked on the street in front of my house.

Scooba floor cleaner in aft port area of schoolbus

I’d go out every hour or so to check on it, empty the tank and refill cleaning solution, and/or change the battery. The dirty water I poured out was absolutely inky black.

Aft port area of schoolbus as cleaned by Scooba

I’m sure I could continue to get black water through many more cleaning cycles, but Scooba has done a very nice job of making the back end of the floor not look awful, with relatively little effort on my part.

Bathroom area of partially converted schoolbus

I did pitch in by hand with bathroom cleaner on the toilet and the tile floor.

Automotive Window Motor for Power Bus Door?

Saturday, June 20th, 2009

Converted schoolbus, rear door

Currently if the bus is closed, I have to open the heavy rear door to get in.

Converted schoolbus, right front interior

I don’t have a good picture of just the door, but the rod going horizontally across from the handle in the center of the bus to the door (hidden behind the cabinet) mechanically holds the door closed (by design) when the handle is latched in the closed position. As long as the handle stays latched, you can’t open the main passenger door from the outside.

With my highly-skilled momentum technique, I can close the front door from the outside so I don’t have to walk around, open the rear door, walk through, close the front door, walk around, and reclose the rear door; but once done, I then have to do the hokey-pokey to get back in.

I’d really like to be able to lock the passenger door and have a way to get in from the outside. And unlike many other bus-RV converters, I really don’t want to replace the bus door with an RV door — I’m not out to hide the fact that the vehicle started life as a bus. Until I have good reason to feel otherwise, I’d like to keep the accordion-fold door.

I’d love to motorize the door and add electronic entry — although at least in the long term, I need to have a purely mechanical way to get in, as backup in case something goes wrong with the motor.

Automotive Power Window Motor

Automotive power window motor assembly

“Neighbor Dan” has a pile of removed auto parts in the corner of his shop, and a guy comes by occasionally to haul the pile to a scrapyard. Dan has offered me anything I want out of the pile, and he says he has three more of these power window motors that I haven’t found yet. I’ll keep digging.

I don’t know that this is the motor to use for my power door, but it bears consideration.

Automotive power window motor assembly, opened

It looks pretty obvious why it was replaced — the cable is all messed up and broken where it wraps around the spool.

Automotive power window motor

With the jammed-up cable spool taken care of, the output shaft spins at almost two rotations per second. That’s a little fast if I were going to attach it directly to the door-opening handle or use it to replace the handle altogether. If I were to do that, I might use pulse-width modulation (PWM) to slow it down.

The motor coil resistance is 1Ω or less, so the motor draws at least an amp and I’d need a pretty hefty FET to drive it. (A compensating factor is that the motor would normally have a pretty short duty cycle, so the FET wouldn’t have long to heat up.)

Alternatively, I could use the motor with the spool and cable (maybe one of the others isn’t as messed up) and use a larger pulley / spool on the handle end to “gear down” the rotational speed.

I’ve considered that I could remove the manual handle, do away with the connecting rod, and fabricate an entirely new means to close the door. But as it’s constructed now, the rod does double-duty closing the door and “locking” it shut once closed. If I did away with it, I’d have to recreate that functionality on my own.

I’m Open to Something Completely Different

If someone knows of a better way to lock and unlock a bus front door from the outside, or motorize an accordion-fold door, I’m all ears.

Converting a Standard Windshield Wiper Blade to Fit the Bus

Saturday, June 20th, 2009

The windshield wiper blades on the bus are in very bad shape and hardly move around the water on the windshield at all, as I experienced this morning on the way to the dump.

Standard automotive and schoolbus windshield wiper blades

The bus blades use a different means of attaching to the wiper arms than do standard automotive blades. The bus wiper arms each have a hole in the end and a large, ridged washer welded to the blade side of the arm.

Bus windshield wiper blade attachment mechanism

The blade attachment mechanism has a captive bolt that goes through the hole in the wiper arm and an acorn nut to hold it in place. The bolt both holds the blade on the arm and — through friction with the ridged washer — sets the angle between the arm and the blade (which need not be colinear).

I think if I removed the welded-on washer, the wiper arm might fit the clip on a standard blade, without this mechanism. That would eliminate the ability to set the angle of the blade, though; and I do have the blade at a slightly different angle than the arm. I may consider knocking off the washer in the future, rather than continue to modify standard wiper blades.

Standard windshield wiper blade, attachment clip removed

(My local) Autozone doesn’t have wiper blades to fit the bus attachment type, so I modified a Rain-X blade. Mr. Negative at Autozone suggested duct tape and said no matter what I did it would look stupid. I believe the psychological term for his behavior is “projection.”

The first step was removing the stock clip that snap-fits onto the center post.

Dremel cut-off wheel and windshield wiper blade

Then I cut and removed the post.

New windshield wiper blade retrofitted with bus wiper arm attachment mechanism

The post’s holes were just the right size for the bus clip’s blade-to-clip bolt. I tightened the nylon-insert lock nut enough to squeeze the new blade’s walls down almost to the width of the bus clip, to reduce lateral and angular play.

New windshield wiper blade retrofitted with bus wiper arm attachment mechanism

The modified blade fits and works perfectly. Stupid indeed.

Engine Cleaning

Saturday, June 20th, 2009

Purple schoolbus pulled into shop for engine cleaning

After unloading the last removable items from the interior, I dropped the bus off at Hinz Motors to have the engine compartment pressure-washed. It’s easy to see that the brakes and power steering each have small leaks; but with so much gunk on everything, it wasn’t easy to see exactly where.

Greg only charged me $21.46. I think he should have asked more and I tried to tell him that, but it’s hard to argue with the guy holding the cash register. So to speak.

Bus engine compartment, passenger side, freshly washed

I think they did a bang-up job. I had no idea there were colors under the hood! Blue hoses, red cables, orange stars, green clovers …

Bus engine compartment, driver side, freshly washed

The leaking parts are nice and squeaky clean. Once everything’s completely dry, I’ll take it for a spin and see where the fluids show up.

$21.46 engine cleaning

A Day at the Dump: Goodbye, Furniture; Hello, Weight

Saturday, June 20th, 2009

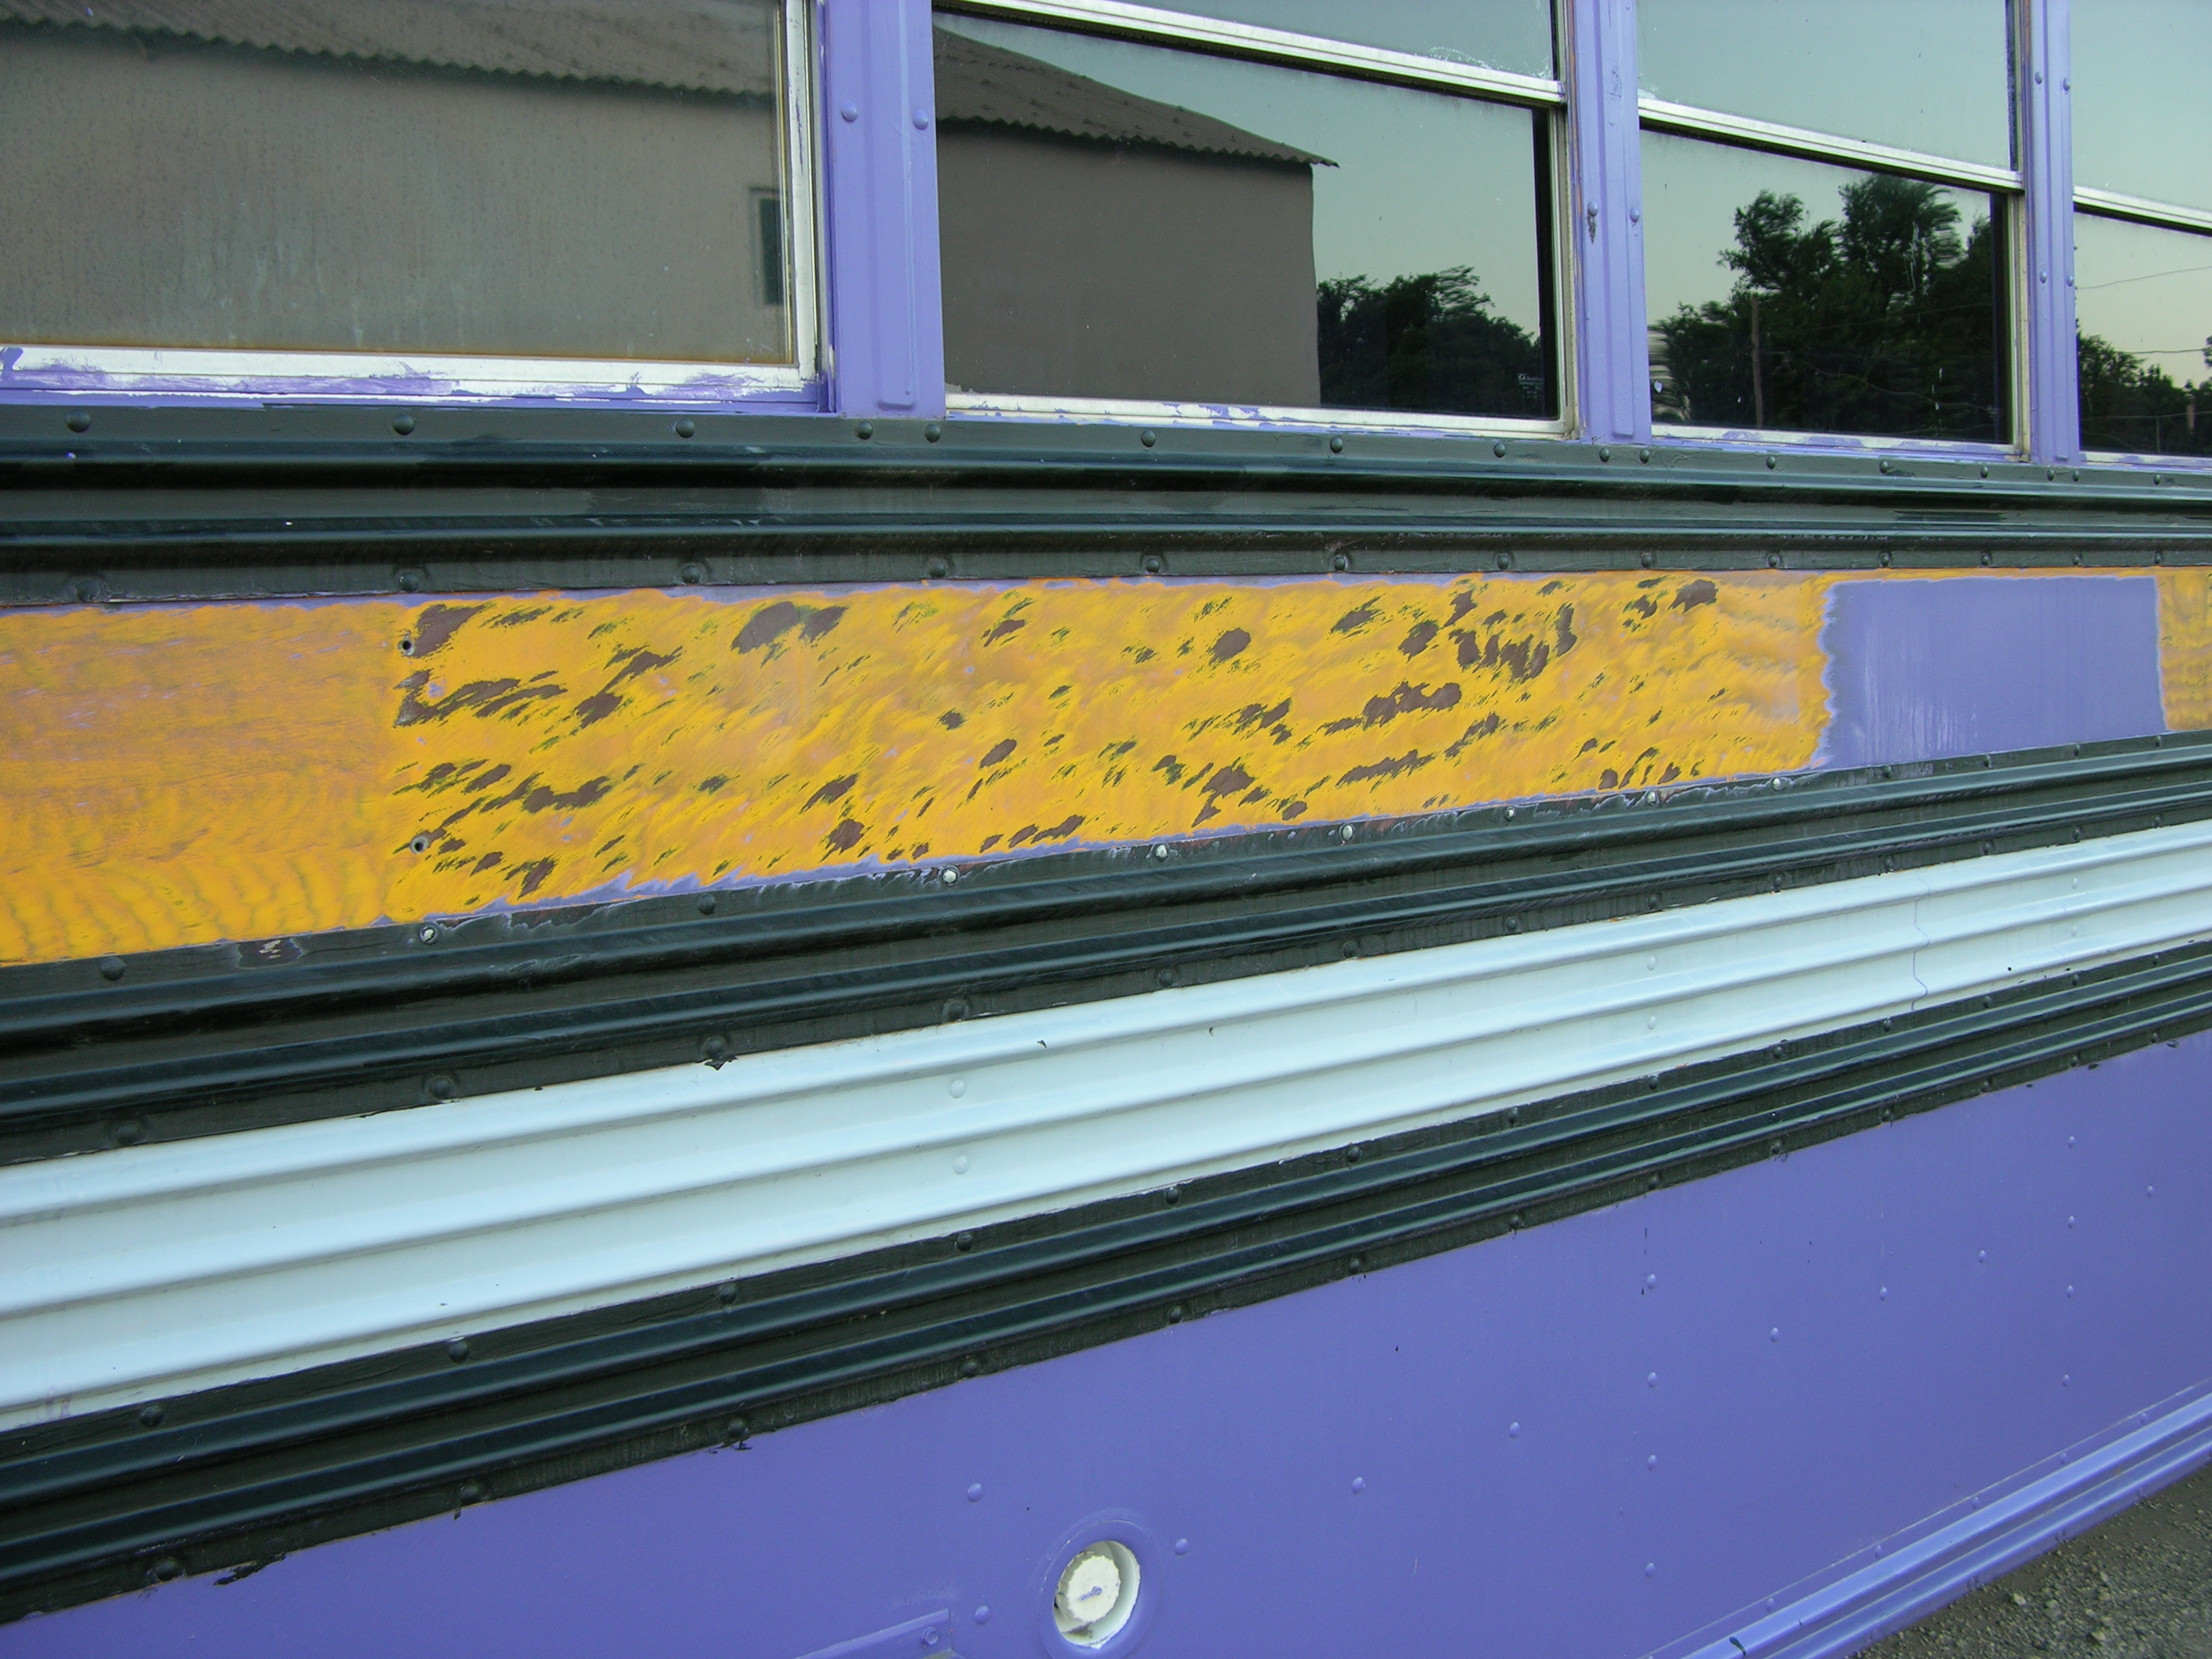
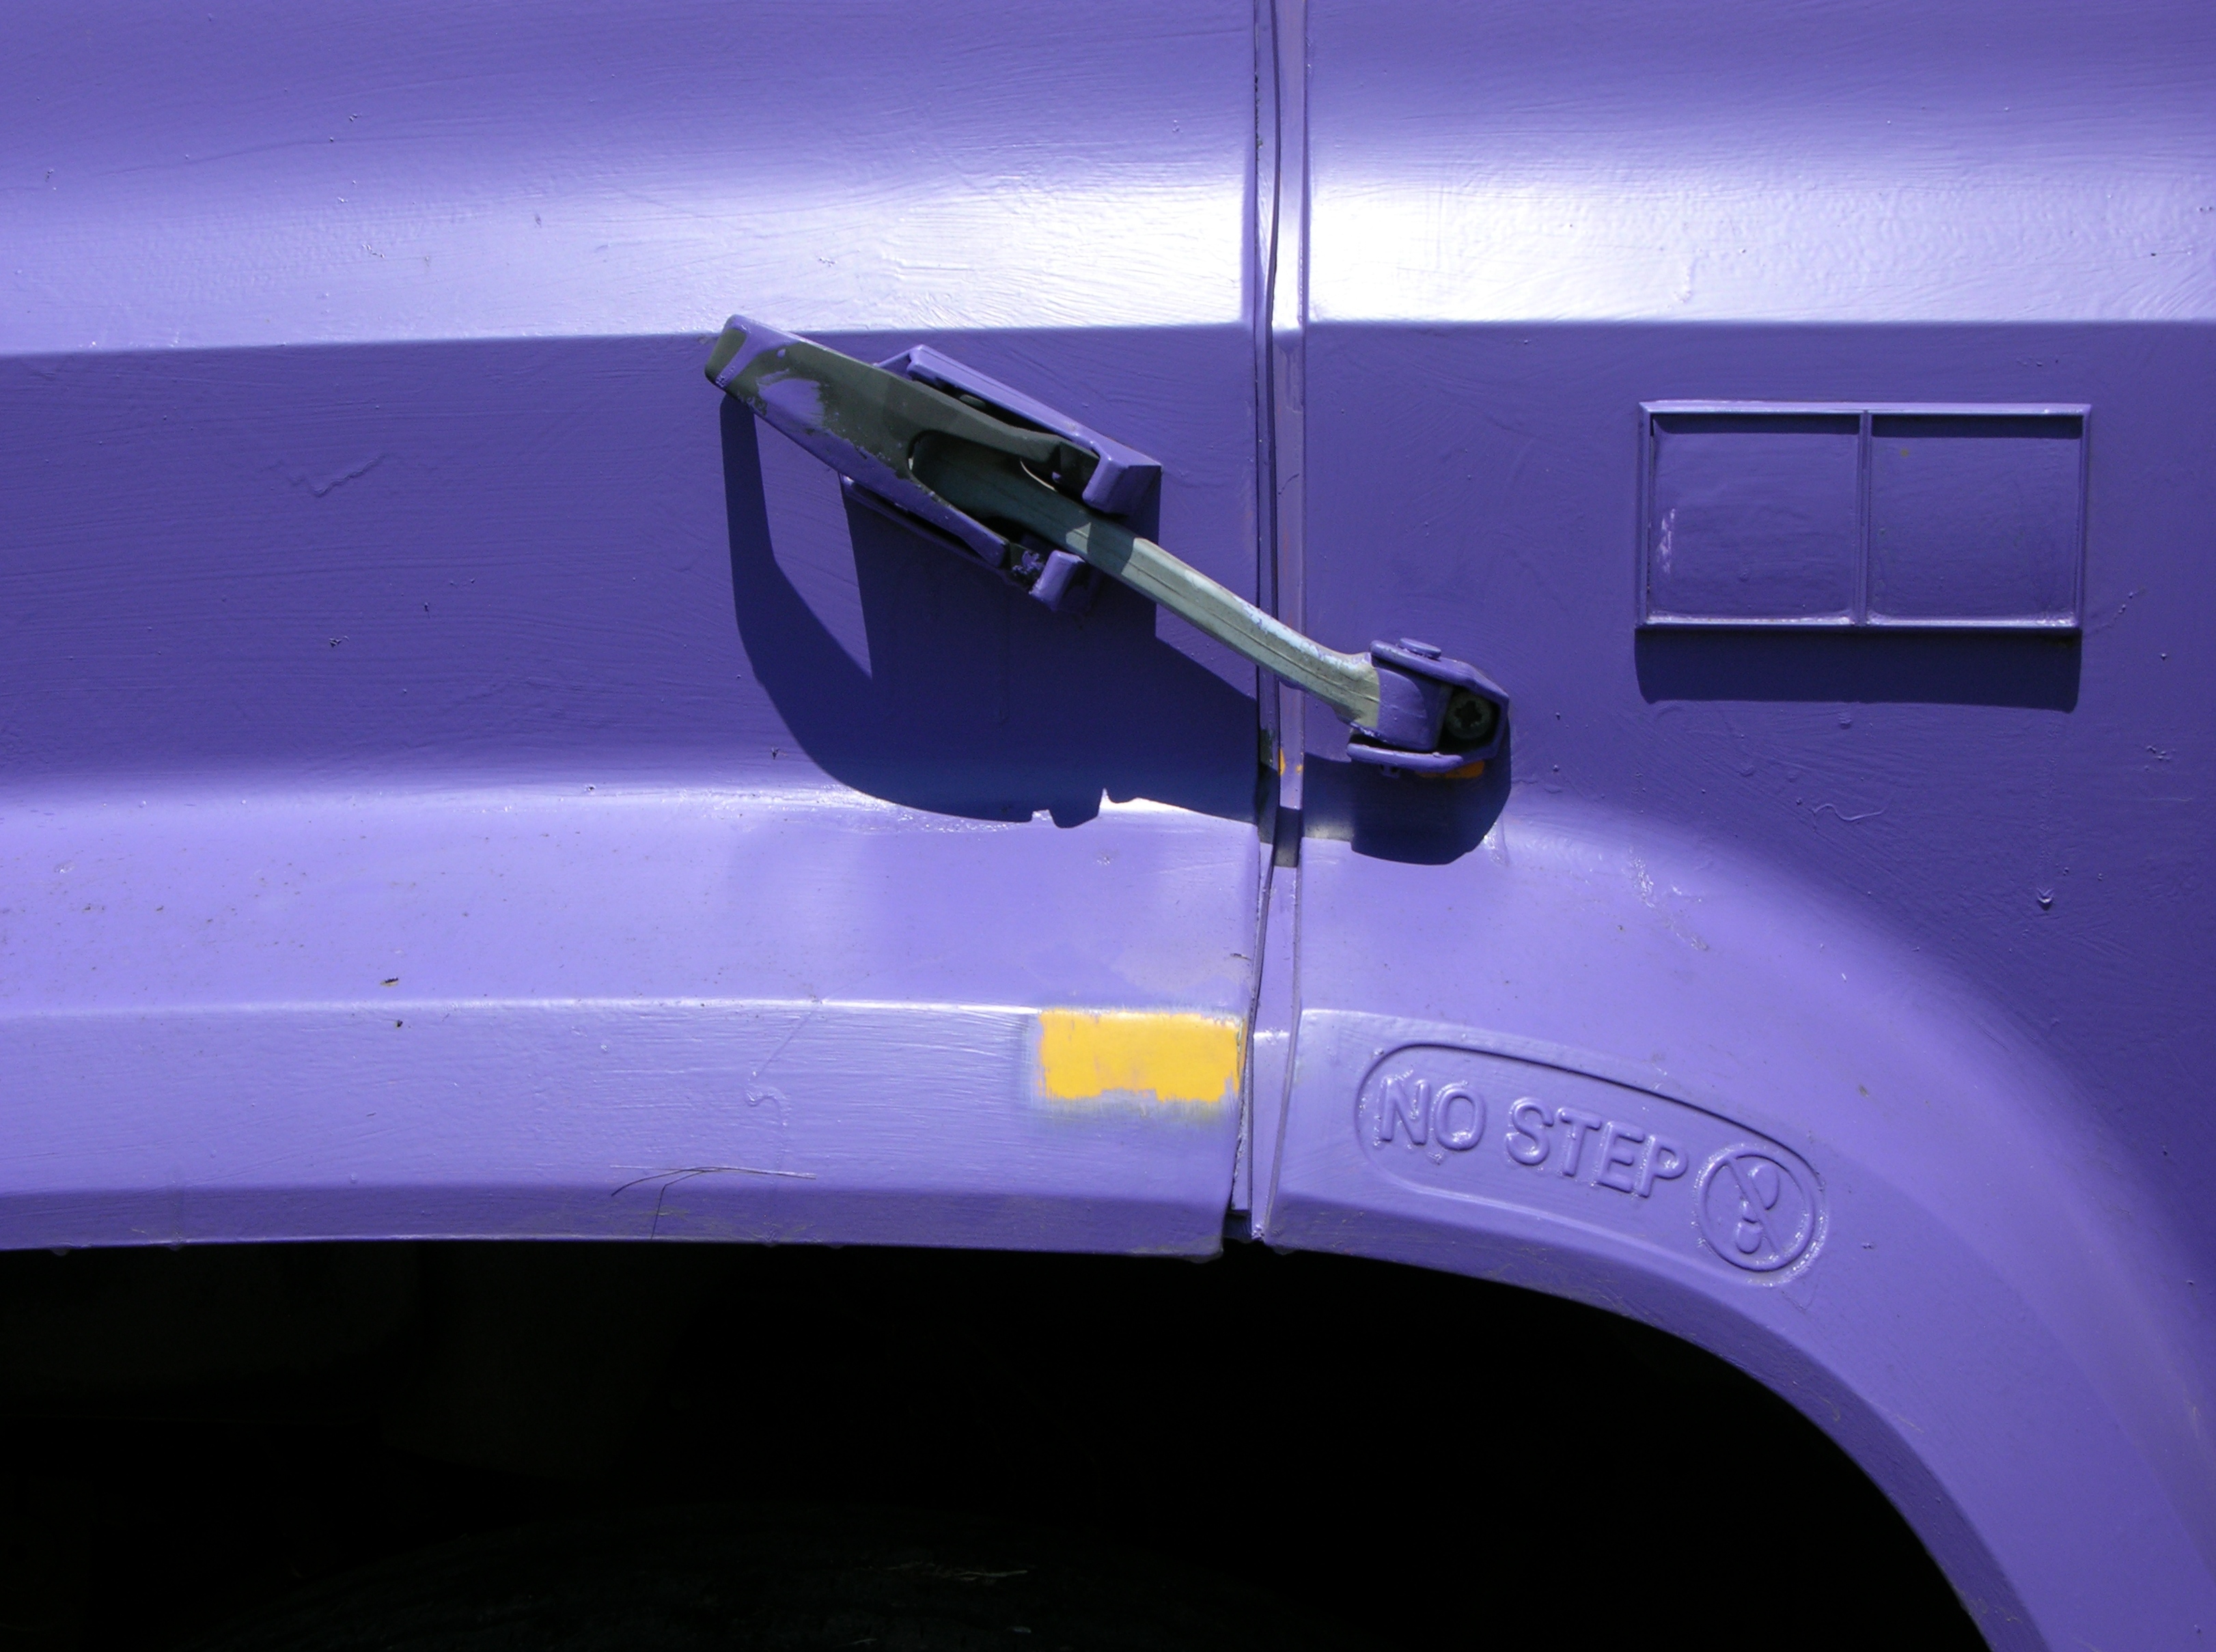
It’s been a wet week, with particularly heavy rain and strong winds on Monday night. When I went to work on the paint Thursday, I saw that my 30-day tag was missing, having softened in the rain and torn off in the wind.

My wife and I looked all over the area and couldn’t find it, so I arranged to go in late to work Friday so I could go to the courthouse and get a replacement tag so I could go to the dump Saturday and get the bus weighed so I could go to the courthouse next week and title the bus with an accurate weight.

I just happened to have a little extra time Friday morning before the courthouse opened, so I dropped by my brother’s house to give him a heat gun he had asked for that it turns out he had already bought himself. (No problem; I expect I’ll be going through several in the near future.) And it also turns out he found my tag, saved it for me, and forgot to mention it. Thanks, bro! :-)

30-day tag on rear of schoolbus

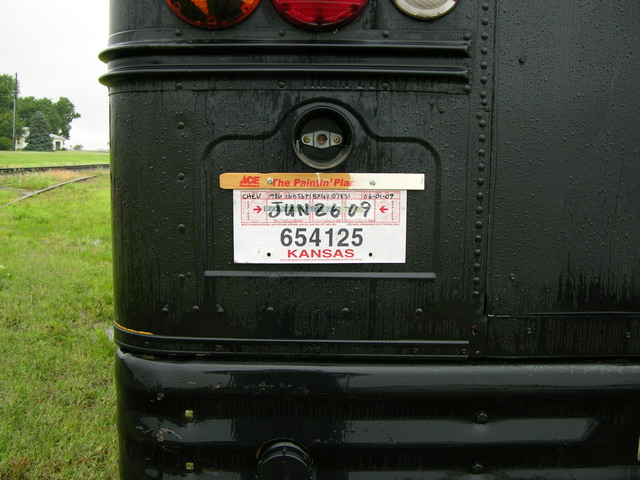
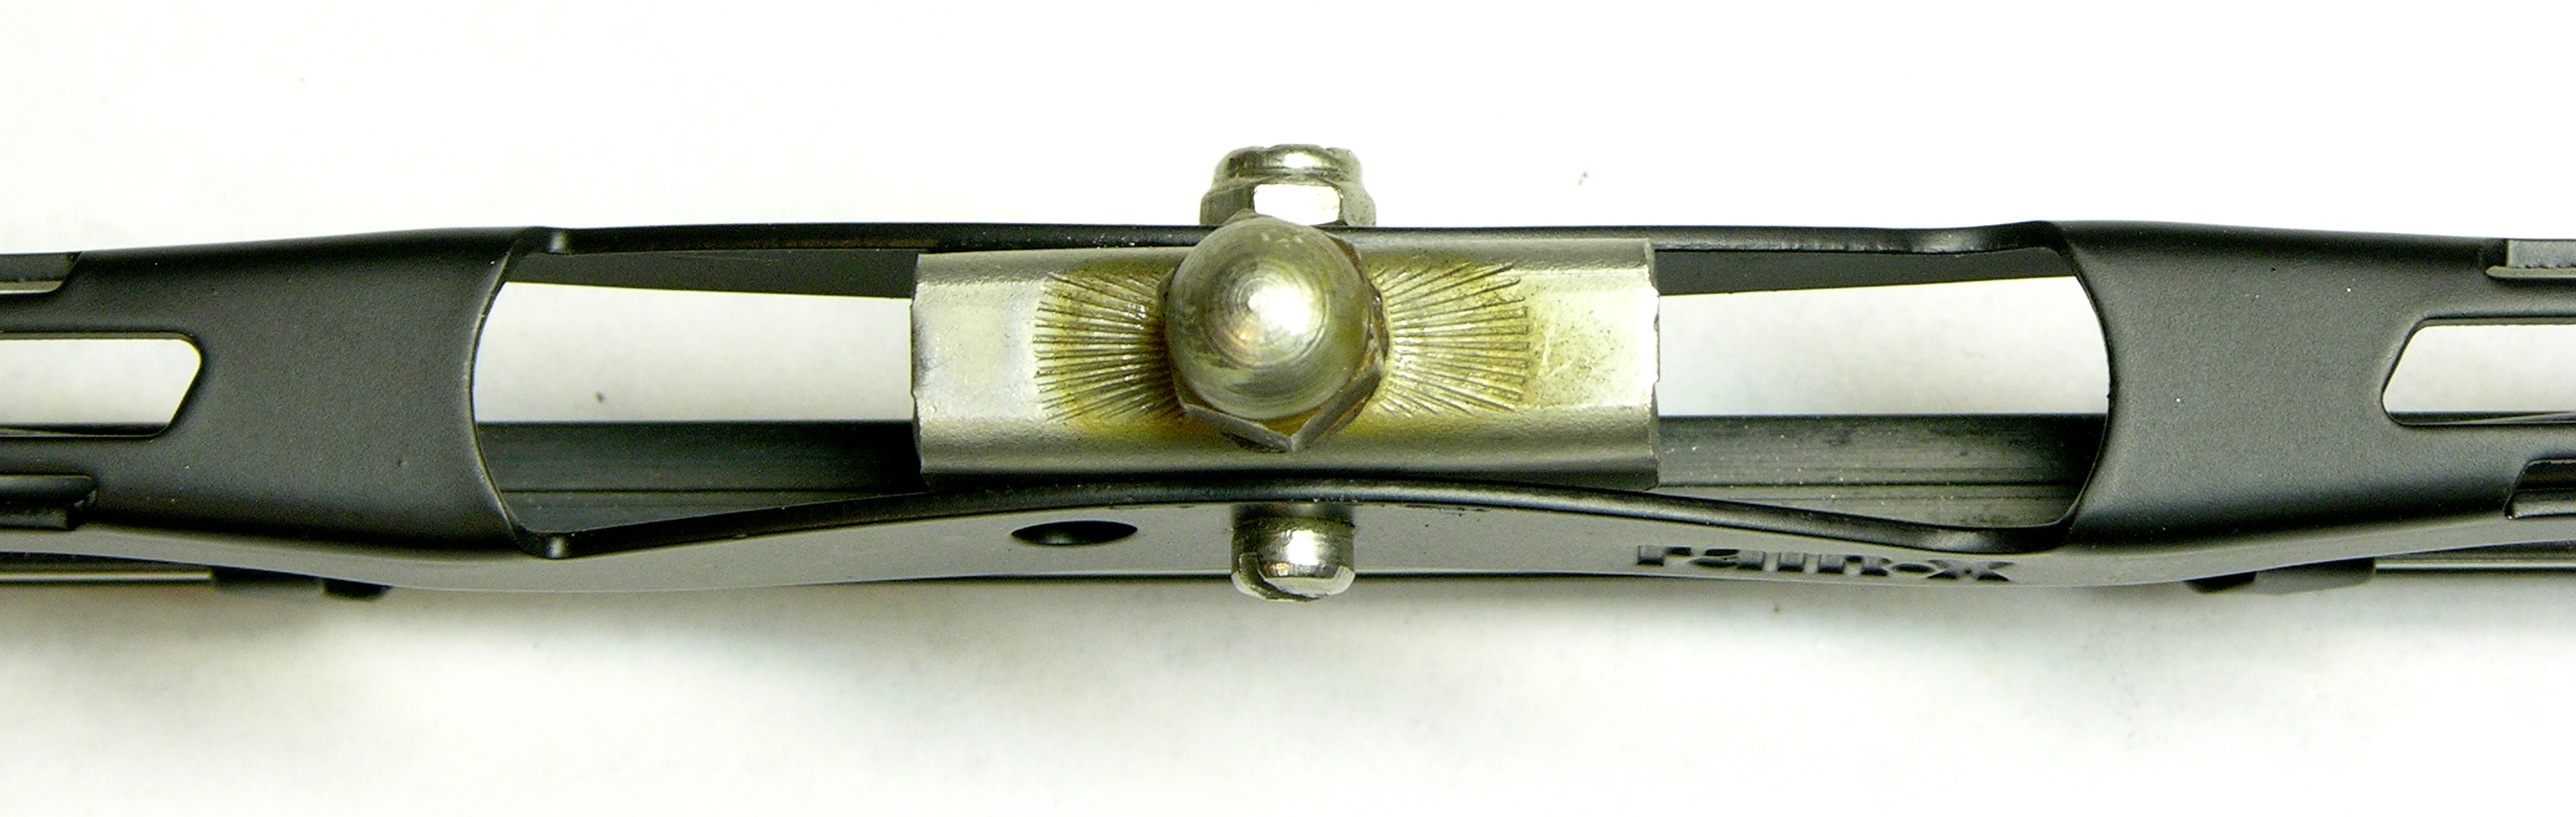
I reaffixed it this morning, using washers to keep the paper from tearing off again.

Only One Leak???

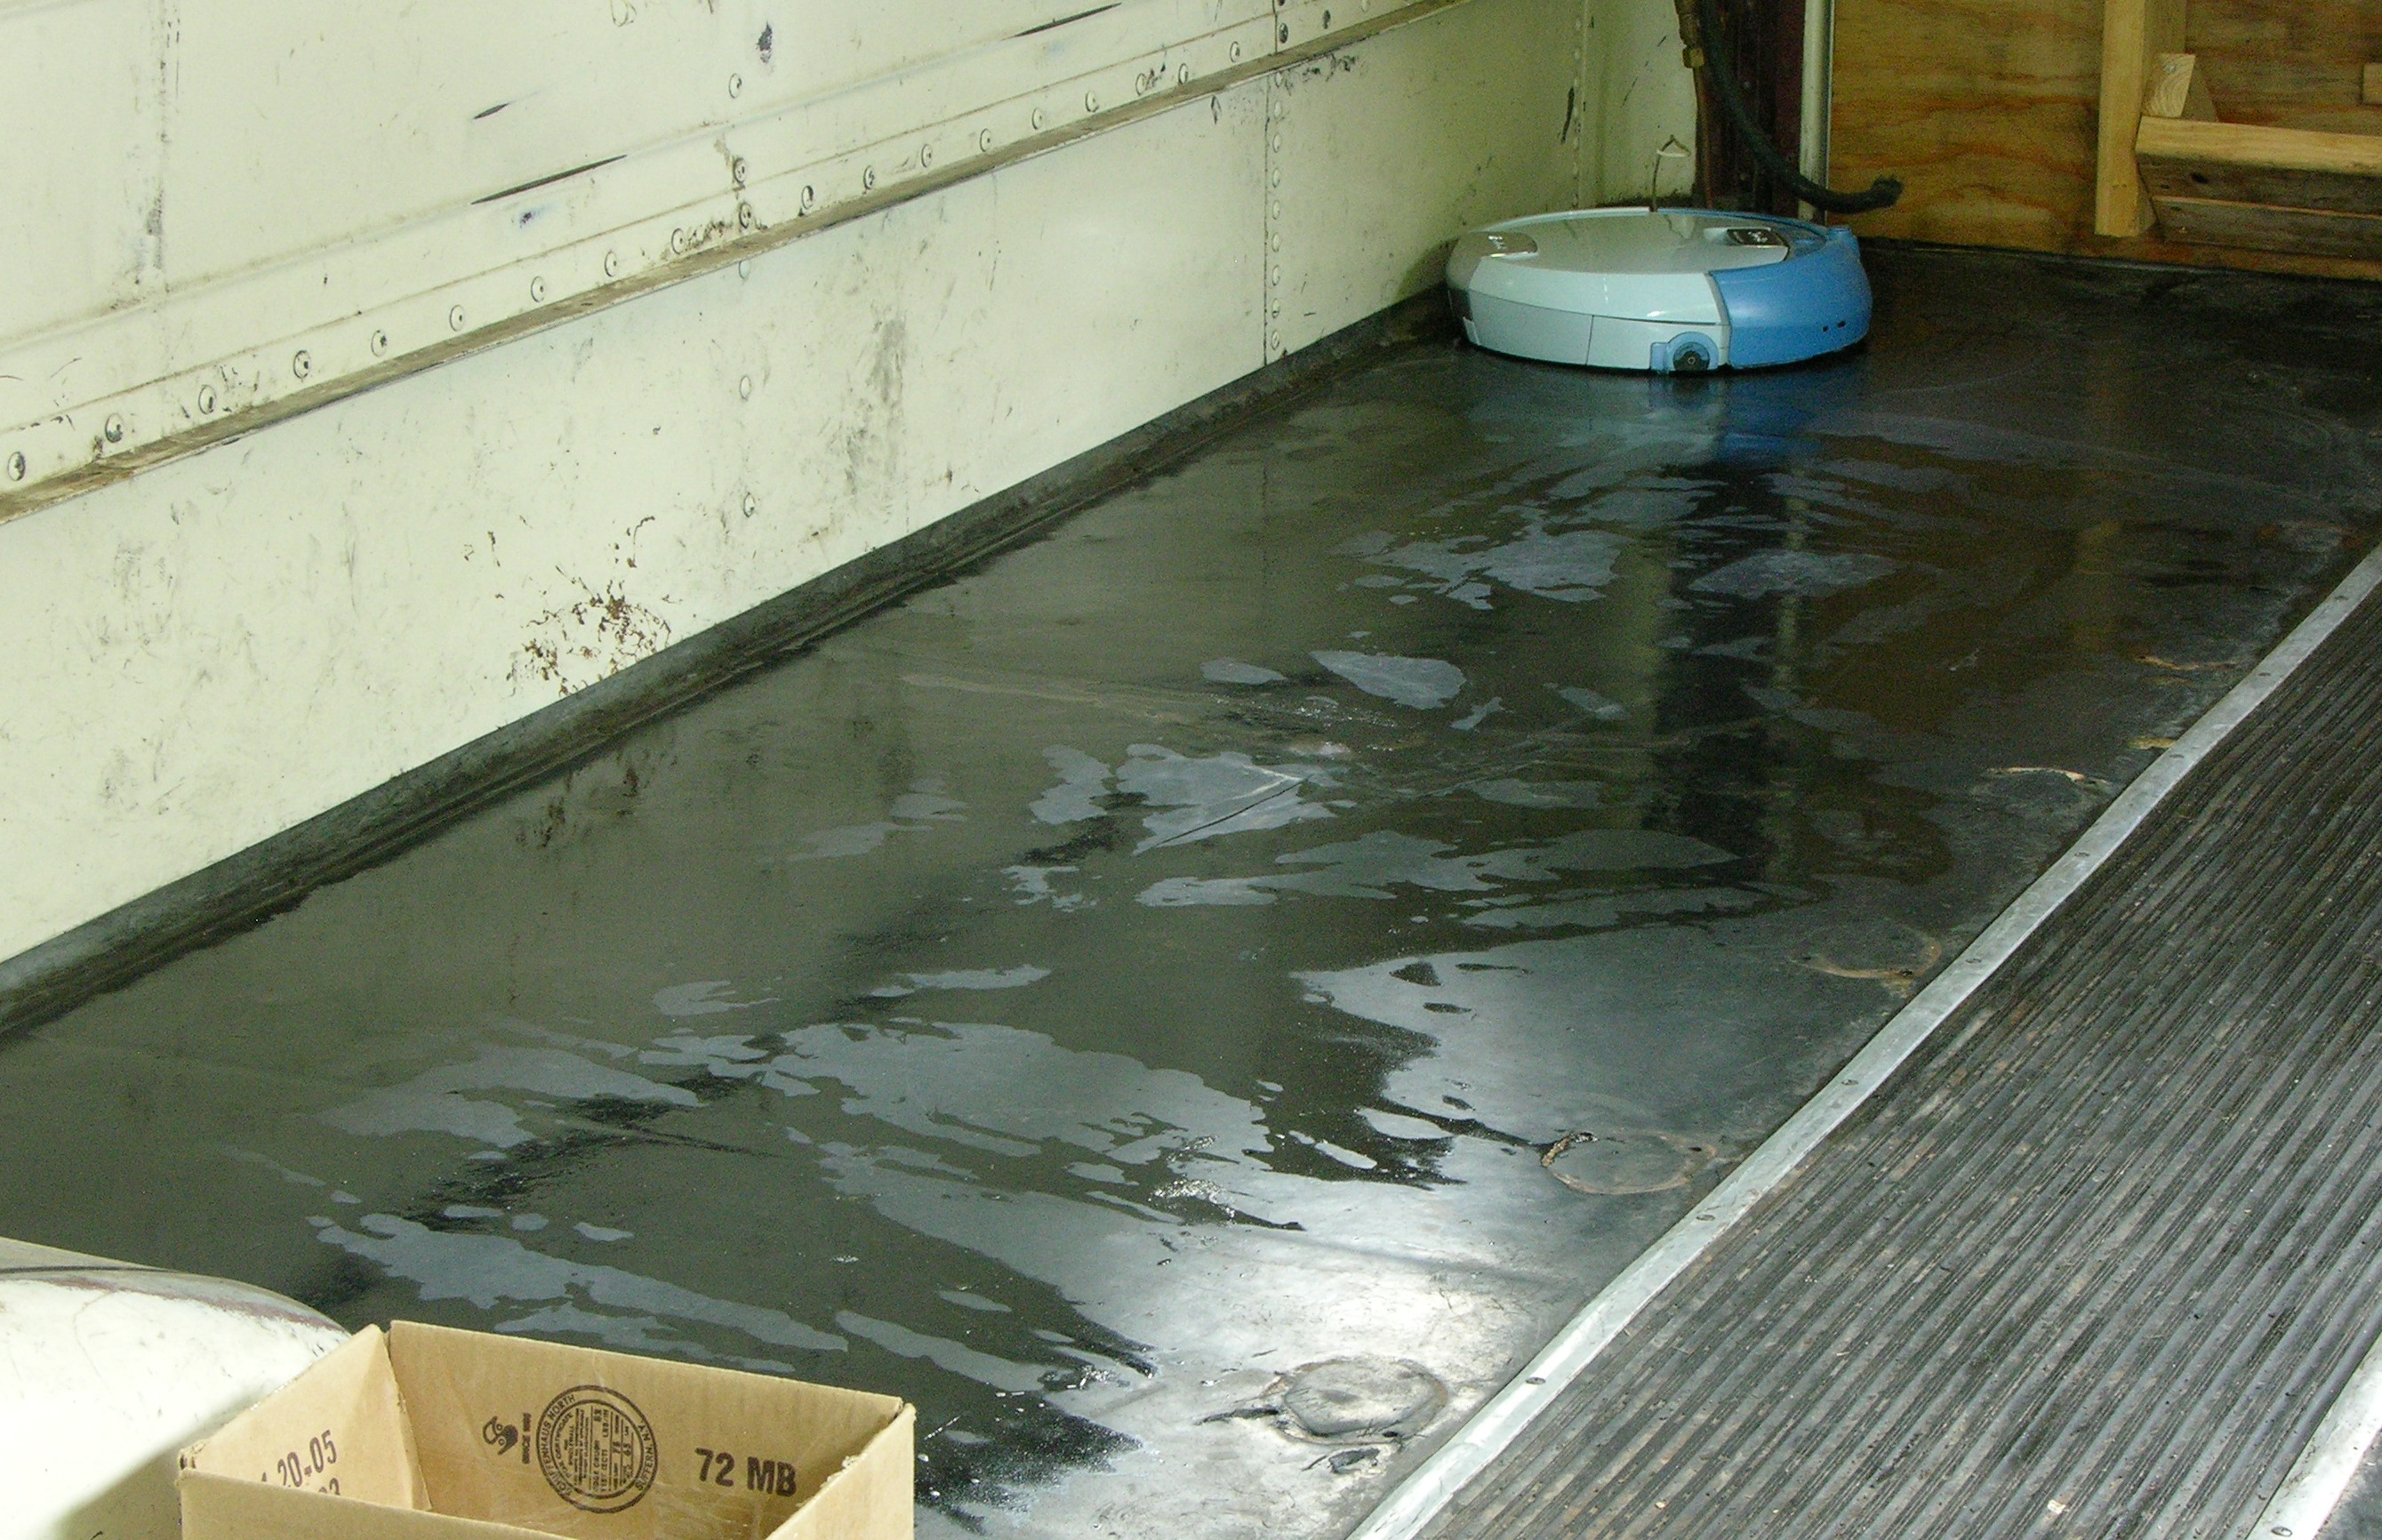
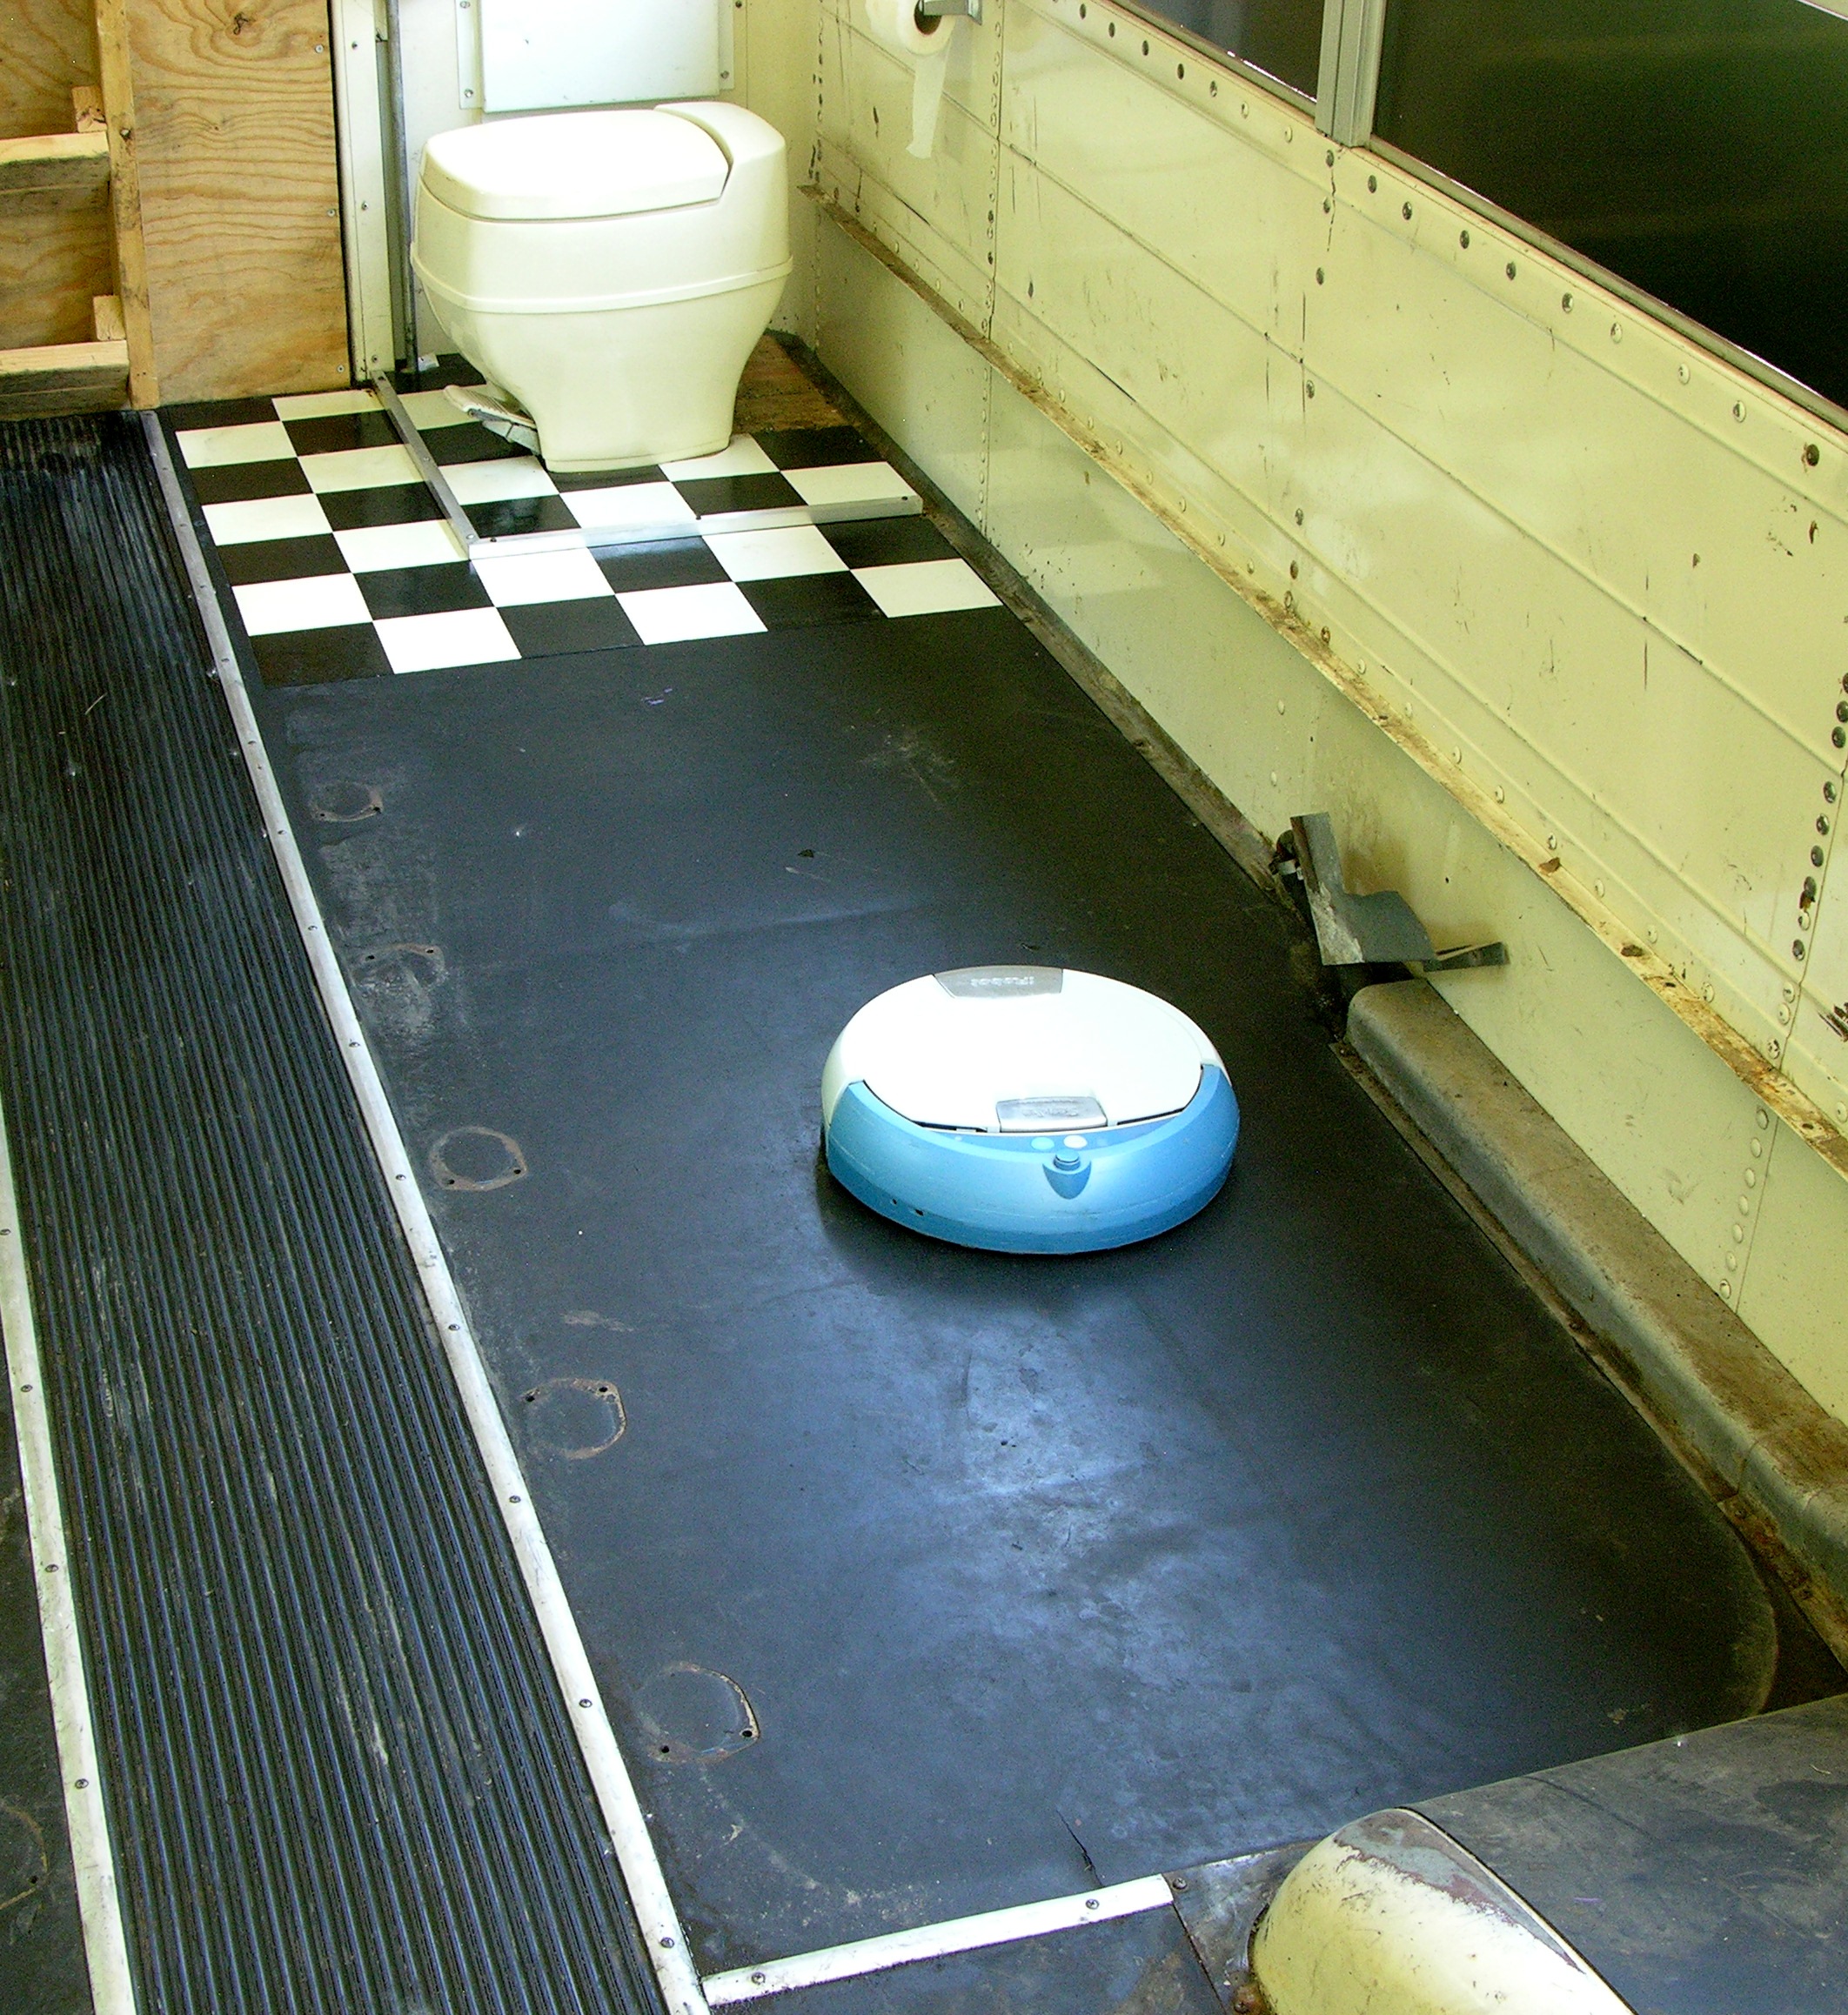
It’s raining again. (Oh will my heart ever mend.)

Rain leaking into schoolbus driver's window

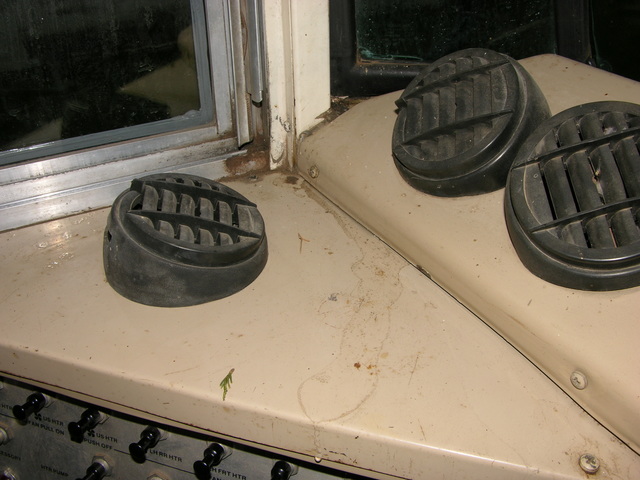
Found this on the console by the driver’s side window, and no other leaks. Of course, the bus still has enough filth and spills inside it’d be hard to spot more leaks right now; but if this is all there is, it seems pretty manageable.

To the Dump, to the Dump, to the Dump-Dump-Dump

Jonathan and I took the bus to the dump this morning to dispose of the worst couch and chair. I confess that there may have been slightly more celebratory rolling of furniture out of the back of the bus than was strictly necessary in order to get said furniture over to the big green dumpster.

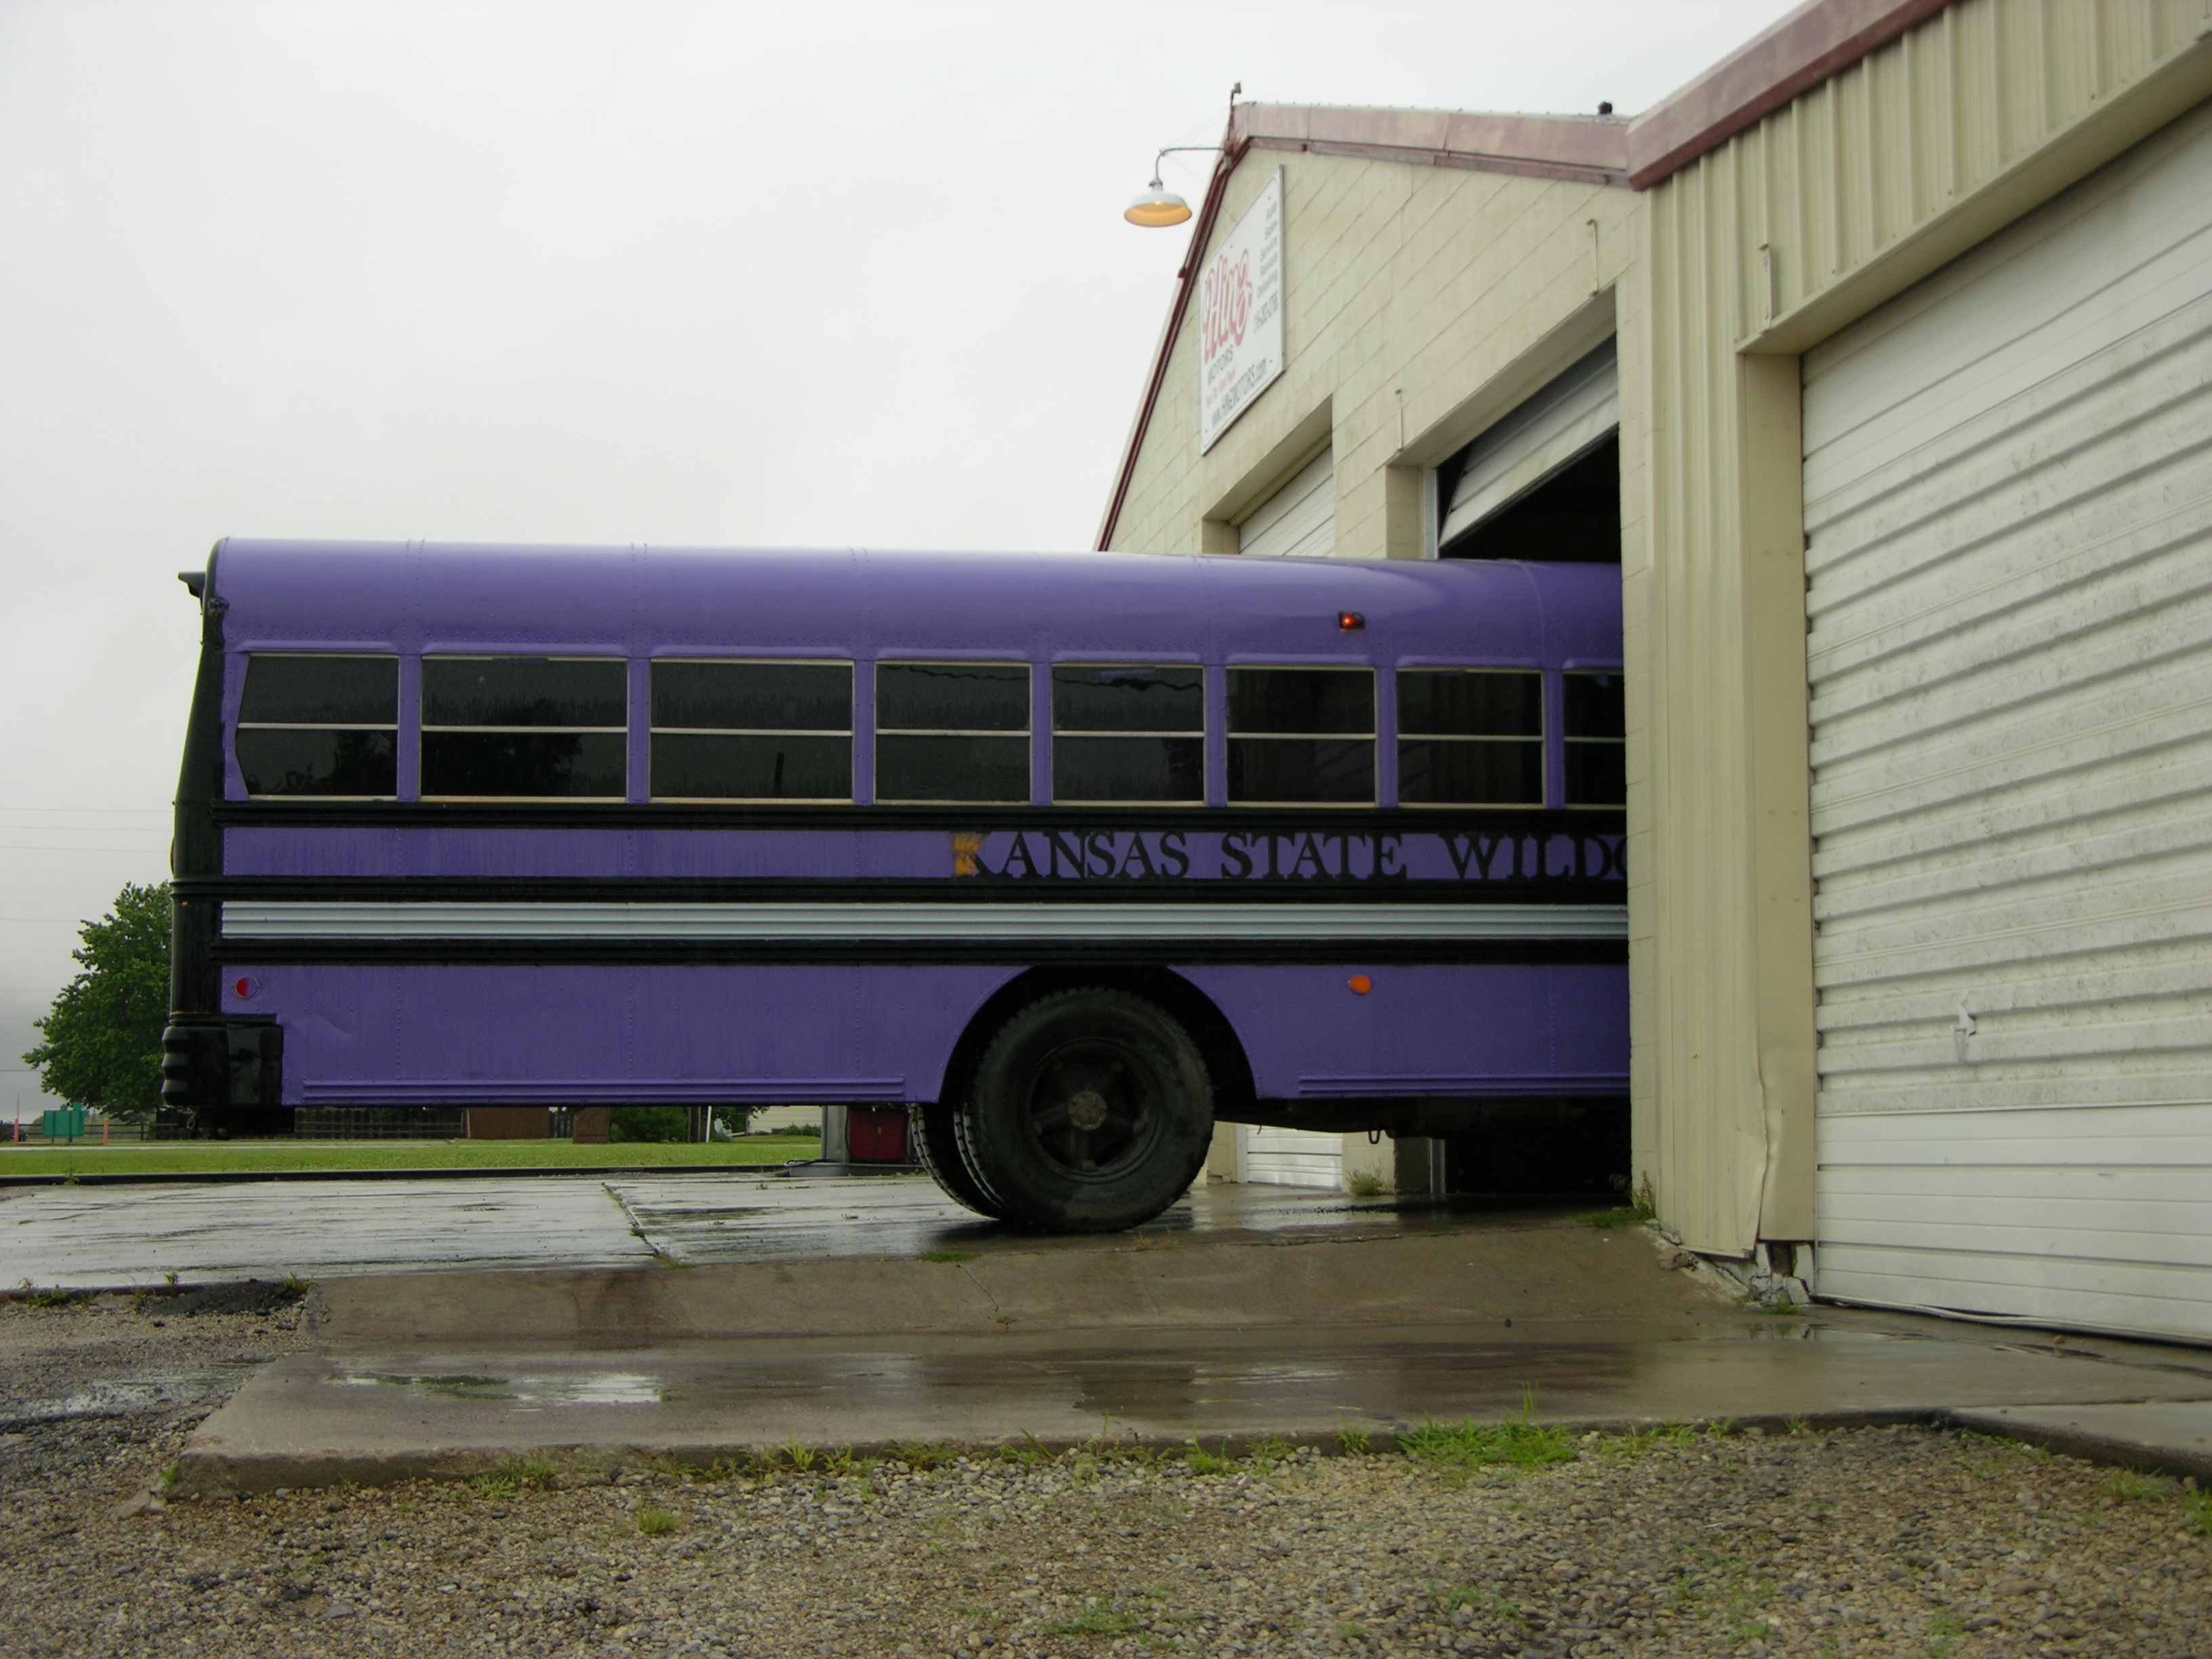
We arrived early when there weren’t many other people at the dump yet — apparently the second load of the day — and the attendant seemed amused and chatted a while about my plans for the bus. Good conversation starter.

With Jonathan in the bus and me on the scale outside the bus, the total weight was 14,700 lbs. Figure 200 lbs each, so 14,300 lbs for the bus itself, including a full tank of gas (400 lbs) and no water (as far as I can tell) in the tanks.

Two different gals at the courthouse were looking up similar VINs for me and coming up with 7,200 lbs. I think they must have been looking at short buses. My family’s 1969 Ford Galaxie weighs 3500 lbs; I can see that a short bus could be two Galaxies and the long bus could be four.

More Cleaning

After returning from the dump, Jonathan and I unmounted and unloaded the cheap stereo speakers that were screwed to cabinets and walls, pulled out and discarded cheap speaker cable, and did general litter patrol. Big yellow bag for trash; small bags for recyclable plastic and metal. We left it ready to sweep and mop.

Forward view of schoolbus interior

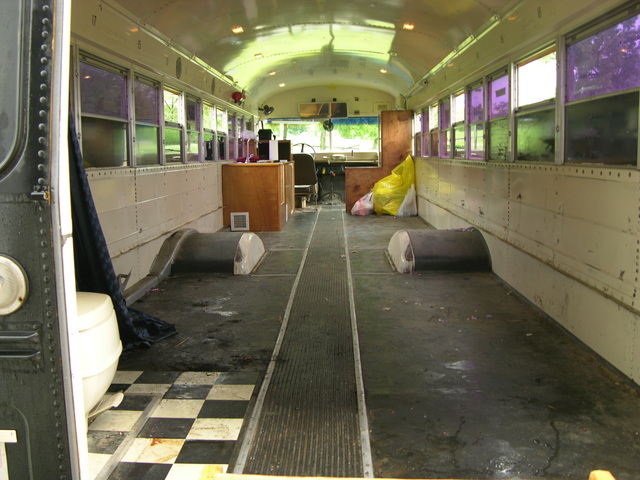
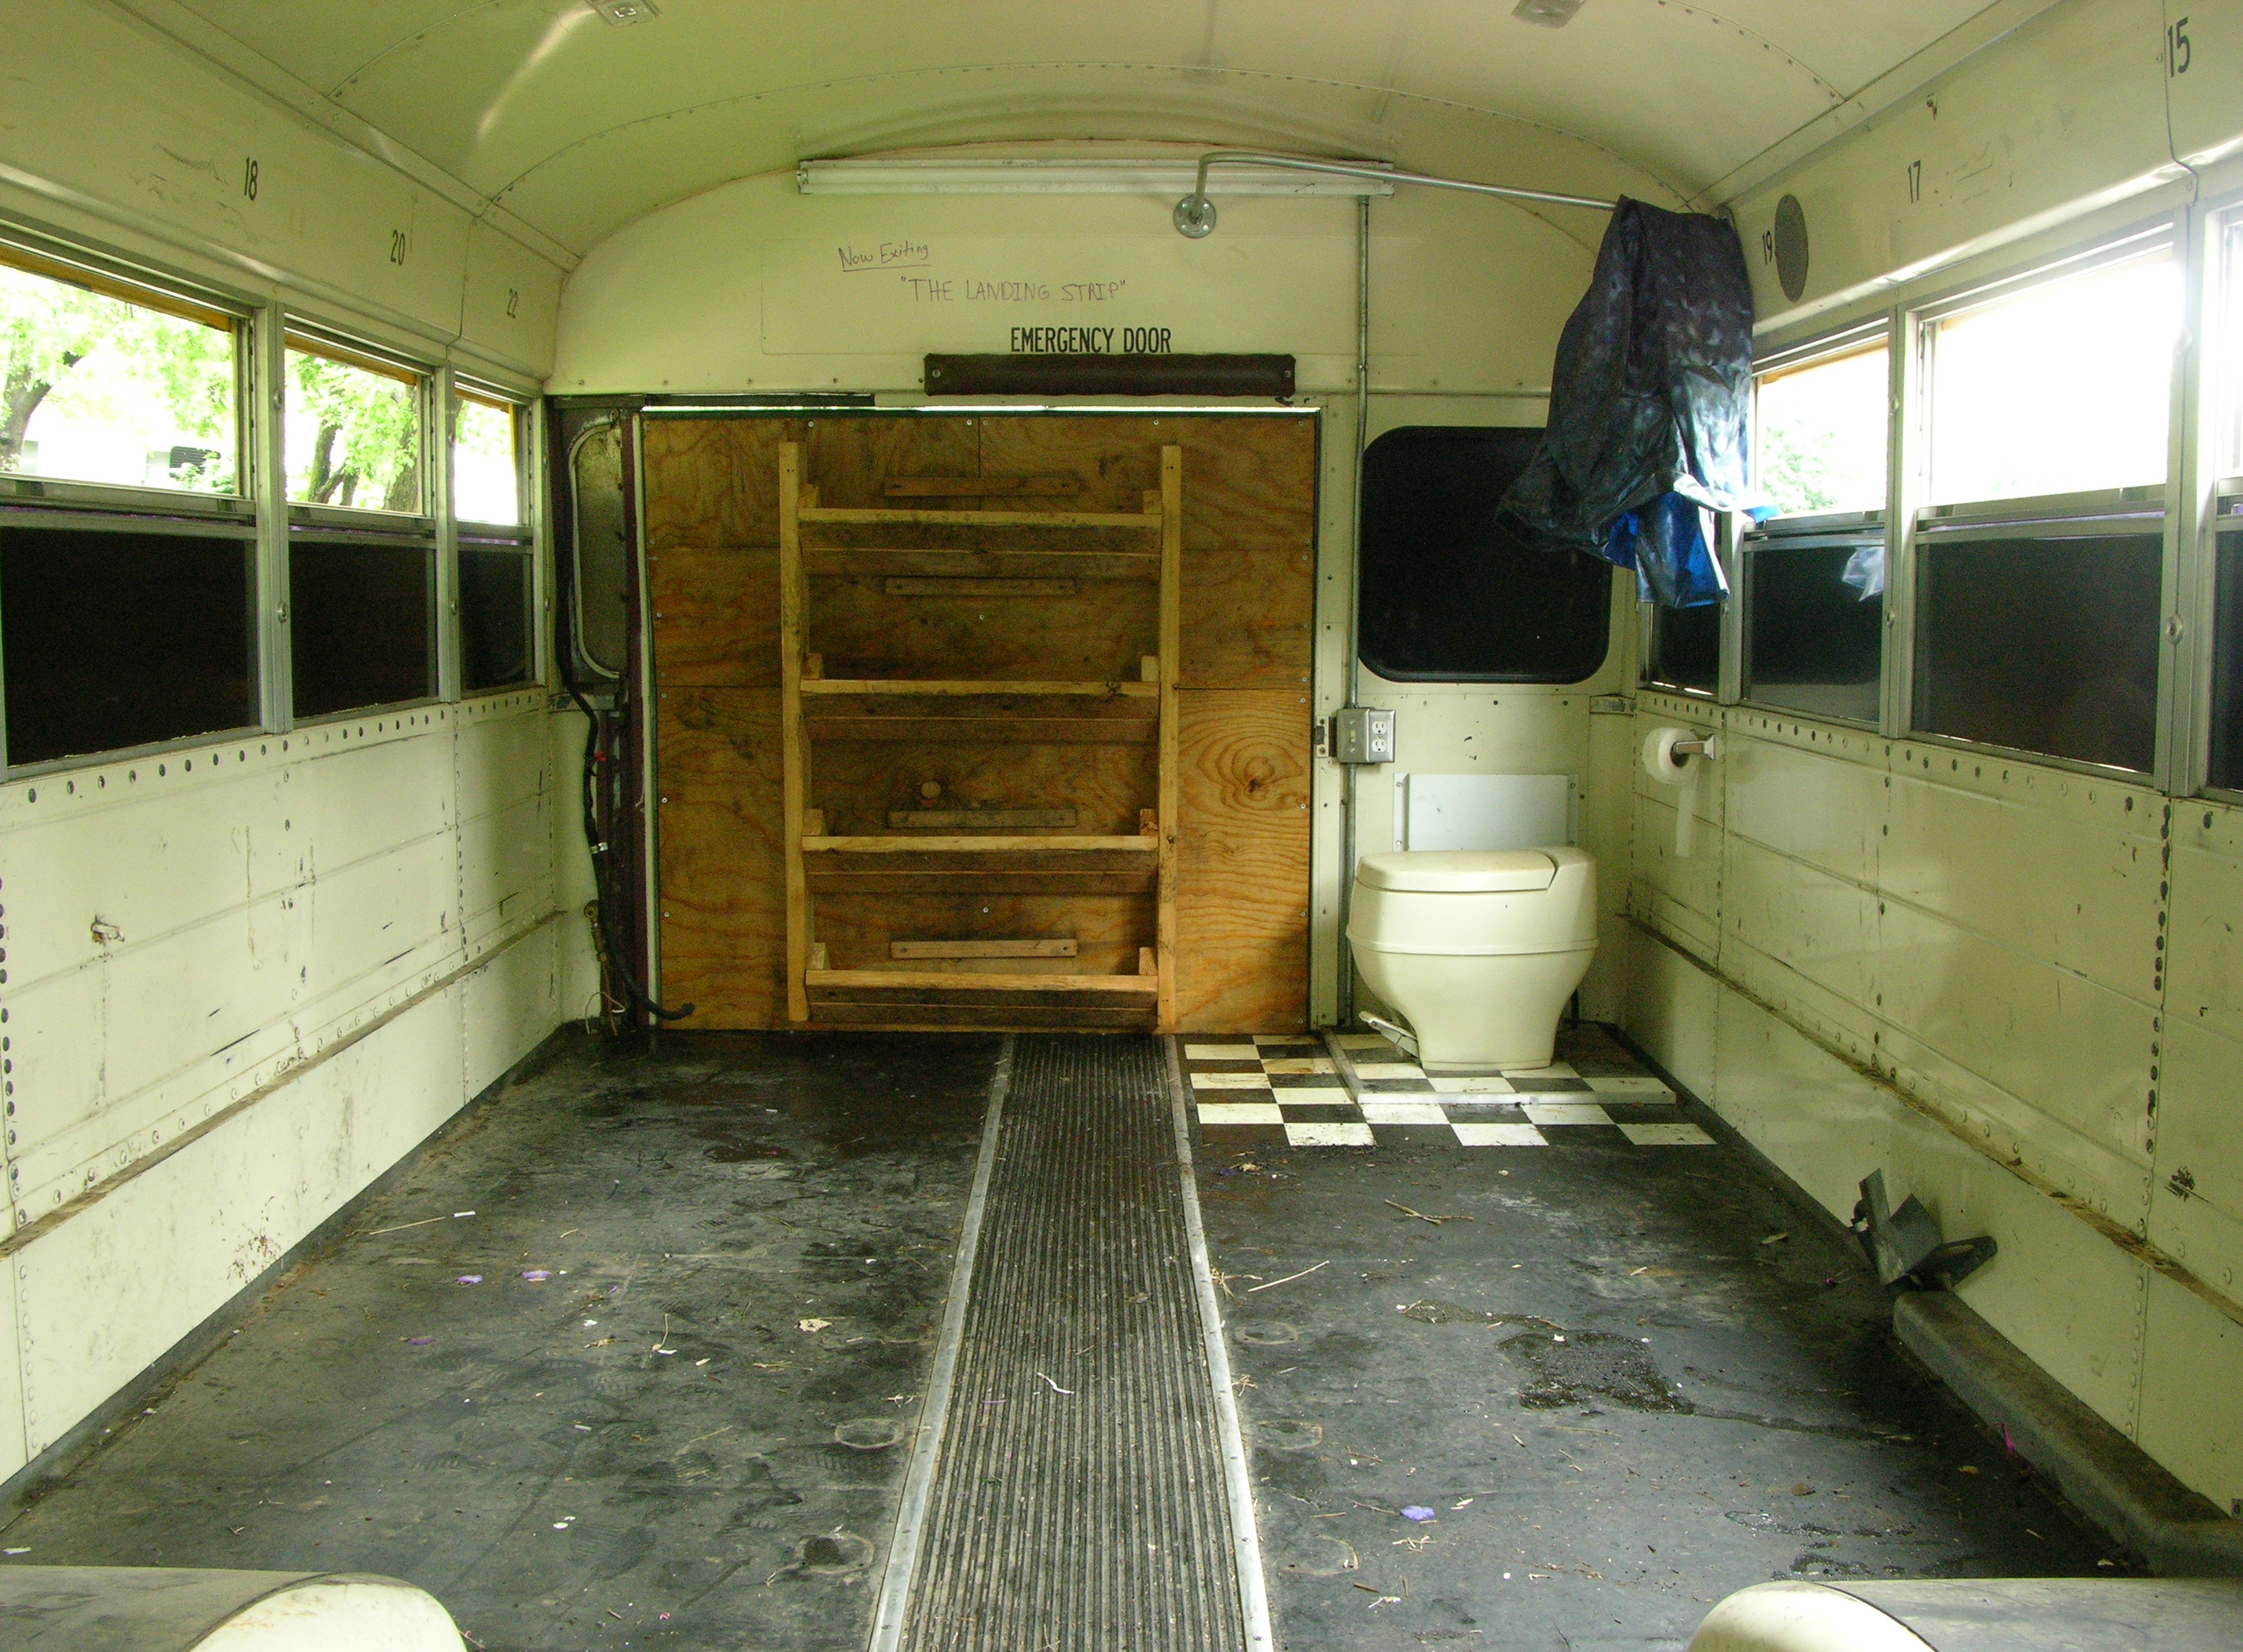
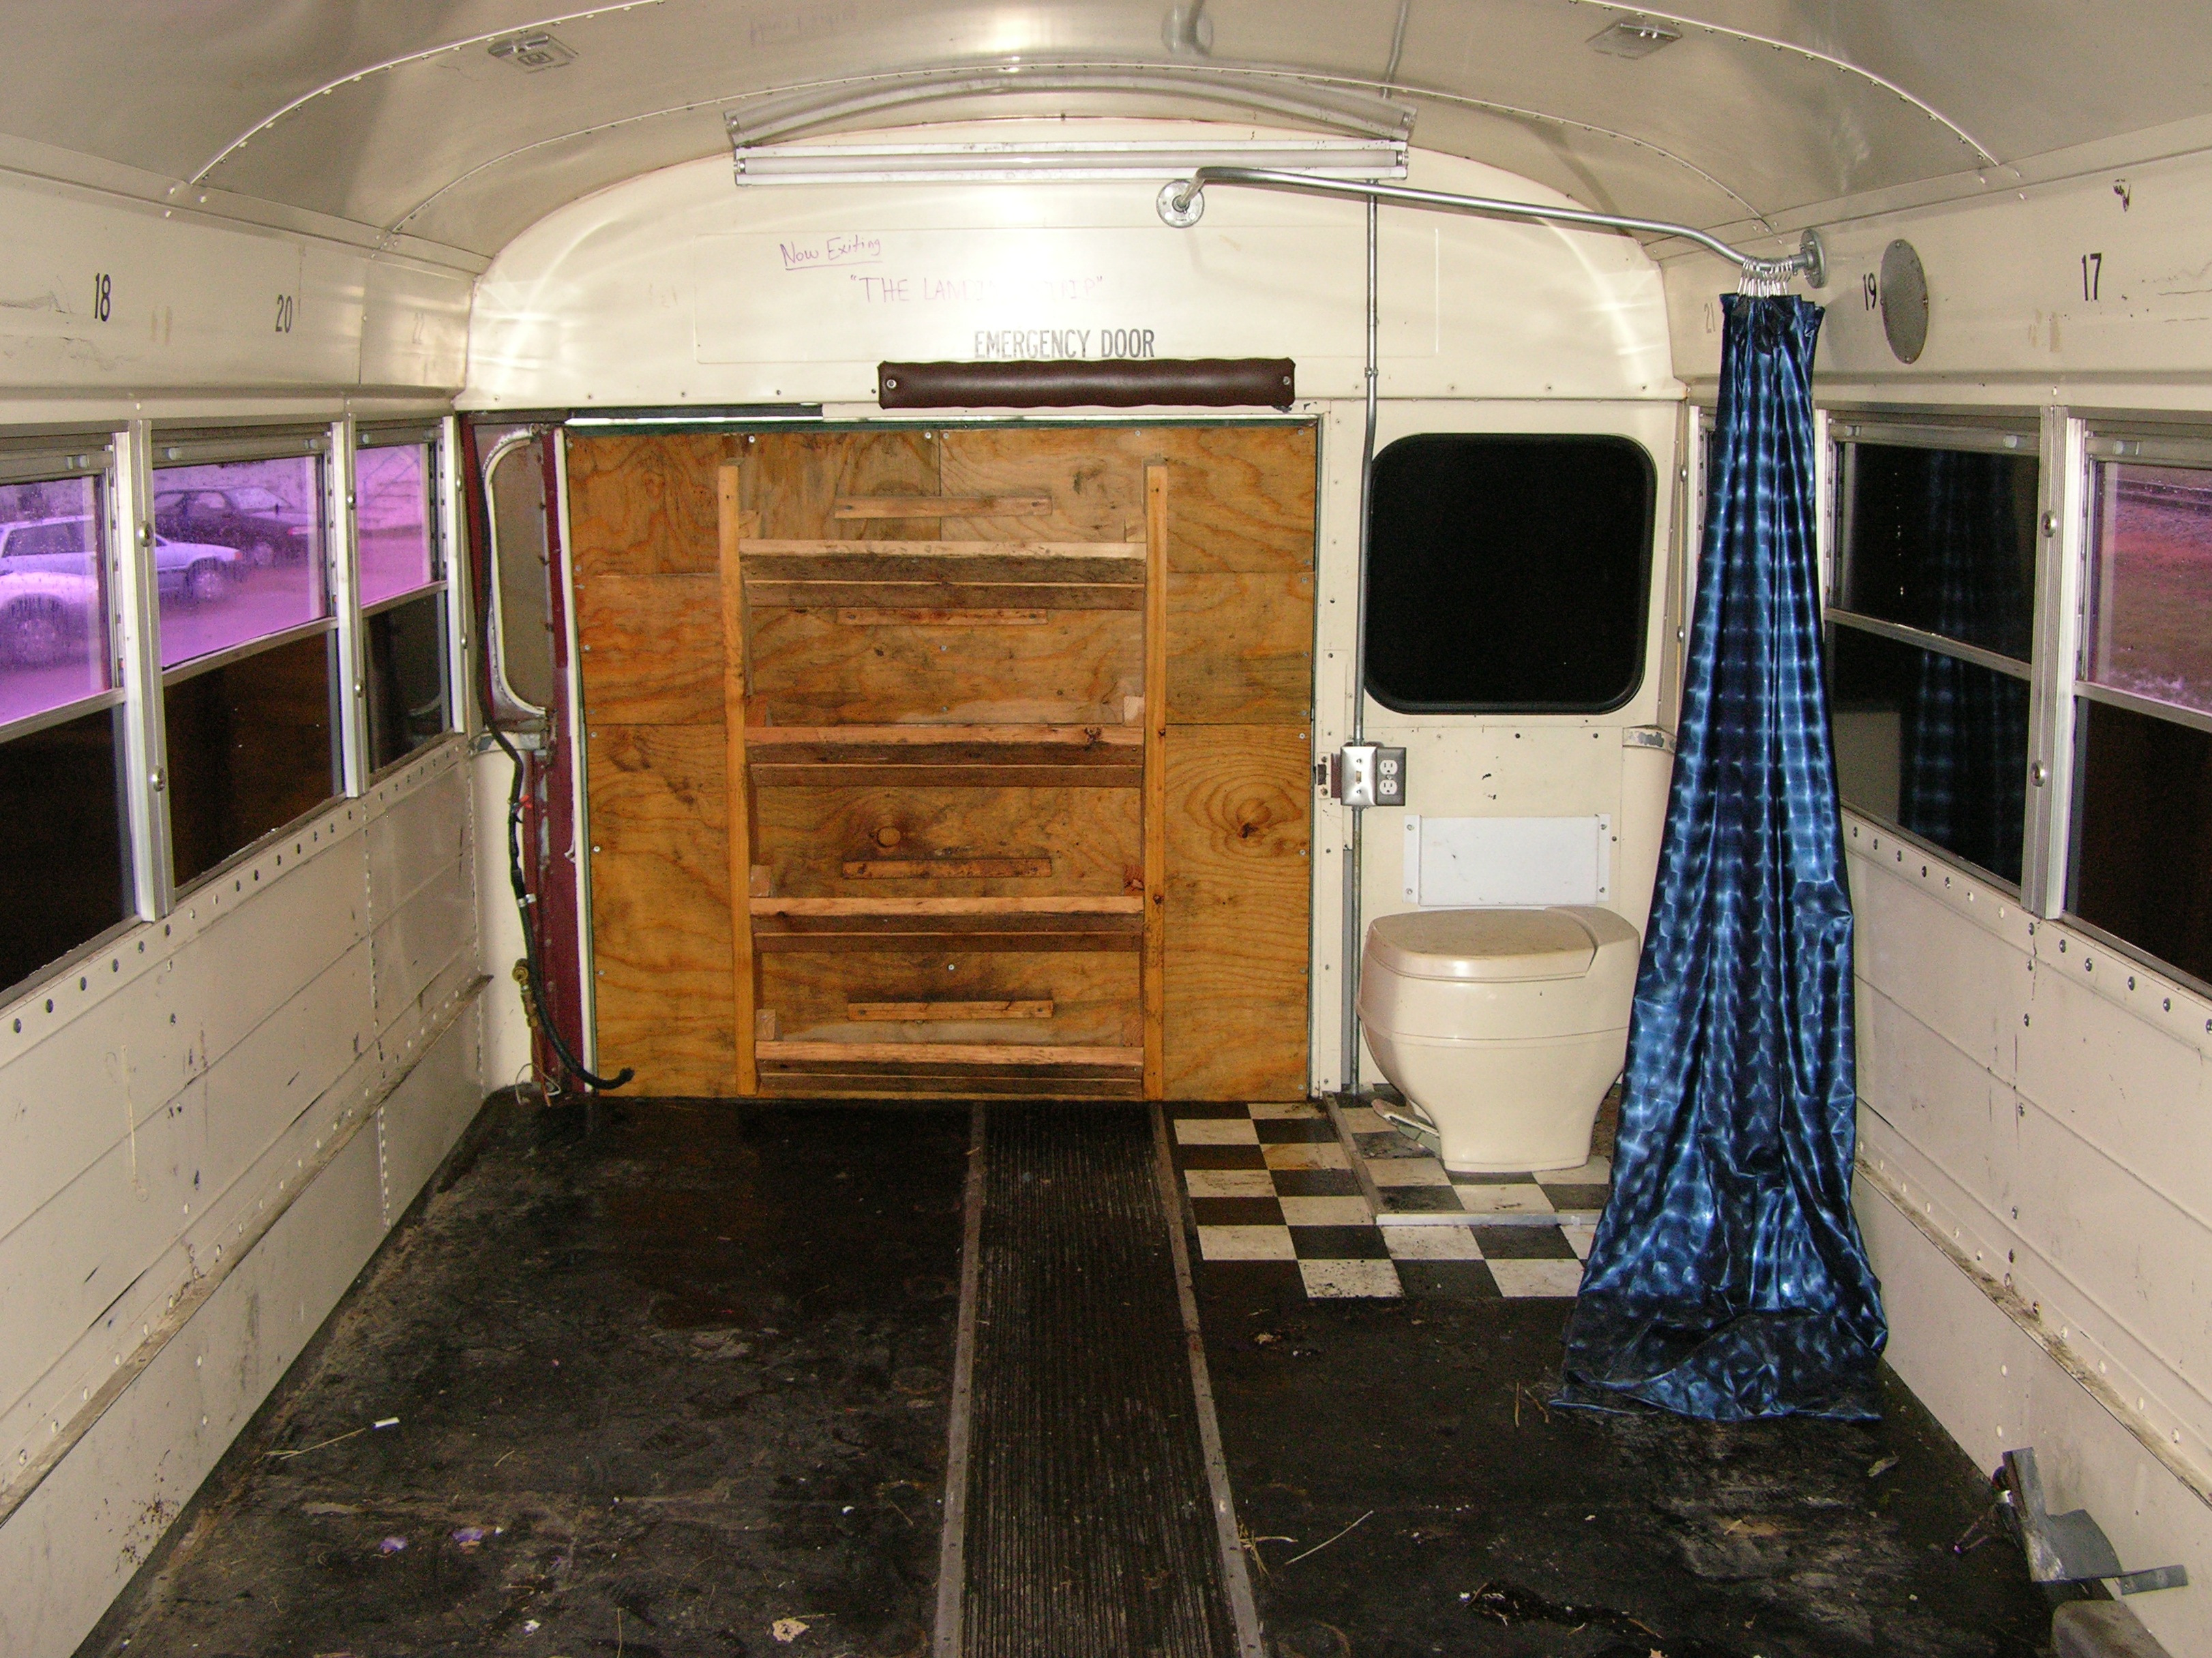
Here’s the forward view through the back door, with the floor in its full grotesquerie. The bright windows you can see through are the ones we opened to get a cross-breeze. Most of the dome lights work; those that don’t appear to have bad bulbs rather than bad wiring.

Front half of schoolbus interior

Forward half of the bus. The cabinet on the right needs to go and make way for a passenger chair (with seatbelt); but it’s bolted down and we didn’t have the right tools with us. The sink cabinet on the left needs to be replaced with something a little nicer, but it’ll do for now.

Rearward view of schoolbus interior, back door open

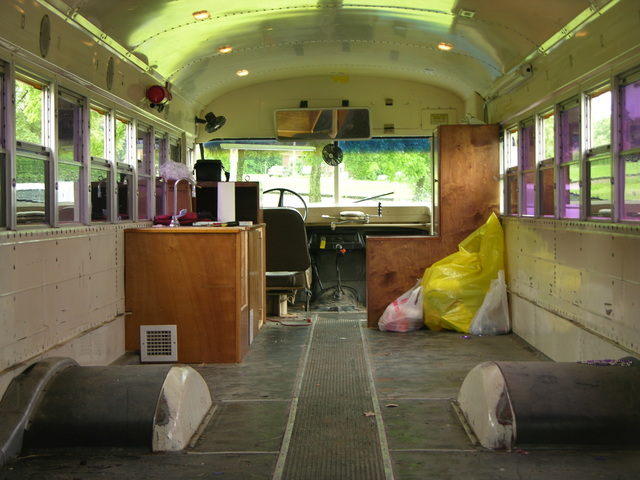
The interior looking rearward from the front, with the back door open.

I haven’t figure out yet whether the cutout in the counter was for a stove or refrigerator. The gas line inside it doesn’t necessarily answer the question — I’m learning that RV refrigerators can run on gas (or 12VDC or 120VAC).

Rear interior of schoolbus, back door closed

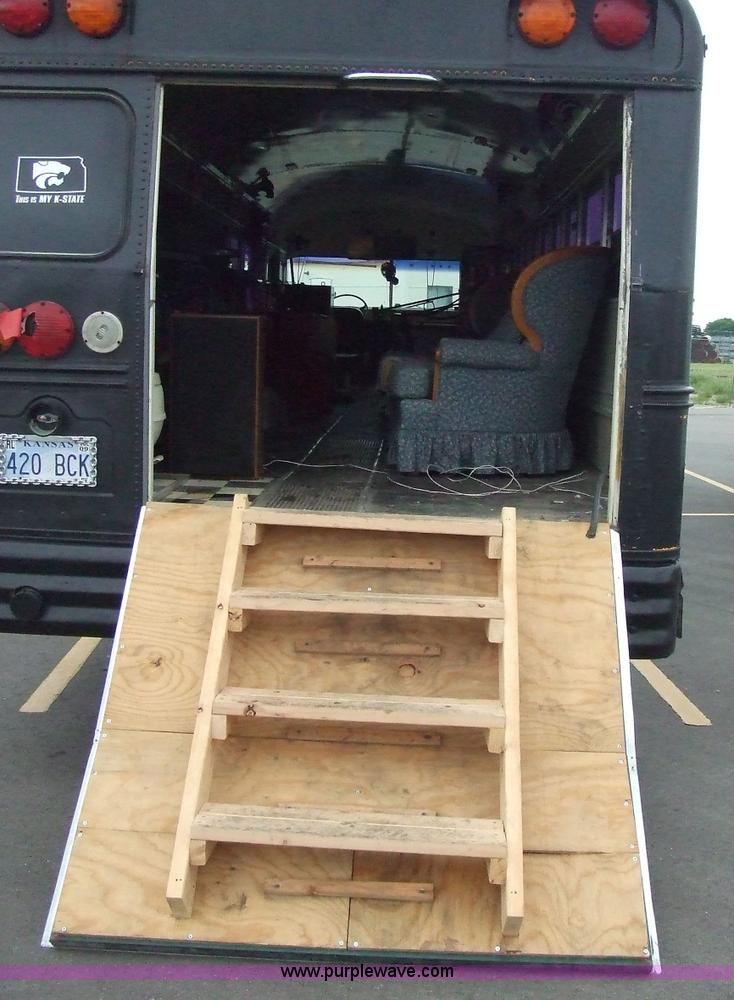
The back end with the door closed.
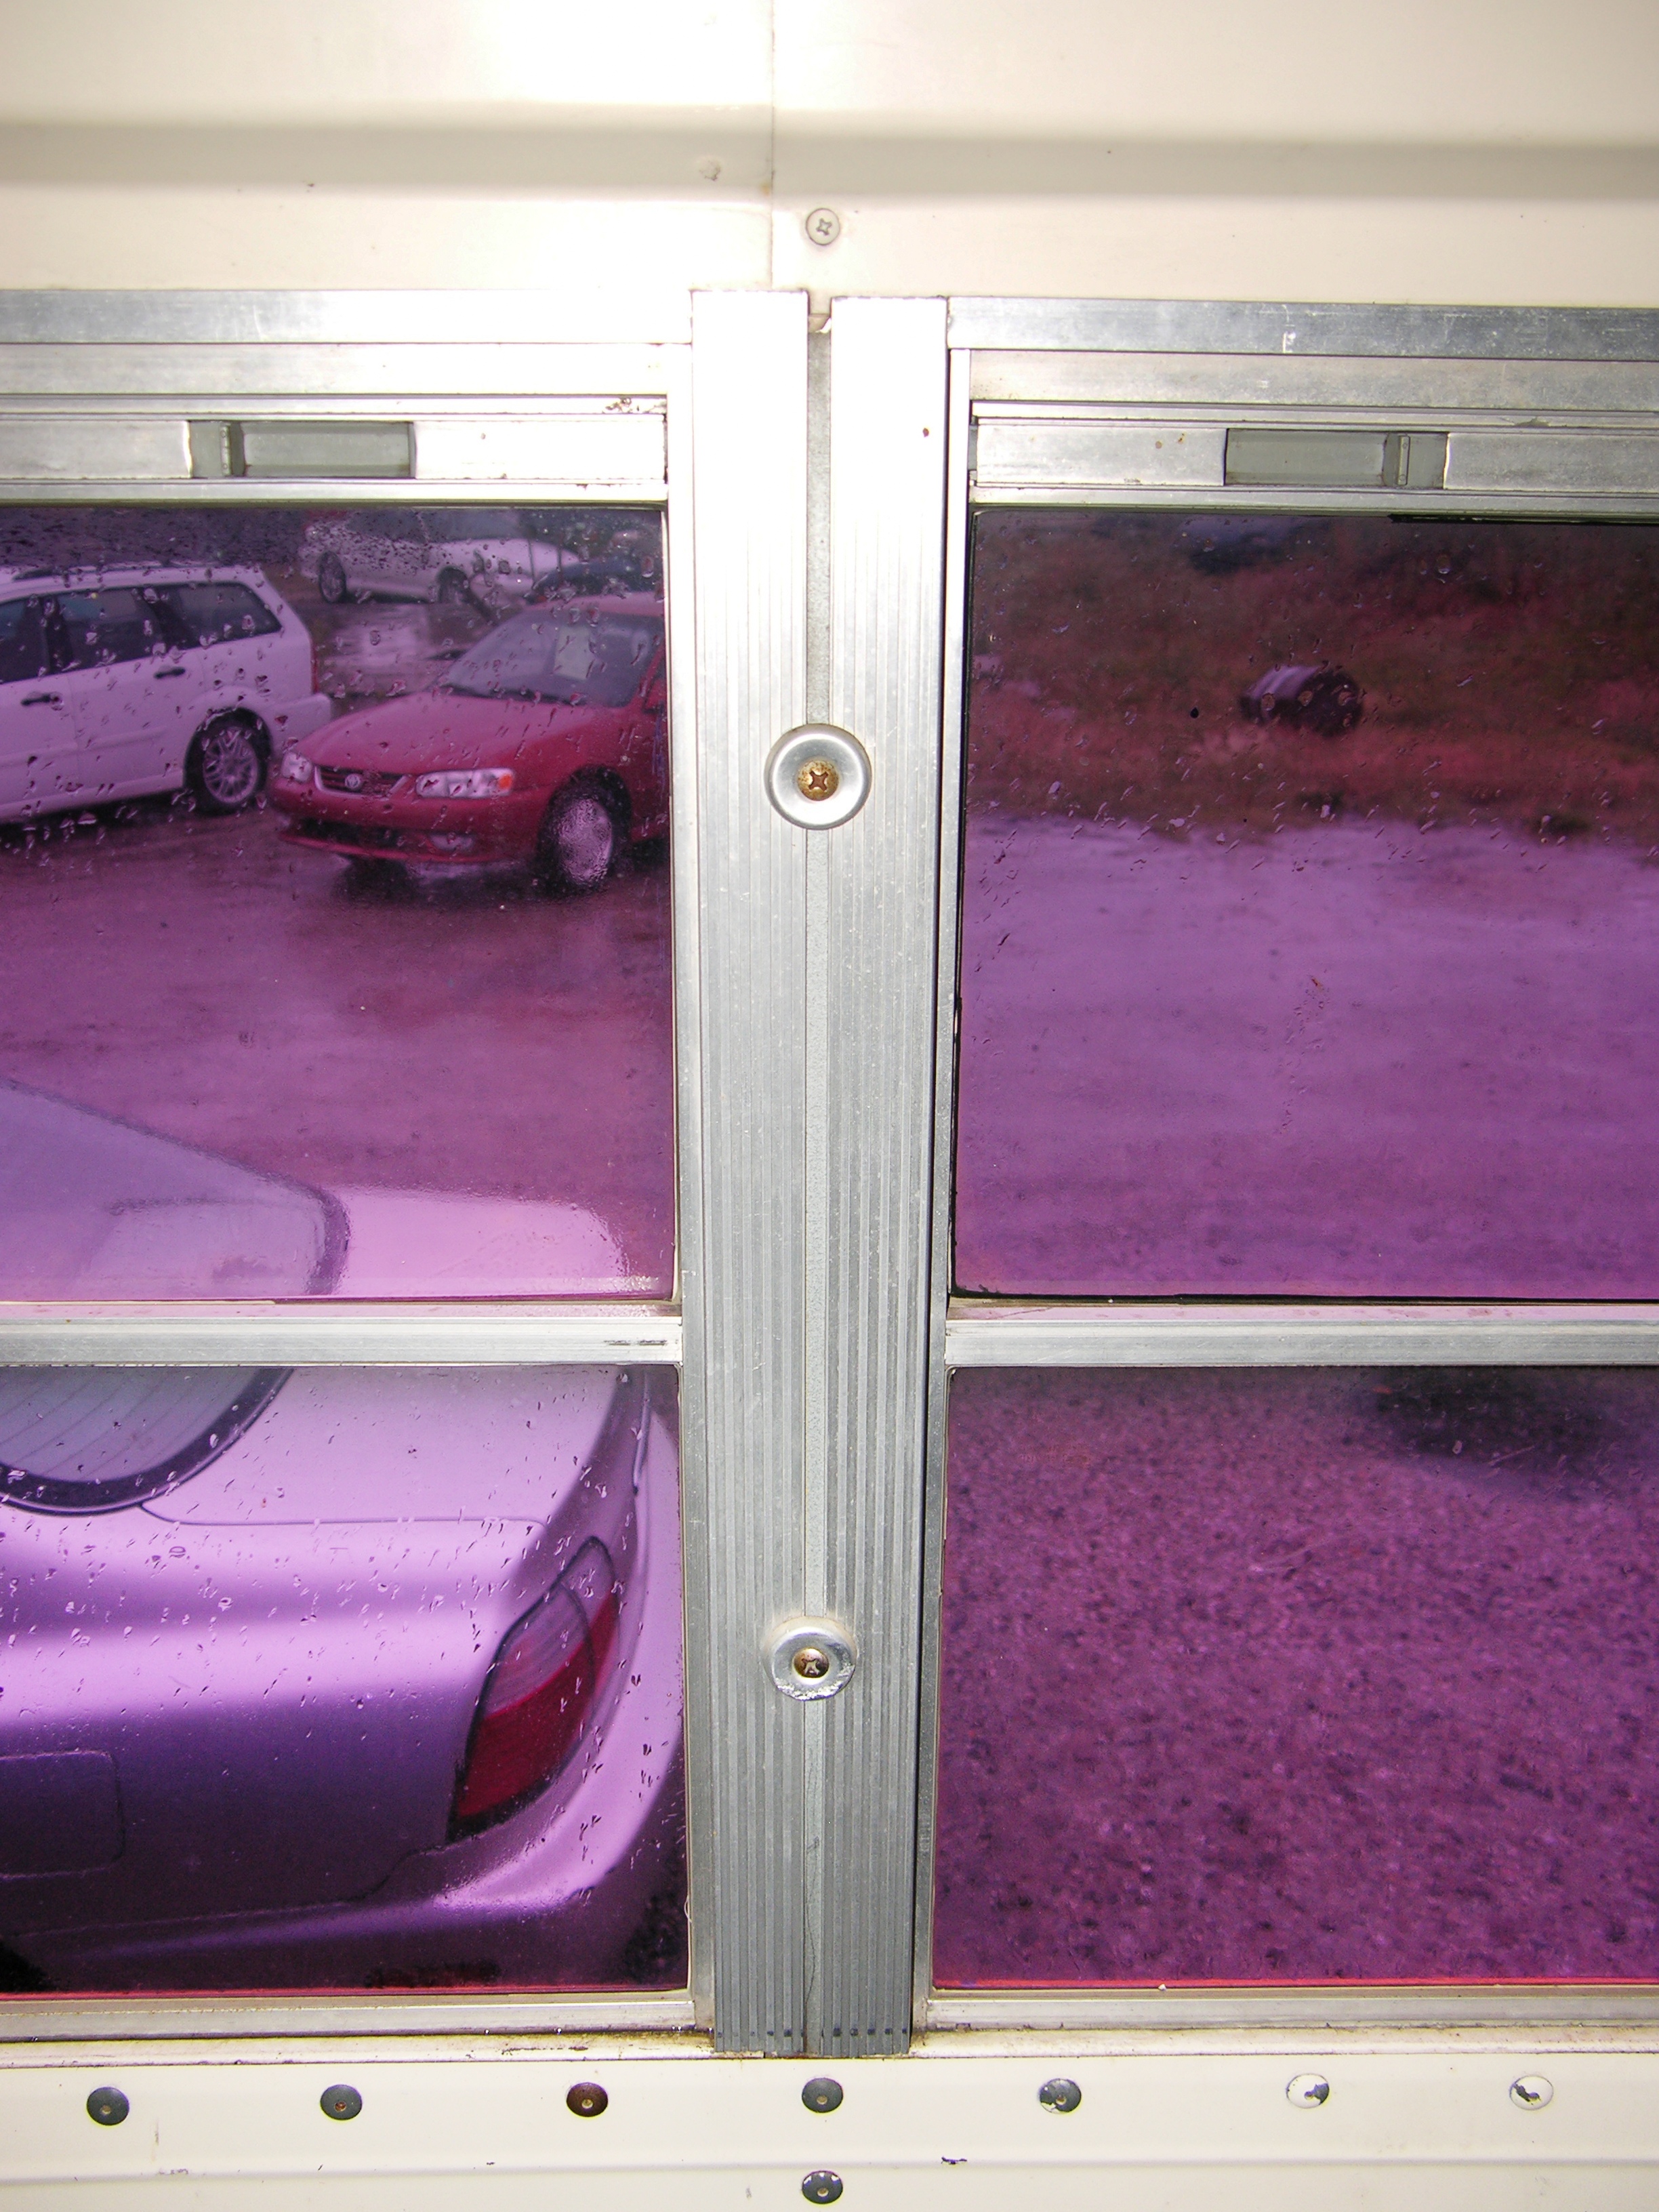
Easy Window Repairs

Schoolbus window frames

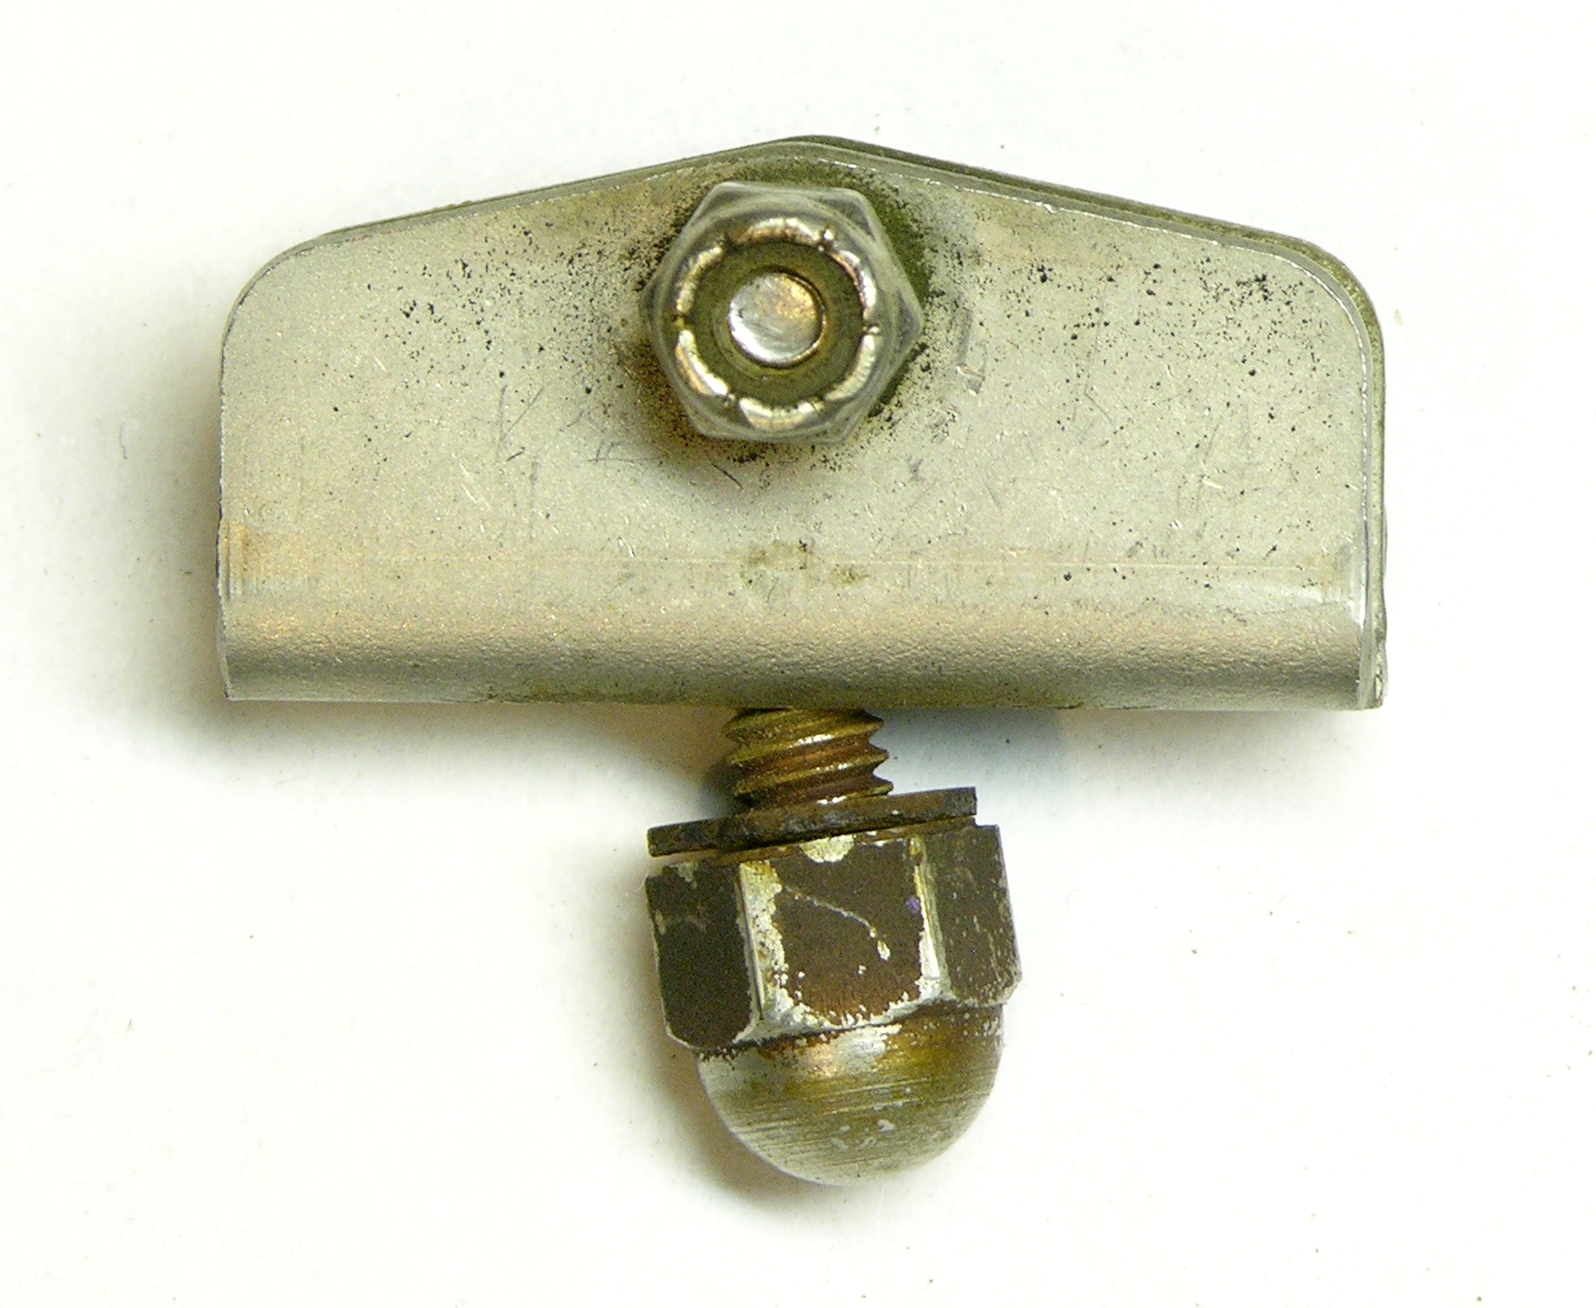
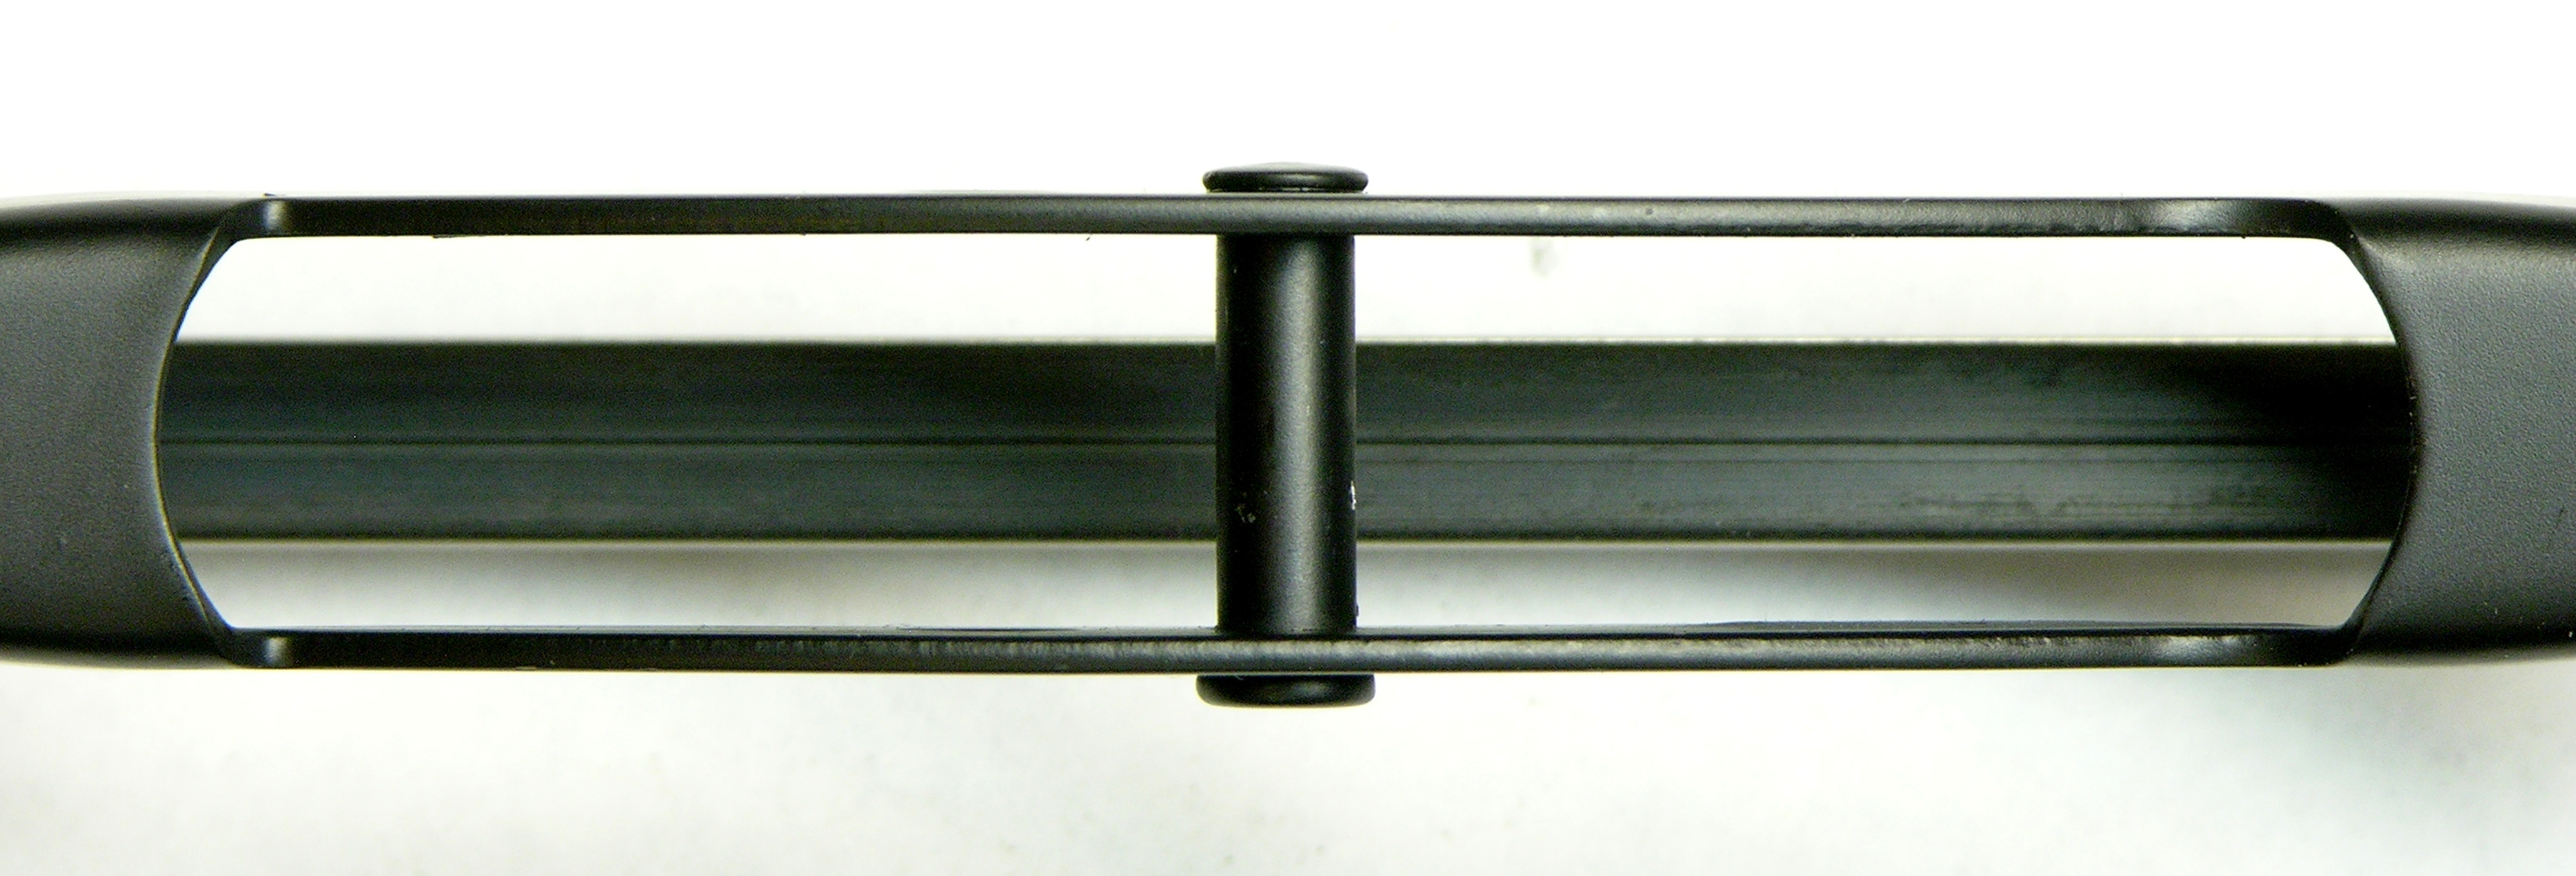
While I was fetching a nut driver for the speaker mounts, Jonathan took apart a window frame. He had it back together by the time I returned; but apparently the two screws come out, the adjacent frames lift off, and the windows lift out.

That’s encouraging to think of the ease of replacing the glass in broken windows and the ease of (eventually) replacing the windows with something that seals better and has a double pane for better insulating value.

Expenses

$7 dump fee
$7 total for getting rid of nasty furniture and weighing the bus

Serious Paint Removal Attempts #2-3

Saturday, June 20th, 2009

Purple paint stripped from schoolbus with fine wire wheel on angle grinder

Tuesday night: Fine wire wheel on angle grinder. Pretty slow going, and it tended to take the yellow paint almost as easily as the purple. The angle grinder also overheats pretty quickly; I’d need to cycle through maybe four to be able to run continuous duty.

Purple paint stripped from schoolbus with heat gun and putty knife

Thursday night: Heat gun and putty knife. The heat gun softens everything and it’s hard to keep from scraping right down to bare metal, much less to leave the yellow paint.

Removing Van Rust

Rust cleaned off 1985 Chevy van with coarse wire wheel on angle grinder

Friday night: Coarse wire wheel on the angle grinder takes the rust right off my old van! Saturday morning: The rain puts the rust right back on! That’s okay; I can go back (Jack) and do it again, and it’ll take much less effort to get the light surface rust off than the heavy stuff that was there before.

Arly’s Advice

I just talked to Arly Funk, a wonderful gentleman who’s run a body shop in Newton all my life and will never retire; and he told me several things I don’t want to hear.

The original primer and paint are better than anything I’m going to be able to put on.

The house paint — even if not so sloppily applied — absolutely has to come off. It won’t adhere well enough for the next layer to last long.

Primer is not weather-resistant and is damaged by moisture. Anywhere I expose the primer, I need to reprime.

Anywhere I expose bare metal, I have about two hours to prime it. Beyond that, invisible oxidation is already forming and will weaken the bond between metal and primer. A light sanding with fine sandpaper is enough to clean this off before priming.

Out of curiosity, he has tested both hardware-store spray paint and roll-on liquid paint in his shop. Neither has good adhesion and longevity. In his experience, only liquid paint applied with a high-volume / low-pressure (HVLP) spray gun works well.

Sigh.

Serious Paint Removal Attempt #1: Too Fast!

Saturday, June 13th, 2009

Stripping paint down to bare metal

I got a 4″ disc wire brush for my angle grinder, thinking it would strip paint a lot faster than the cordless drill. It did — it stripped down to bare metal when I barely touched it to the bus!

I suspect the original primer is a lot better than anything I can buy, and certainly better applied, so I really don’t want to remove it; I want to leave the primer and maybe even yellow paint to cover with my own paint job.

If I did want to strip to bare metal, the brush I was using in the angle grinder would be great. For this job, I’ll see if I can find a finer brush for the grinder.

Also I need to find one with a 5/8″ arbor. Drilling a 1/2″ arbor out to 5/8″ causes separation of the metal plates formerly holding the wire pieces together. Careful application of the angle grinder’s arbor plates gets the wires held pretty securely — and remarkably concentric on the first try — but that’s no way to really do it.

Bus with a few linear feet of purple paint stripped

I switched to the “wire brush on a stick” in my corded drill and got a few linear feet of above-the-rail stripped. Took over an hour and it really wasn’t worth the effort.

Battery Compartment and AC Wiring

Bus battery compartment and AC wiring

I hadn’t leaned down far enough to really look in, so Jonathan was the original discoverer of the AC wiring sticking into the battery compartment. I’m guessing the former owner had an inverter installed in there — which I just read is a bad idea, as the battery acid fumes can eat up the delicate inverter guts. Maybe I’ll put mine in a separate compartment.

But What Will the Neighbors Think?

My neighbors saw the bus this afternoon for the first time. The folks next door think it’s really cool and a great idea. The man of the house from two doors down came over to say that “The Landing Strip” (painted on the front of the bus) is a bar in Aggieville (Manhattan), which gives a clue as to the provenance and likely former owner of the bus.

The best reaction was from the young couple across the street. As they were halfway across, they were already calling out that their curiosity had got the better of them; and they gushed about how cool the bus is and asked all kinds of questions. They let their four young kids explore the inside of the bus, and didn’t mind at all that they were enthralled by the dead baby mice. They’re all very enthusiastic about the project and the prospects and think it’s great!

This was, of course, before I backed into their mailbox, as one of the part-time police officers I don’t know came driving down the street.

Making a Key for the Locking Gas Cap

Friday, June 12th, 2009

Locking gas cap with homemade key

The bus has a locking gas cap but didn’t come with the key. Fortunately the cap was unlocked, so I could at least fill gas. Also fortunately, I found in the glovebox the original gas cap. So last night I put the original cap onto the gas tank and brought home the locking cap to make a key.

While taking off the gas cap and fishing out the retaining wire, I noted that this fill spout has nothing for the lock to lock against; so there’s no way I can see for this cap to actually lock. So why did someone replace the original with a locking cap? Because of the retaining chain — the original cap didn’t have one, there’s no good place to set the cap while filling, and the retaining chain is very handy to keep the cap captive.

That left me with a removed locking gas cap and no reason to make a key for it. But I already had the cap loose; so why not go ahead with an evening’s keymaking entertainment.

(more…)

Two Songs for the Bus

Sunday, June 7th, 2009

The Towing Song

Schoolbus bumper damaged by inappropriate towing

This is the way we tow our bus,
tow our bus,
tow our bus.

Schoolbus bumper damaged by inappropriate towing, close-up

This is the way we tow our bus
when we’re selling it in the morning
and we don’t care what happens to it any more

Schoolbus front bumper and frame

and it’s too hard to reach underneath and hook a chain around the frame.

Tra la!

The Paint Stripping Song

Purple house paint stripped from schoolbus

This is the way we strip the house paint,
strip the house paint,
strip the house paint.

Purple house paint stripped from schoolbus, closeup

This is the way we strip the house paint,
with a wire brush on a cordless drill

Purple house paint stripped from schoolbus fender

for a few minutes until the battery runs down
and the horrendous purple paint goes right away

Purple house paint stripped from schoolbus fender, closeup

and we are very happy.

Tra la!

Retrieval Attempt #2: Success!

Sunday, June 7th, 2009

Purple schoolbus, front left profile

It’s home!

“Neighbor Dan” and I left at 5:30 this morning to go up to Manhattan, rig the split shifter, and bring home the bus. Dan pulled the split shifter off the differential, decided the shifter motor was just old or gummed up, and got the shifter engaged into high with some electricity and some thumping. The drive back was pretty uneventful — in particular, the shifter did not drop back out of gear.

Dan thinks the split shifter motor may just need lubrication or new brushes. He described how easy it is to remove from the differential; so I’ll start by taking it off, drilling out the three motor-mount screws off of which I broke the heads, and seeing what I can do with the motor. I don’t want to do a short-term fix like lubricating it with a lightweight oil that will just burn off, so I don’t know yet whether this will be a rebuild or a replace.

Turn Signals and Schoolbus Flashers

Schoolbus signal lights

While Dan was working under the bus, I was looking for a bulb I could use to replace the burned-out rear right-turn signal light. Thought I might be able to pull one from the schoolbus flashers (which I don’t need), but it turns out they’re sealed-beam units.

Ended up borrowing one from the back-up lights, since I wasn’t planning to do a lot of backing on the highway.

Fuel Economy

The fuel gauge started on empty and I put in a little over 40 gallons in Manhattan, so I know the tank is at least a 41-gallon.

I refilled in Newton, adding about 22.7 gallons after about 108 miles, so I got about 4.75 mpg, a little less than I was hoping for. Dan thinks a tune-up may get me a little more.

Parked By the Shed

Purple schoolbus by shed with grain truck

My brother is indulging me and letting me park the bus behind his shed by his stick-hauling grain truck, for now, anyway. He’s already warned me not to get too comfortable with that — but I’m sure once he sees how charming the bus is, his heart will warm to the idea of keeping it nearby.

Today’s Expenses

For five and a half hours of his time, plus 220 miles in his pickup, Dan only asked for $125. I gave him $149 — everything I had on me at the time. A bargain.

$149 Dan’s travel and repair fee
$102 40.332 gallons gas at start of trip
$56.75 22.708 gallons gas at end of trip
$307.75 total for second (and final!) retrieval attempt