Many of the various RepRap plastic extrusion machines, including the MakerBot CupCake, suffer from warping of large objects while the printing is still in process. The first printed layers cool, contract, and lift the plastic away from the build surface at the corners.

A “good” warped print is still usable because the top surface is flat. A bad warped print raises the first and lowest layers high enough to snag the extruder nozzle on subsequent layers, often causing the steppers to lose alignment and (if you’re lucky enough to be there and catch it when it happens) ending that build attempt.
Several people have been experimenting with heated build platforms and heated build chambers to prevent warping. Most notably, Eberhard Rensch (CupCake #127) has blogged Canned Heat and Living in times of warp-free printing about his work mounting power resistors to an aluminum plate to create a heated build sub-platform.
He reports fantastic success, I’m intrigued, and I want one; I just don’t feel like machining aluminum plate to fit the build platform’s mounts right now. I’d be willing to buy a kit for a reasonable price, and I’d be willing to make my own in the spring. For now, I wanted to try something quick and easy and it seemed quicker and easier to heat the chamber than to build a heated plate, so I asked my wife whether I could burn up her hairdryer by leaving it on for a few hours at a time.
Right, so off to the thrift store it is.
Hairdryer

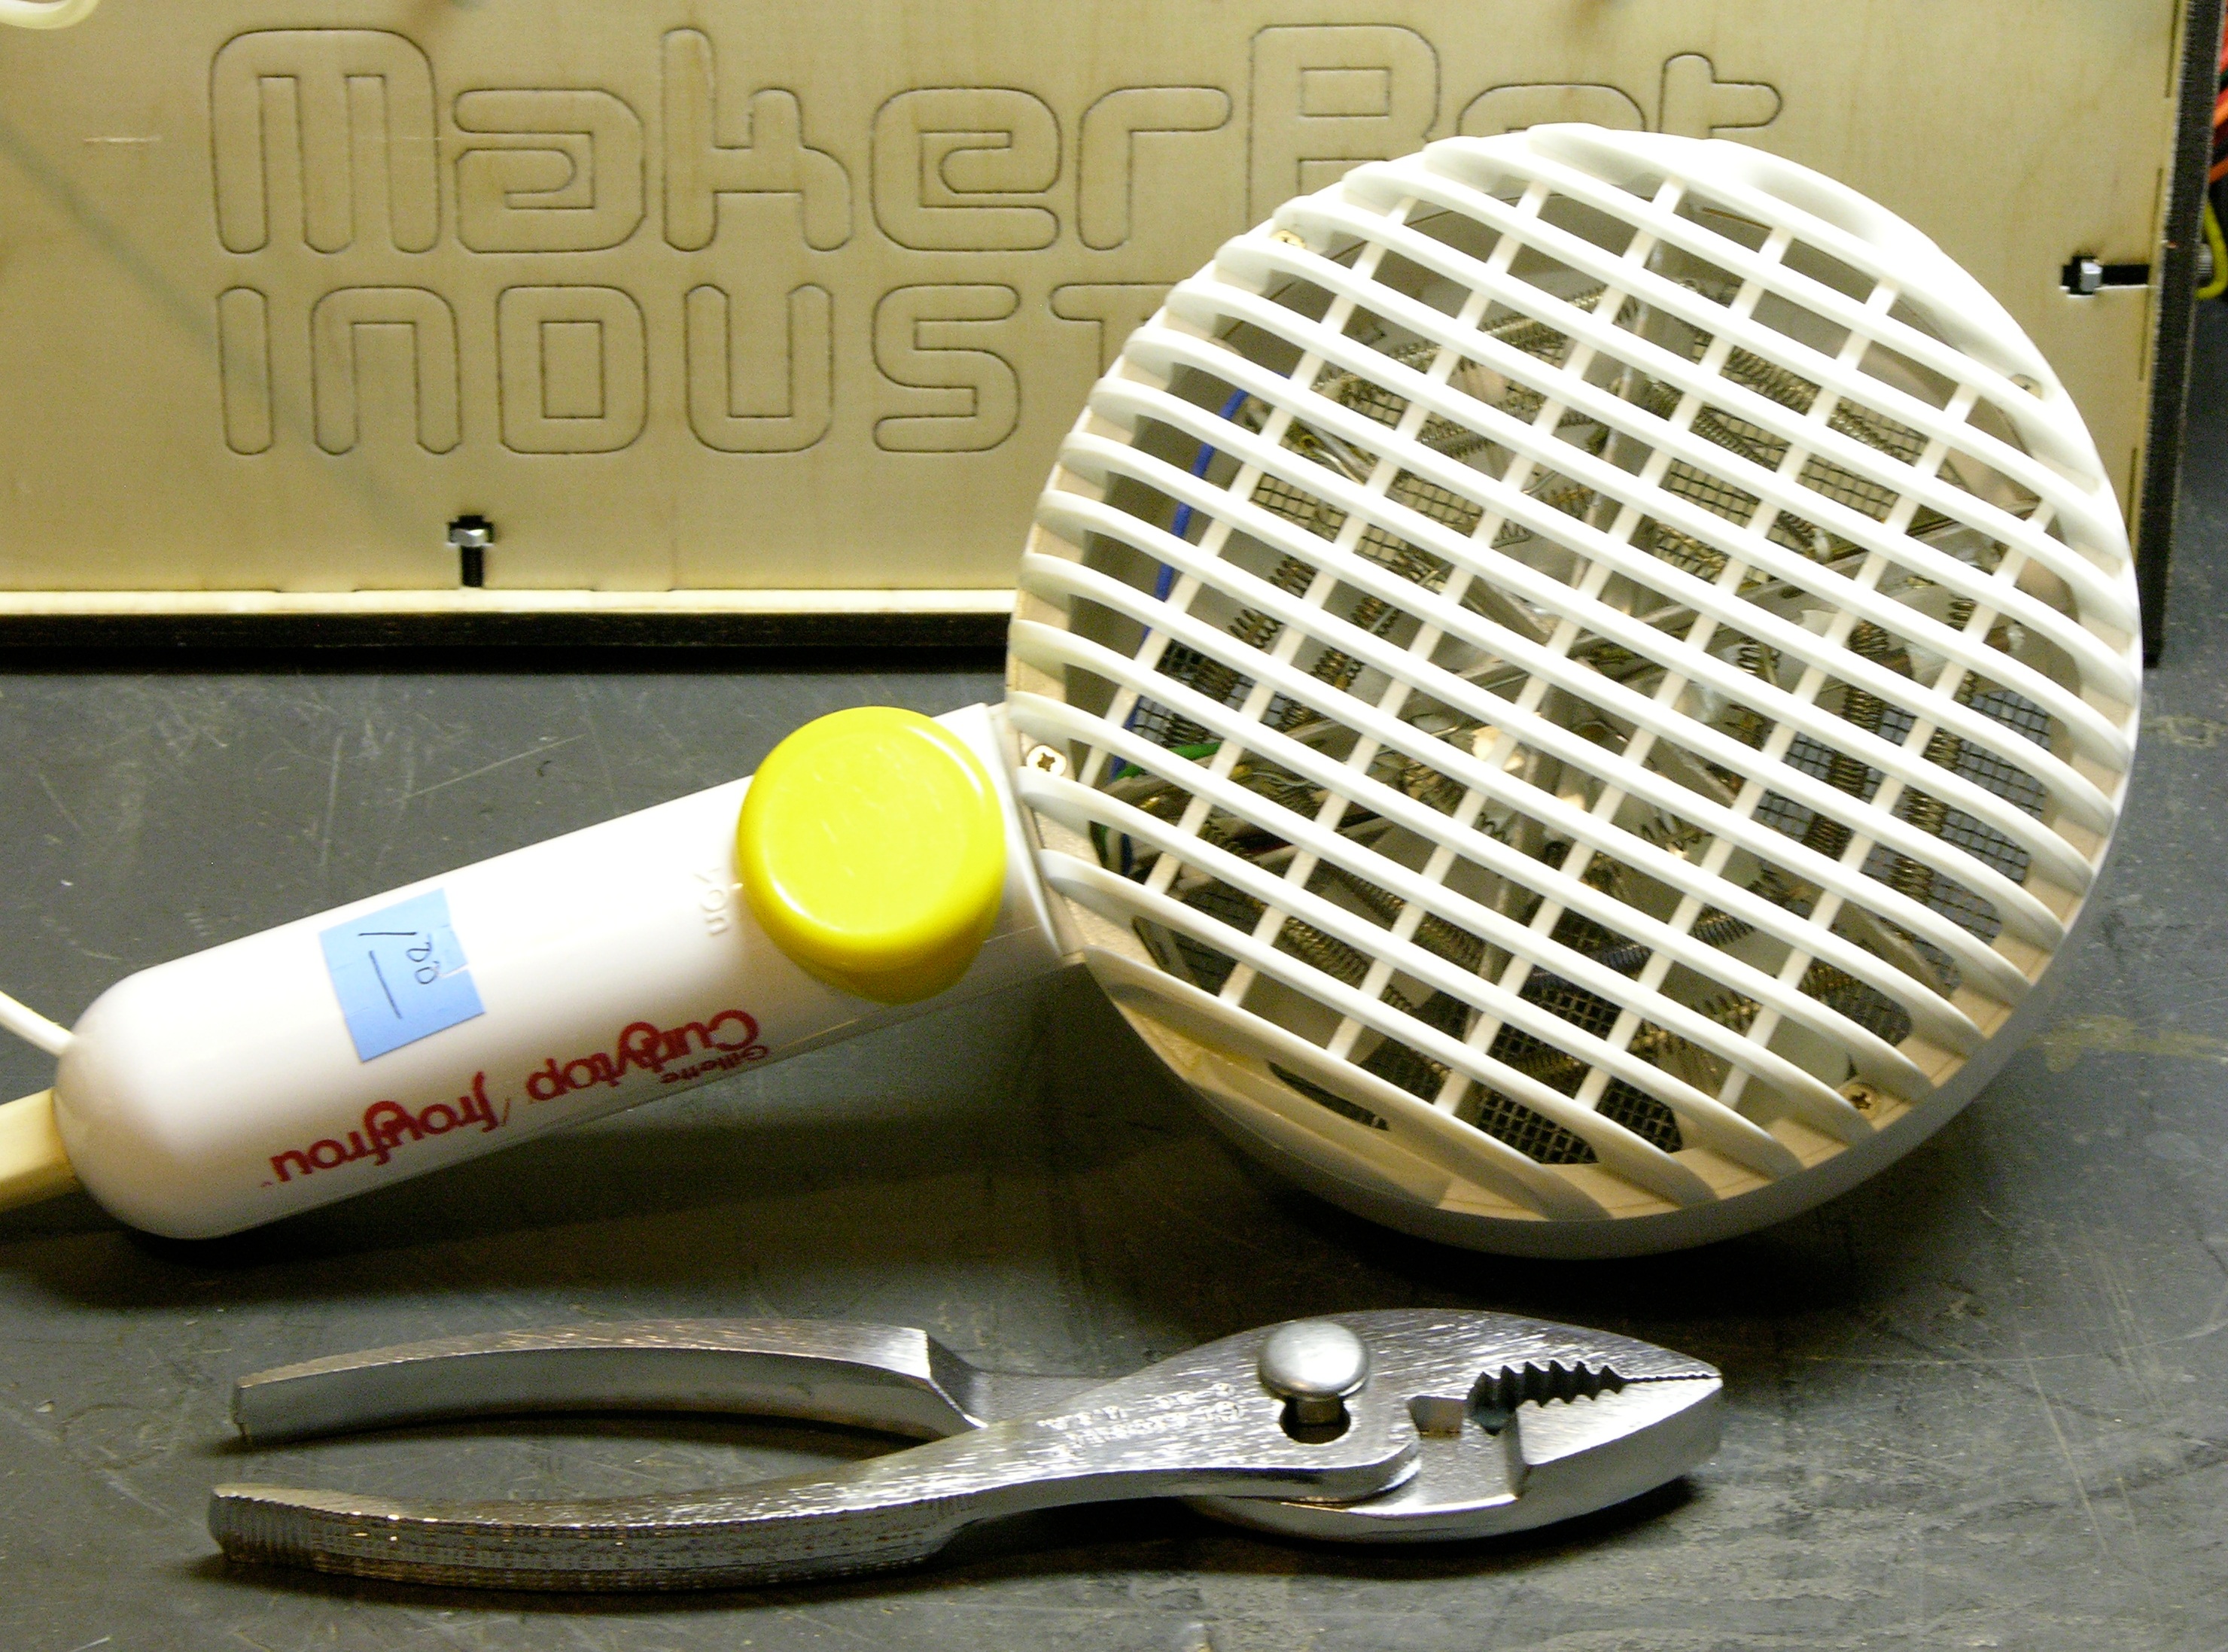
I present the Gillette Curlytop Froufrou plastic extrusion chamber heater.
I clipped an orange spring clamp onto the handle to make sort of a tripod, propped this baby up behind the CupCake, fired it up, and … the extruder nozzle could no longer heat past about 200°C. I moved the Froufrou around behind the CupCake trying different positions, finally finding one in which the nozzle could heat up to 225°C, but it really wasn’t working. The hot air from the hairdryer is lovely for warming the chamber, but it’s still way cooler than 225°C and cools the nozzle too much.
Modified Hairdryer
I needed a lot less air; and with less air, I could probably do with a little less heat. The heating element and blower motor are wired in parallel inside the handle (I peeked), so I could dismantle this and do something to one or the other; but it seemed simpler to reduce the power to the whole thing.
Ideas that leapt to mind:
- Run it off a variac … that can support up to 10A and that can dial line voltage down to maybe 50VAC or less. Nope, don’t have one of those.
- Half-wave rectify the line voltage in series with the hairdryer, so it sees lower amplitude (pulsed DC). Might try that.
- Huge power resistors in series … did I mention huge …
- Call Tozier and see if he has any ideas.
Ron said to come on over, and tried (using line voltage safety measures one would only recommend to a particularly troublesome coworker):
- Huge power resistor — got really hot, but did slow down the fan and presumably the heat.
- Huge diode — didn’t get as hot and had about the same effect on the hairdryder.
- Using the secondary of a step-down transformer as a series inductive load — made scary buzzing sounds and seemed to have about the same effect.
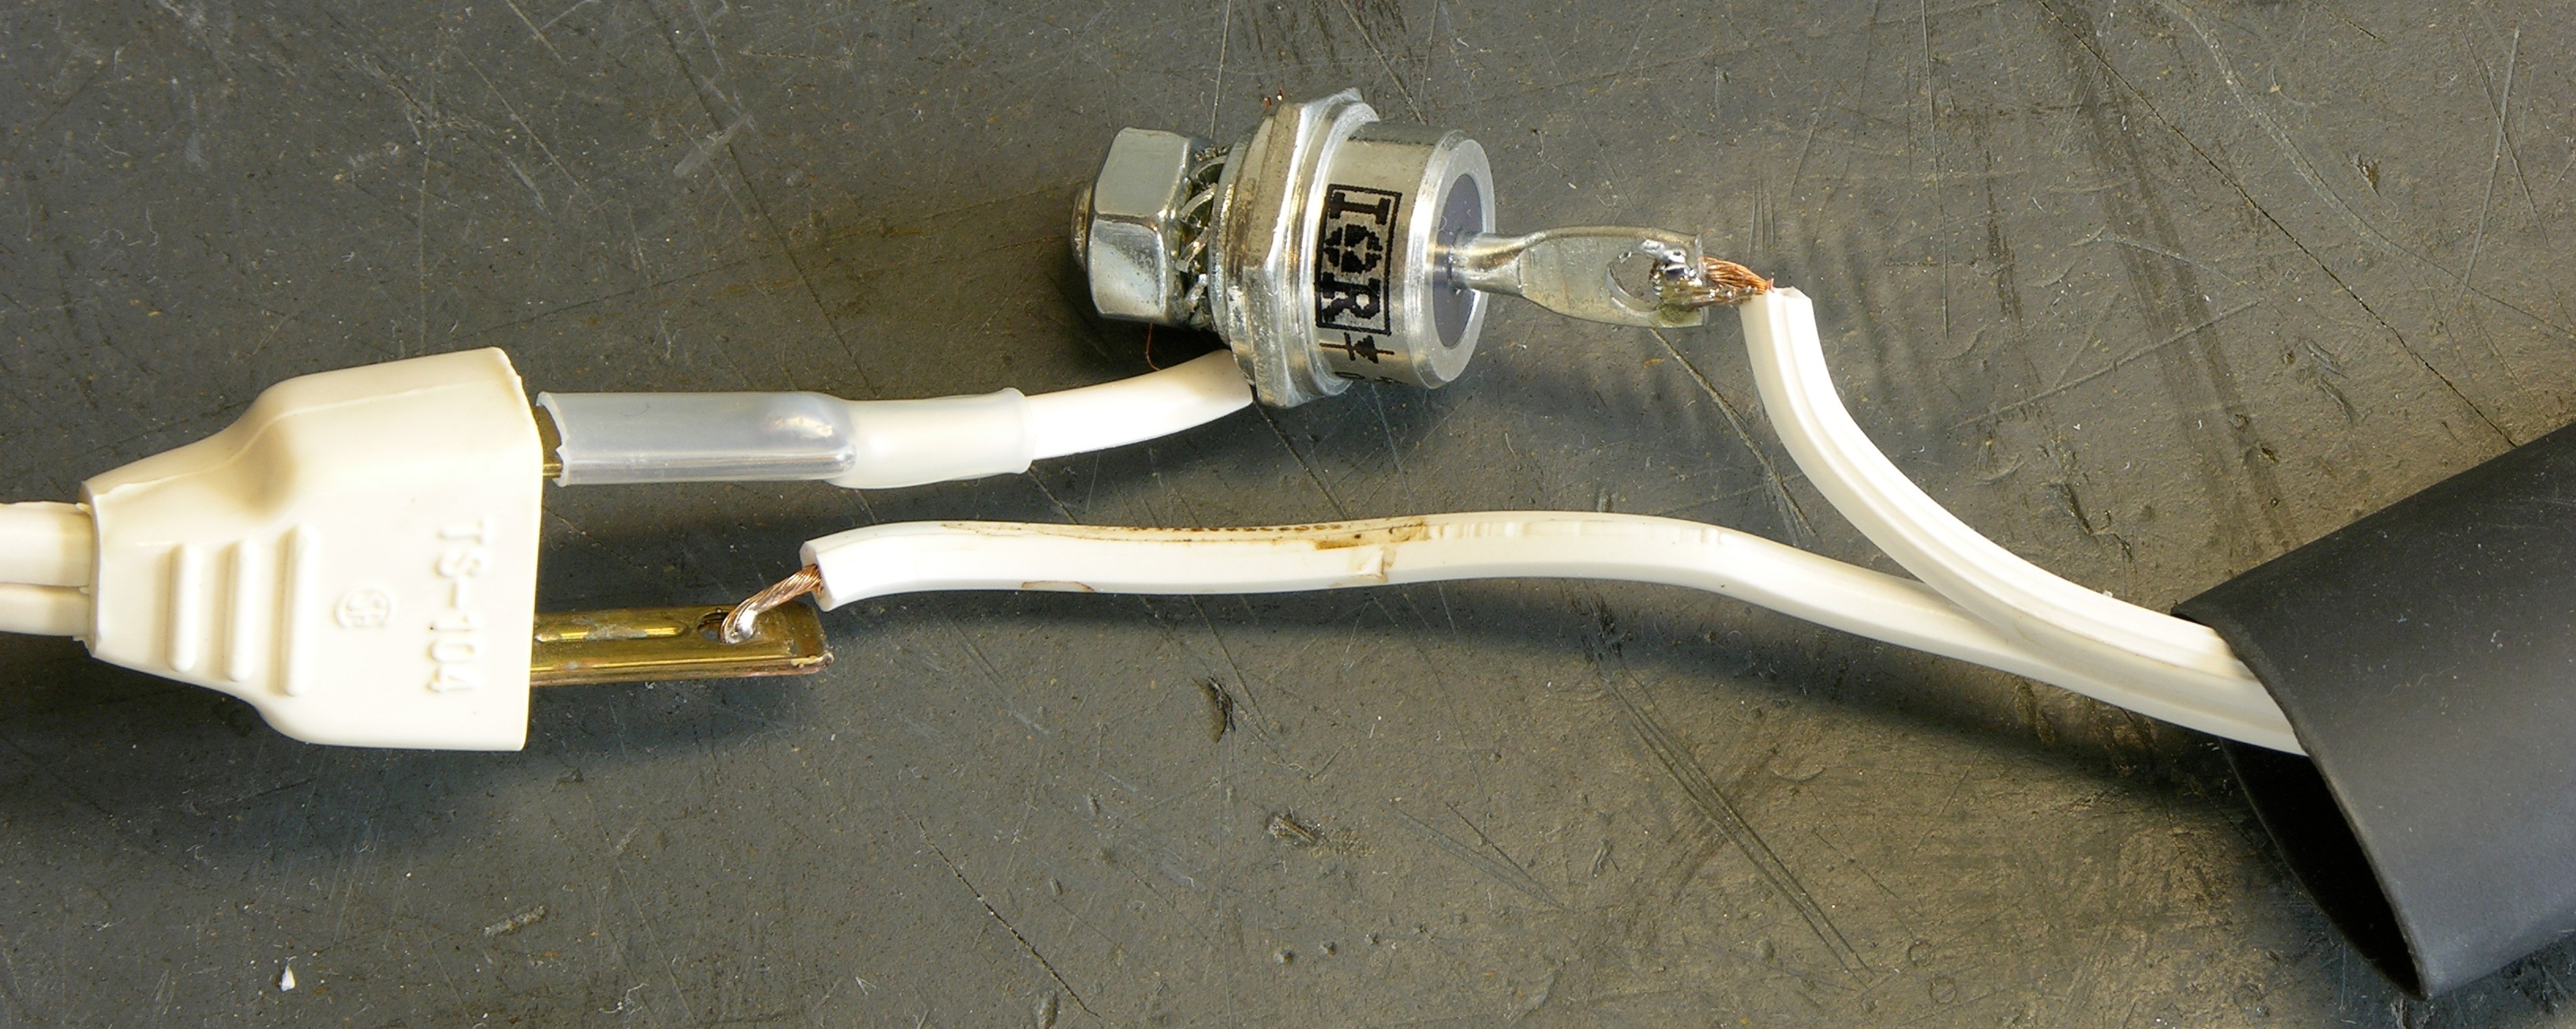
Okey-doke, time to try the big diode at home.

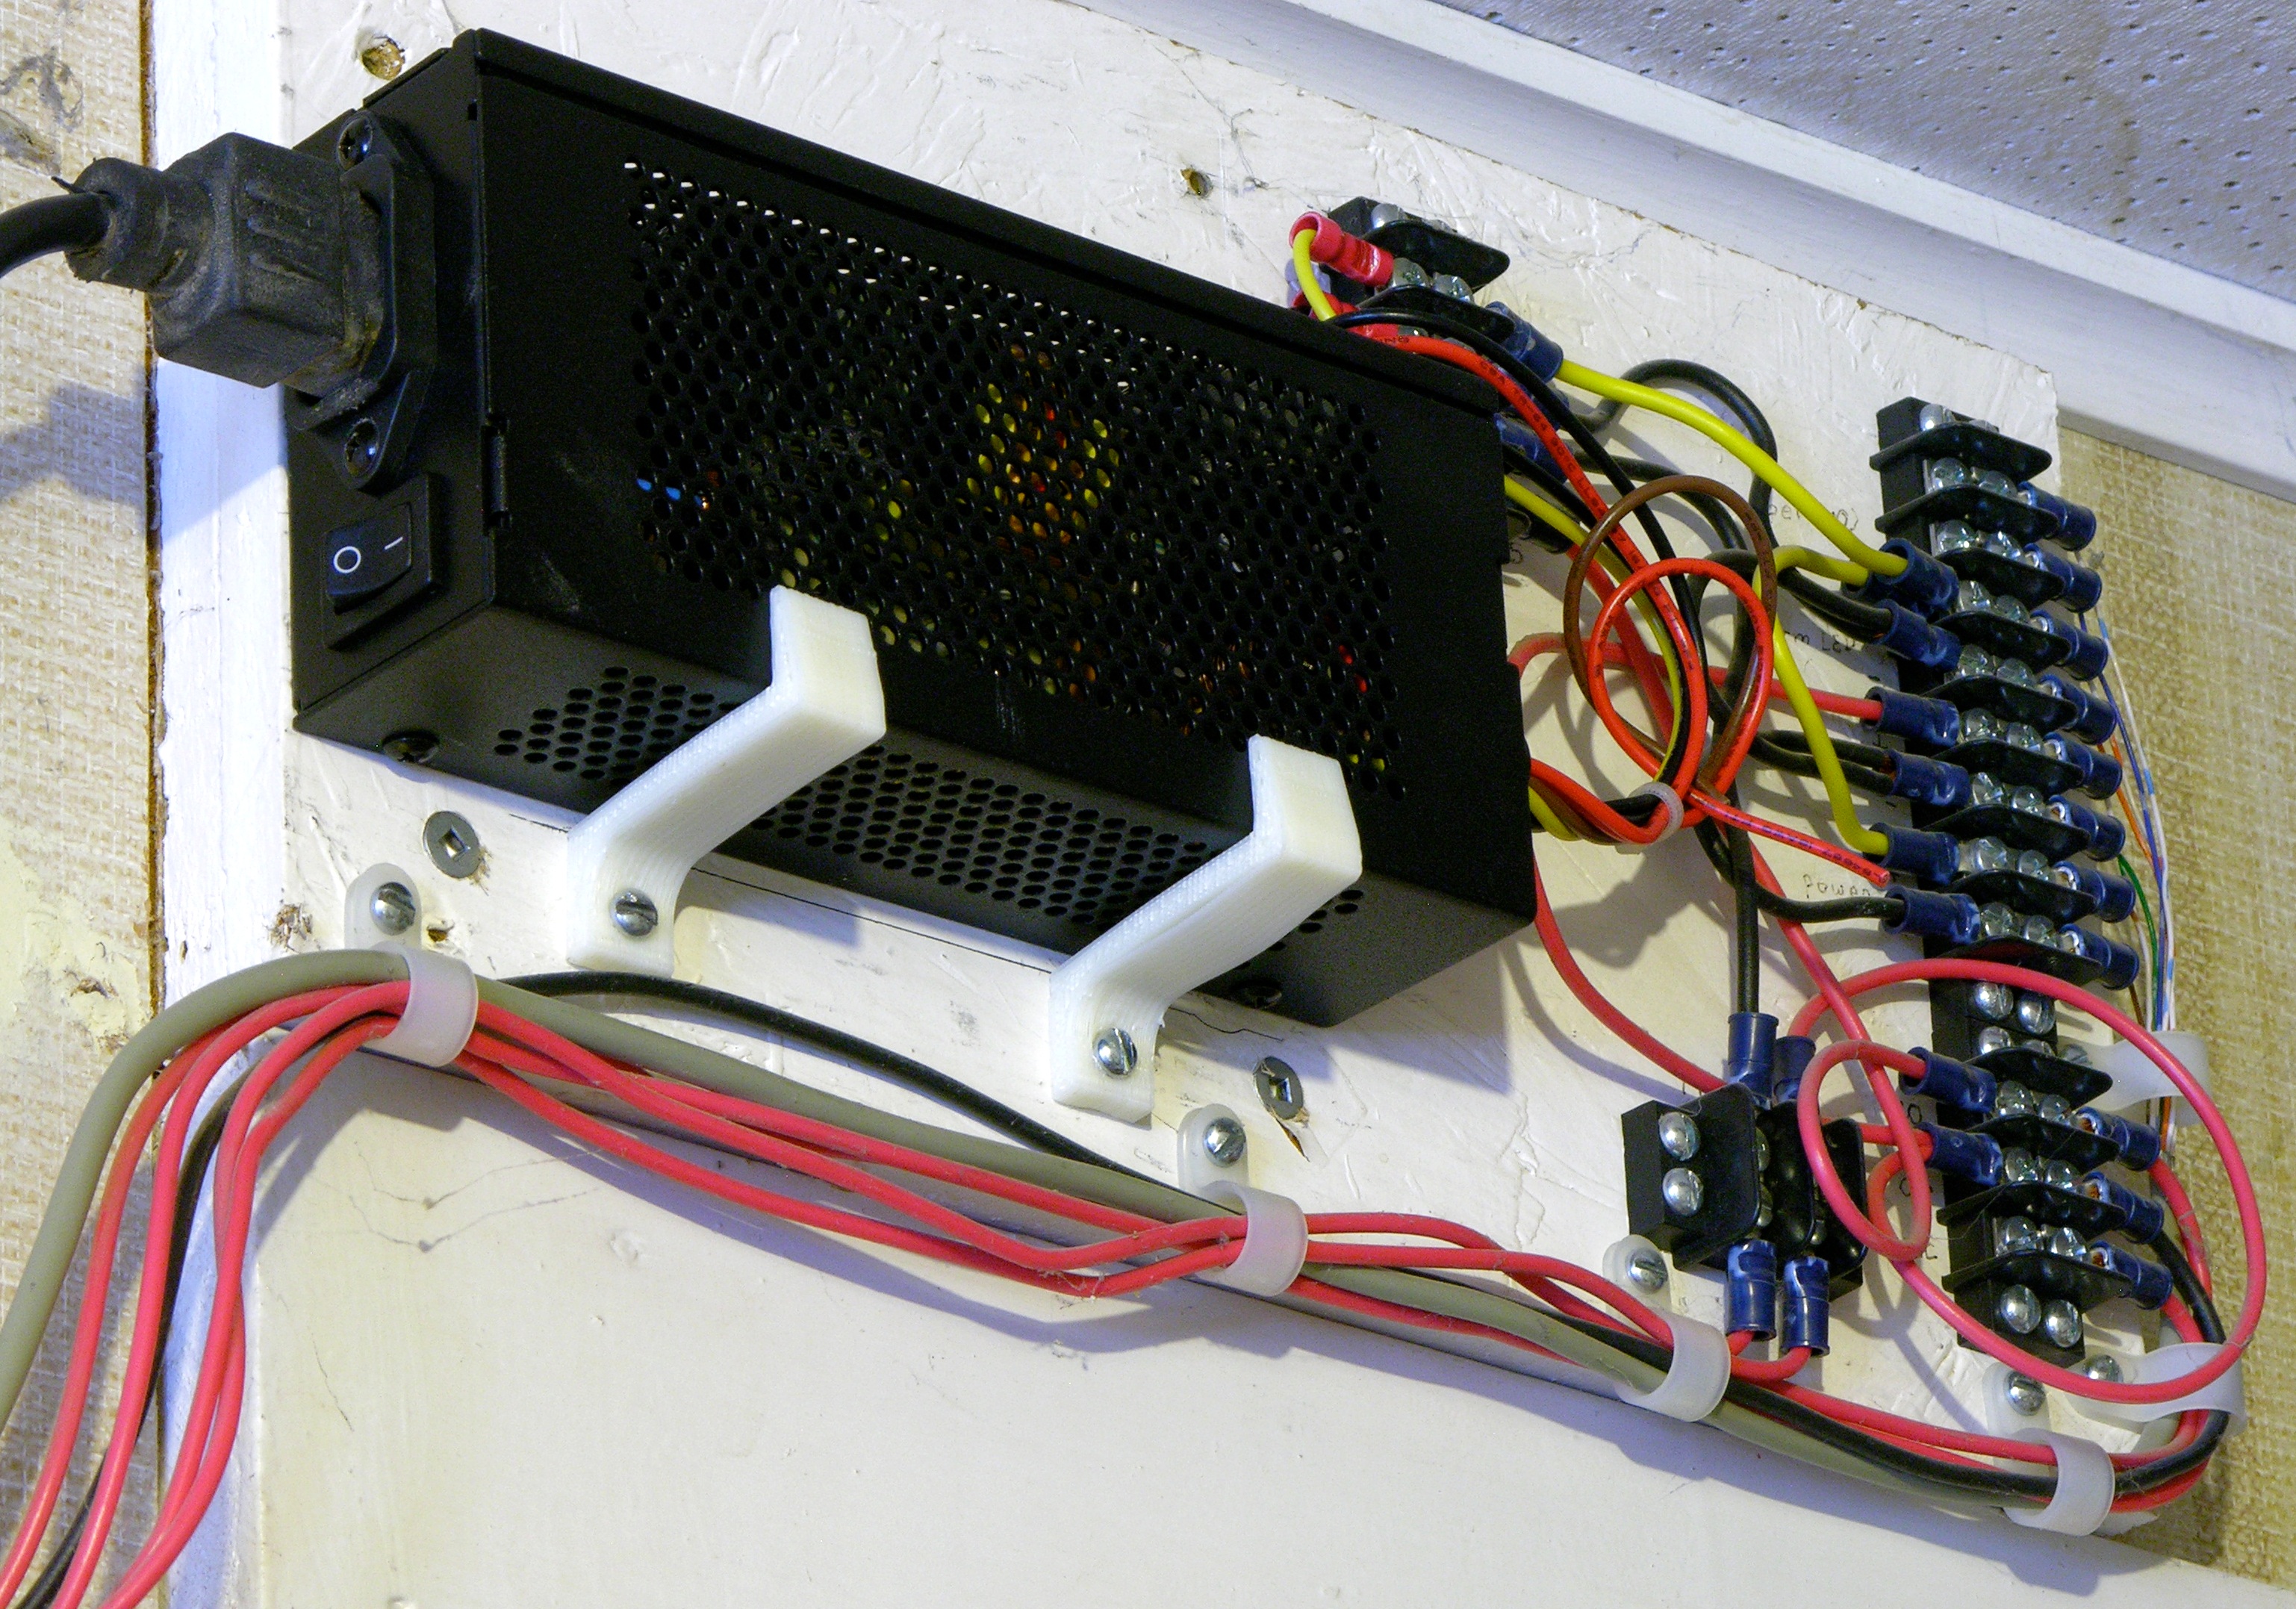
This assembly was quick and dirty, and don’t do it like I did, but notice that at least I took the time to lay out the wire lengths so that even if it got squished no exposed metal could come into contact and short out. And off to the right is the big heatshrink I slid over the whole schmear as soon as I’d taken this picture.
Partial Success

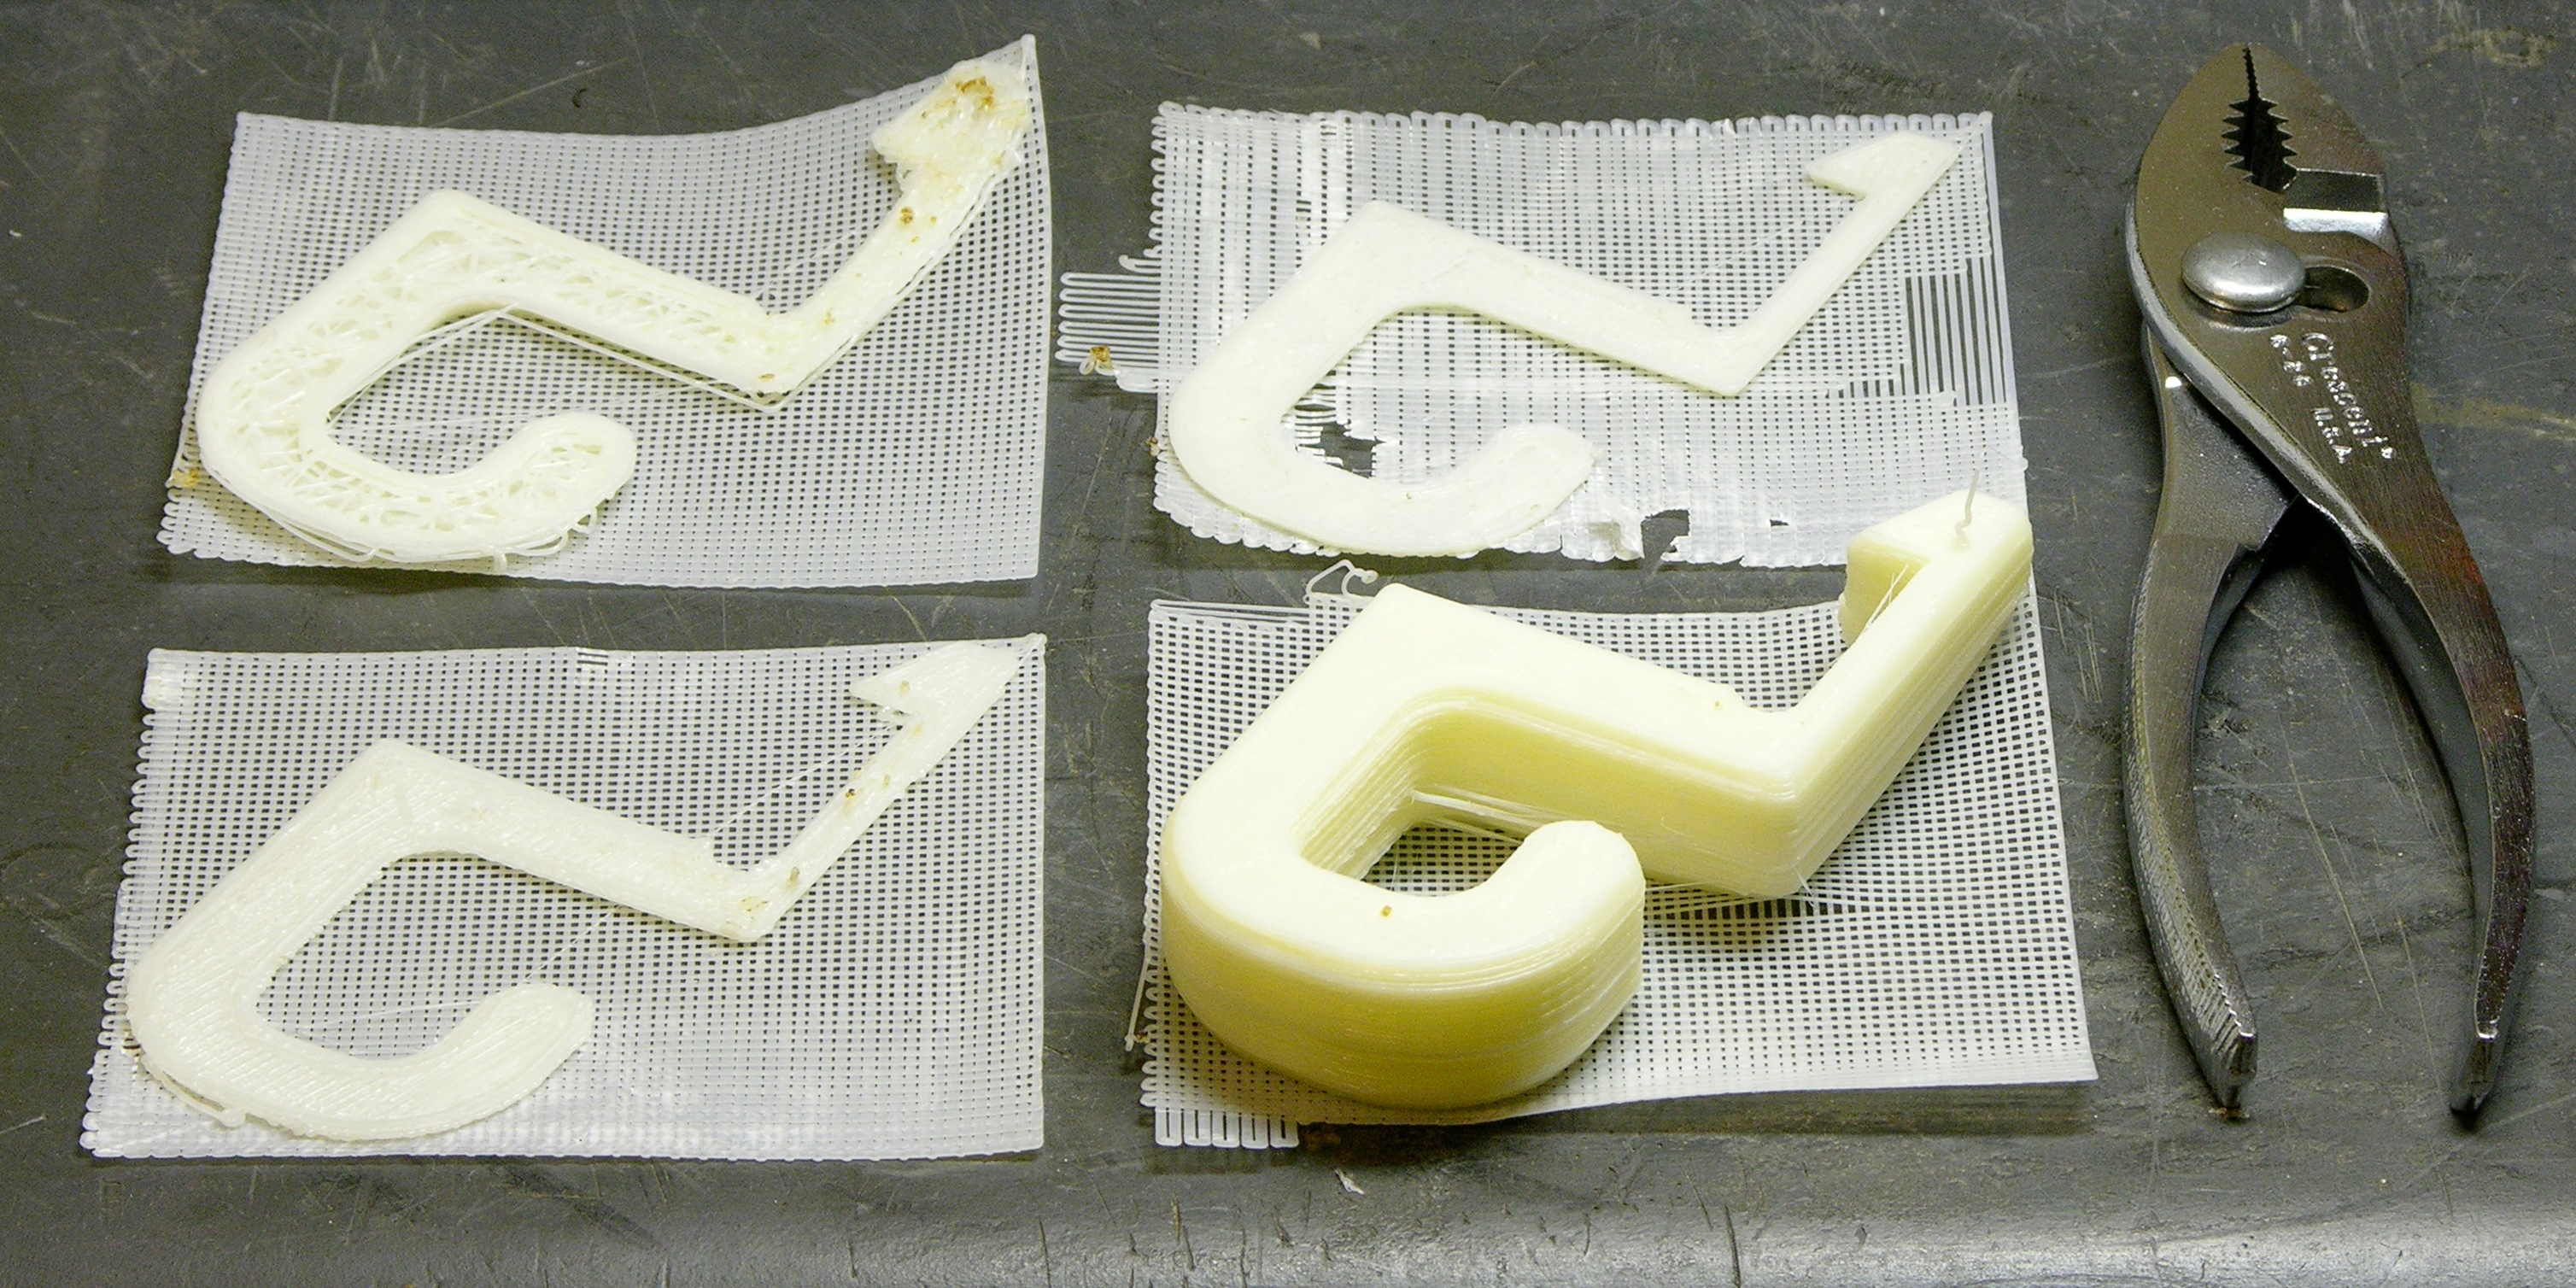
These are four build attempts from before the heated chamber. Most were already warping unusably only a few layers in.

This is the best and most salvageable attempt from before the heated build chamber, flipped over from its build orientation. It’s badly warped and “jumped track” early in the build, but not so far as to make me abort.

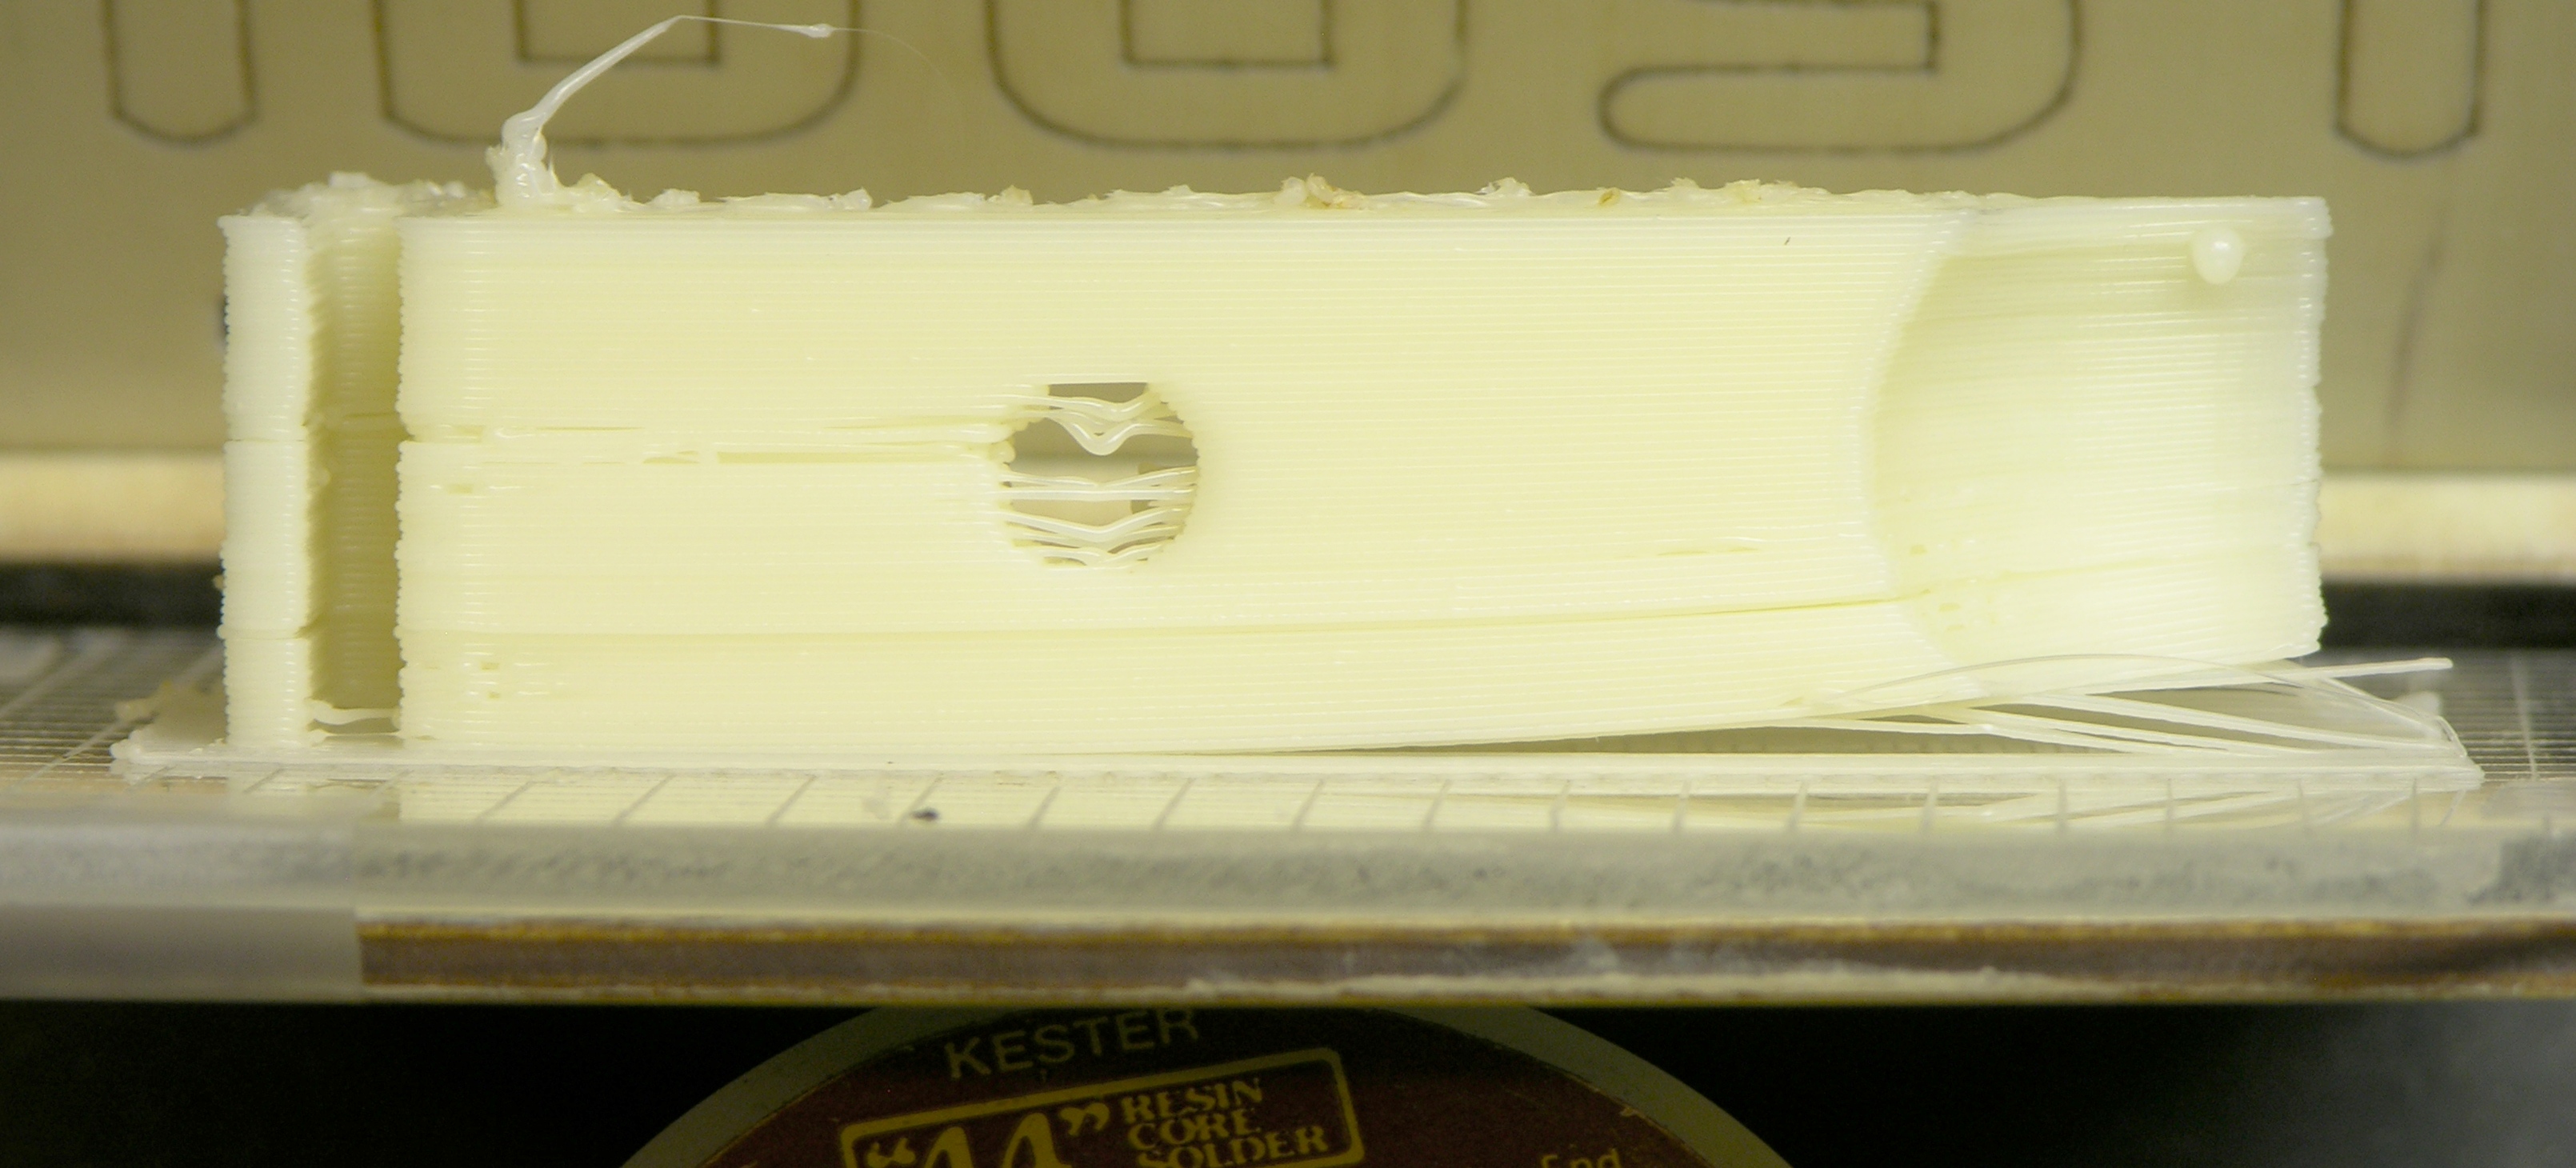
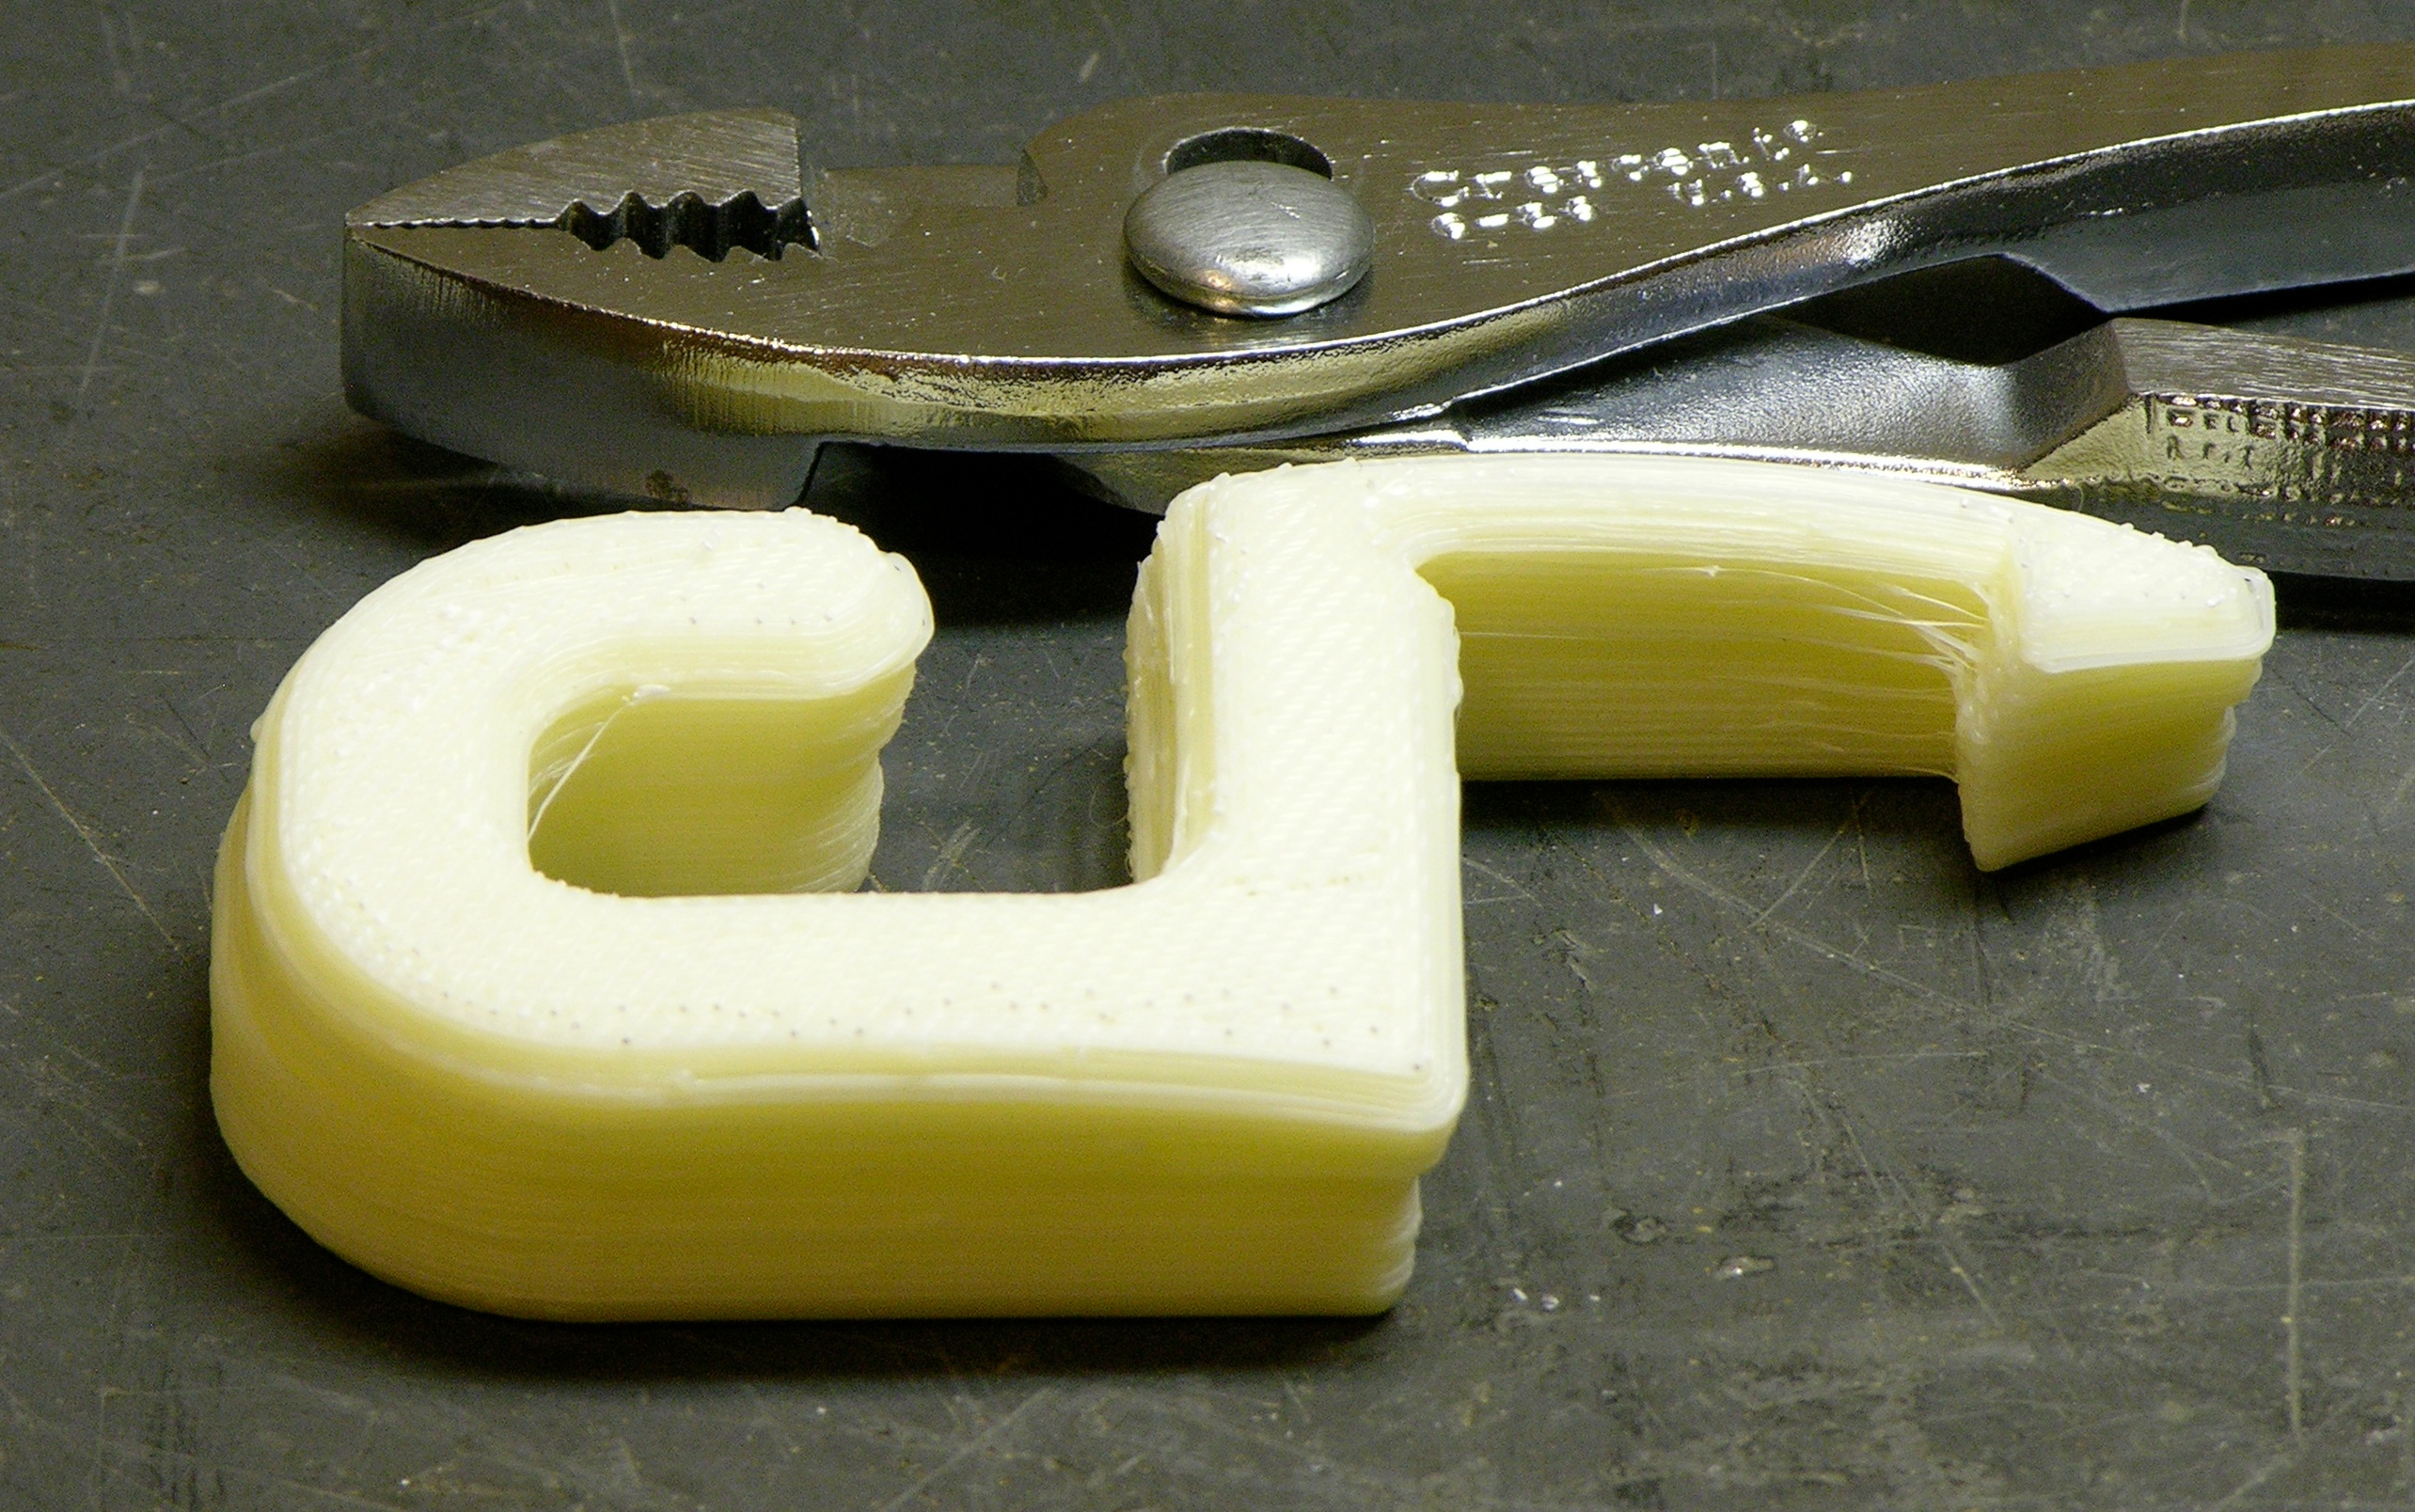
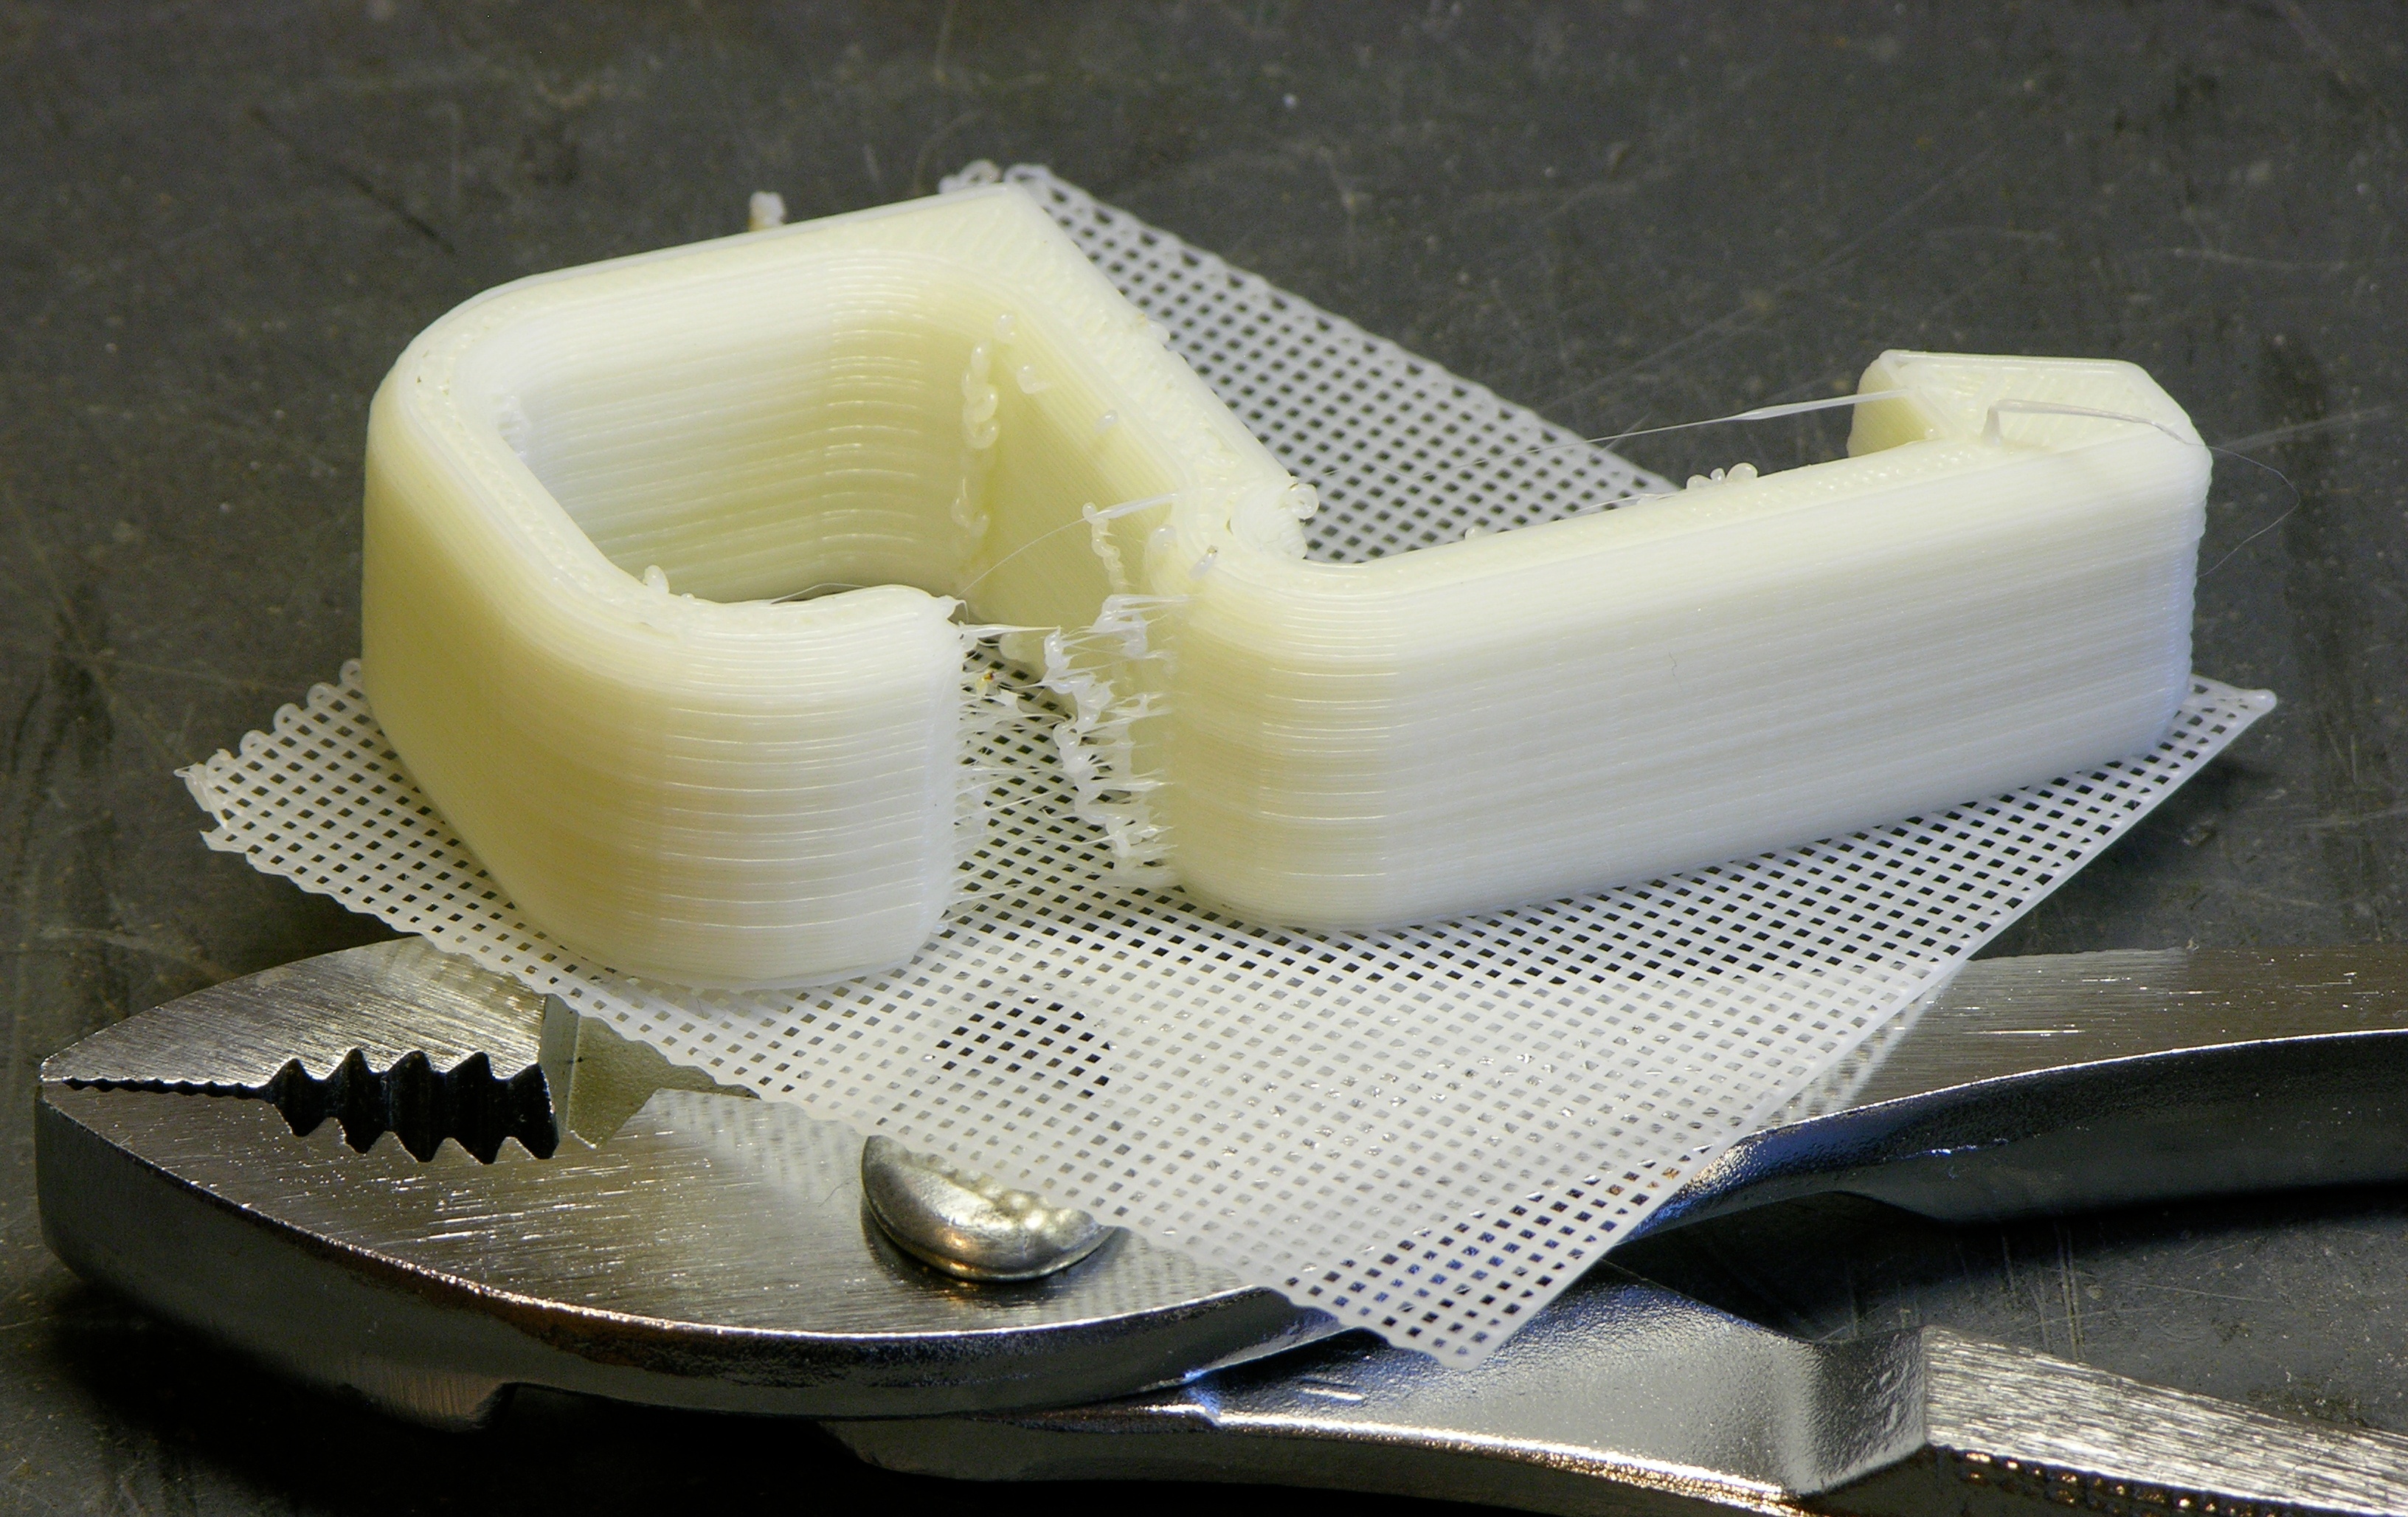
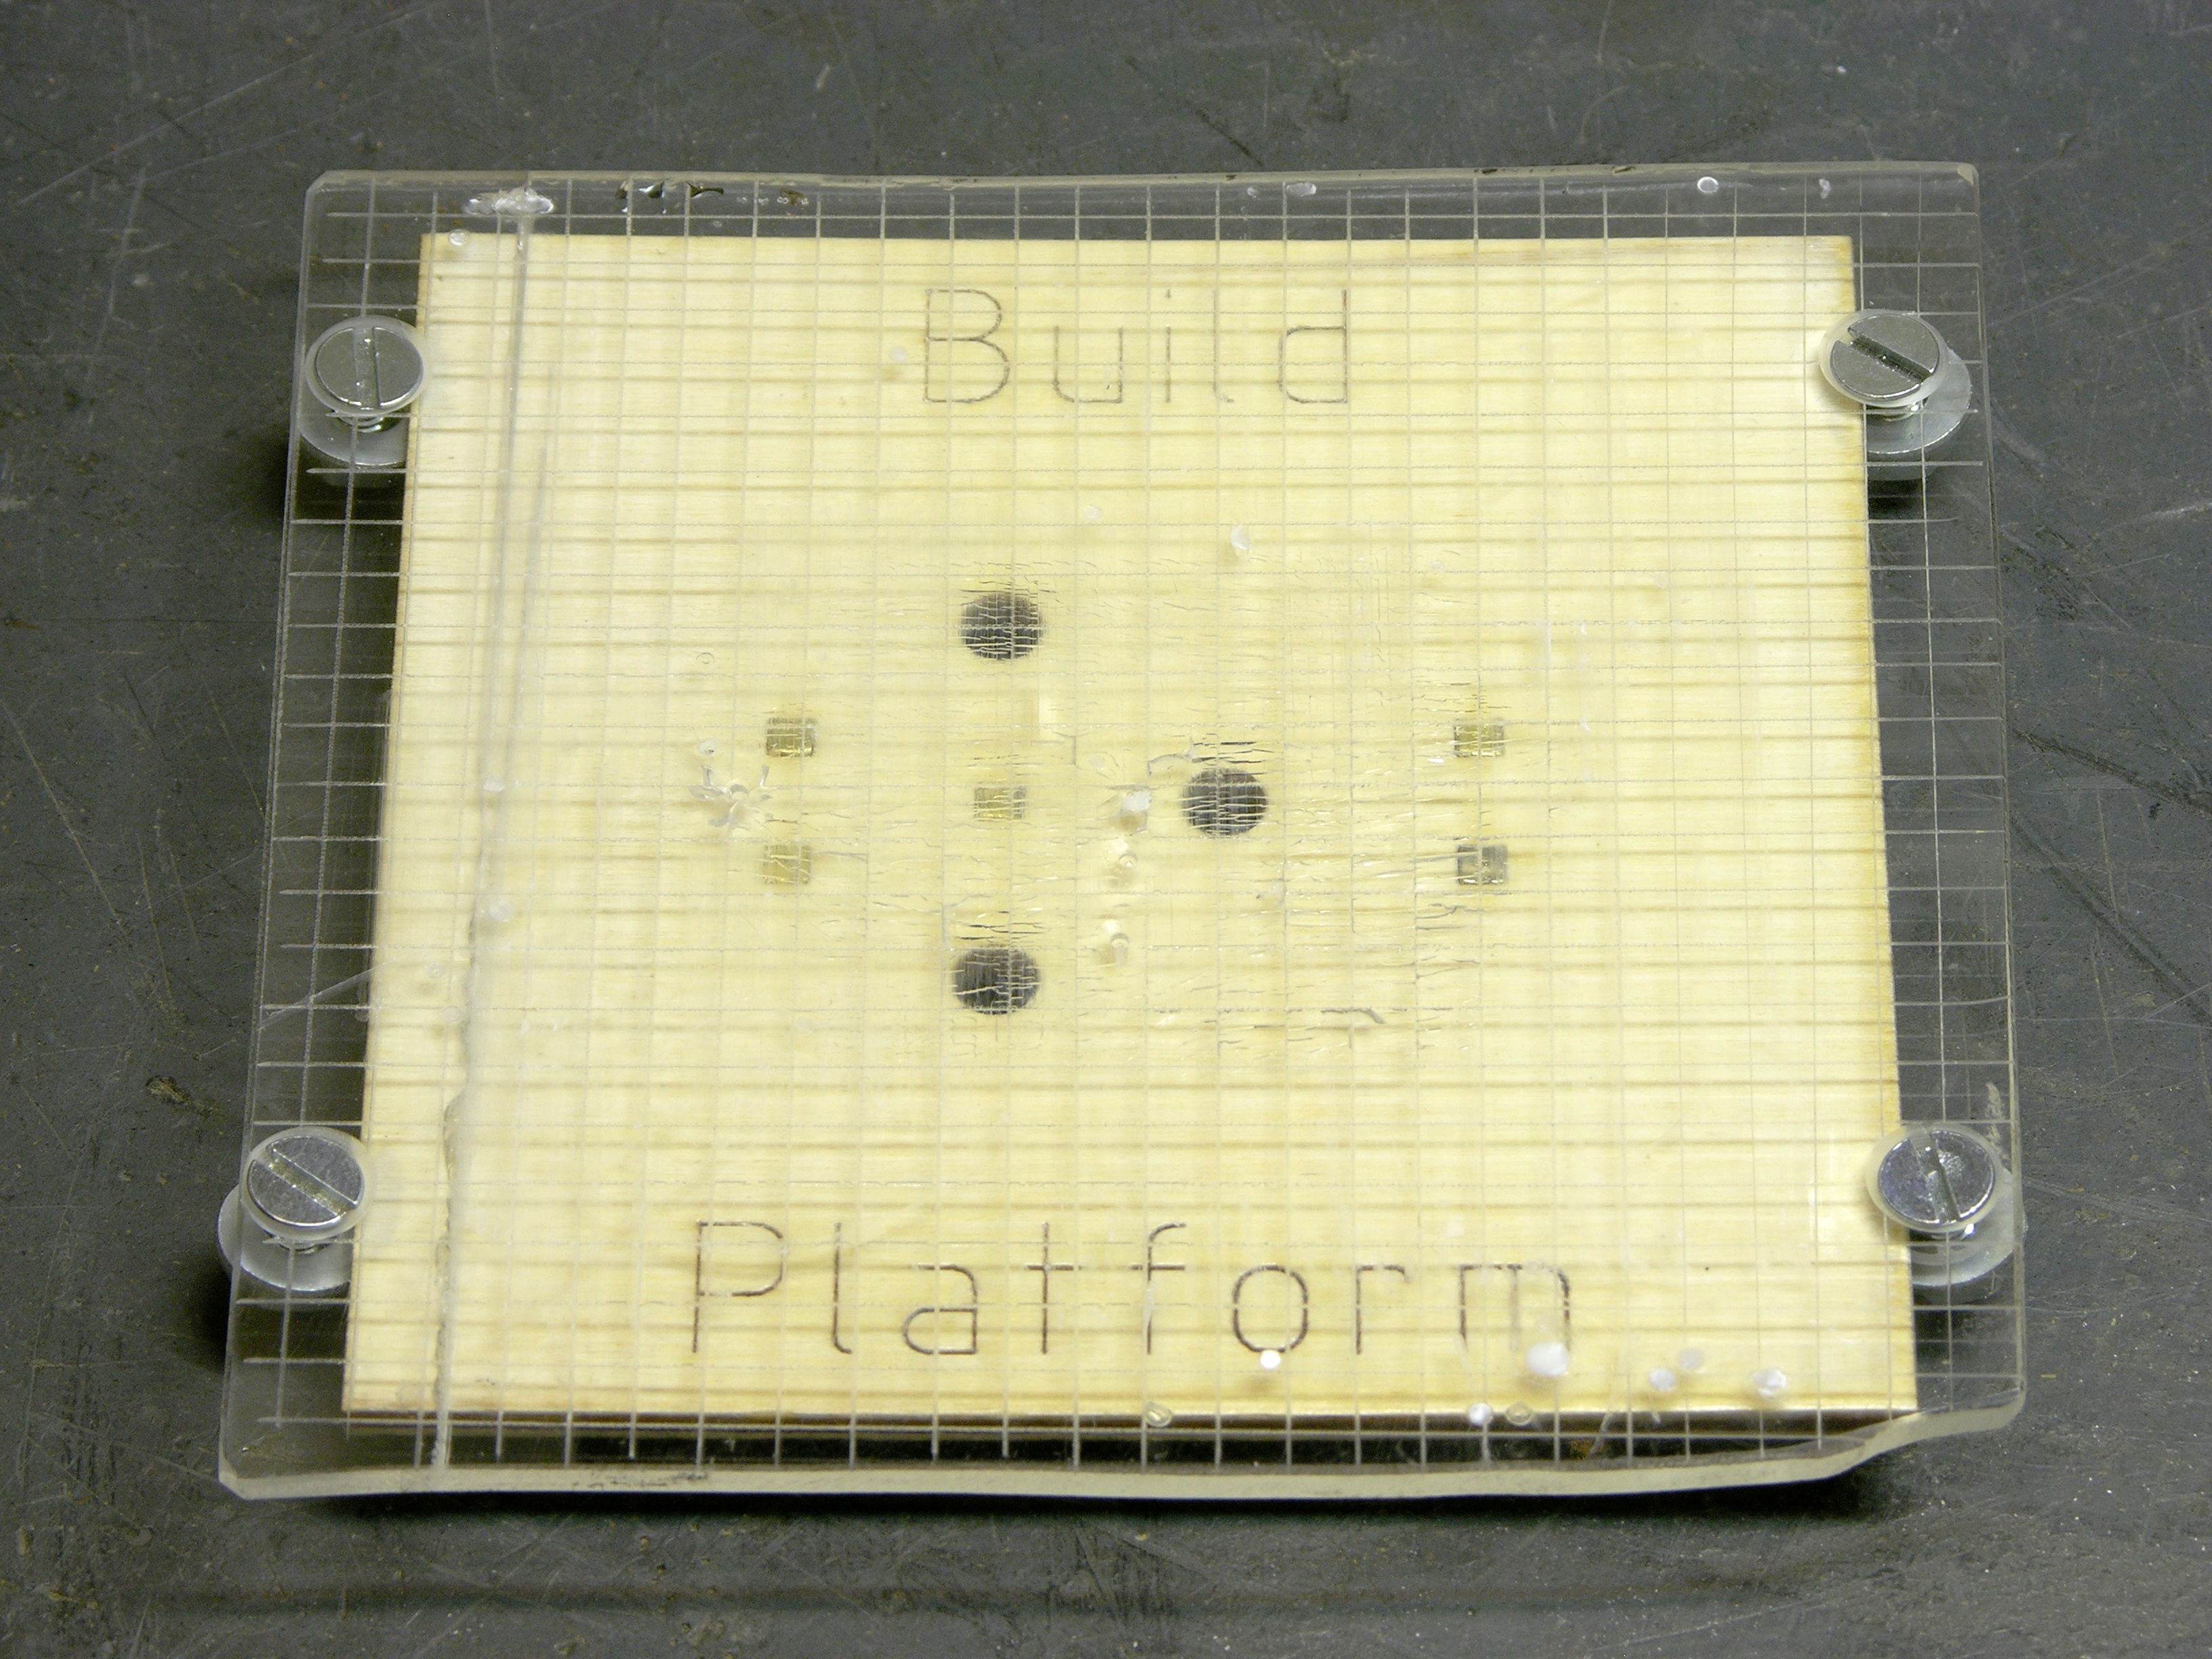
This is one of my first attempts after adding the heater. All of the burrs scraped off easily. (The model is updated to make the loop section thinner — that’s not some bizarro result of heating during the build.)
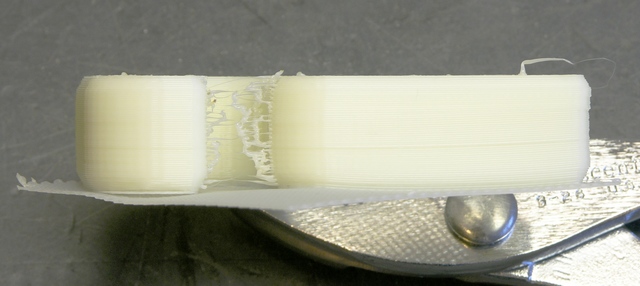
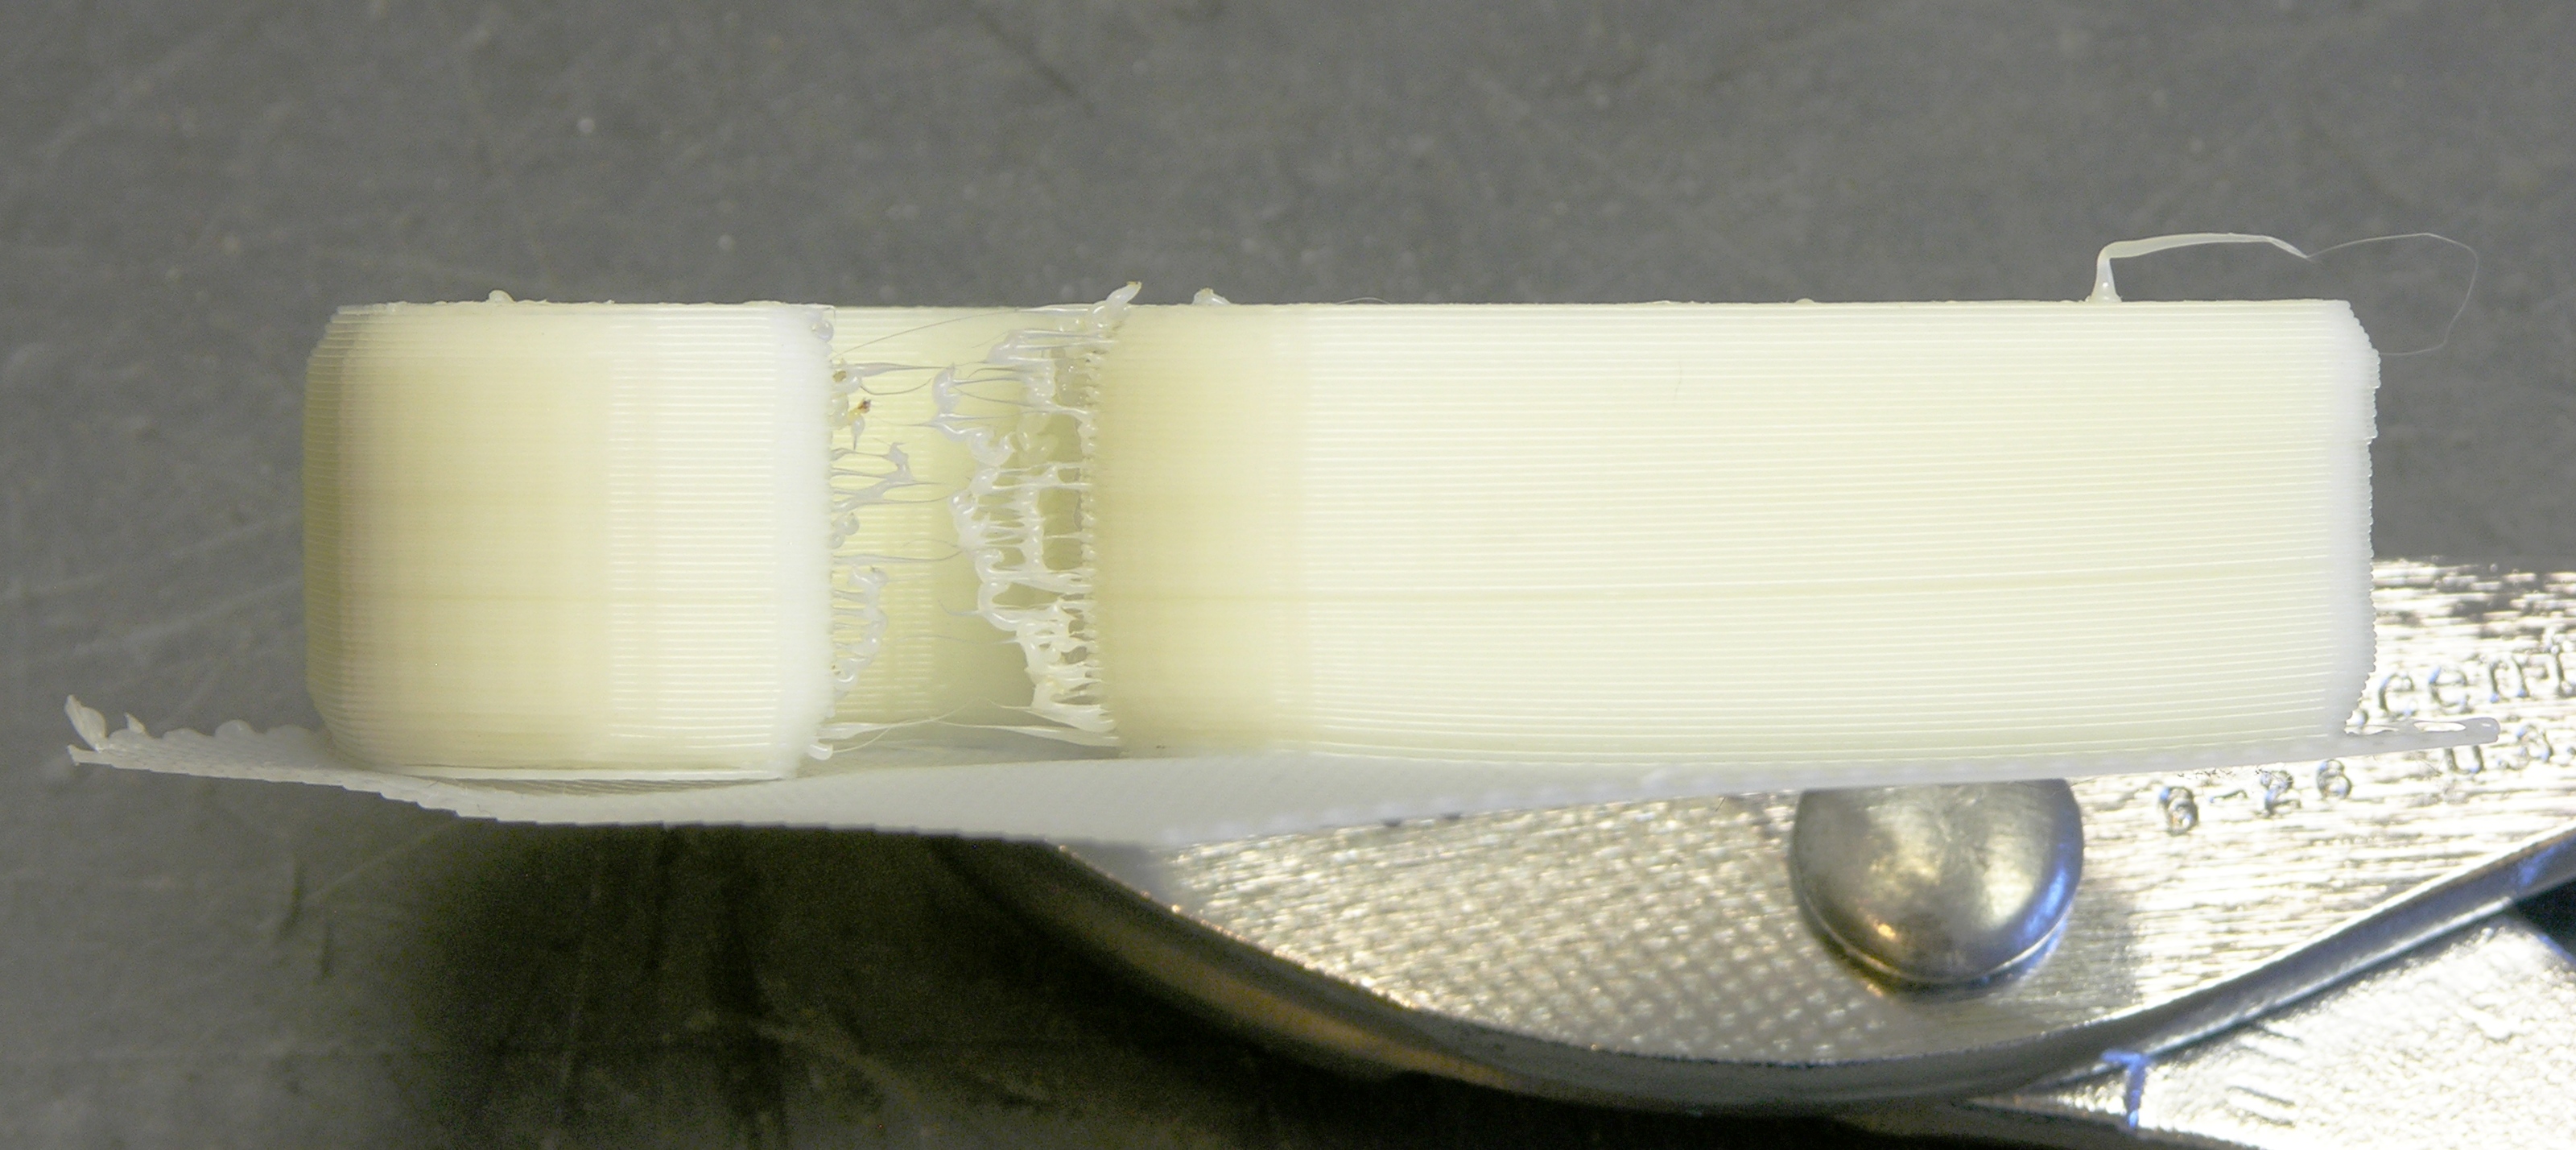
Shown on edge, you can see a little warping due to separation from the build platform at the far right and at the corner near the center, but overall not bad.
I’m still eager to try a heated build platform — I think it’ll keep the plastic warmer and prevent warping even further. But until then, I’m firing up the Curlytop Froufrou every time I want to print.