Archive for the ‘3D Printing’ Category

Voron 2.4 Build — Z Motors

Monday, November 22nd, 2021

Voron 2.4 3D printer Z motor assemblies

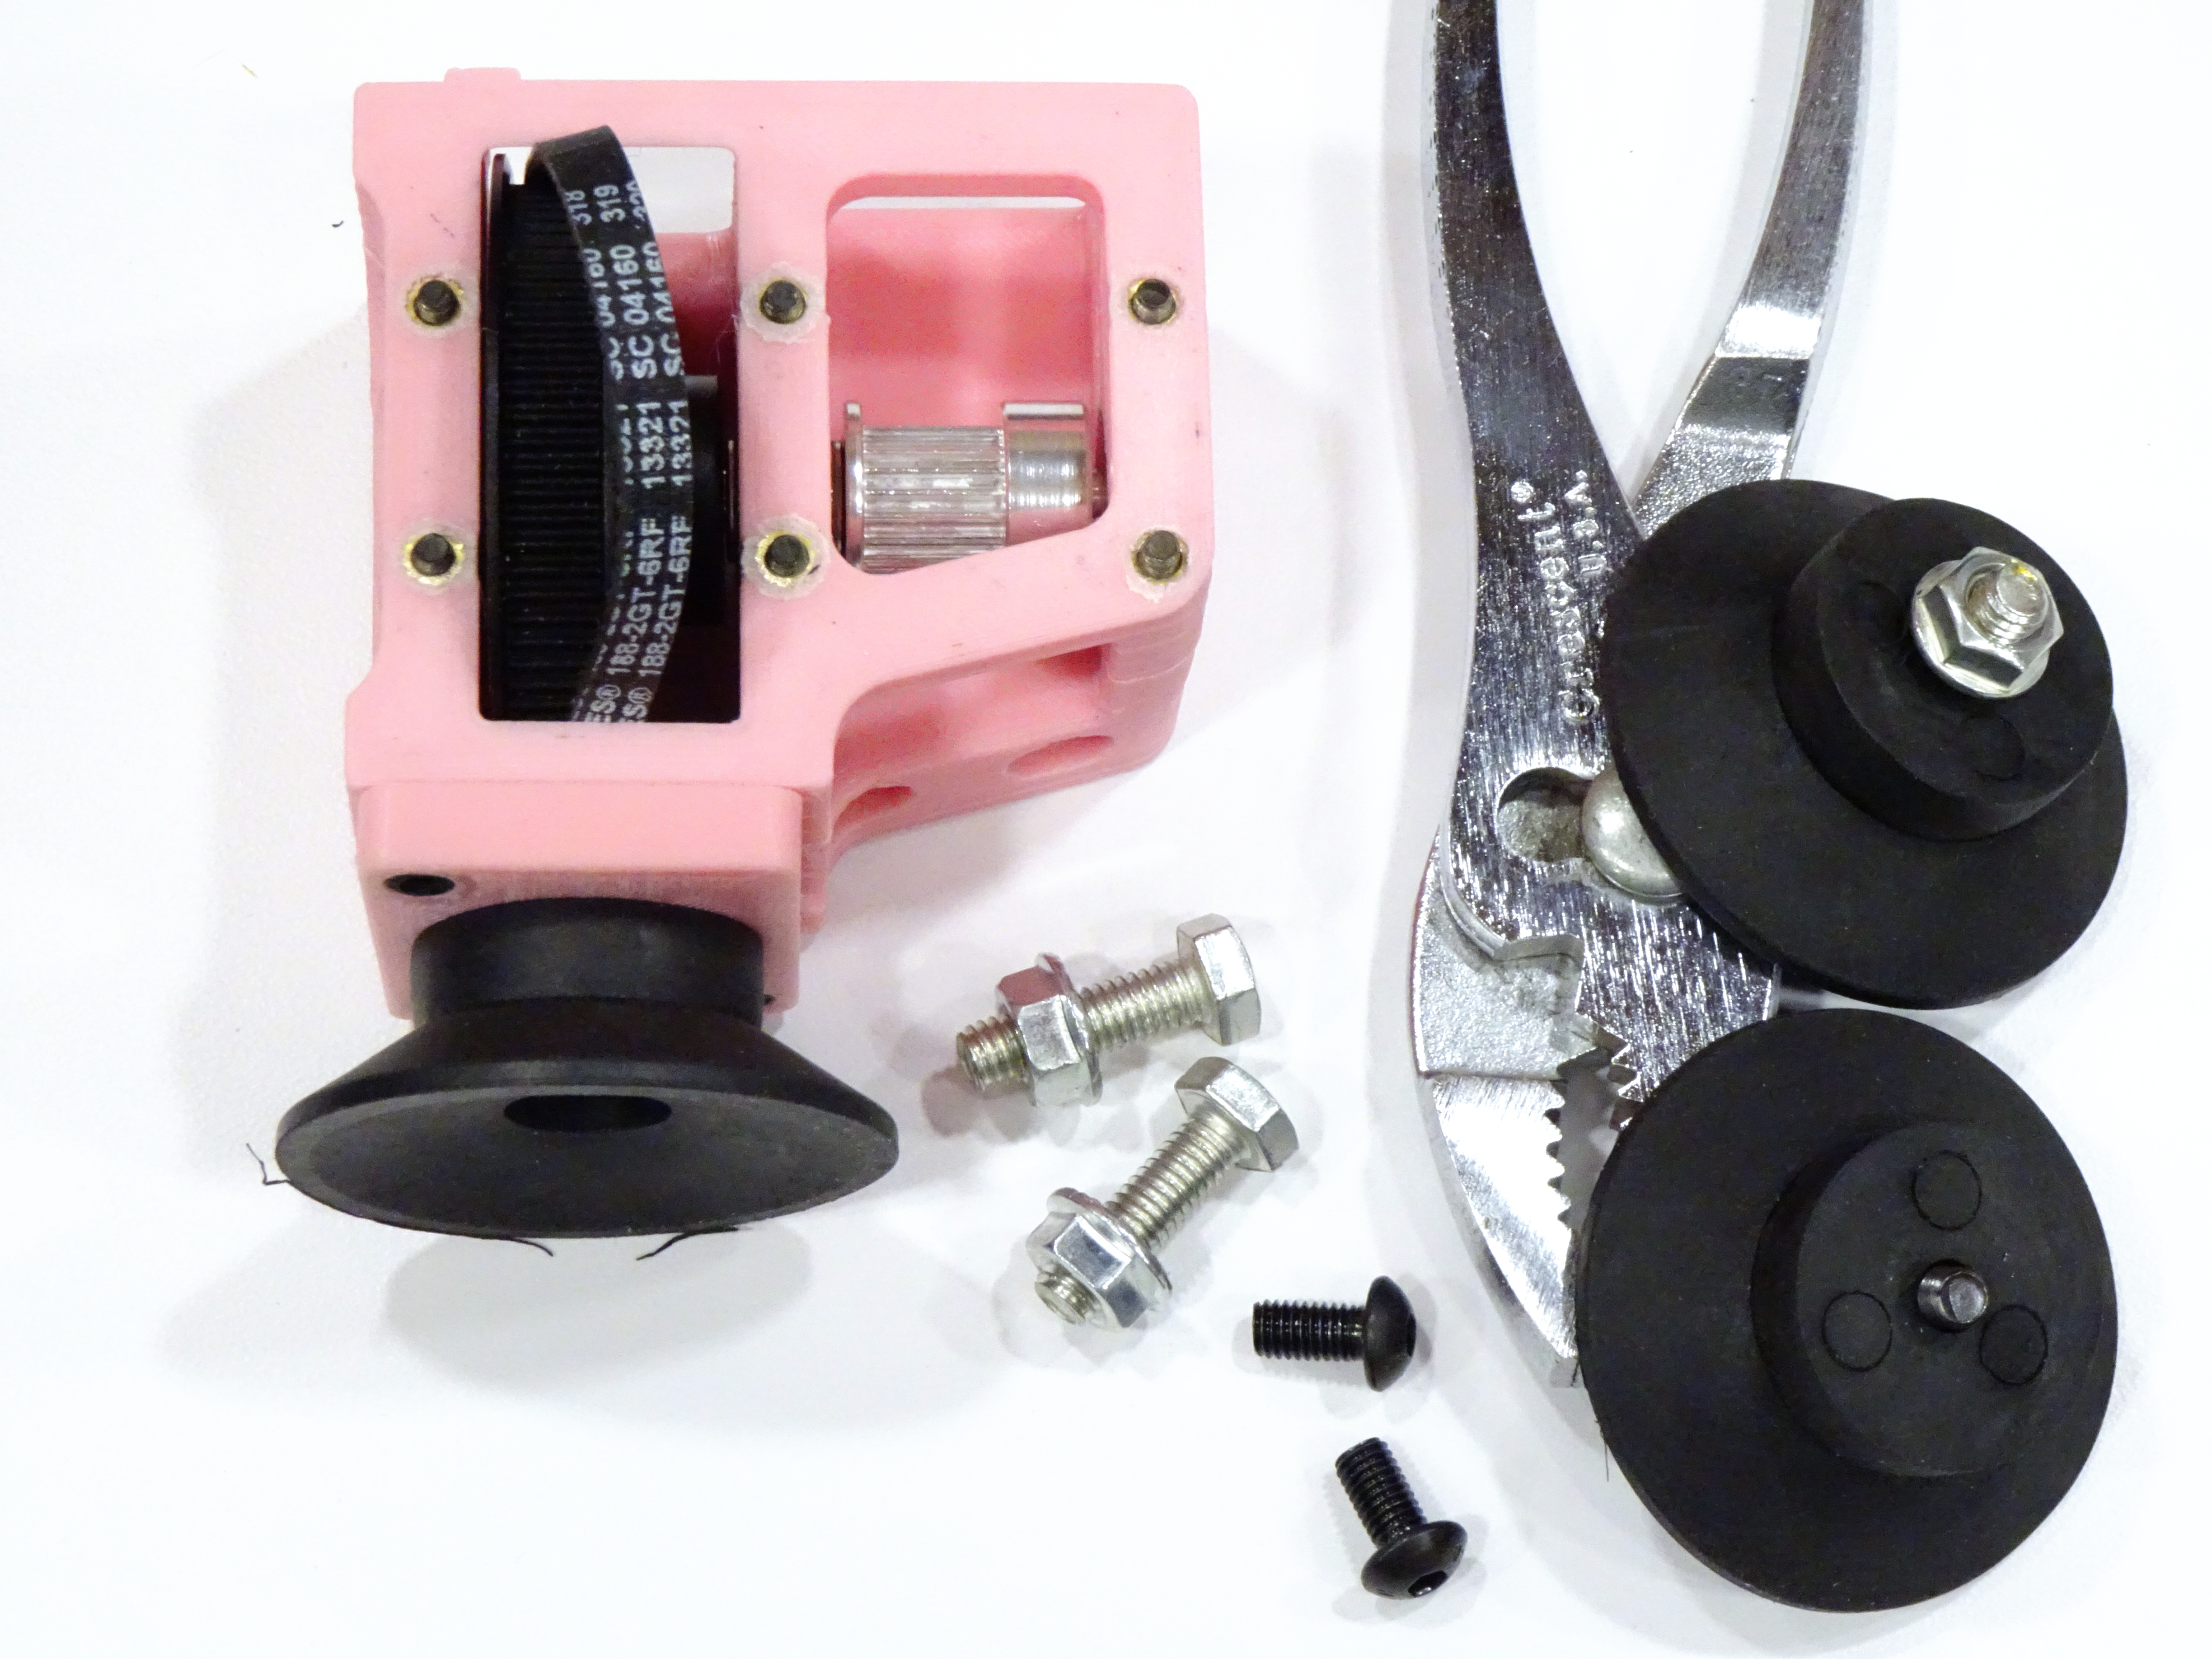
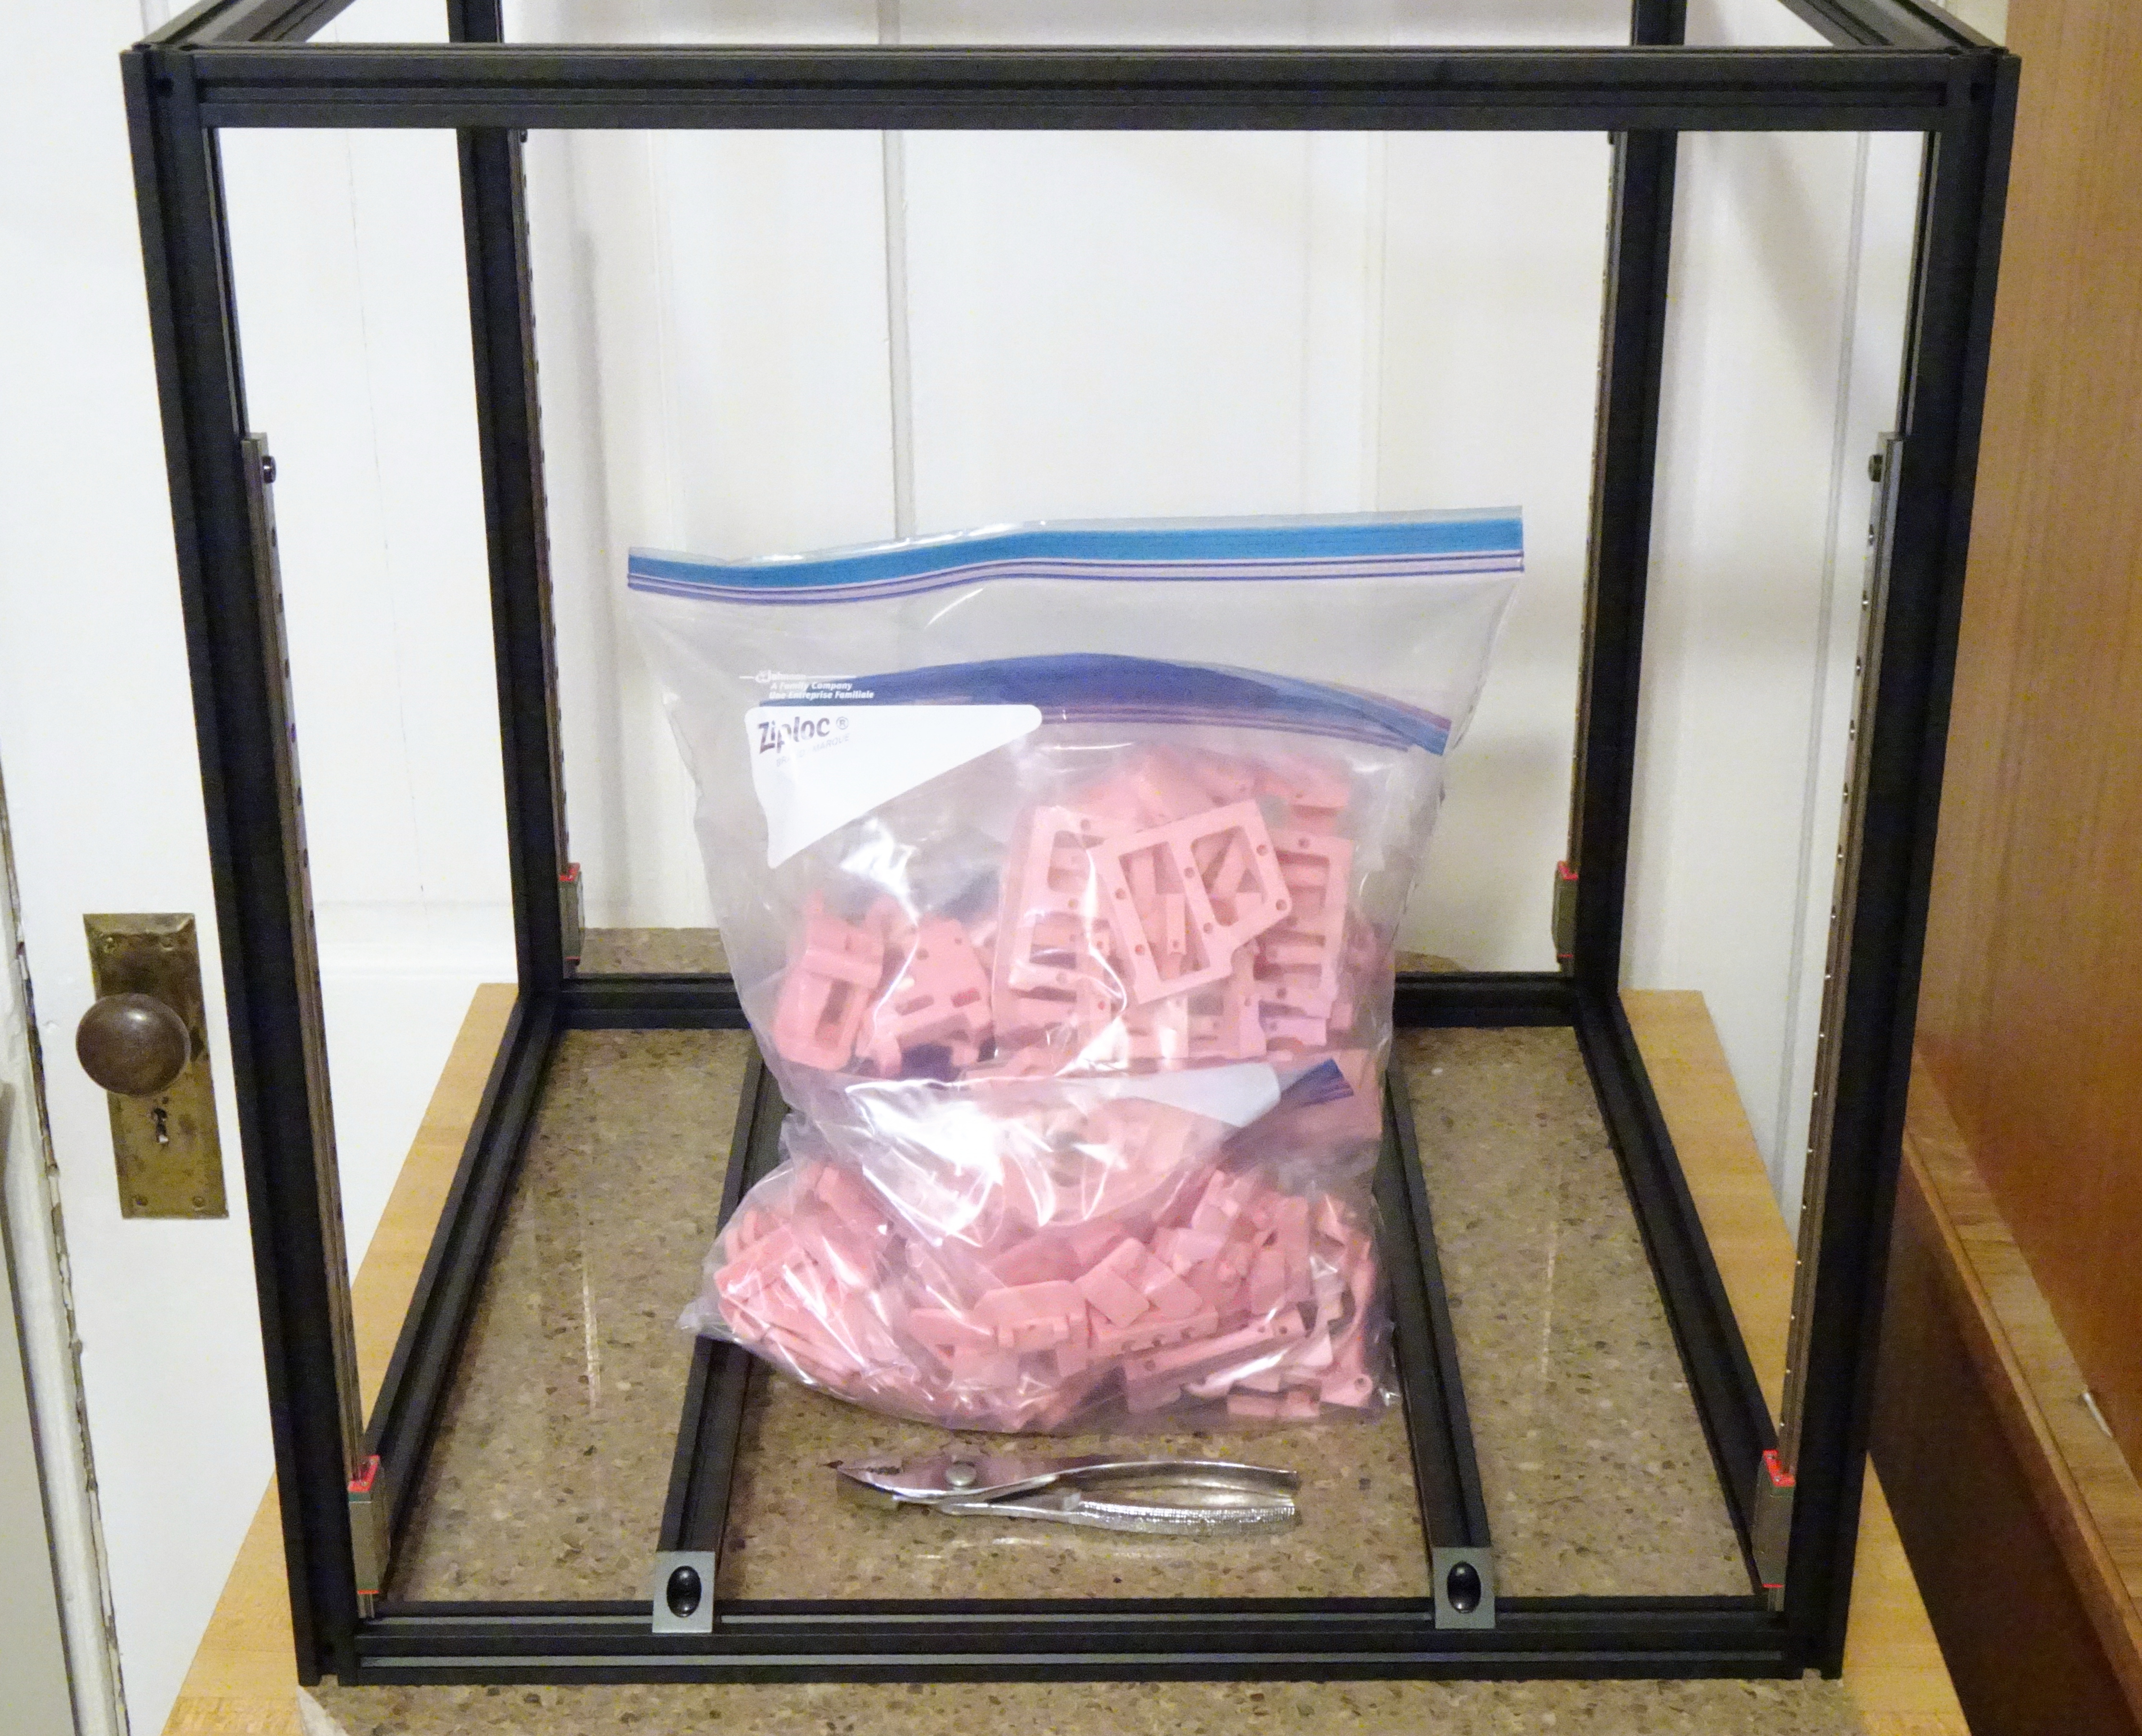
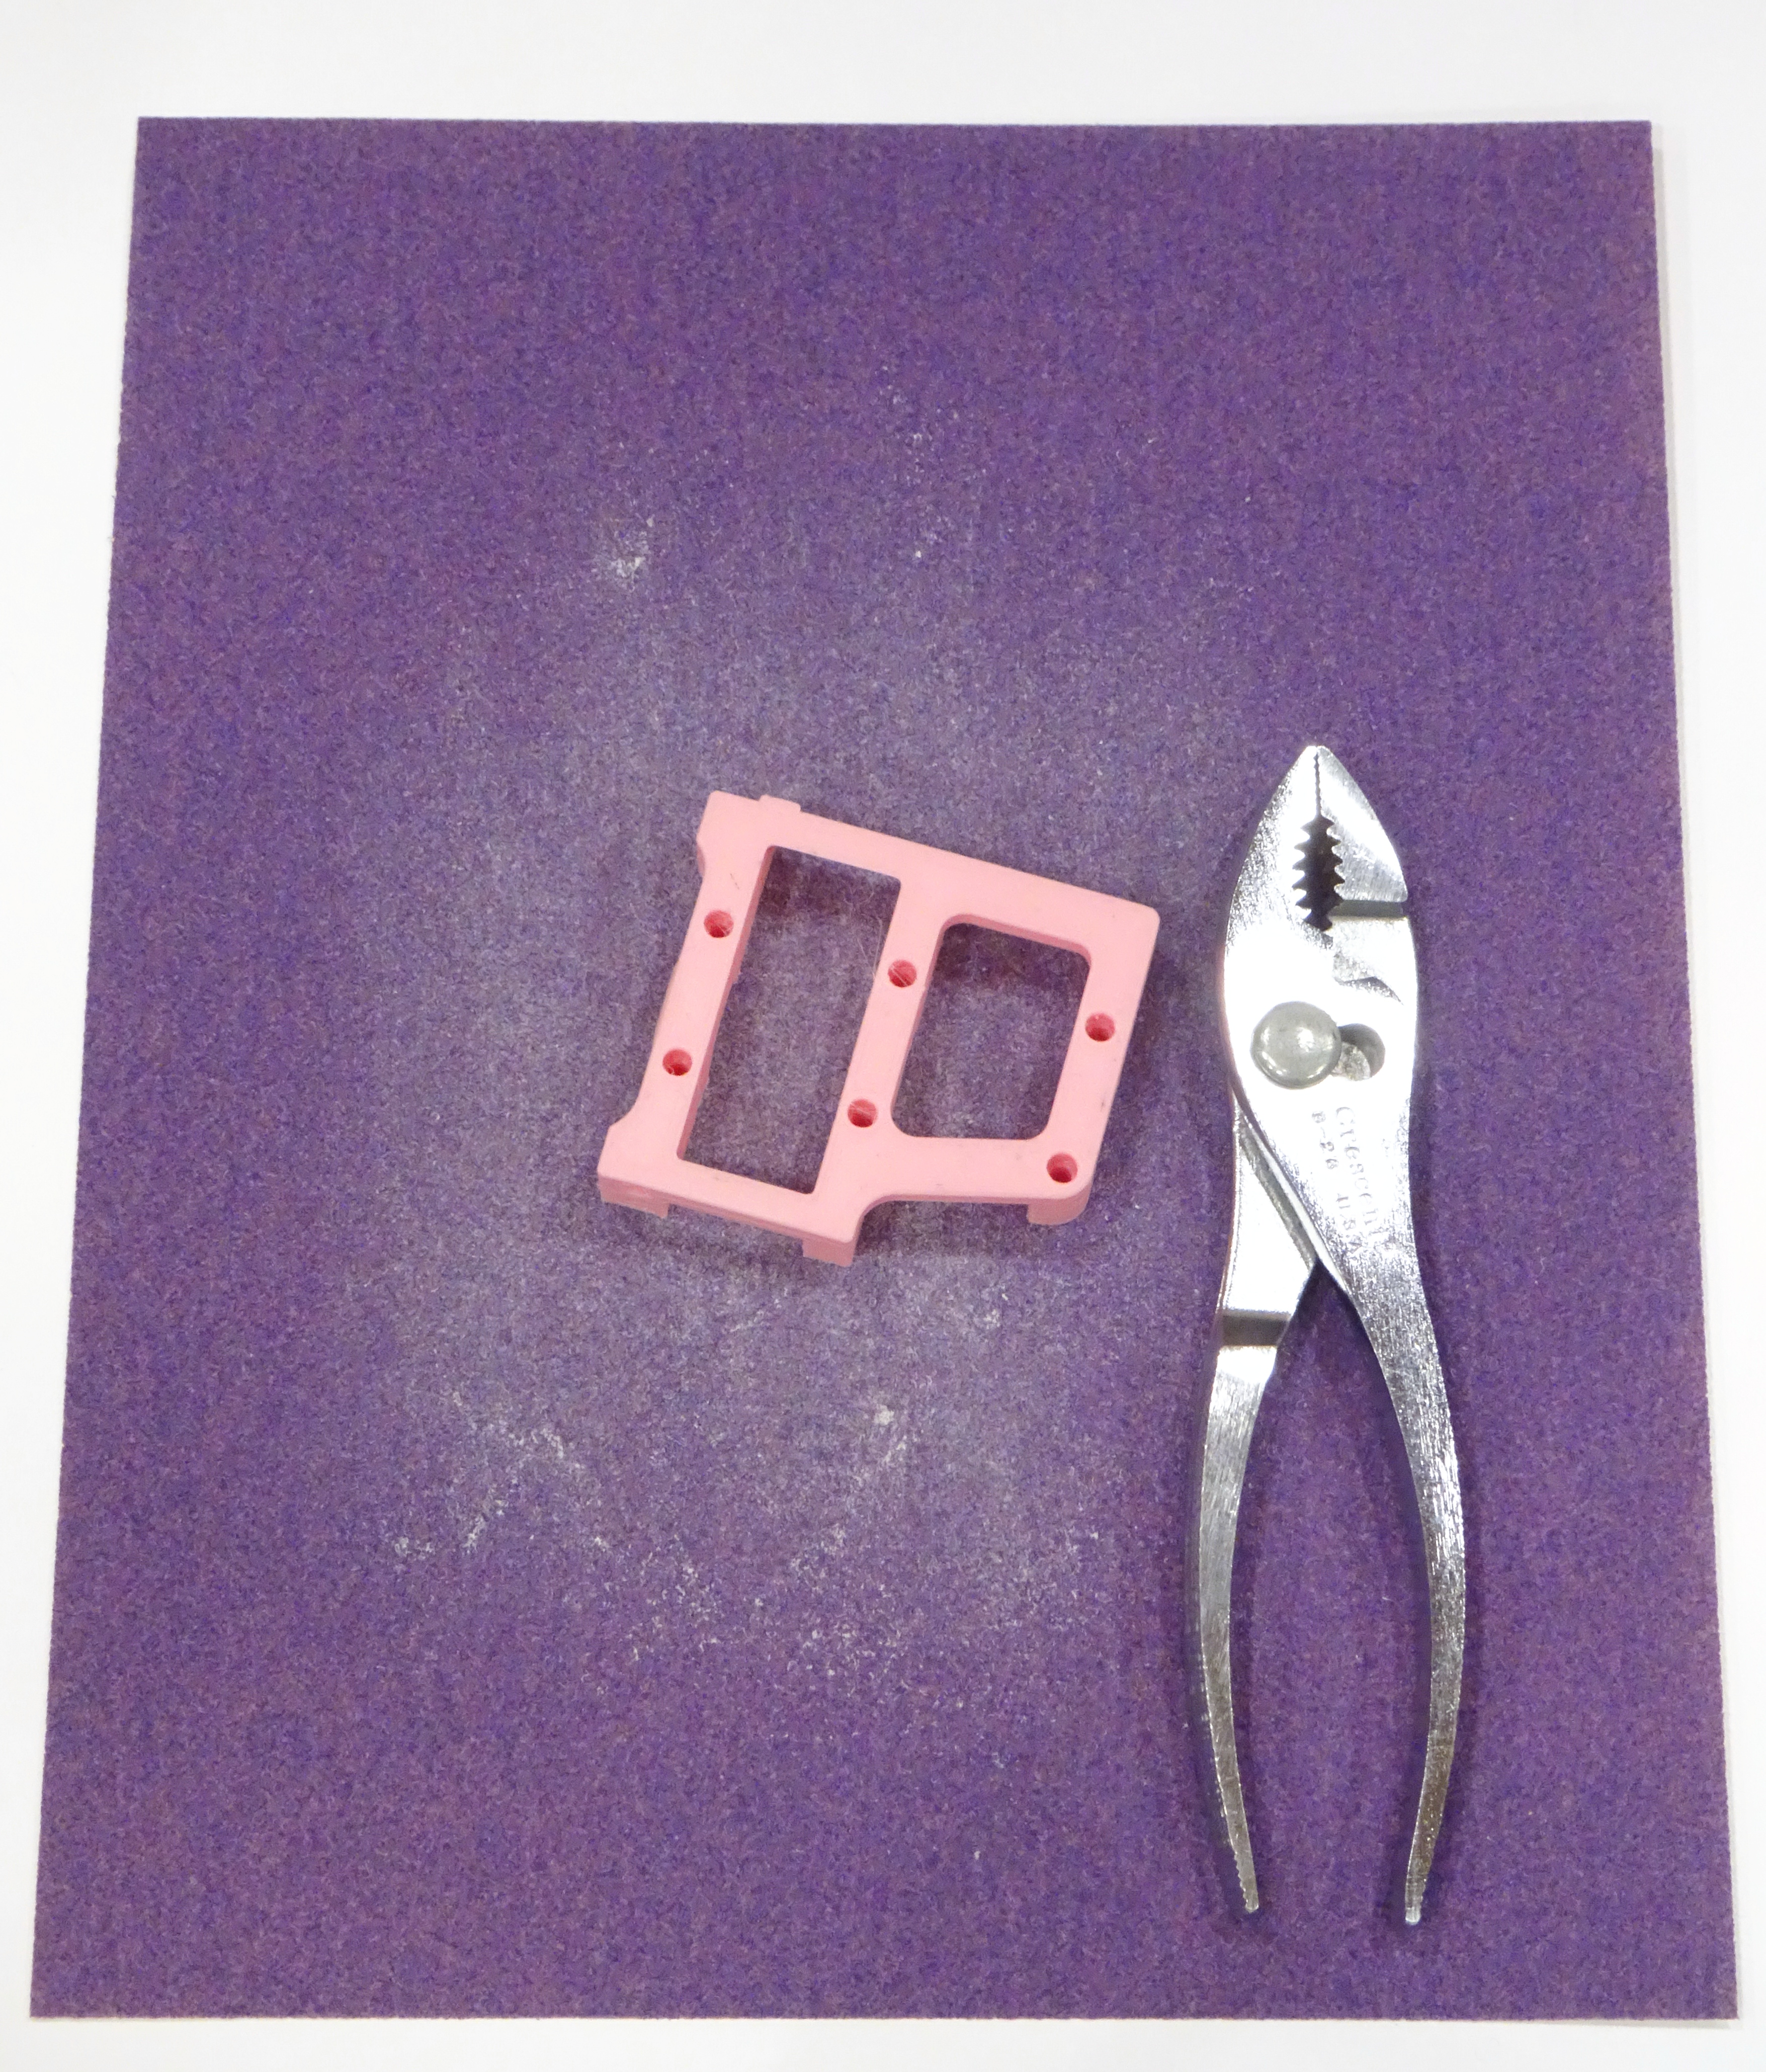
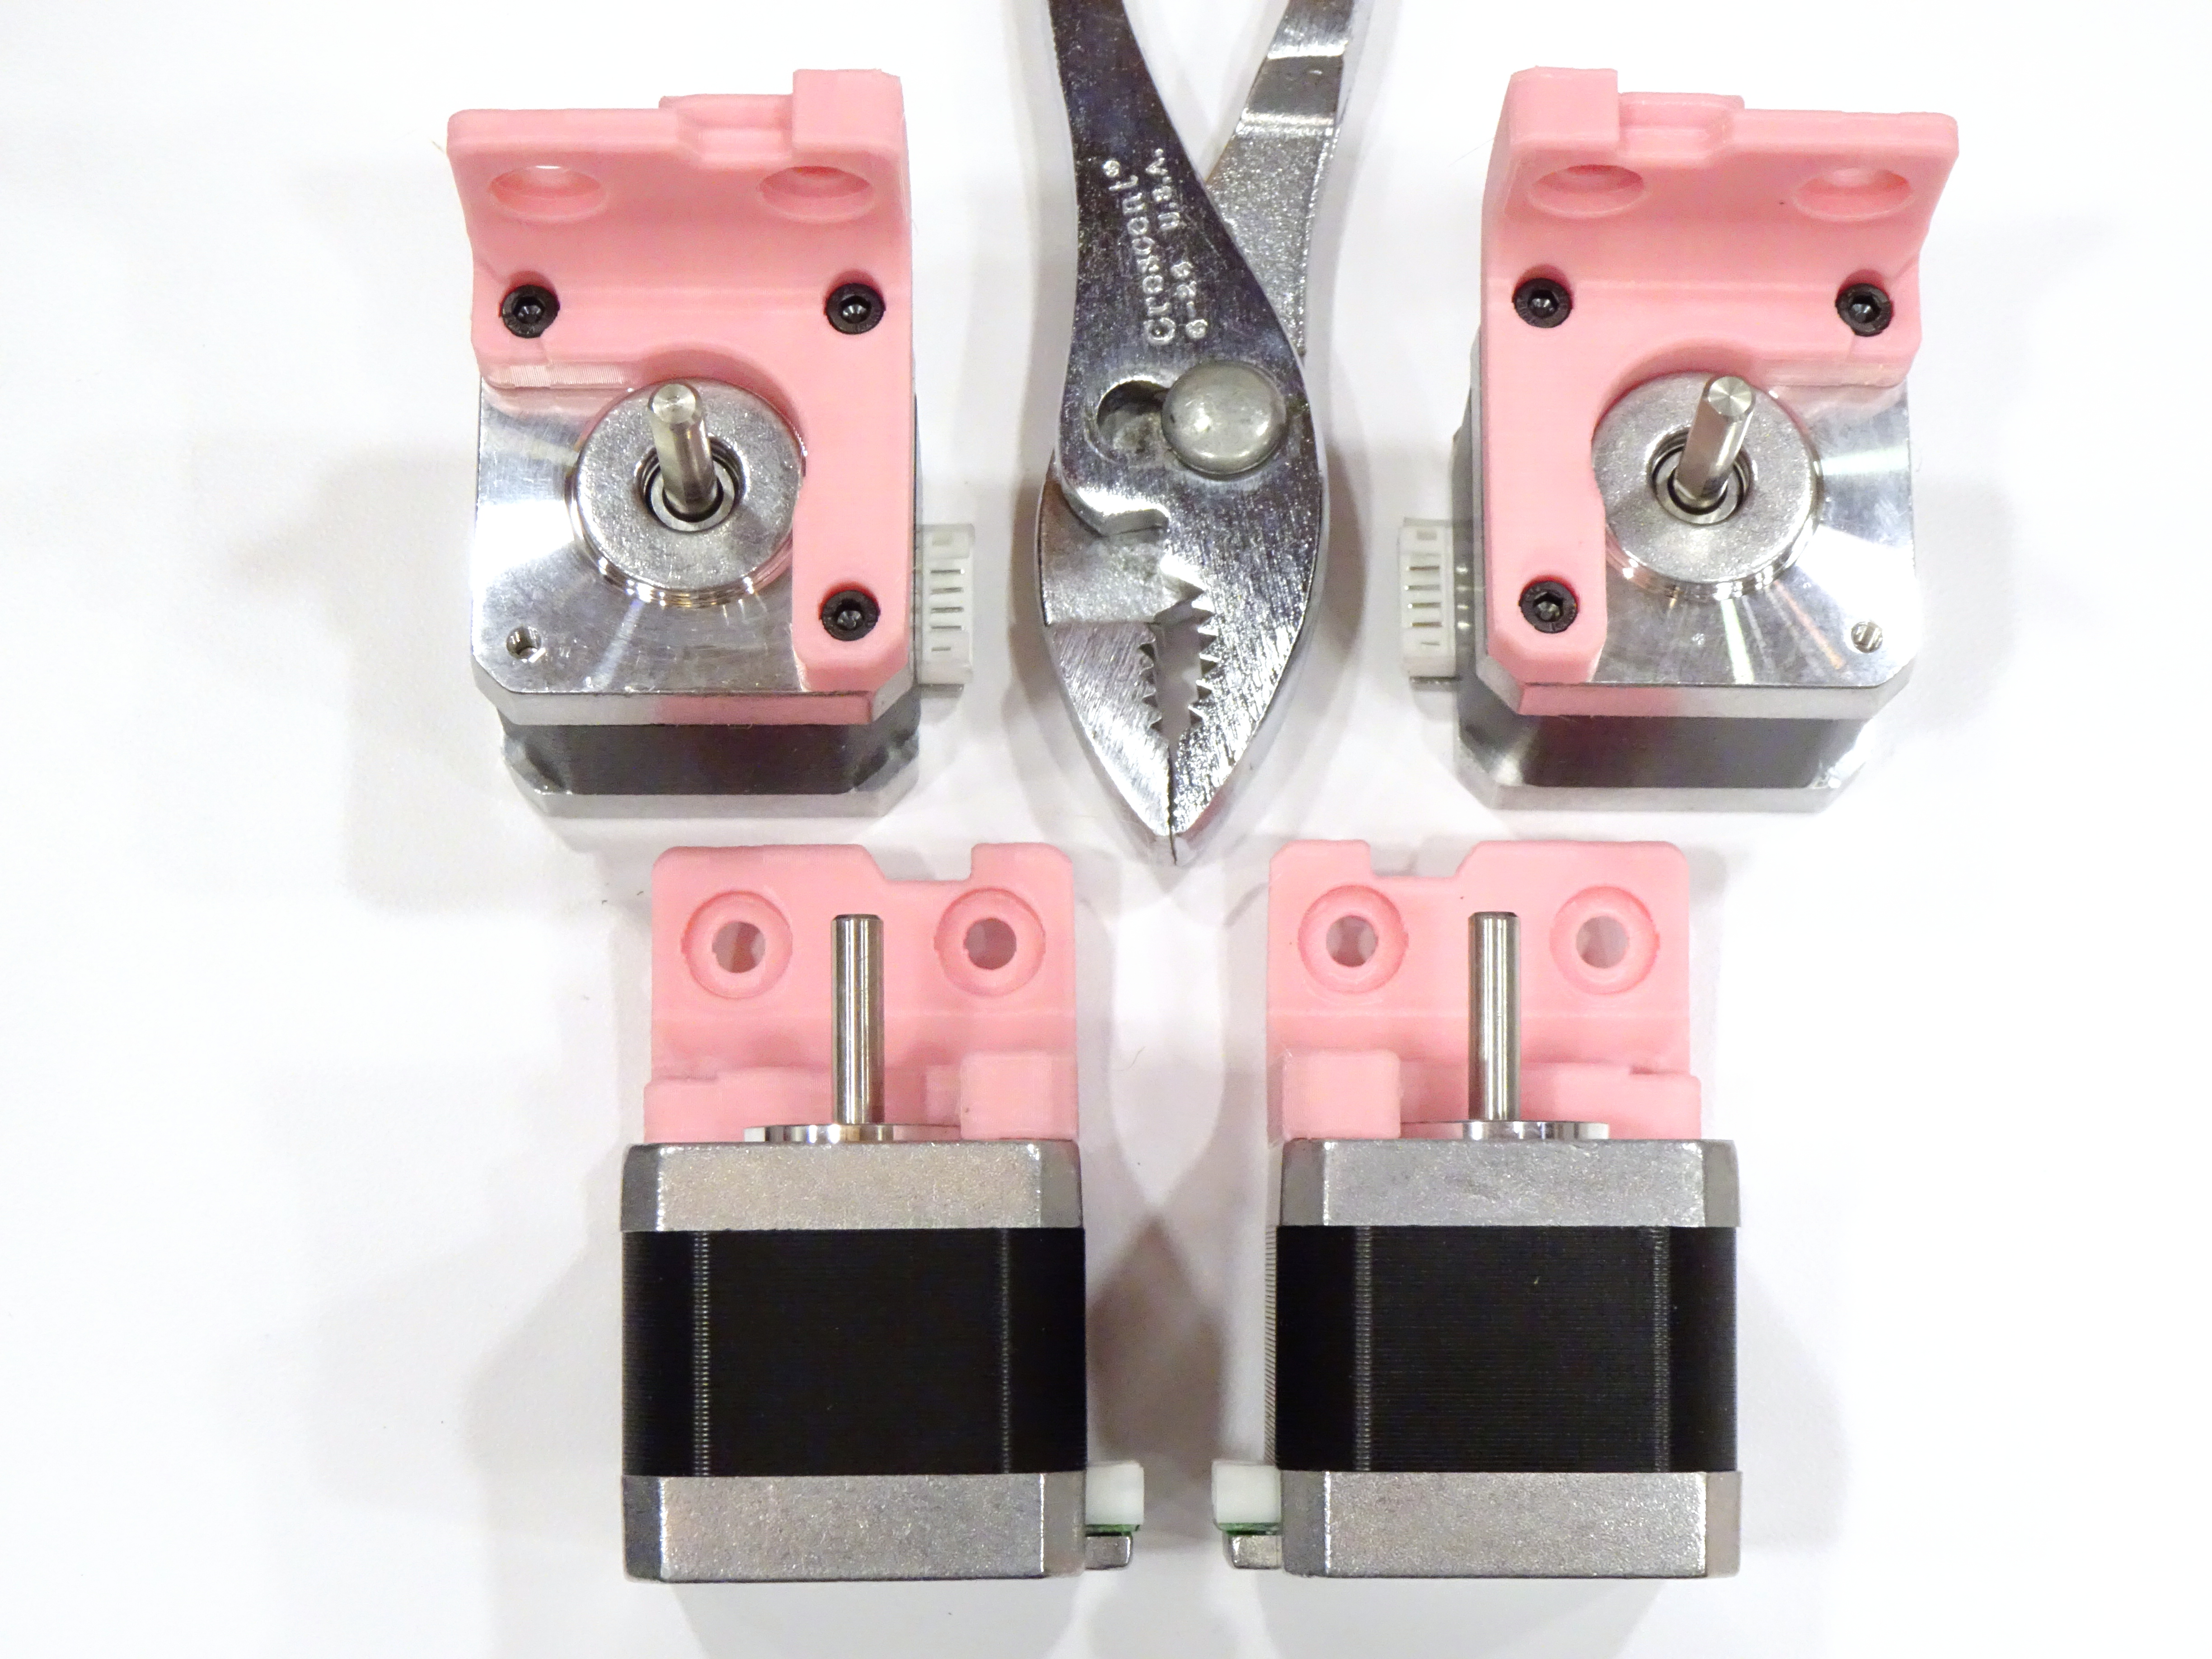
The Z motor mounts have been revised (shown here) since the assembly manual was prepared (not shown here).

The assembly manual shows, but doesn’t emphasize, that each motor’s cable connection needs to face as shown here relative to the mount or the cables will be unhappy later.

Voron 2.4 3D printer Z motor and pulleys installed

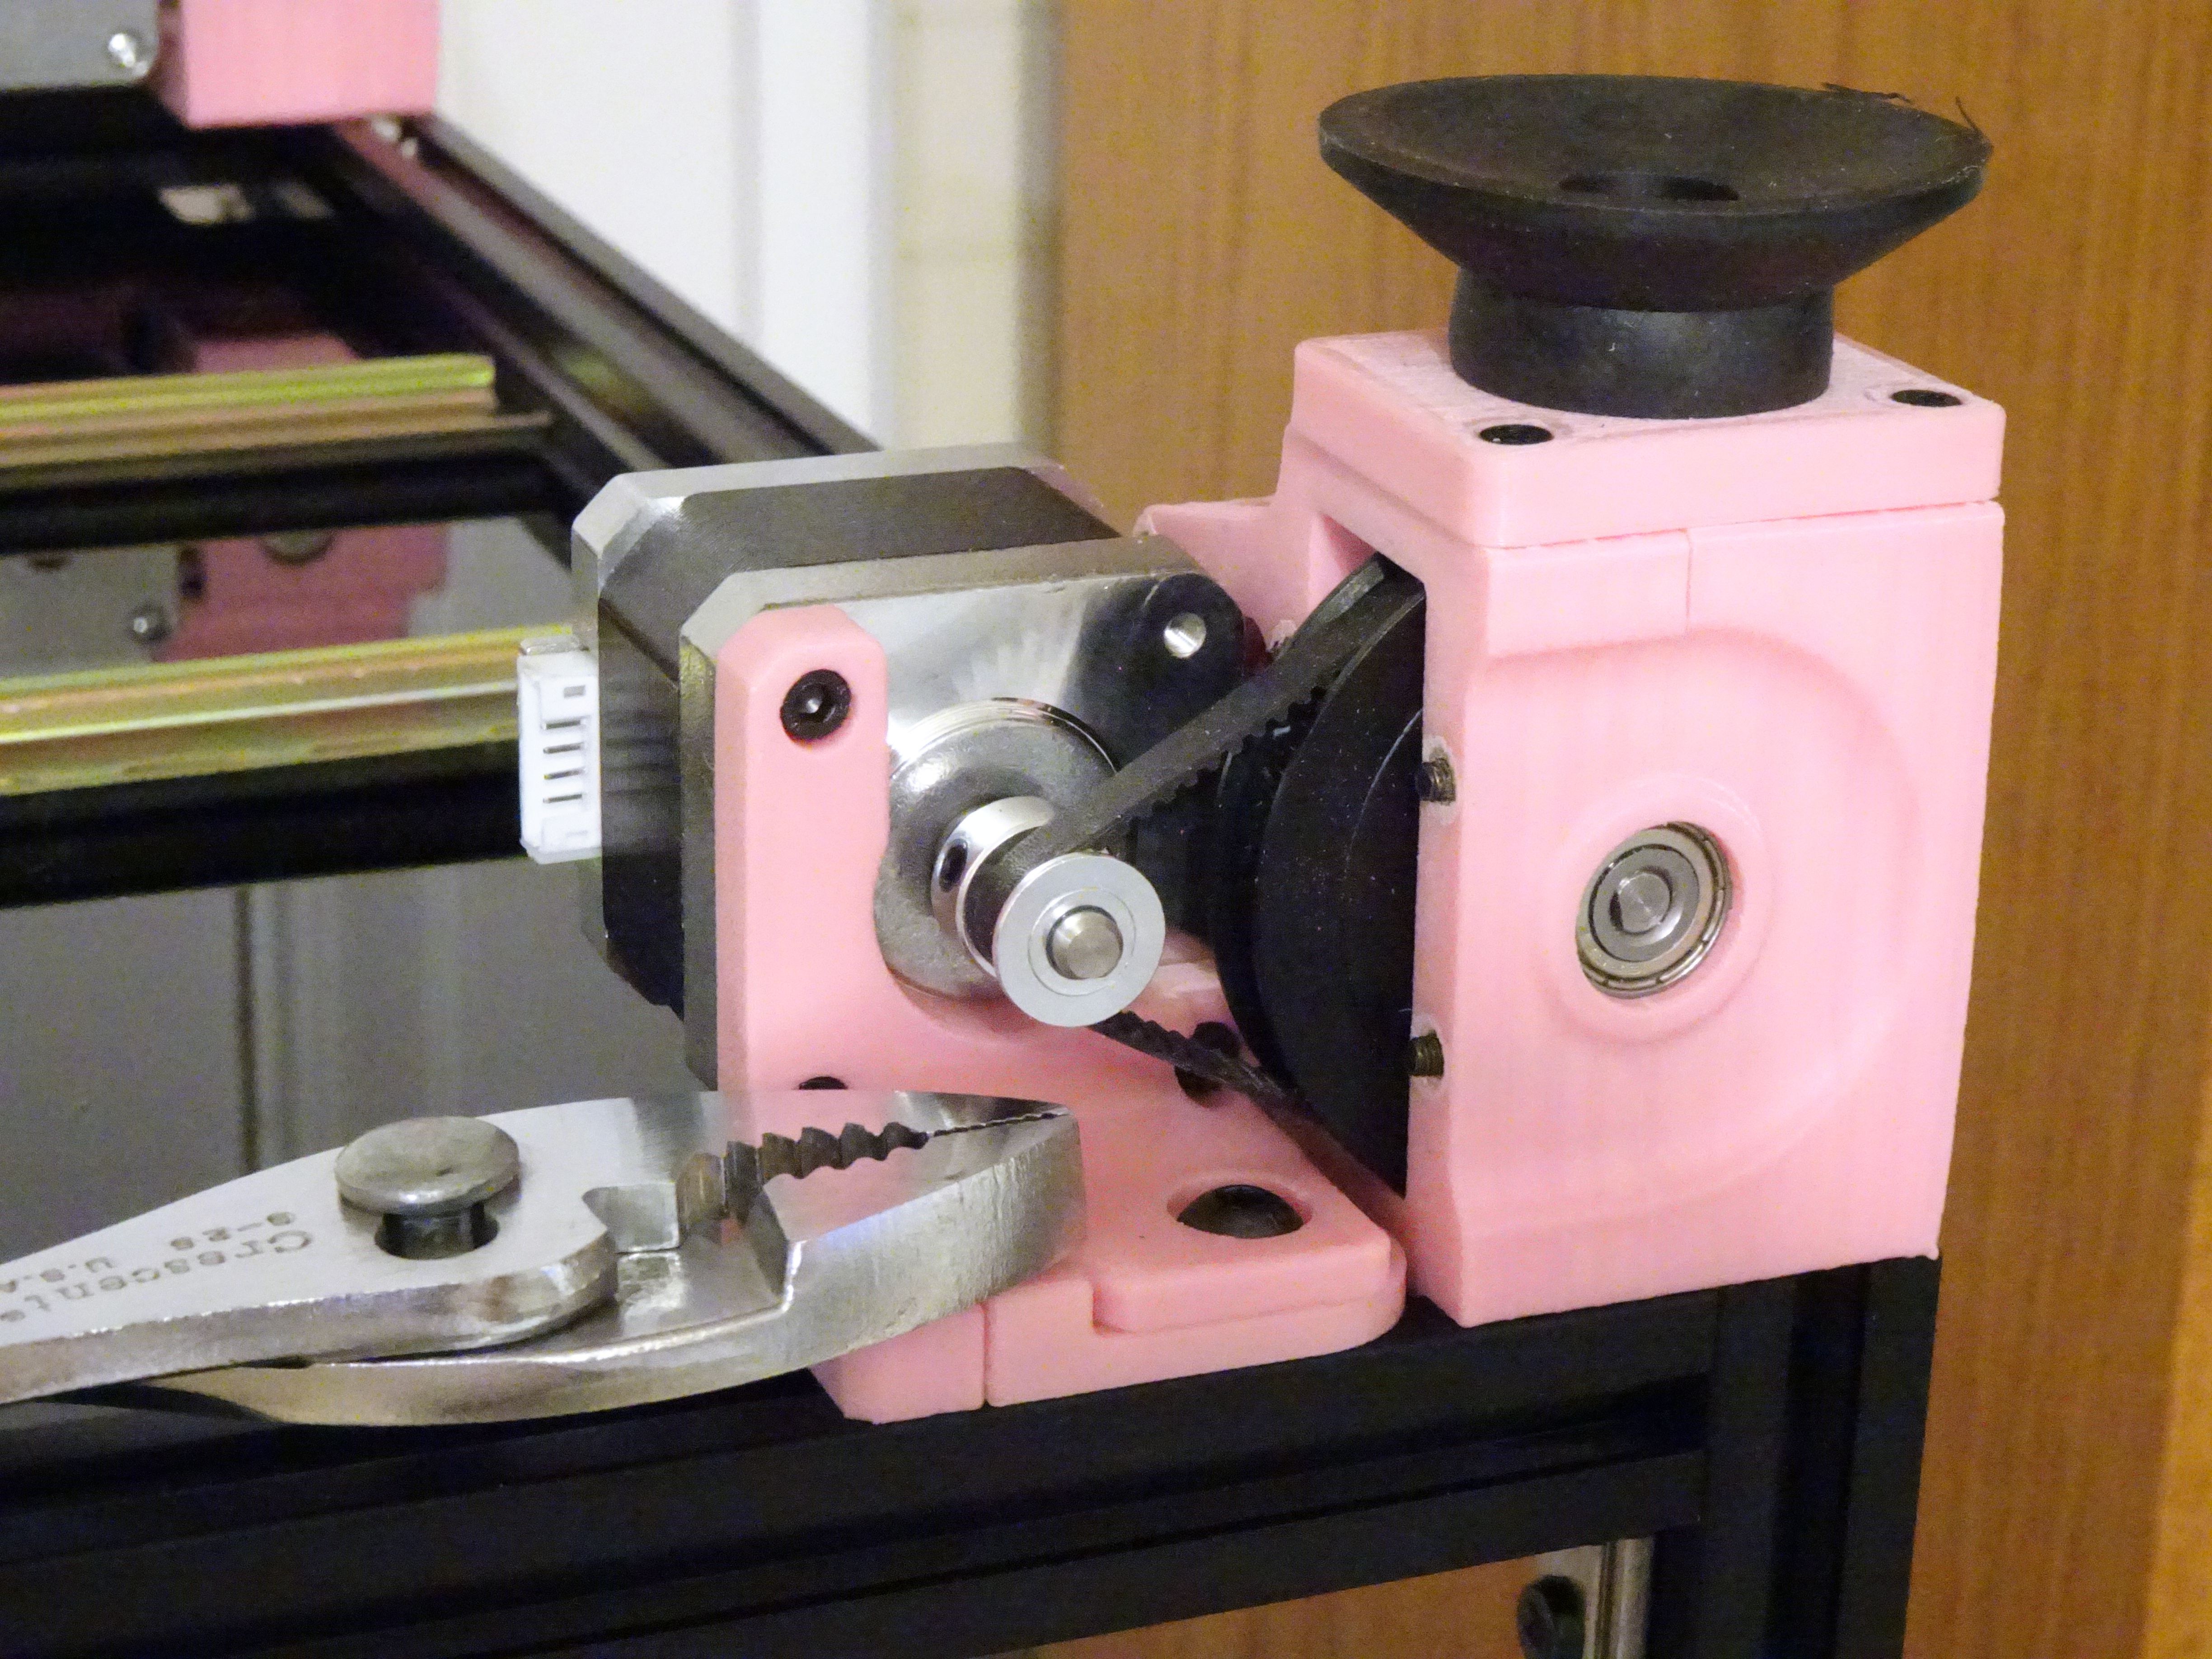
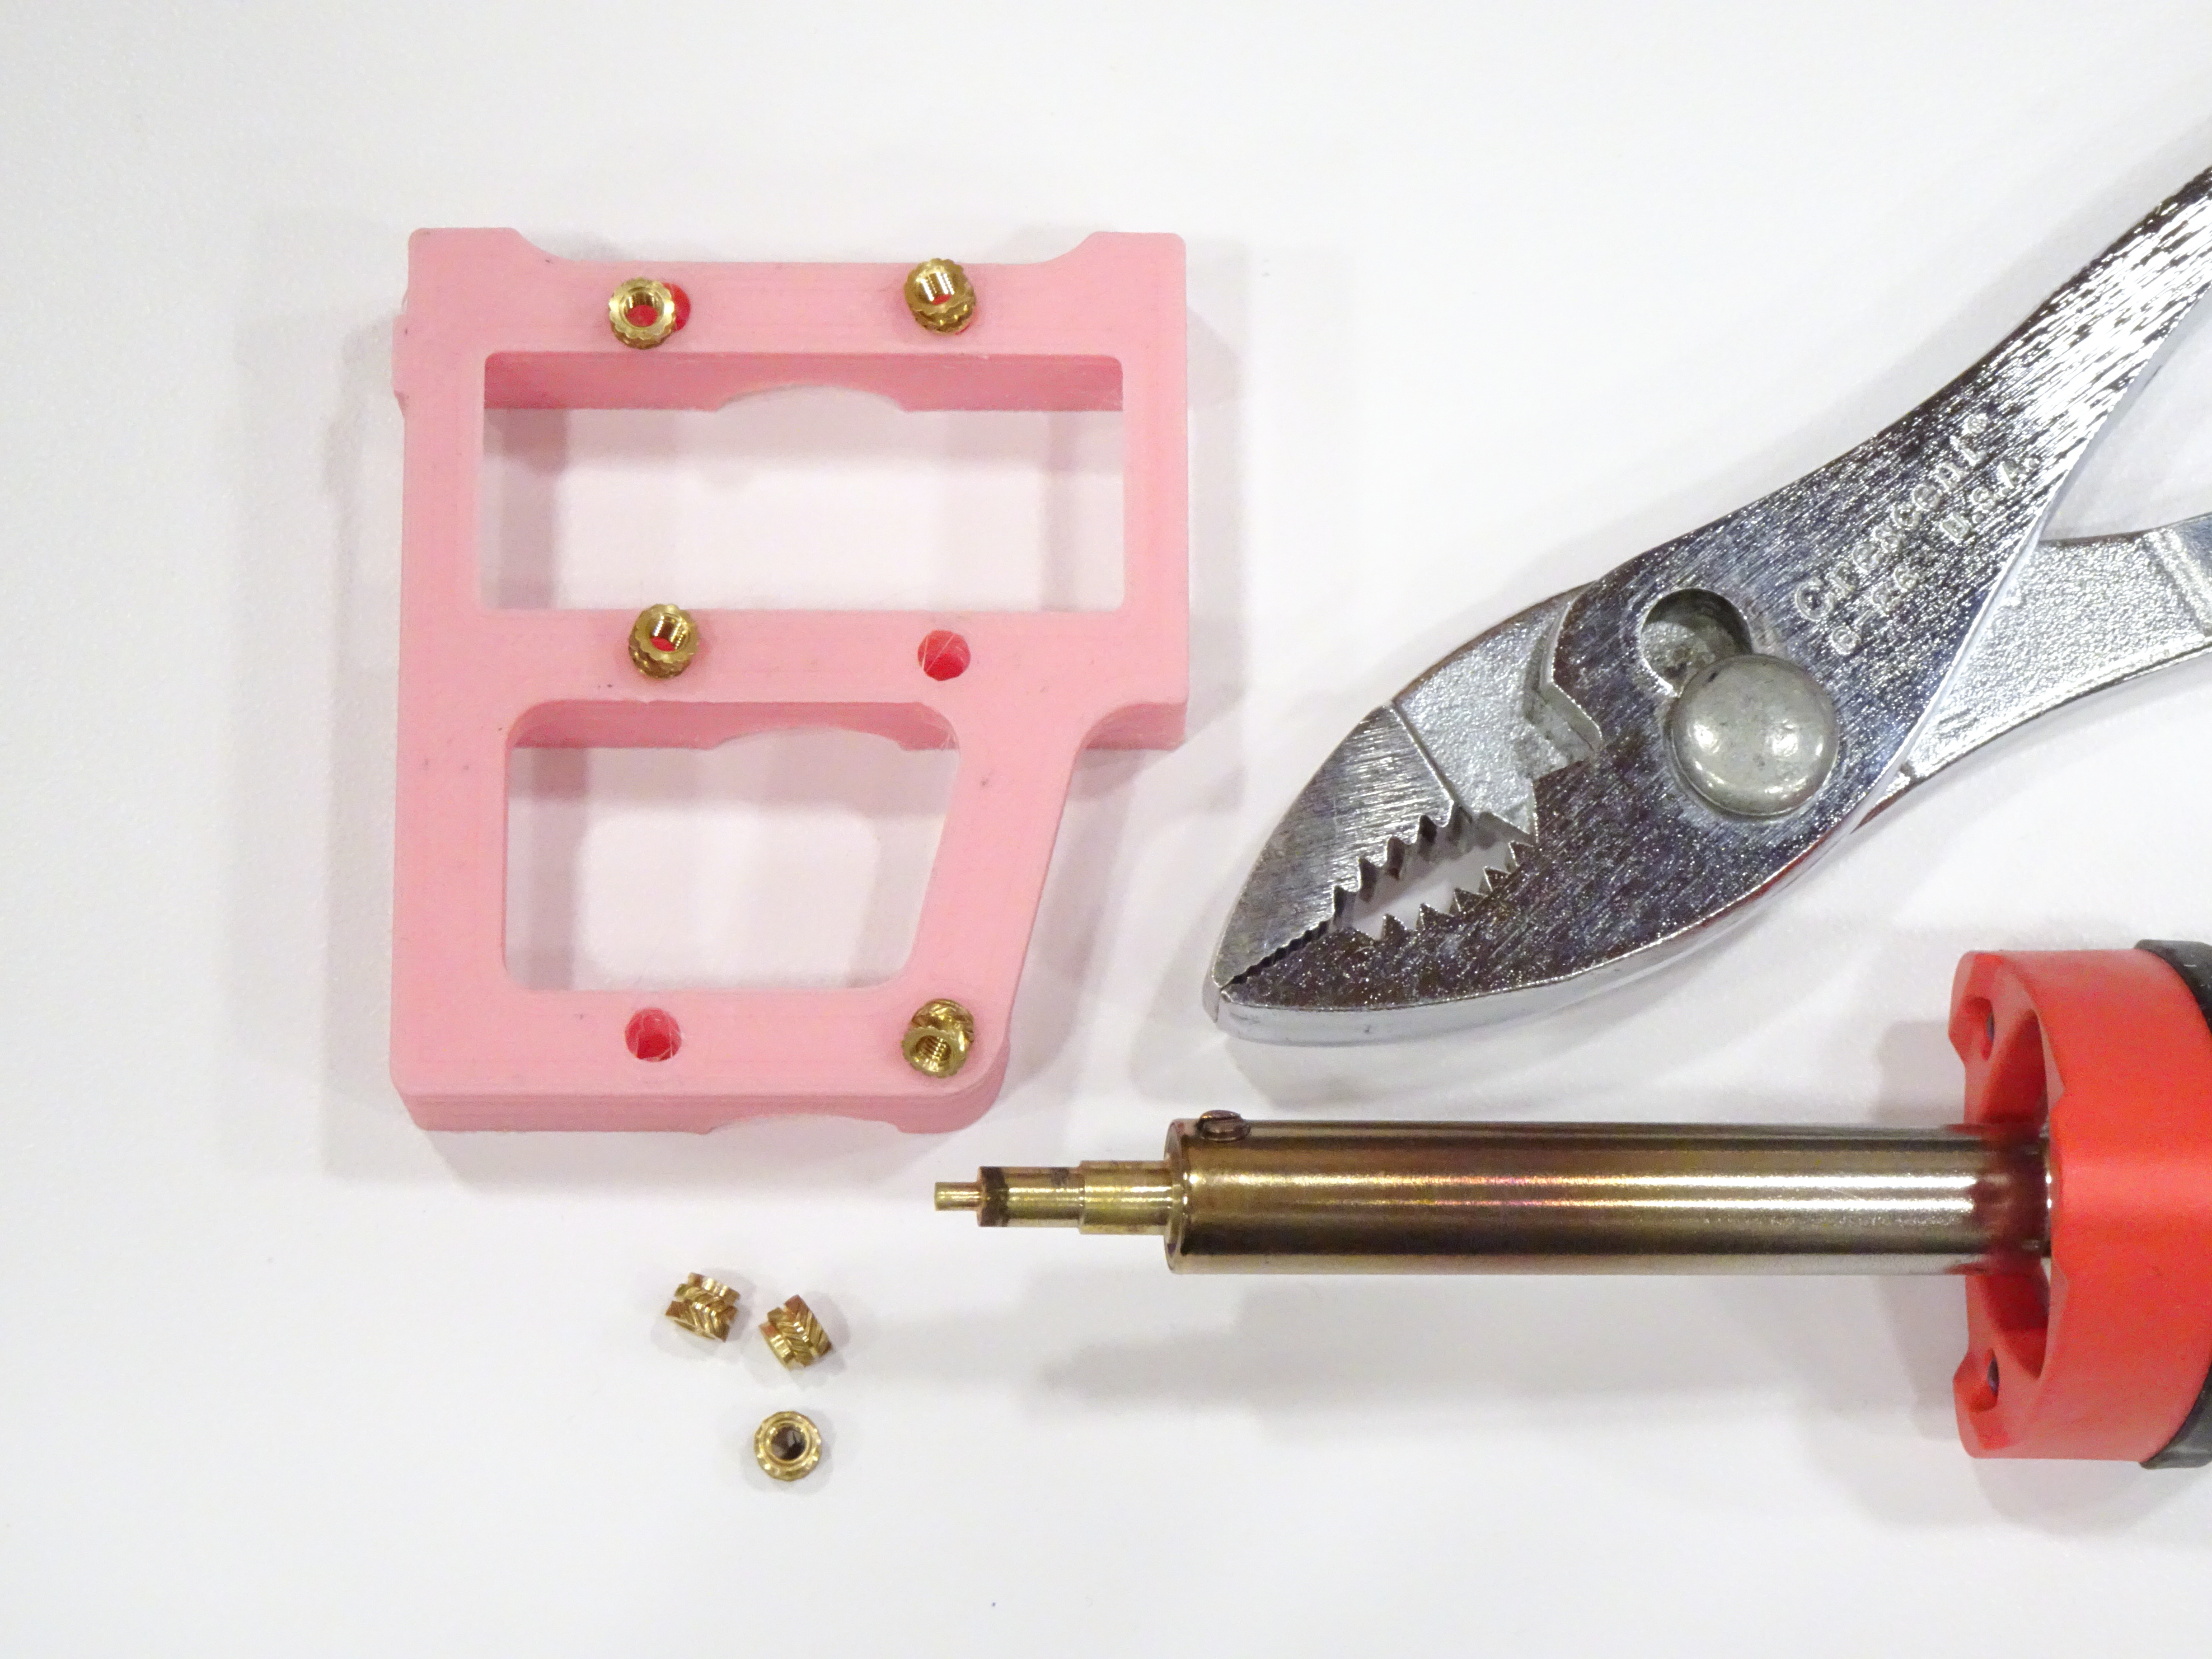
The assembly manual instructs you to install the pulleys on the Z motors with threadlocker on the set screws as the first step of Z stage assembly. If you do, you won’t have any reference to align the motor pulleys with the 80T pulleys and they may be nonplanar, which the belts really won’t like.

Save motor pulley installation until motor installation; leave the pulleys loose while bolting down the motors; and install threadlocker and tighten the set screws after the motors are installed and tightened to the frame. You can ensure proper pulley alignment and it works fine.

Voron 2.4 Build — DIN Rail Slots

Sunday, November 21st, 2021

Underside of Voron 2.4 printer with DIN rails

No amount of optimism will make the M5 machine screws fit into the slots in the DIN rails. The earlier one files that out, the better.

Voron 2.4 Build — Rubber Feet Have Extraneous Screws

Sunday, November 21st, 2021

3D-printed pulley mount, rubber feet, and bolts

No amount of optimism will make the giant screws that came in the rubber feet fit into the M5 nuts trapped in the Z pulley assembly. The earlier one figures that out, the better.

Voron 2.4 Build — Z Pulley Stack

Sunday, November 21st, 2021

Voron 2.4 pulley set

The first stage of assembly after the frame is the pulley set for the Z stepper in each corner of the printer (four Z motors, and belt-reduction, and belt attachment to the gantry). The instructions call for the 625 bearings and the GT2 20T pulleys … so which of these unlabeled bags would those be?

Well, I can rule out the bags with two and three parts, since this needs four. I can rule out the spool-shaped pulleys since that’s not what’s shown in the instructions. That leaves two sizes of pulleys and it must be the larger, as a nearby assembly step calls for the 18T pulleys, which one expects to be smaller than 20T pulleys. And from the published dimensions of 625 bearings, they must be the larger, whose size relative to the 20T pulley does match the assembly diagram.

Voron 2.4 Z pulley stack

The shaft is longer than the stack of pulleys, bearings, and shims, so where to position the pulleys within the stack slack? I opted for squished to center as tightly against the shims as possible; and this works out to have been a good choice, as the black 80T gear comes very close to the edge of the recess on this part and its mate, so moving it toward center and keeping it from sliding around are important.

Voron 2.4 Build — Heat-Set Inserts

Sunday, November 21st, 2021

Heat set threaded inserts for 3D-printed parts

The printed Voron parts make extensive use of threaded brass heat-set inserts. I’d installed a few before using my regular soldering iron; but with as many as I need to do on the Voron, I sprung for a cheap brass insert tip made to fit low-end Weller and Hakko soldering irons. Since I didn’t have any low-end Weller soldering irons, I also sprung for one of those.

The heat-set tip is a loose fit into the inserts so that it doesn’t drag them back out of the plastic, therefore it doesn’t at all pick up the inserts off the table. After thinking through some bad ways to get the inserts onto the heated tip, the perfectly workable approach is to set the inserts onto the workpiece, spear them in place with the iron, straighten, let them heat up, and let just the weight of my hand slowly sink them into the plastic.

3D-printed parts with heat set threaded inserts before and after sanding displaced plastic

The process does displace plastic around the pilot hole and raise it above the level of the surface. So (left) I’m being careful to sink the inserts down until they’re flush with the original surface and (right) I take a few passes on the 180-grit sandpaper to remove the resulting volcanic cone.

Voron 2.4 Build — Printed Parts

Sunday, November 21st, 2021

Like many 3D printers on the market, the Voron contains 3D-printed parts; and because it’s a design, not a product, you can print your own parts or you can buy the parts from the Voron community’s Print It Forward program. The printer requires about 1.5 kg of the primary color and 0.3 kg of the accent color! I had a couple of Ender 3 Pros running for a couple of weeks to print the parts that nearly fill a 2-gallon kitchen bag.

Voron 2.4 frame with printed parts

The instructions are very specific to use ABS rather than PLA due to expectations of enclosure temperatures up to 60°C; and although the Voron glamor shots feature black parts with red accents for a very Empire vibe, the ABS that I had on hand in bulk was pink. Bubblegum pink. That will make my printer’s look more of a Pink Five Strikes Back or Legally Blonde dates a goth.

sanding the face of a 3D-printed part

The Voron is smartly designed with parts that are easy to print and then bolt together rather than overly complex parts with challenging overhangs and bridges. Accordingly, though not specified in the instructions, where mating surfaces were the top faces of their prints, I’m giving them a few passes on 180-grit sandpaper on a flat surface to reduce roughness and get the cleanest joints I can.

Voron 2.4 Build — Z Linear Bearing Placement

Sunday, November 21st, 2021

Voron 2.4 frame with Z linear bearings installed

It’s hard to tell from the assembly manual, but the Z-axis linear bearings face toward the center of the front and rear side faces of the printer.

Don’t do like I did here and put them in the front and rear faces.

Their placement is not documented in the assembly instructions, nor clear in the assembly diagrams. It wasn’t until I installed the gantry in the frame that I found that my placement was wrong.

Voron 2.4 Build — Roll-in Spring T Nuts

Sunday, November 21st, 2021

To attach things to T-slot / V-slot aluminum extrusion, one typically puts some kind of nut into the slot of the extrusion; and it’s called a T nut because its cross-section typically has a (potentially abstracted) inverted T shape.

Roll-in spring T nuts

The blank end of this kind of T nut, apparently called roll-in spring T nuts, has a recessed spring and a bearing swaged into place, just protruding from the lower face. The spring pressure on the bearings keeps the nuts from sliding around in the slot on their own, which is really handy during assembly and disassembly.

I was aware of this type but hadn’t used them before and was delighted to find that they can be installed (and with considerably more effort, deinstalled) through the face of the slot. They’re slim enough that they “roll” into the face of the slot, landing slanted on an edge; and then with a downward push, they orient into their final position and the spring pushes them back up to hold their orientation against the slot and retain their position.

Voron 2.4 Build — Frame Assembly

Sunday, November 21st, 2021

I got interested in having a Voron 2.4 3D printer after seeing after seeing Tom Sanladerer’s video review of his completed build. But at the time, the full build cost about $1500 — a little high for my taste — and only a partial kit was available and you had to source some of the parts yourself — not interested — because the Voron is an open-source design, not a product. But not too much later I found a full kit from Fysetc on AliExpress for just under $1000; and after an extensive wait and repeated untruths about the status of the shipment, I have my kit and I’m started to assemble it.

Plenty of others have documented the entire build process; I’ll only share particular items I find noteworthy and different from other printers I’ve assembled.

2020 aluminum extrusion joined by M5 machine screws

The first is the frame joinery. I’m sure the Voron is not the first thing in the world to use the heads of M5 machine screws in the T-track, but I’d not seen it done before. You need an access hole through the aluminum for the hex key to drive the screws; but unlike joints that bolt through the aluminum, the access hole doesn’t have to be precise for you to be able to align the joint.

Voron 2.4 frame

It ends up fairly square and fairly rigid, with the squareness aided by assembling on a discarded scrap of granite countertop.

And yes, that frame is almost as wide as my roll-away dishwasher. I got the kit with 350-mm-cube build volume, which is larger than I need; and I’d probably have picked the 300-mm-cube build volume had there been a full kit for it when I ordered. One of the Voron’s claims to fame is fast printing; and the mass of the larger gantry for the 350-mm printer can be expected to impact the top acceleration I can use without ringing.

0.6-mm Nozzle for Faster Printing

Tuesday, September 7th, 2021

I recently brought home a trio of Ender 3 Pro printers needing a little love … that’s a story for another day. But this weekend I put a 0.6-mm nozzle on one of them for doing faster draft prints. Let’s see about some PrusaSlicer settings to take advantage of that.

Draft of a wall holder for a chef’s knife:

  • 9h12m for Prusa MK3S, 0.20-mm layers
  • 11h13m for Ender 3 Pro, 0.20-mm layers
  • 4h22m for Ender 3 Pro with the 0.6-mm nozzle

4h22m print on Ender 3 Pro with 0.6-mm nozzle

Okey dokey, what do we need to do to configure to use a 0.6-mm nozzle?

(more…)