Repairing Roomba Original, Part 1: Disassembly
Quick Links
Background
Part 1: Disassembly
Part 2: Power Board
Part 3: Brush Deck
Disassembly
Remove the dust bin, lay Roomba on his back with the battery away from you, and remove the battery.
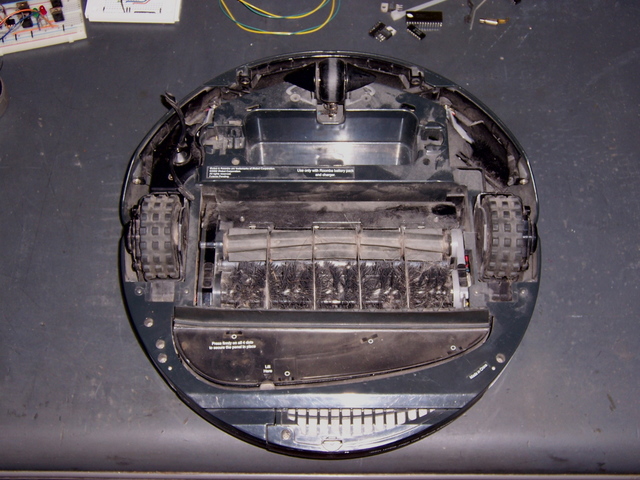
(The dust bin is still present in this picture.)
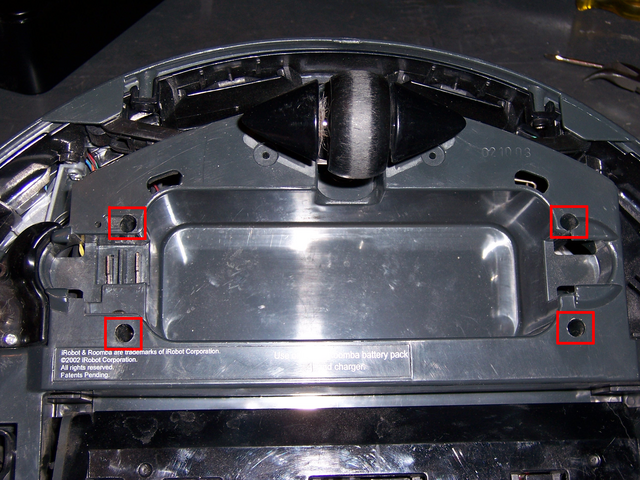
With a #2 Phillips screwdriver, remove the four screws around the battery compartment,
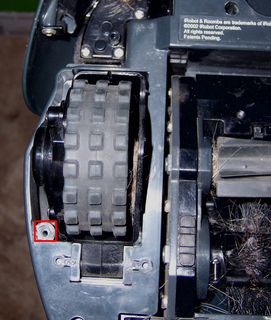
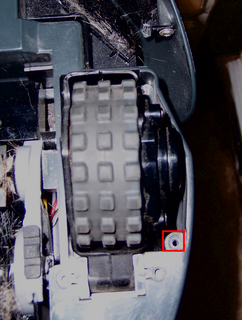
the screw by each wheel,
and the case screws at the back (the edge nearest you).
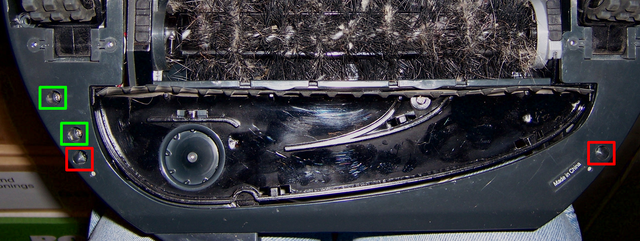
If you need to examine the power distribution board with the switch and charging jack, go ahead and remove the two screws on your left (case right) indicated in green.
You can now turn Roomba right-side-up and pry up the top cover. For me, it was easiest to start at one back corner, lift and wiggle until it popped loose, work loose the tab at the front middle, and lift and wiggle the other back corner loose.
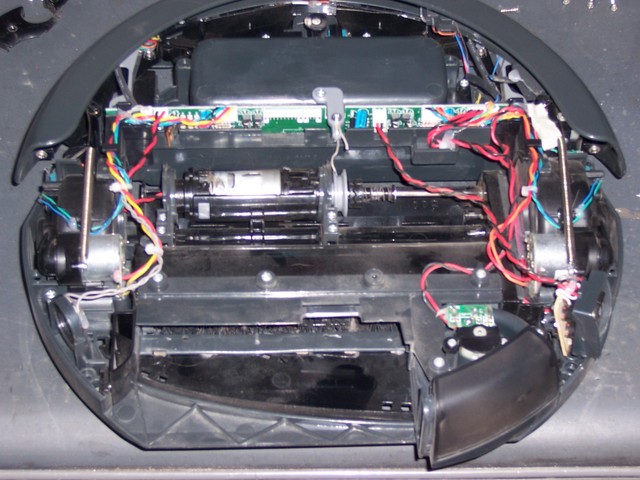
Don’t pull too hard yet–the control panel on the top cover is connected by a ribbon cable to the main board on the base. Unplug the ribbon cable from the main board in the center of the base and marvel at how much dust has gathered in the non-dust-gathering portions of your vacuum.
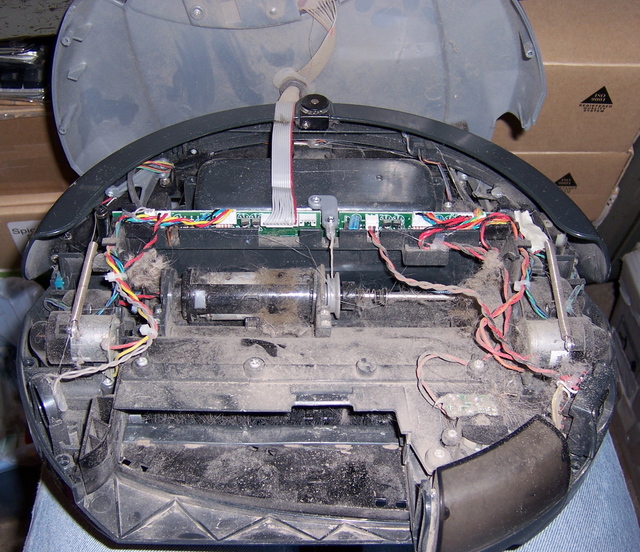
Enough marvelling. Go blow it out with compressed air.
Sections
Background
Part 1: Disassembly
Part 2: Power Board
Part 3: Brush Deck