Repairing Roomba Original, Part 3: Brush Deck
Quick Links
Background
Part 1: Disassembly
Part 2: Power Board
Part 3: Brush Deck
Wheel Hubs
I had finished repairing Roomba’s electronics and he was running merrily around the kitchen, but not picking up stuff. When I stuck my head on the floor and watched underneath, I saw that his brushes and dust skirt were pulled up about 1/2″ above the floor.
Roomba’s wheels have independent hinged suspension systems, so each wheel still has a possibility of getting some grip even if Roomba may be high-centered. While working on the electronics, I had noticed that the suspension action was a bit sticky–something was rubbing when the wheels retracted all the way. I wondered whether that was enough to keep Roomba too far off the floor for the brushes to contact.
Poking around with the wheels revealed that although the fenders may have fit tightly when Roomba was new, they’ve moved a bit out of position as they aged. On each wheel, the right and left fender halves no longer joined tightly, and the front of the fender was scraping against the housing as it bottomed out.
A few minutes with a file cured that problem. Rather than try to stick the fender halves back together, I just smoothed out the end of the fender where it was rubbing. After that treatment, the wheels articulated smoothly throughout the range of their suspensions.
Brush Deck
The brushes still didn’t appear to be any closer to the floor, though. Curiously, I could wiggle the dust bin and get the brushes to the floor when Roomba was powered off; but as soon as he started moving, the brushes retracted. Inertia???
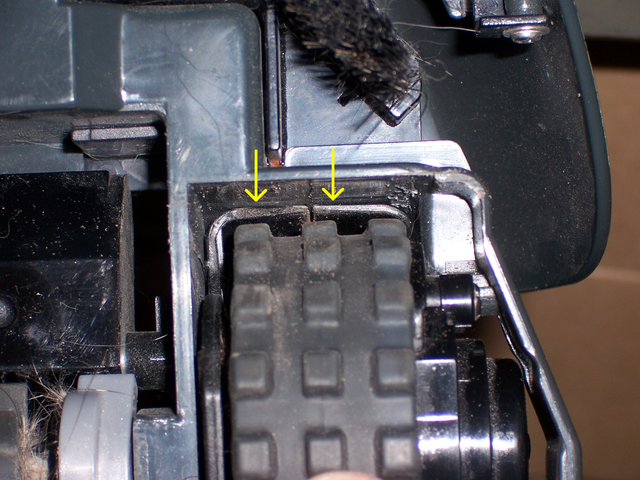
I took him back to the workbench, opened him up again, and stared at the weird string and pulley arrangement attached to the upper side of the brush deck.

The motor on the left turns the brushes via the shaft on the right, but the whole motor housing rotates via a friction clutch mechanism. The pulley is attached to the motor housing; so when the housing turns, the pulley climbs the string.
After a number of false starts trying to adjust the string, oil the friction clutch, etc., I was holding the motor with its leads plugged into my bench power supply. I had it running slowly, and was poking the brush driveshaft onto its fitting inside the pulley. Suddenly the whole motor housing twisted in my hand. Aha!
Apparently the friction clutch is calibrated such that when the brush driveshaft meets resistance and increases the mechanical load on the motor, there’s enough friction to torque the motor in the opposite direction, winding up the pulley. Ergo when the floor-sweeping brushes encounter resistance, say from a carpet, the motor lifts the brush deck until the brushes aren’t as heavily loaded.
Armed with my new insight, I flipped Roomba back upside down and removed the brushes to clean their bearings. EGAD. How utterly awful.
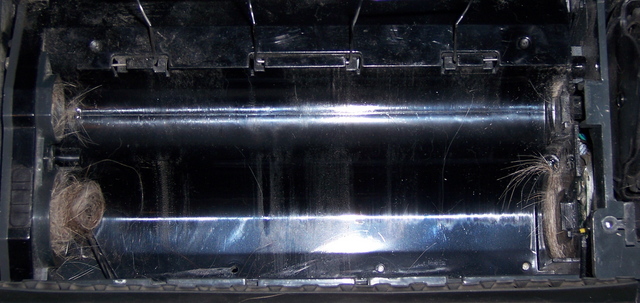
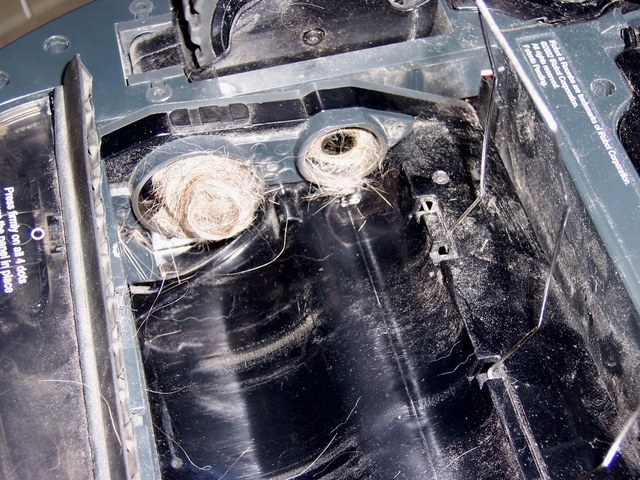
Yeah, that’s hair. How there is so much hair in the whole world, much less on my floor, I do not know.
In any case, a few quality minutes with a needlenose later, Roomba’s rollers were very clean, reassembled, and incredibly easy to turn. I put Roomba back together, put him back on the kitchen floor, and set him free to do what he does best. And he did well, cleaning both the kitchen and living room floors with battery left to spare. In fact, he’s cleaning better than he’s cleaned in a long time, something I wasn’t willing to admit to myself while it was happening but am perfectly willing to admit now that it’s fixed. ![]()
Mental note: Disassemble brush mechanism and clean bearing surfaces more often.
That’s All, Folks!
Roomba is now fully rehabilitated from his disabling experiences. Up next: repairing Roomba Scheduler.
Sections
Background
Part 1: Disassembly
Part 2: Power Board
Part 3: Brush Deck