Spotted at a thrift store.
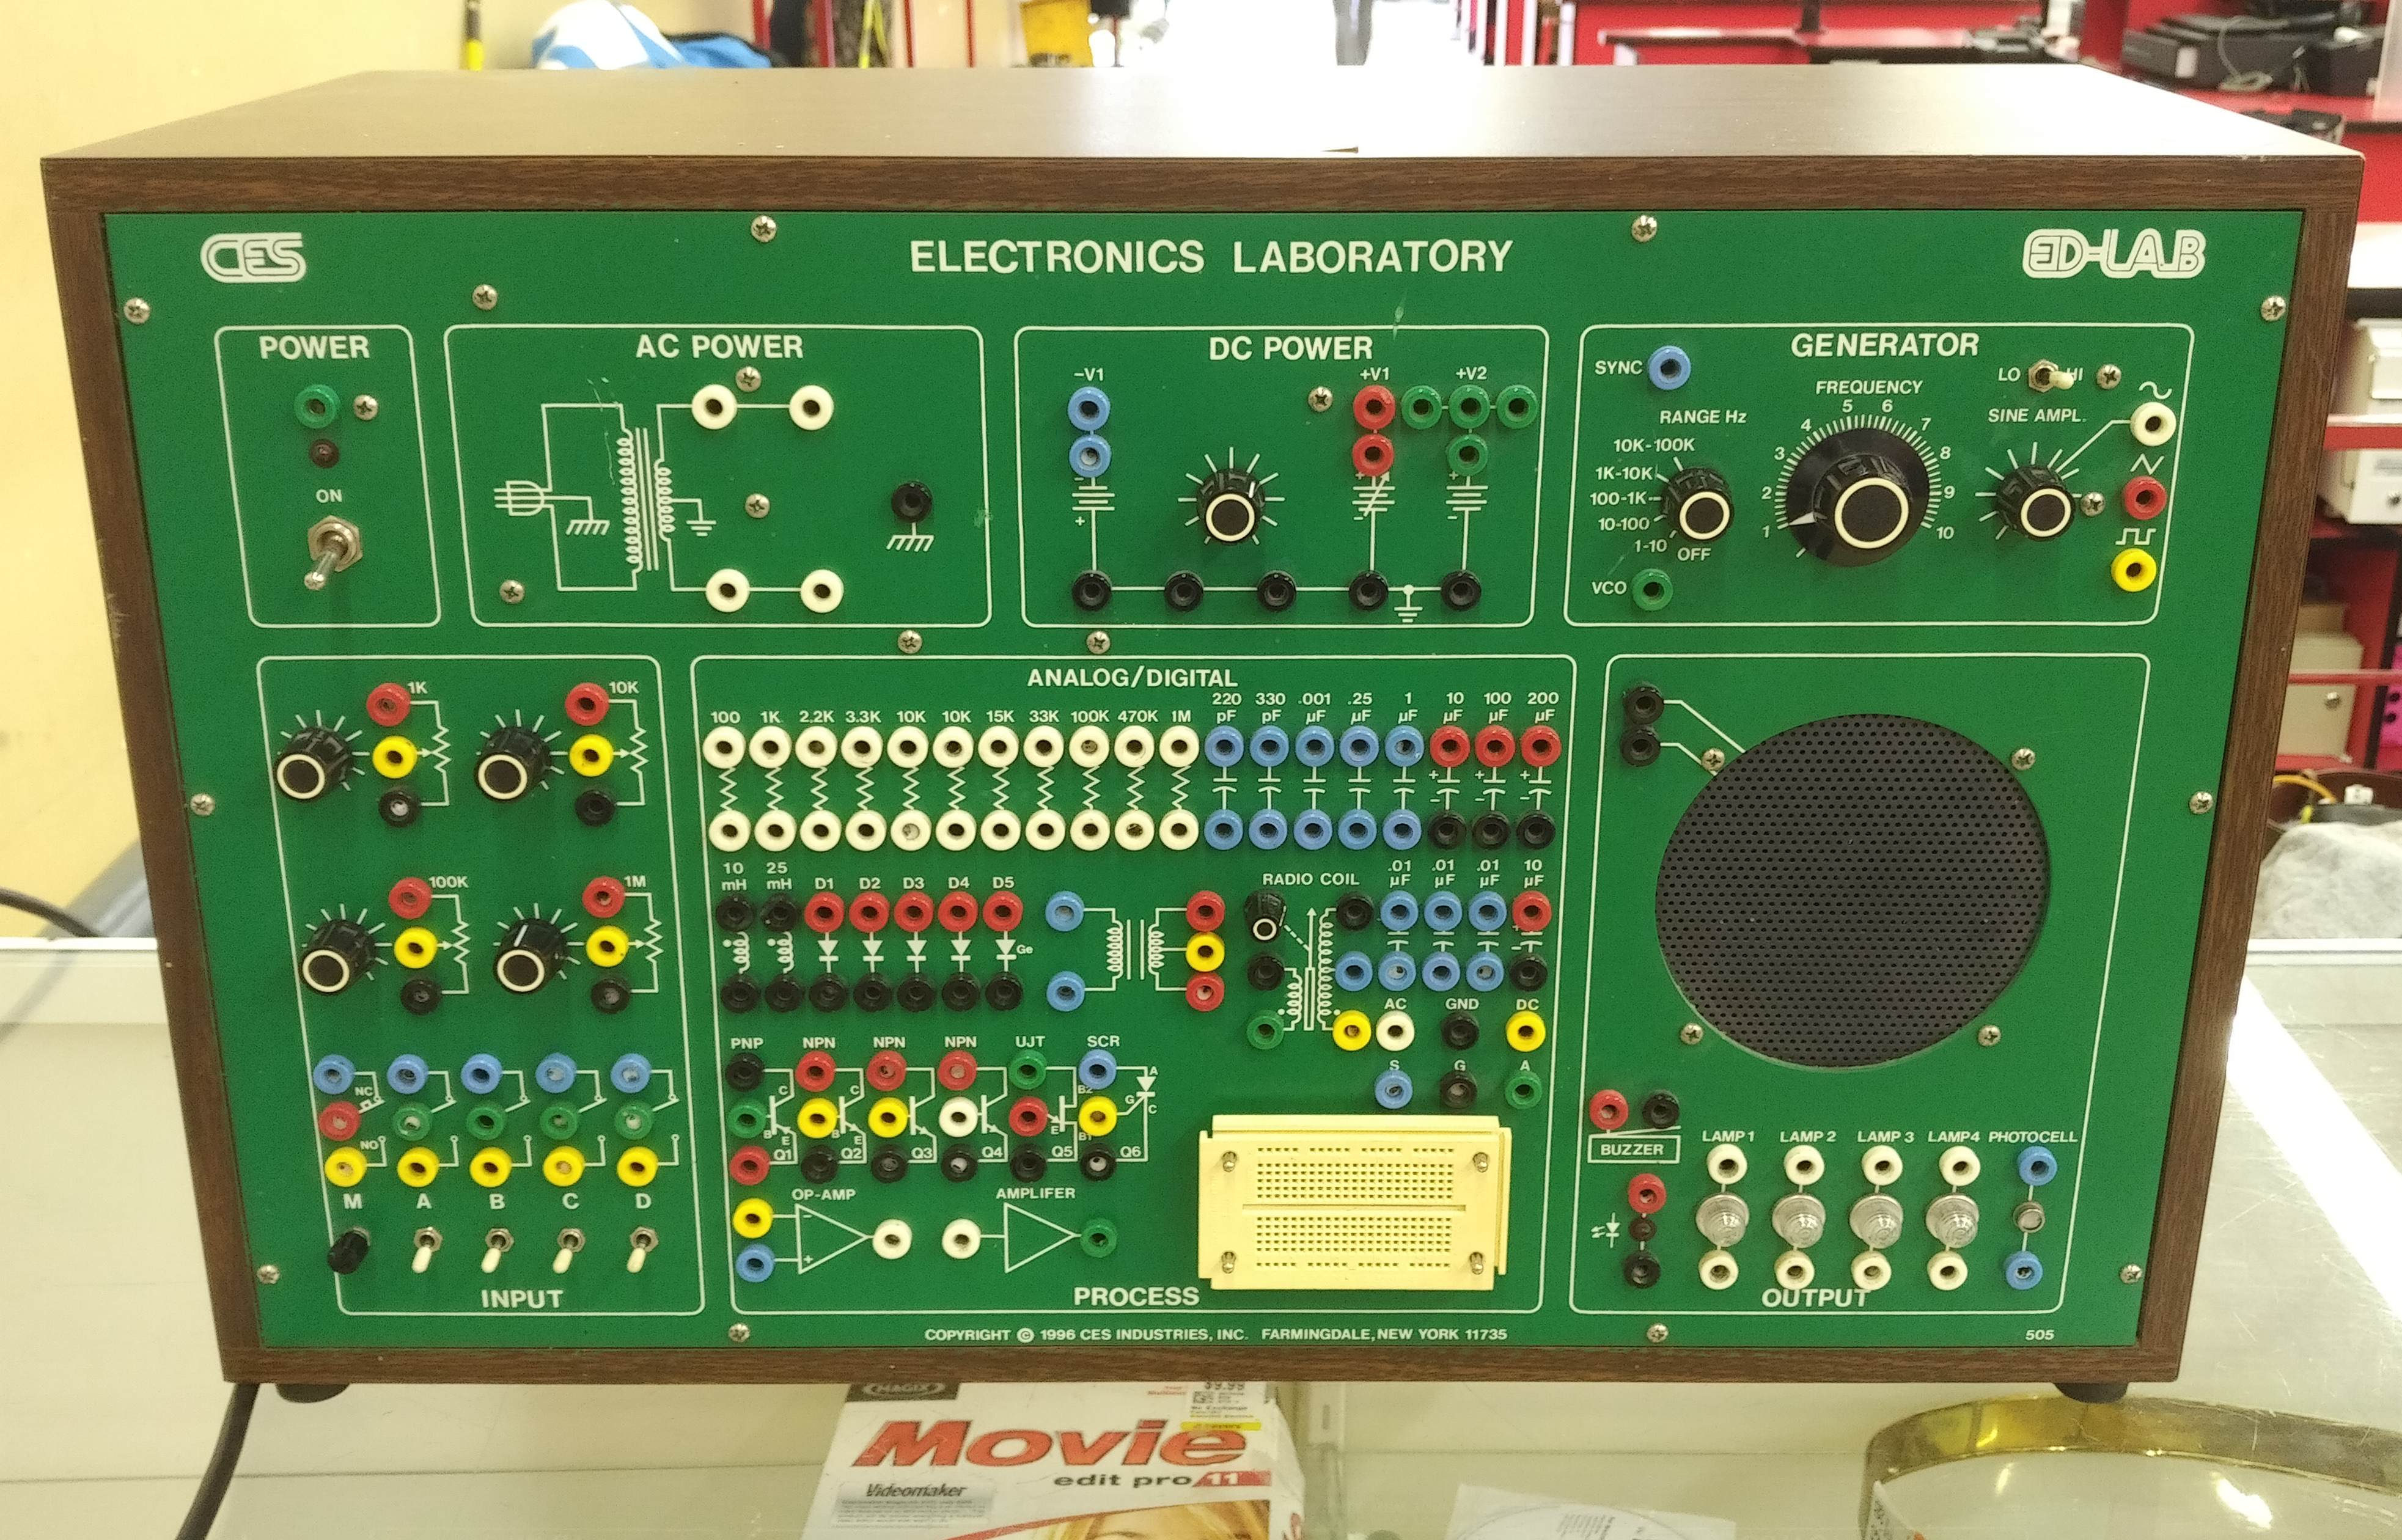
Of course anything with that many knobs and jacks caught my eye, and it’s in fantastic cosmetic condition.
Looking more closely, the function generator would have been a dream to have when first learning about op amps!
Spotted at a thrift store.
Of course anything with that many knobs and jacks caught my eye, and it’s in fantastic cosmetic condition.
Looking more closely, the function generator would have been a dream to have when first learning about op amps!
Back in 2018 when I got the CupCake out to fix the extruder-stall problem from 2014, it had a new problem of the Z motor not doing what it was asked. The stalling motor was enough to stall me for another couple of years; or was the skipping motor enough to cause me to skip ahead to 2020 for further diagnosis?
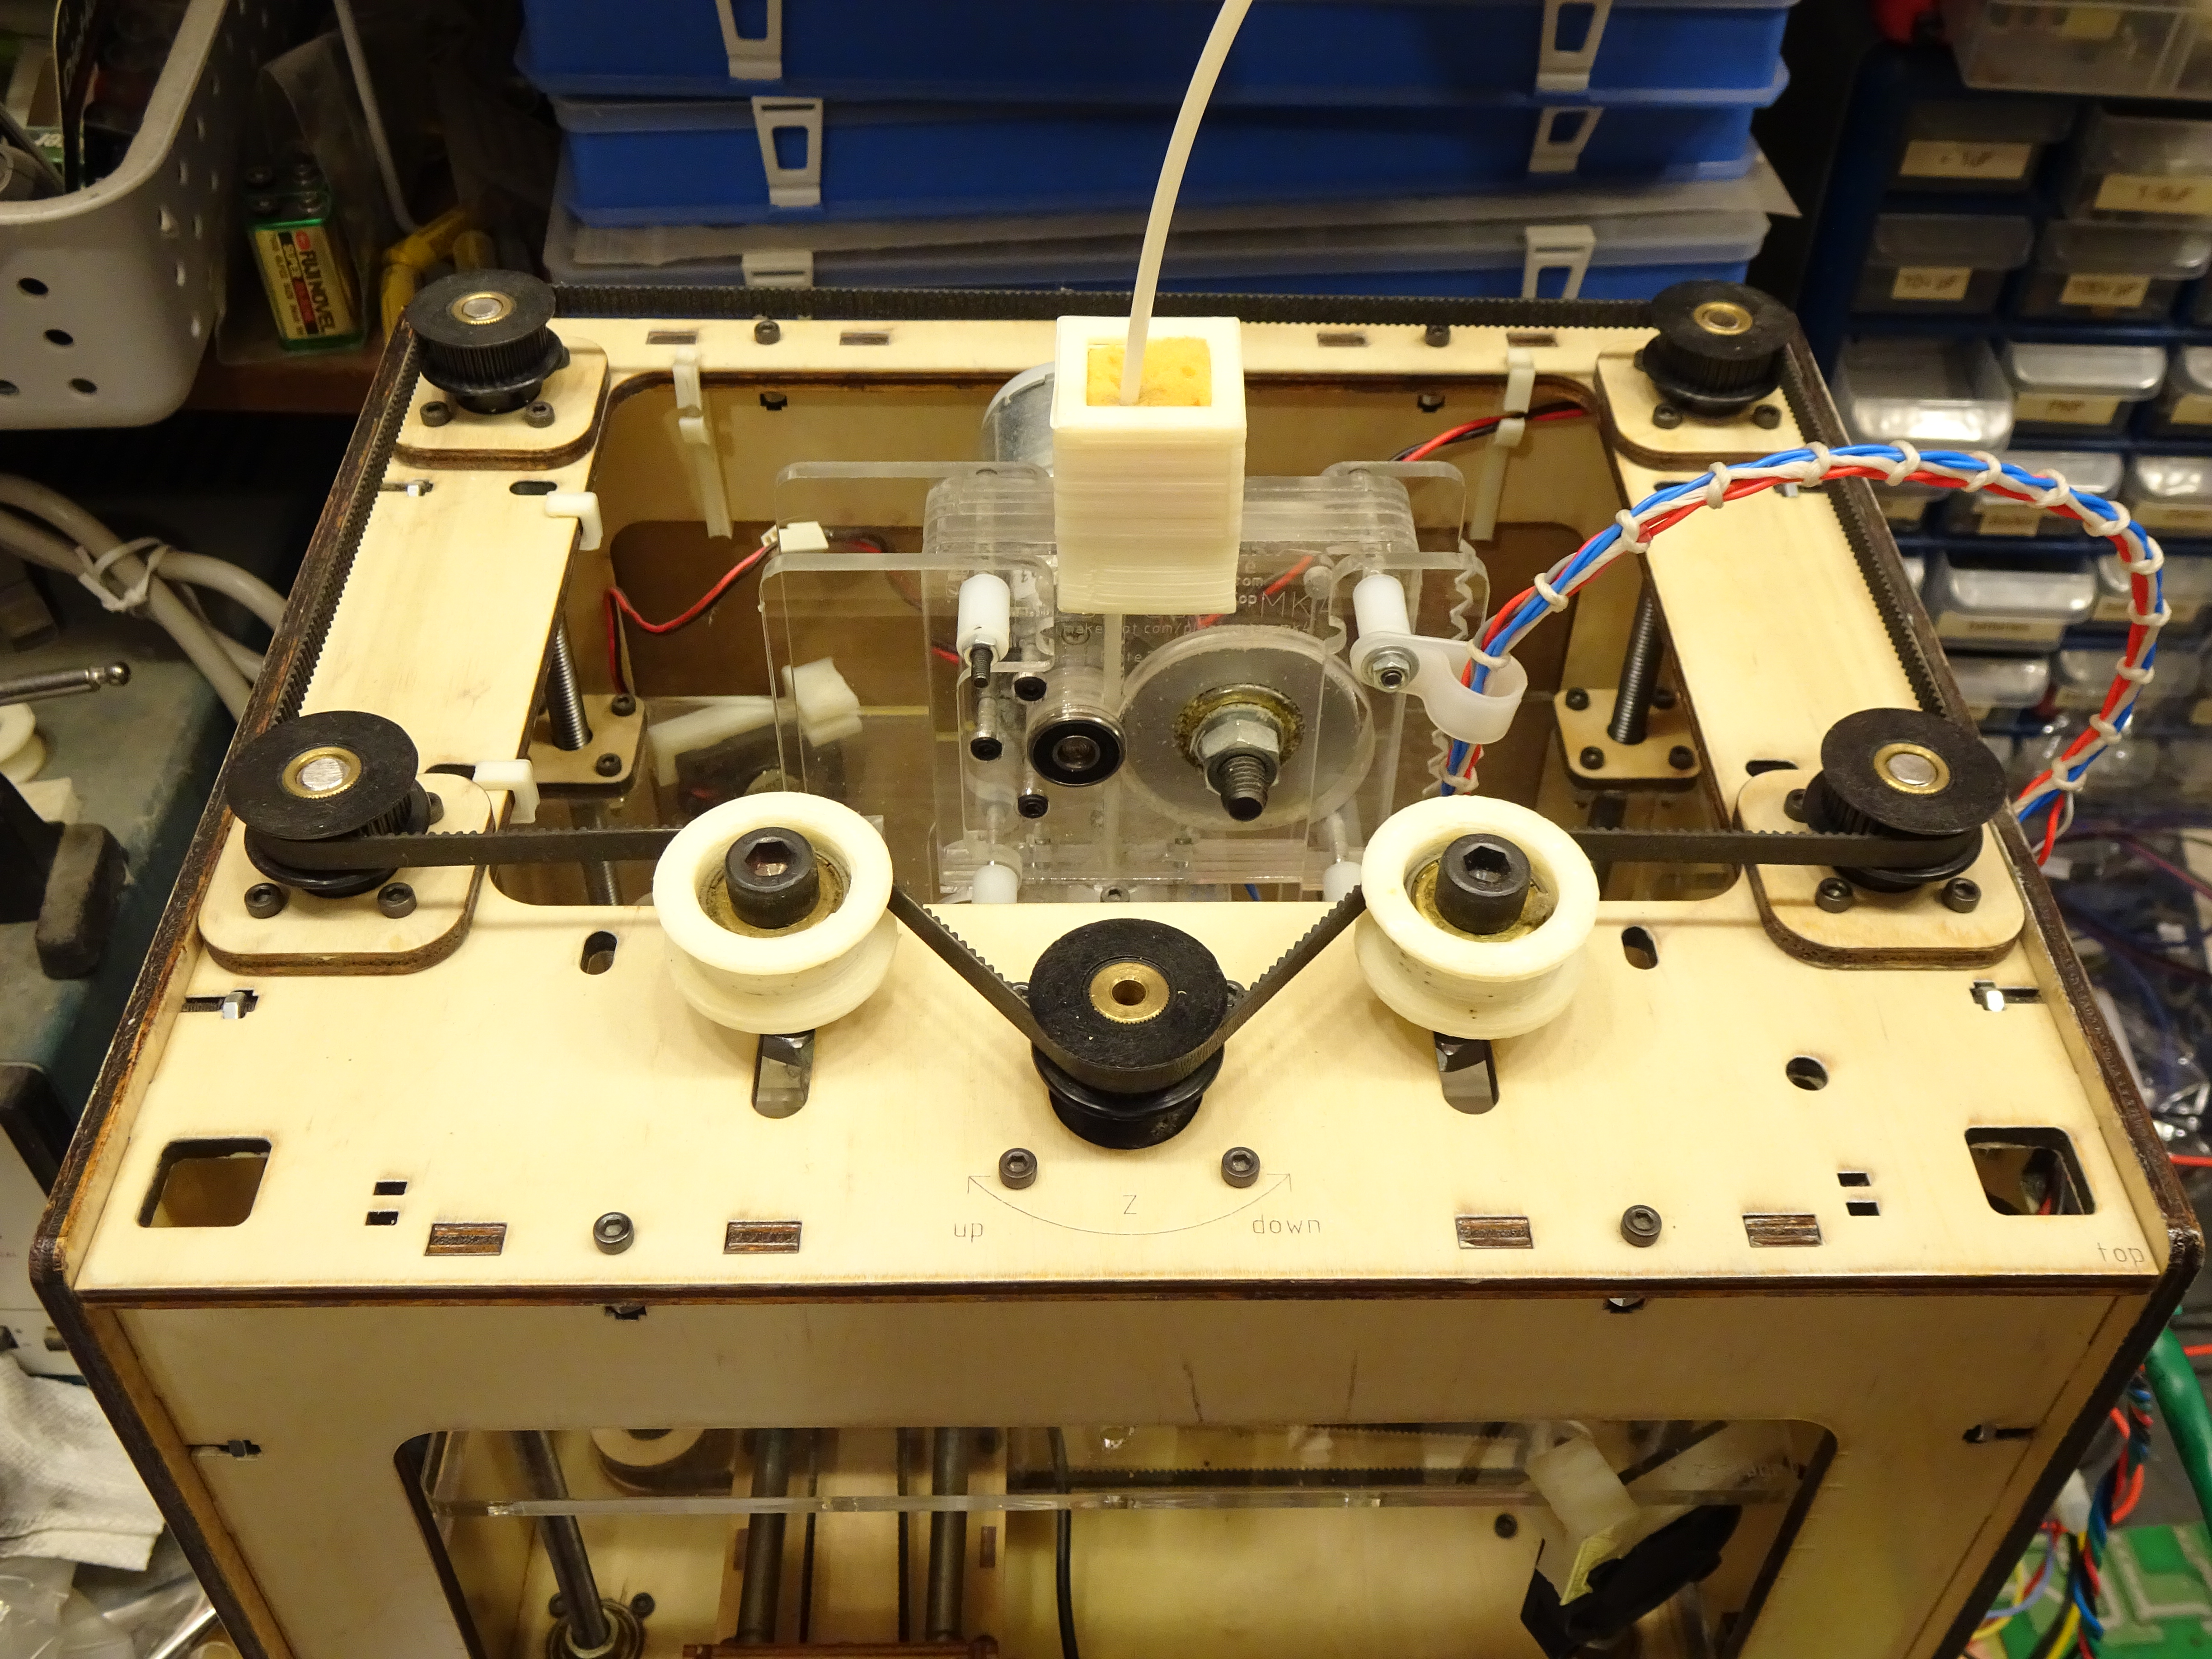
The CupCake’s extruder mounts on a Z stage that lowers down to the build platform. The Z axis is run by a stepper mounted inside the frame at the front, with the central black pulley on the motor shaft driving the belt that connects the four black pulleys on threaded rods protruding down into the machine to raise and lower the Z stage by its corners.
As I was testing in 2018, and again this spring, what should have been continuous movement of the Z axis getting down to the platform to start a print would once in a great while pause and resume. I didn’t hear the characteristic clack/clonk of a stepper motor skipping steps, but it was hard to be sure. But whatever the cause, if the Z motor wasn’t running completely reliably before a print, there’s a fair chance that it could misbehave during a print. Plus a printer with neither Z probe nor Z endstop makes it hard enough to set first layer height already; I don’t need to play this game in Nightmare mode.
Part of the challenge was replicating the problem. In the first run at Cort’s house, everything worked initially, then finally misbehaved many minutes into a print. After restarting the print, again it took many minutes before the next failure, suggesting that we were going to have a dickens of a time watching the problem on a scope and reinforcing my decision to take it to his house where we could use his digital scope with triggered capture.
However, after some fiddling, we discovered that if I used the ReplicatorG control panel to continually jog the Z up and down, at least after the printer was warmed up, it would occasionally pause, which we could hear as well as see. That in turn led to an even more interesting discovery.
2020 extruded aluminum (so named for its 20-mm-square cross-section and not, confusingly, for the year that I bought it) and its larger siblings seem to be the preferred current construction set for engineers. Each face of the aluminum sticks has a T-slot that accepts a nut or the head of a custom machine screw, allowing the sticks to be fastened together without drilling holes and thereby facilitating rapid physical prototyping.
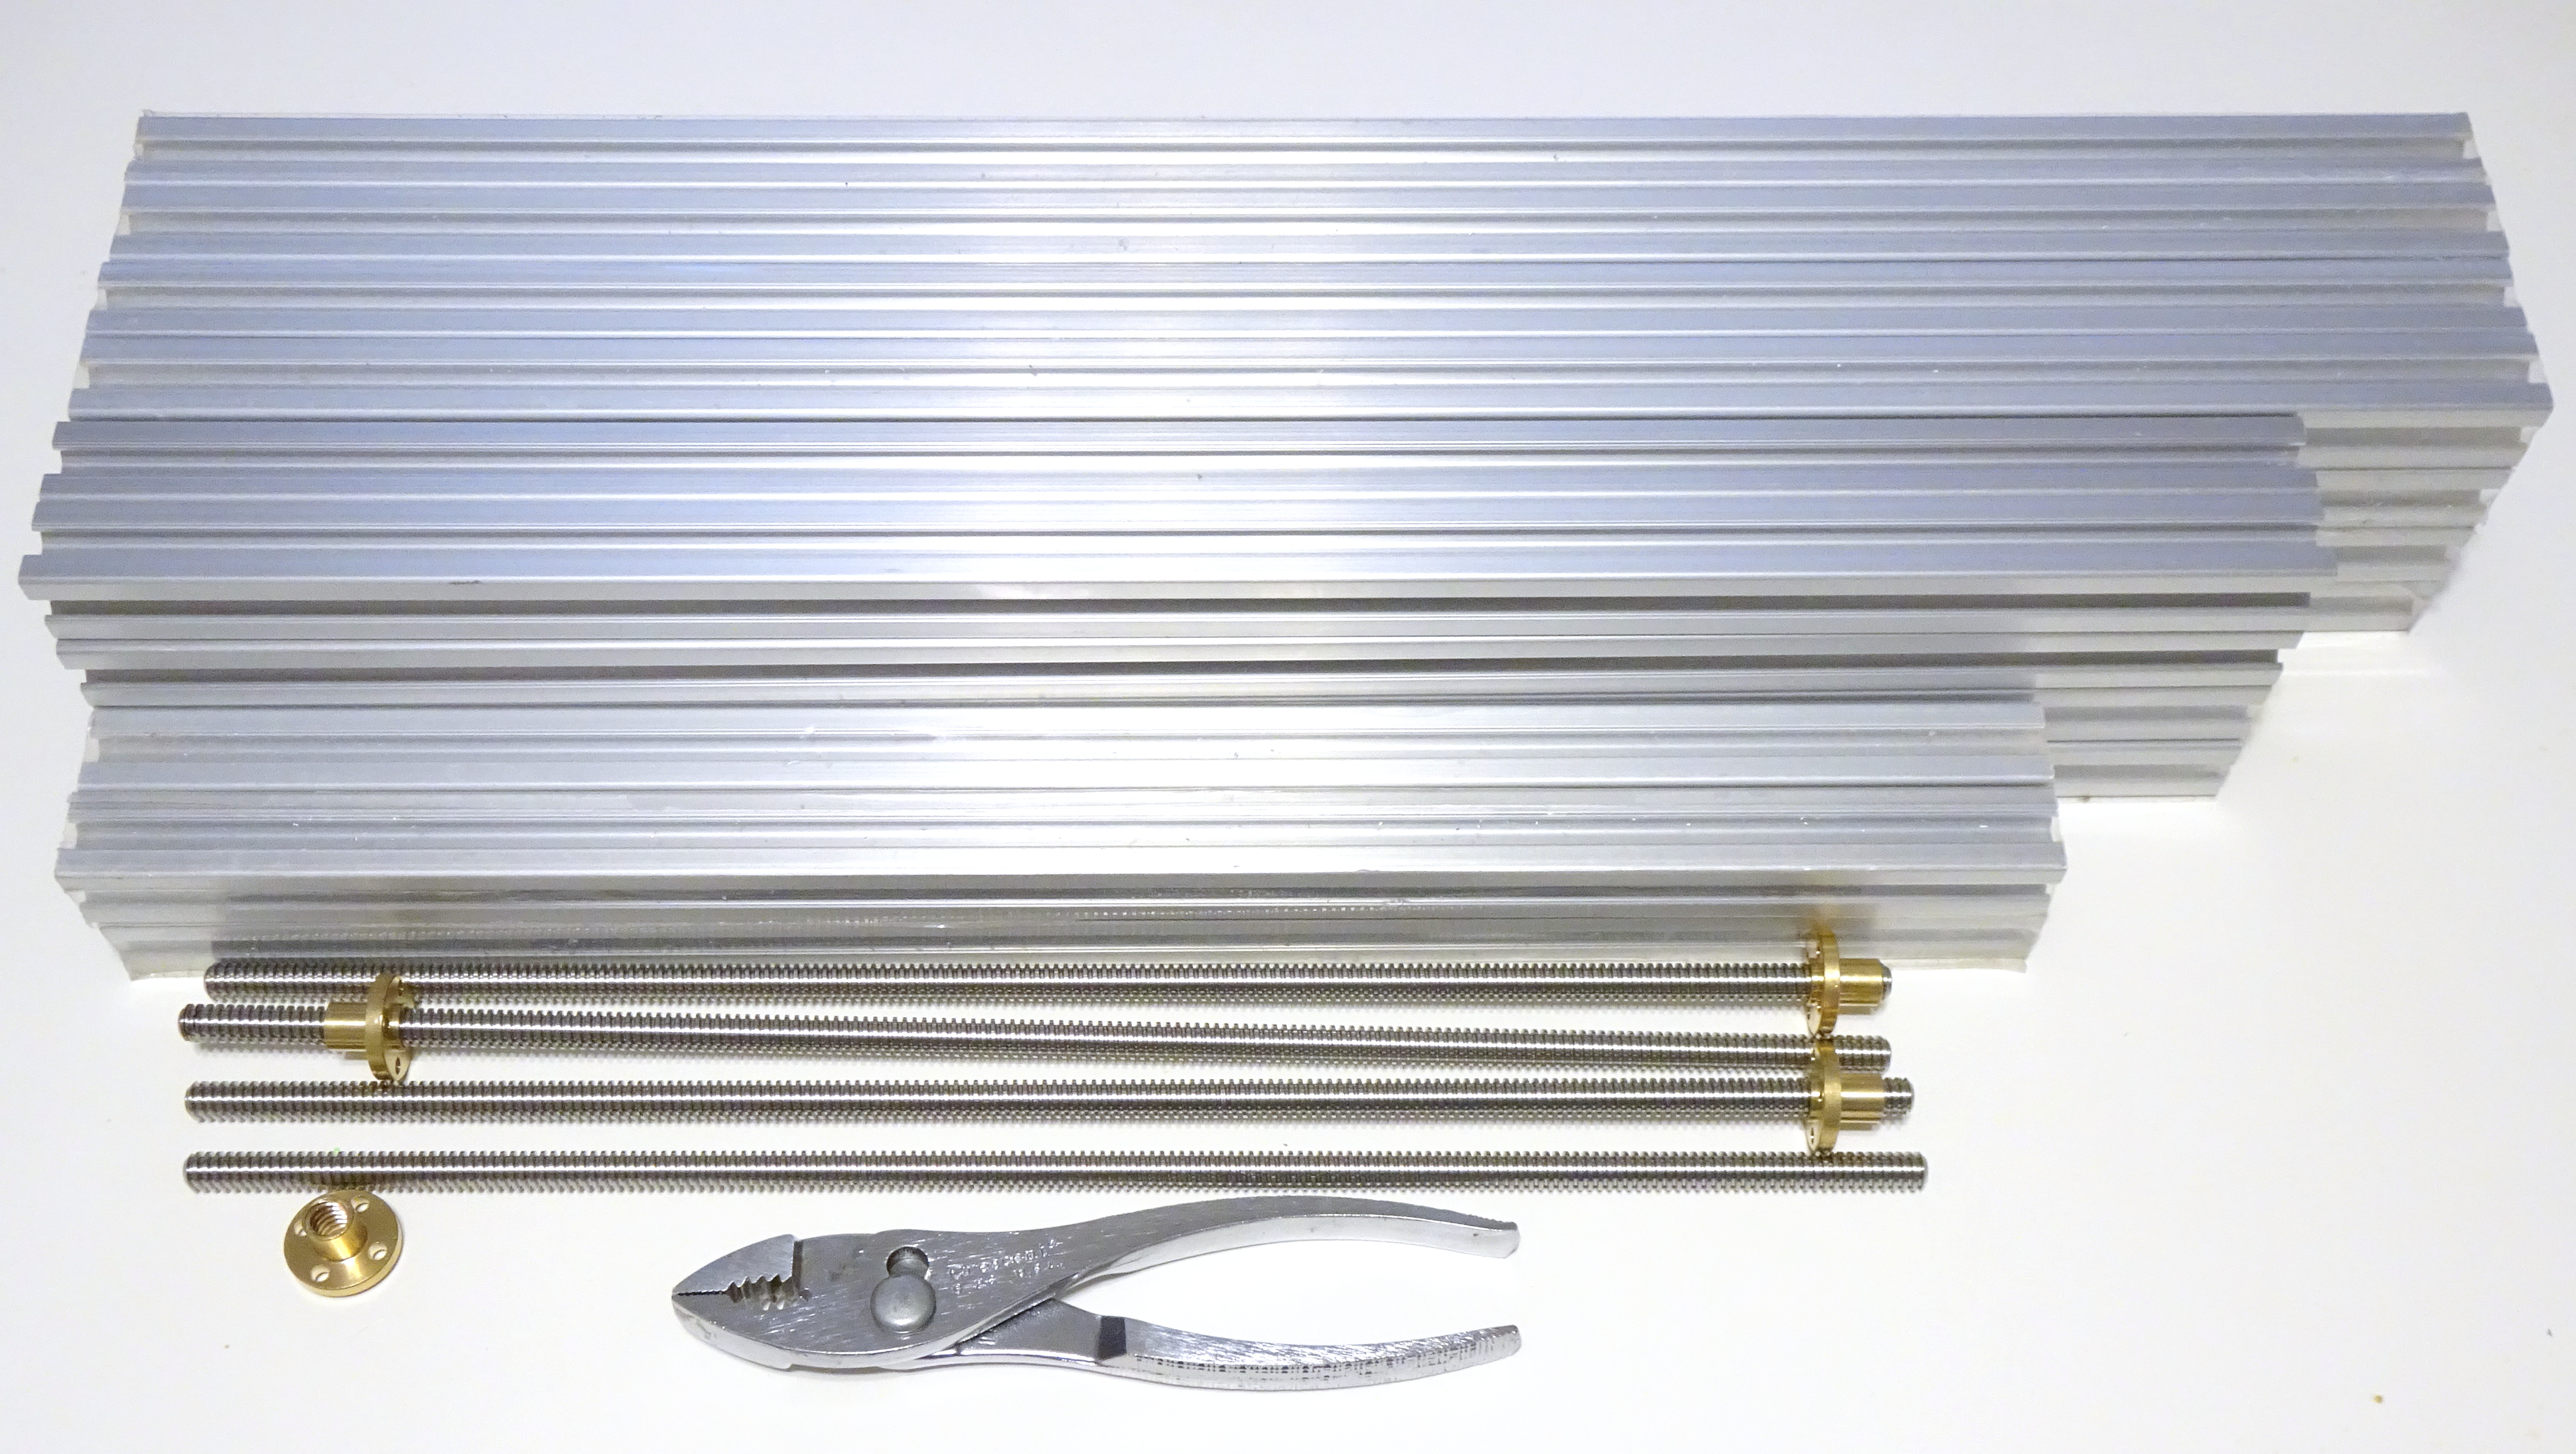
I recently ordered a stack of 2020 extrusions pre-cut to several lengths I wanted to play with. It was my first foray into AliExpress, which (that particular foray) went quite well. The tidy pile above cost me only a little over $100, the best deal I could find in several places I looked.
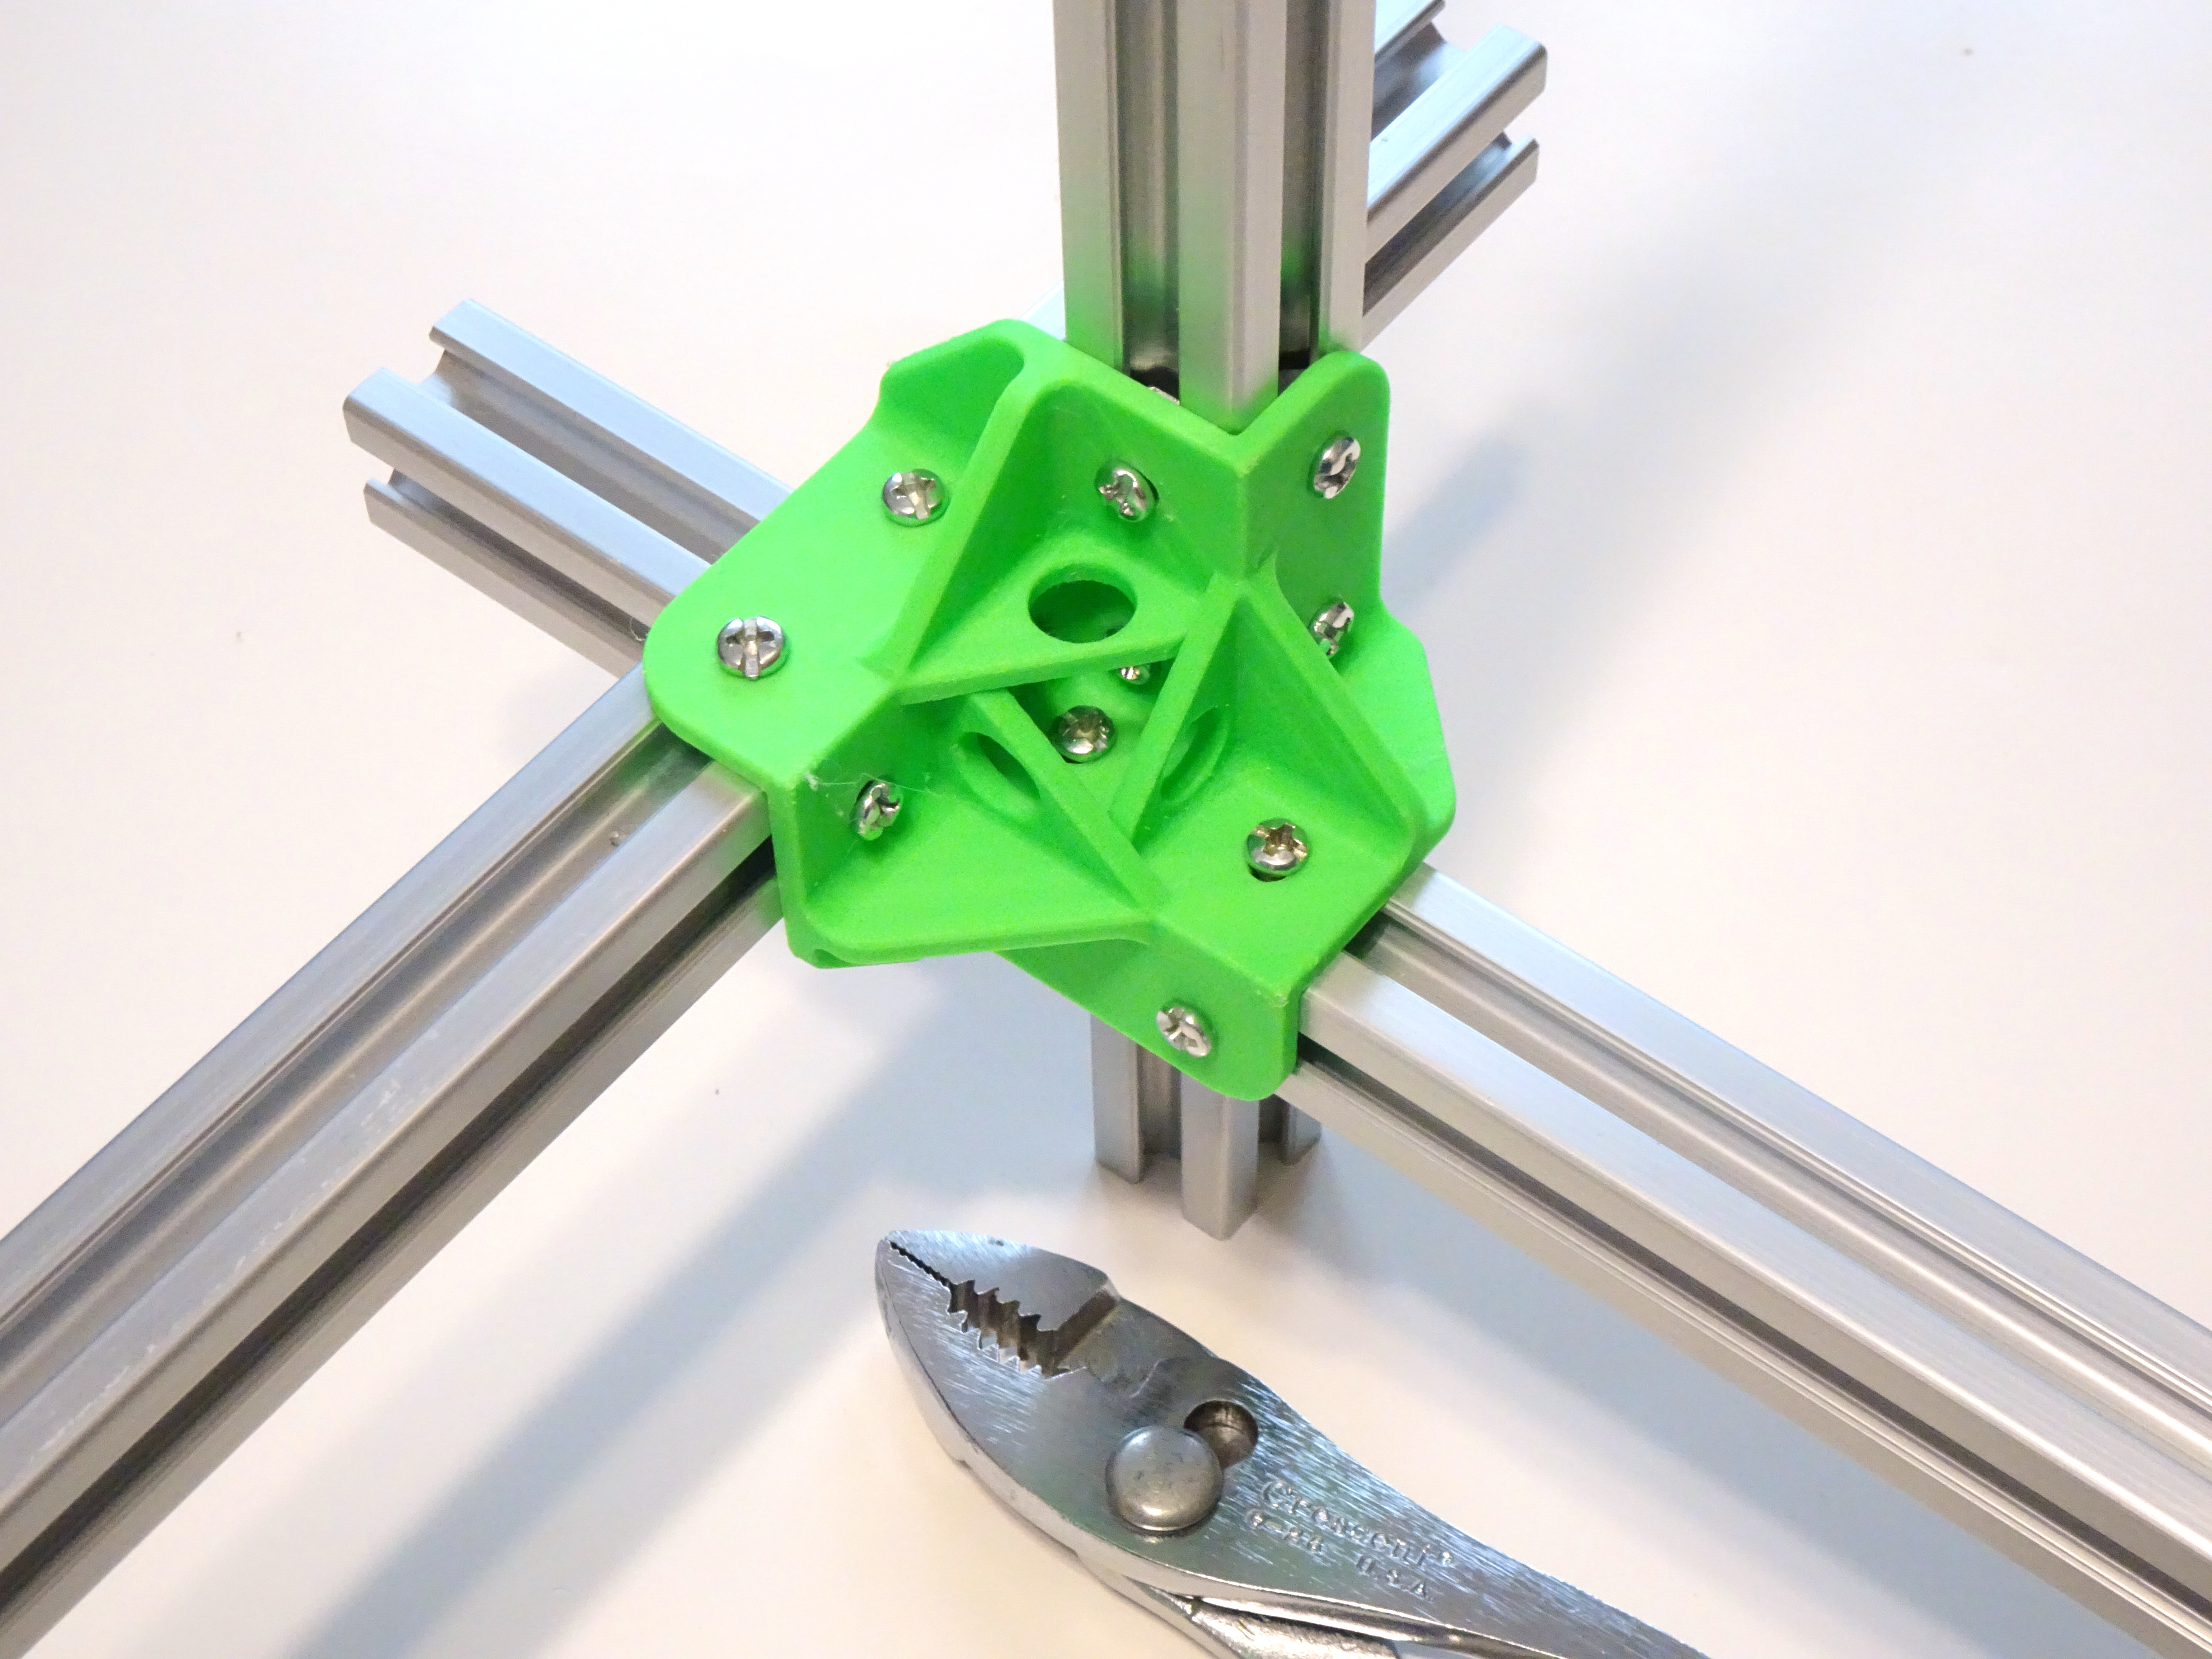
Since receiving that shipment, I’ve been prototyping brackets for attaching 2020 extrusions together. Shown here is the overly elaborate last one I’ve tried, because I didn’t get good pictures of the earlier attempts in action.
After lo these six long years, I now have the fixes and the knowledge to get the CupCake to complete a print.
Back in January of 2015, I had got my CupCake tuned up for pretty prints and then the extruder stopped working. Two years ago when I documented that experience, I got the CupCake set back up to troubleshoot that extruder problem and I had a new problem with the Z motor skipping steps, which I had to solve before I could figure out why the extruder stopped working 40+ minutes into a print.
I figured that troubleshooting the two problems would be easier with a fancier scope than I have; so a few times this spring, carefully observing COVID-19 precautions, I made couple-hour visits to my friend Cort and his basement workshop. Over the course of those visits, we were able to identify and address the Z-axis problem (which I’ll write up later) and make some observations about the extruder that ultimately led to a successful workaround this weekend.
While designing a (different) small box, I knew I wanted it to have a heavy base to keep it from being tippy. I designed recesses in the base for stacks of electrical box knockouts (that I’d been saving for recycling, because I’m just that way and I can’t help it) and had to look up how to get the printer to pause for me to insert them. Because I am not steady enough to play Operation, the Wacky Doctor Game when the patient is awake and trying to bat away my tools.
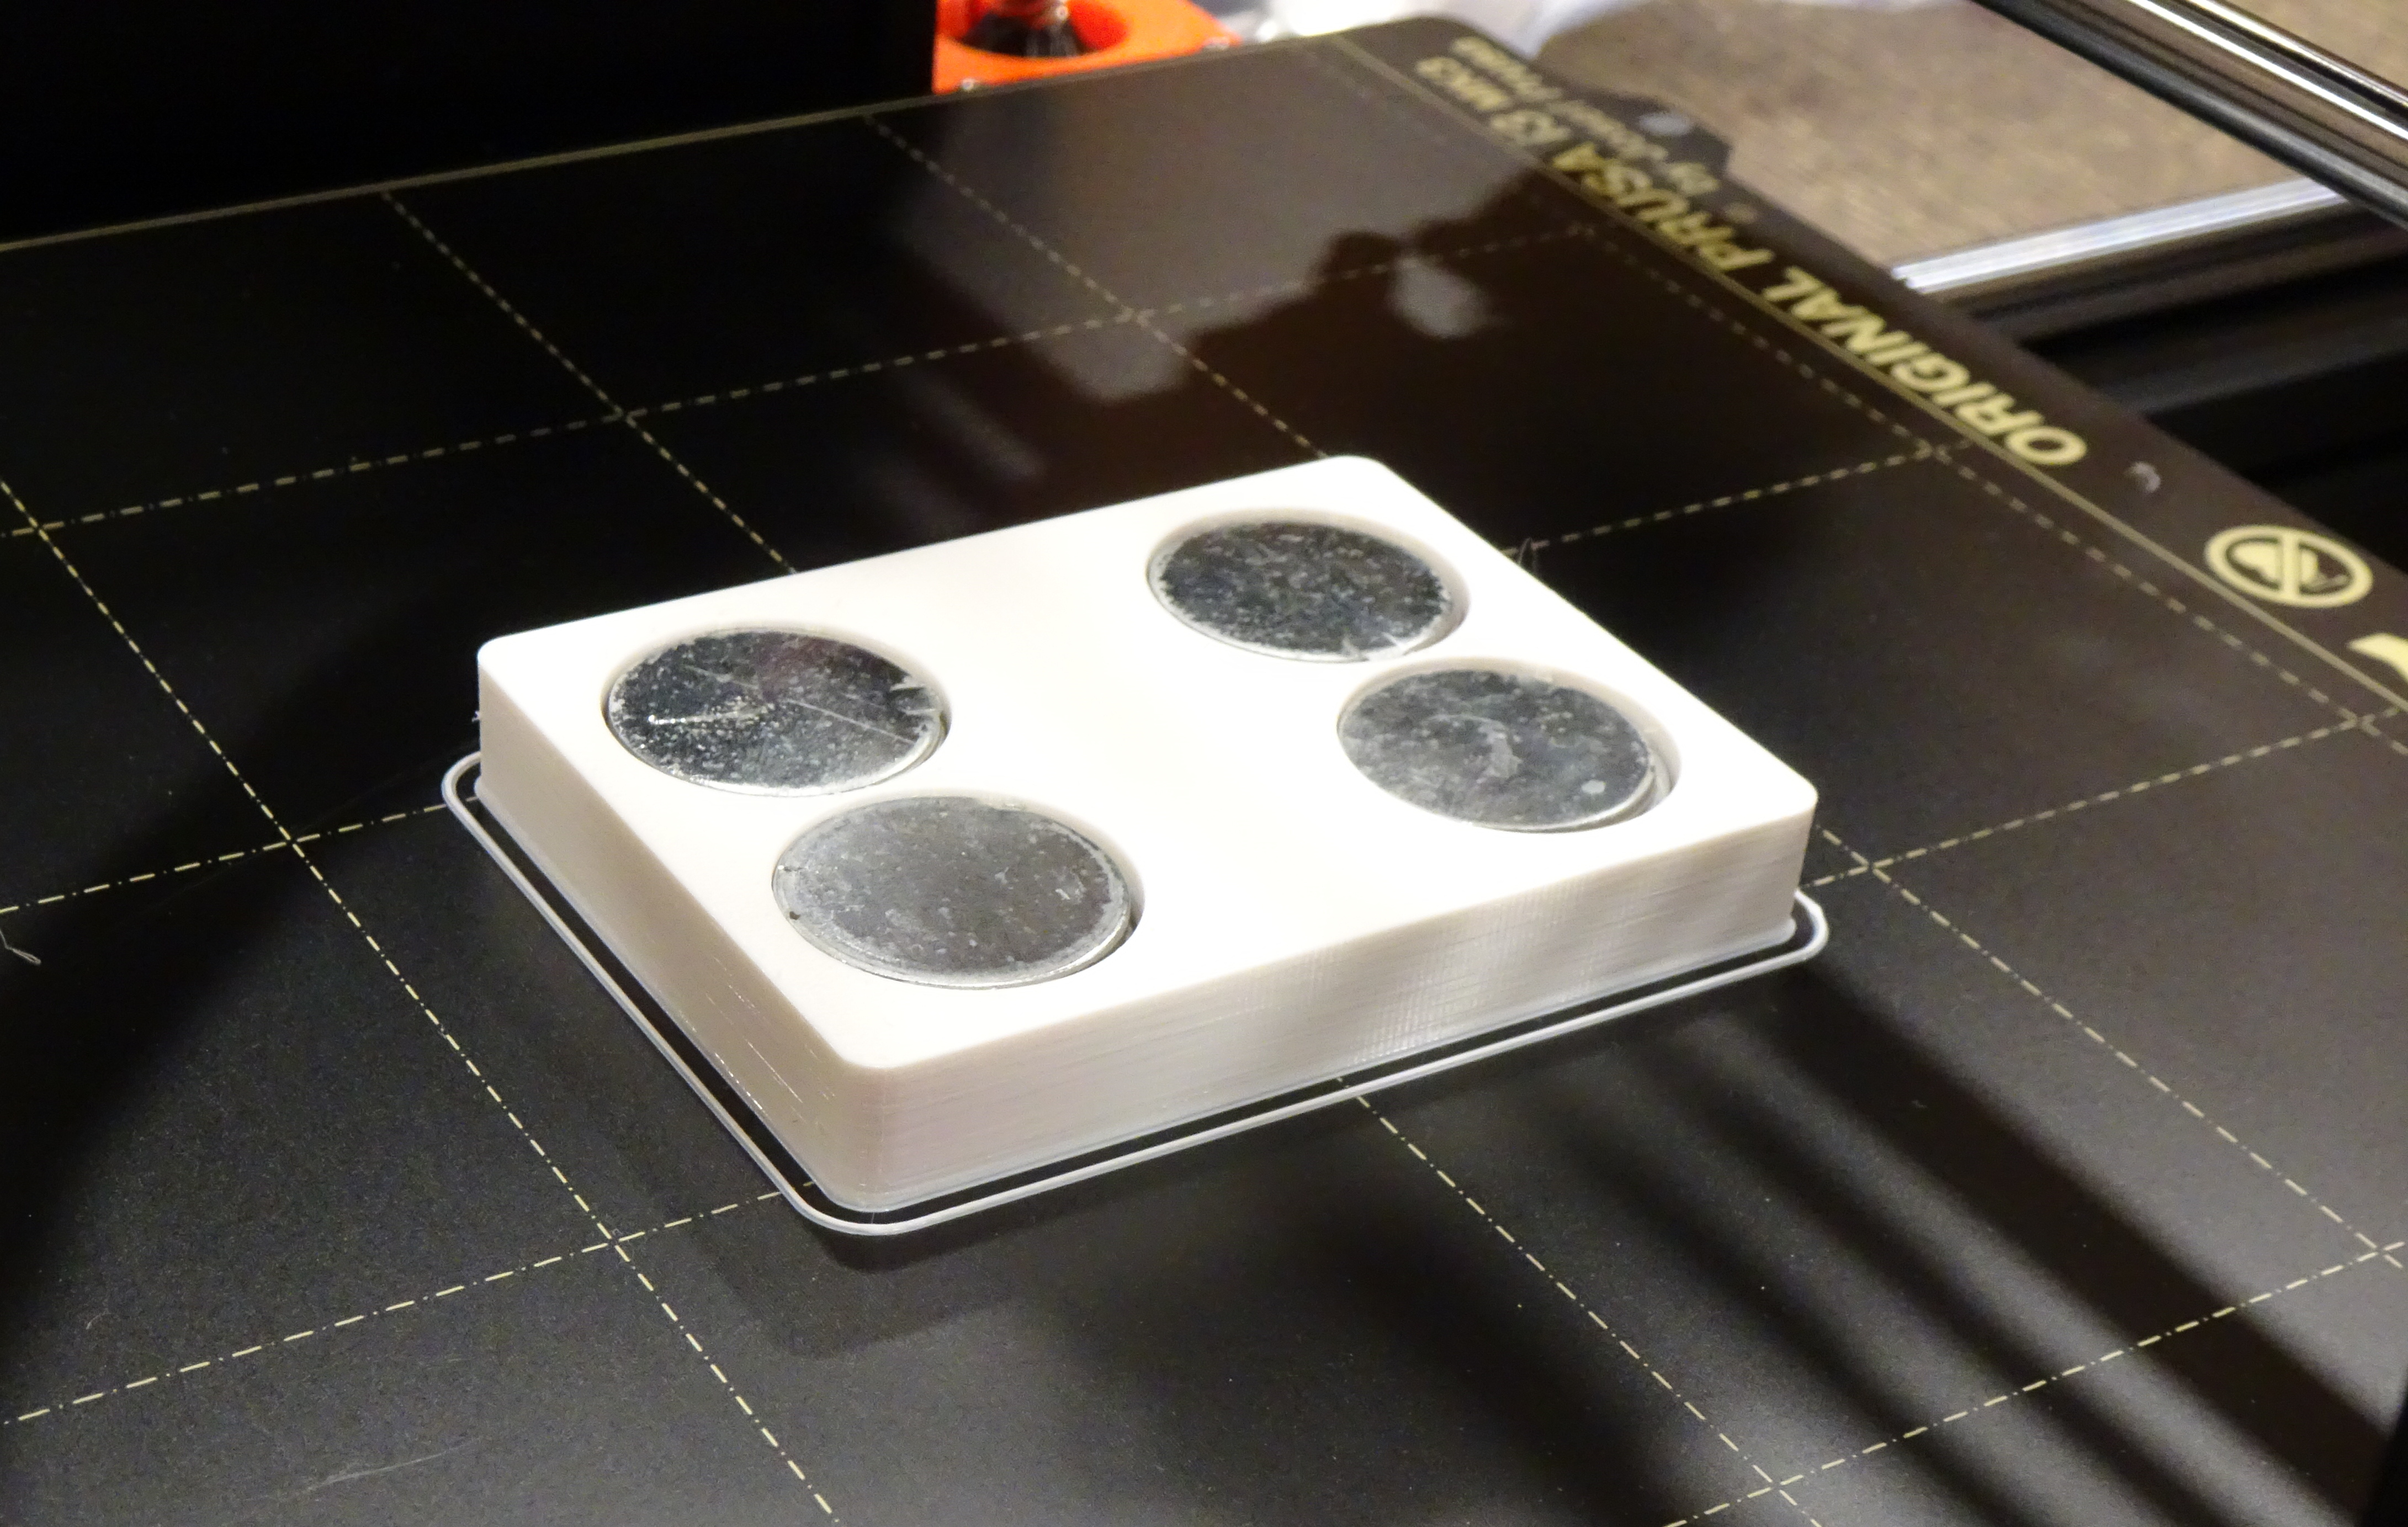
In PrusaSlicer, the answer is to slice the object once, then grab the slider to the right of the plater and drag it down to the layer that you want the printer to pause before beginning to print. Hit the + button immediately to the right, telling PrusaSlicer that you want to do a manual filament change to make that layer be a new color, and then reslice. You can verify the pause with the slider; everything below the pause will be shown in one color and everything above in another.
When it finishes the layer below, the printer goes through a superfluous dance of unloading and reloading the filament, but it works out fine.

After resuming, the printer bridges nicely over the weights, just like it oughtta. Very gratifying.
Everybody all, “ABS bad, it shrink when you print it,” and I’m, “Yo, dog, PLA shrink too.”
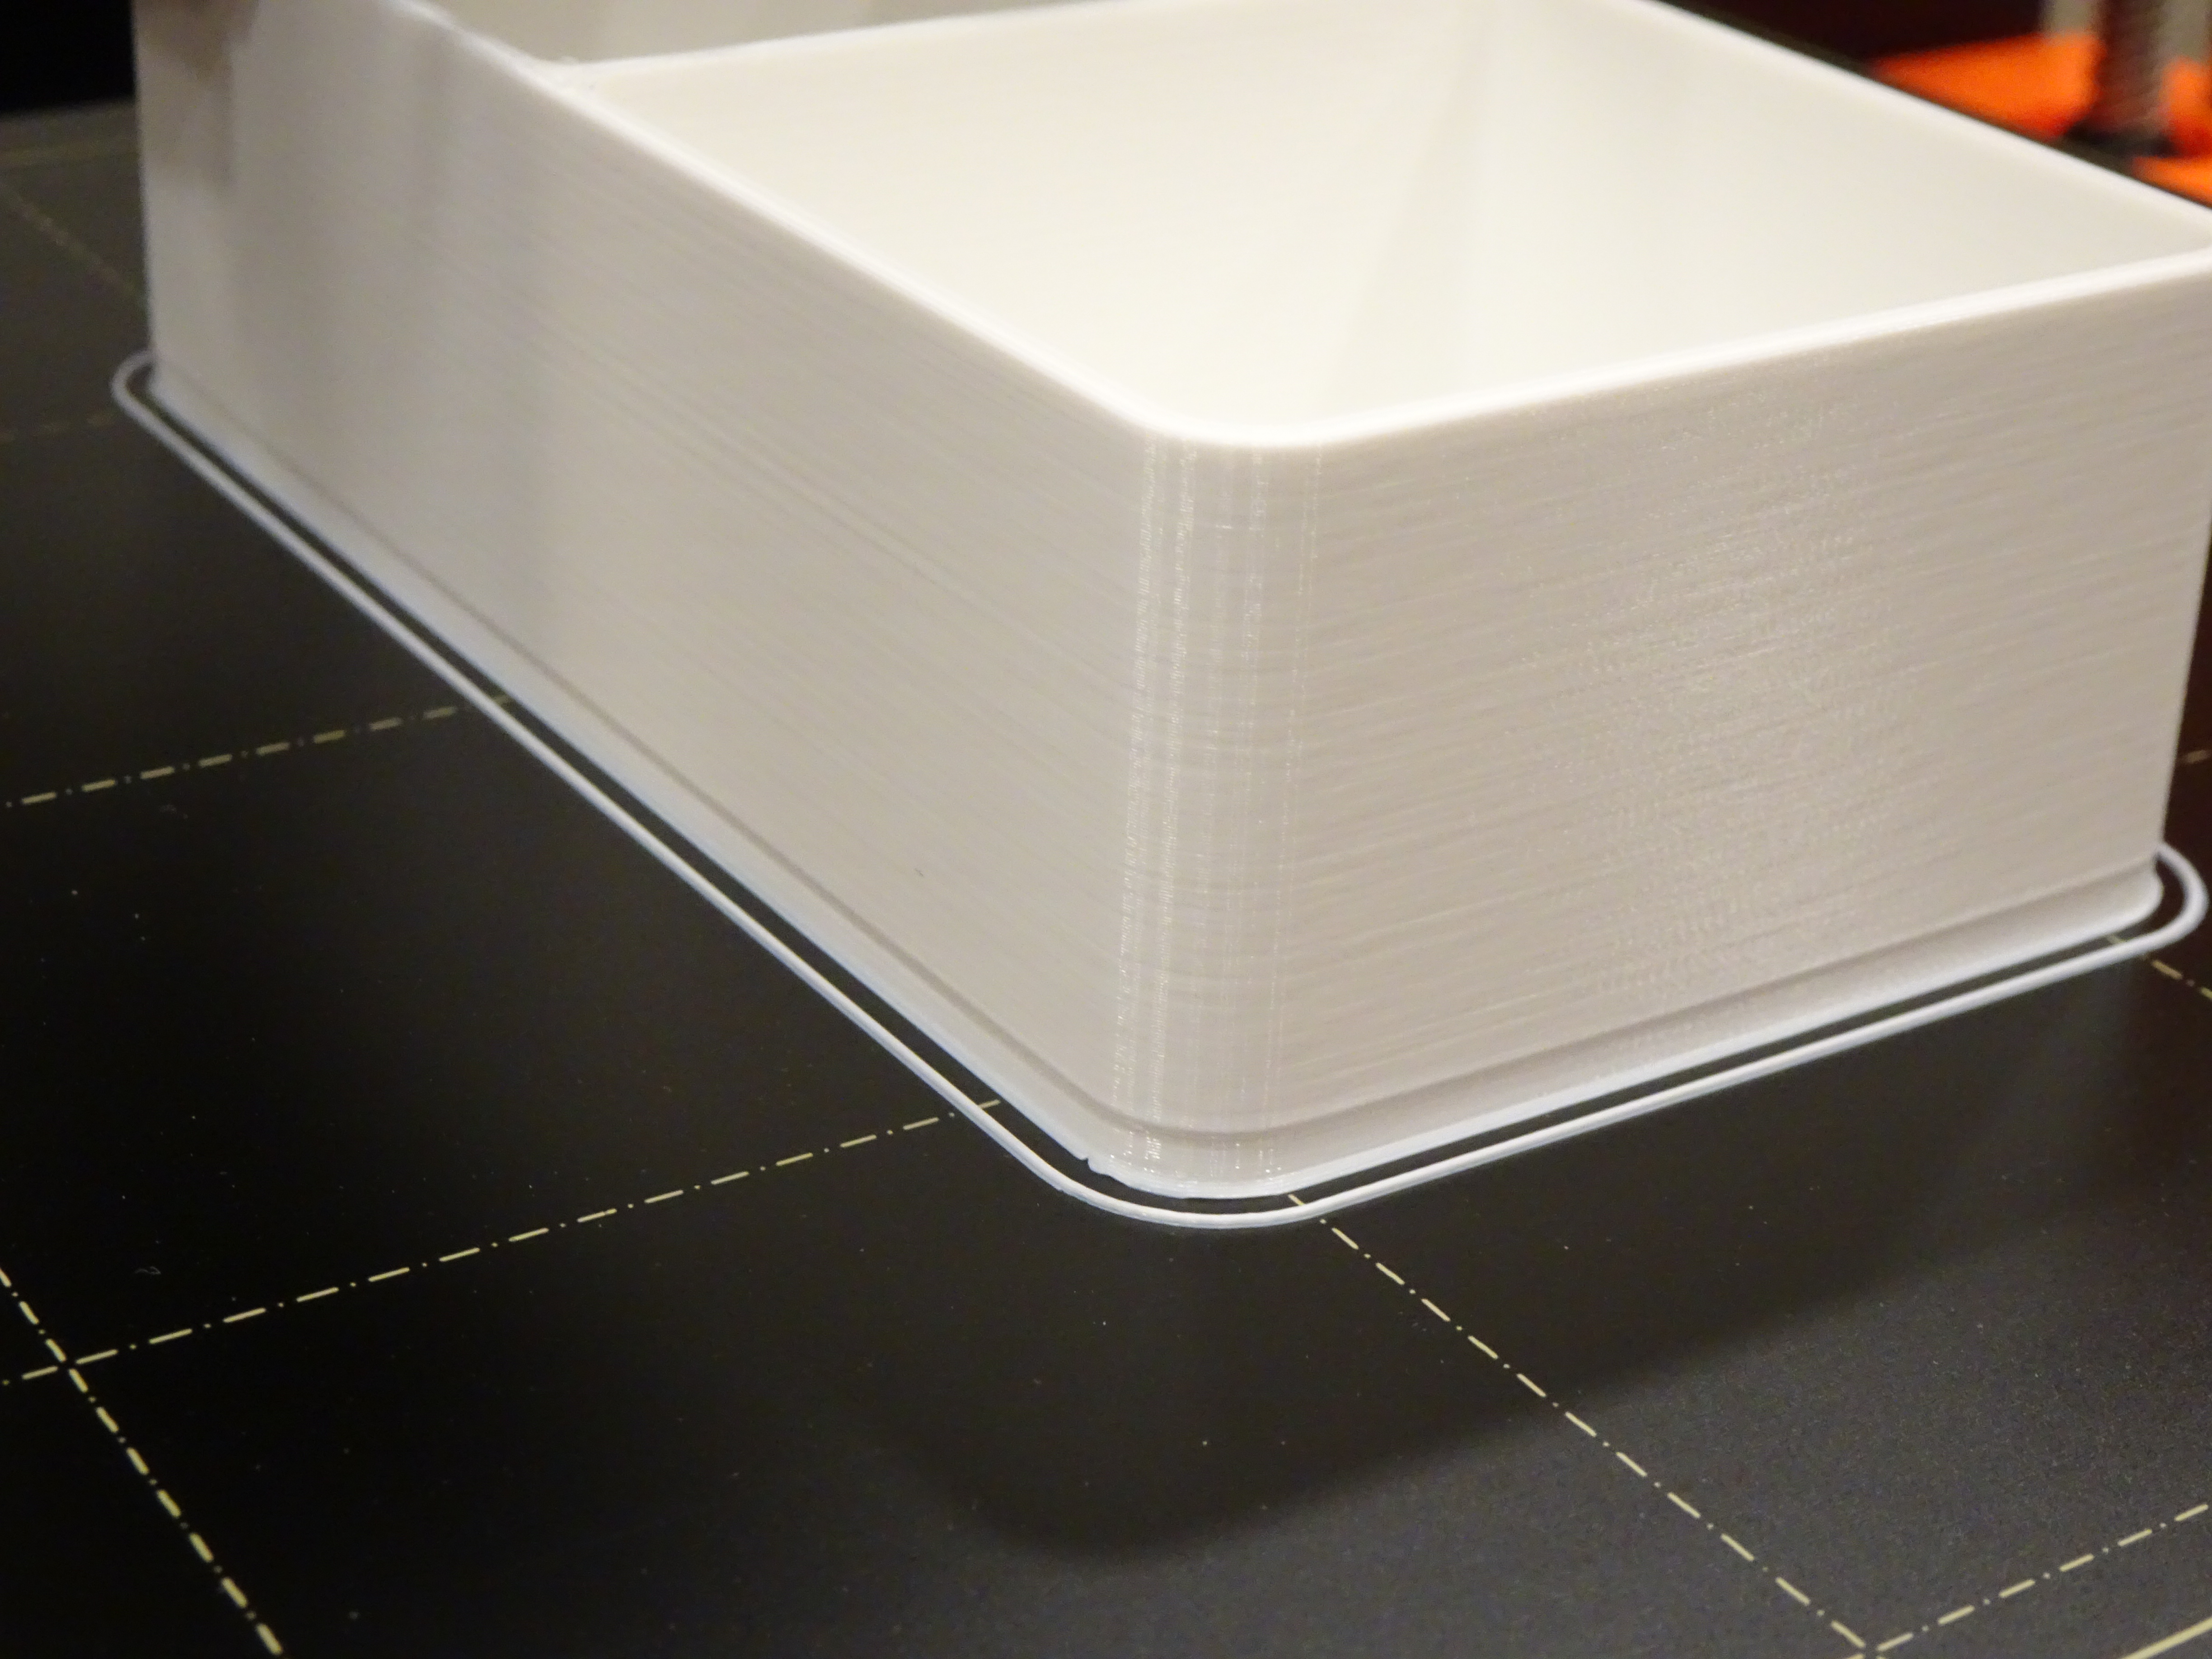
That’s a box with 2-mm walls and a 2-mm base. Hatchbox PLA. The layers of the base that are not stuck down to the hot build platform shrank right up.
Don’t be up in my grill about PLA being nature’s perfect filament. I need me an enclosure.
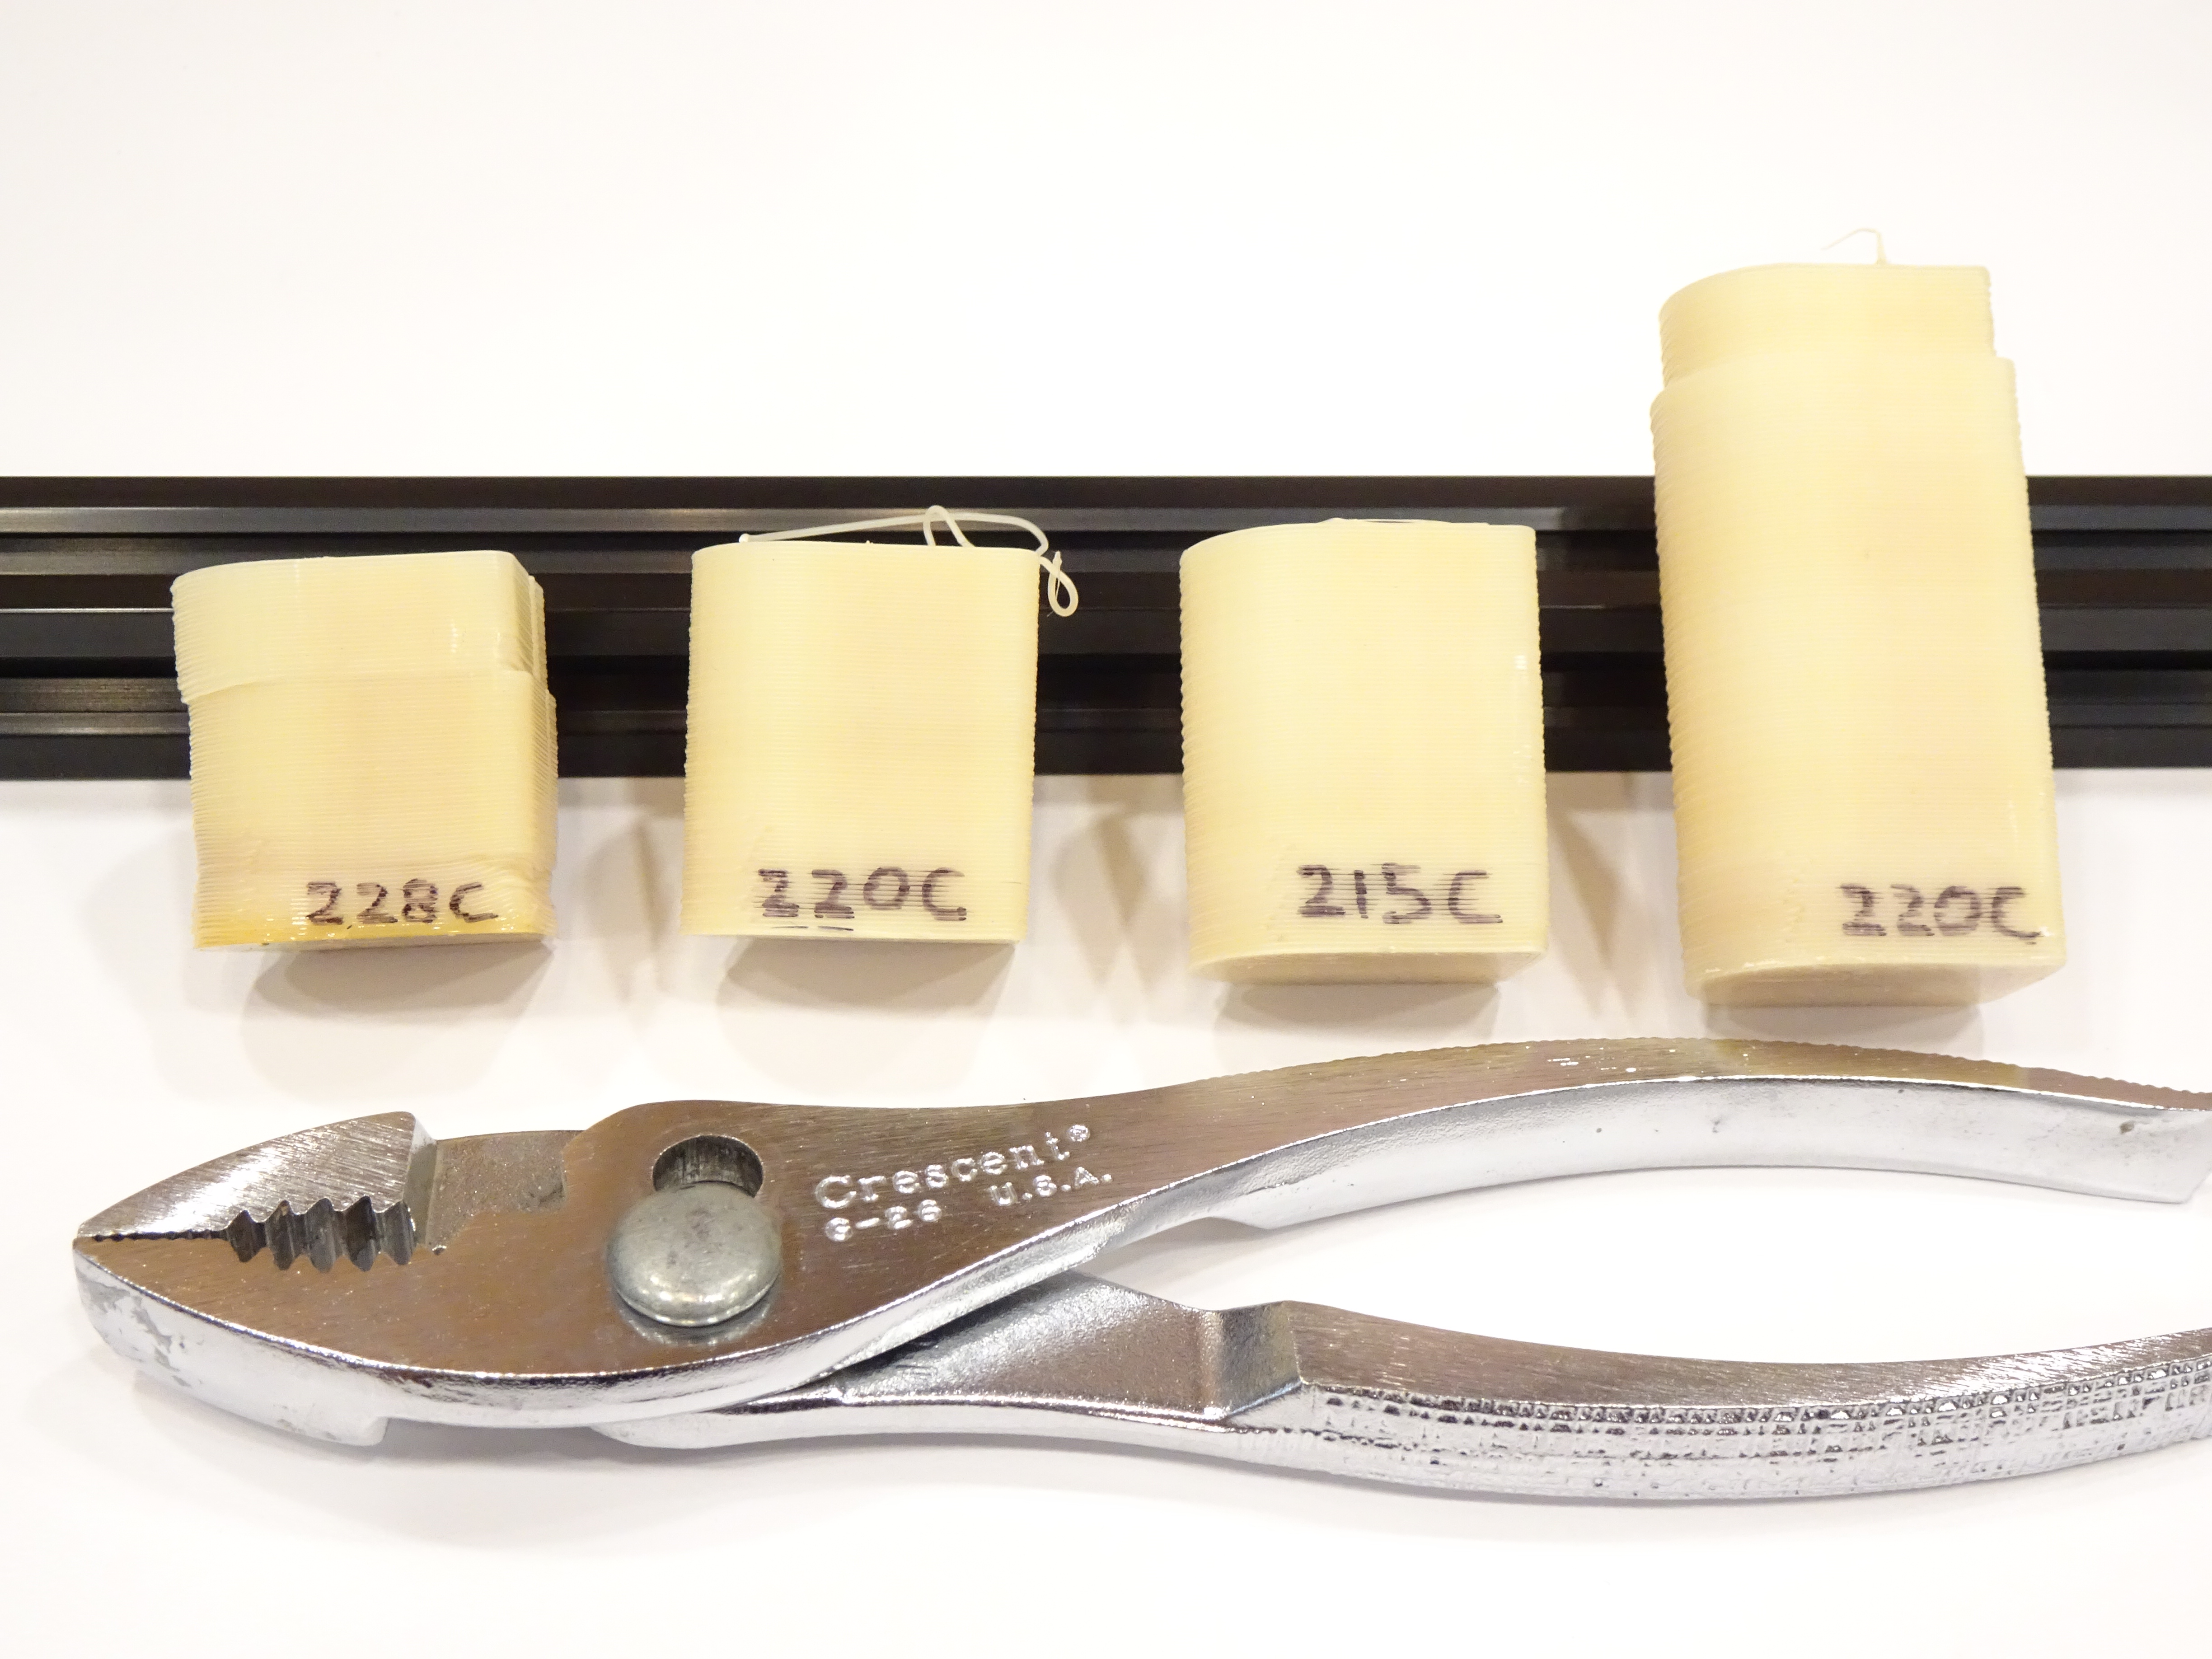
With several filaments I’ve used lately, I get a rough surface on the top of my prints that makes me think the printer is depositing too much filament. I took a bit of time today to learn how to calibrate that; and one of the same tutorials gave a nice reference for nozzle temperature calibration, so I did that, too.
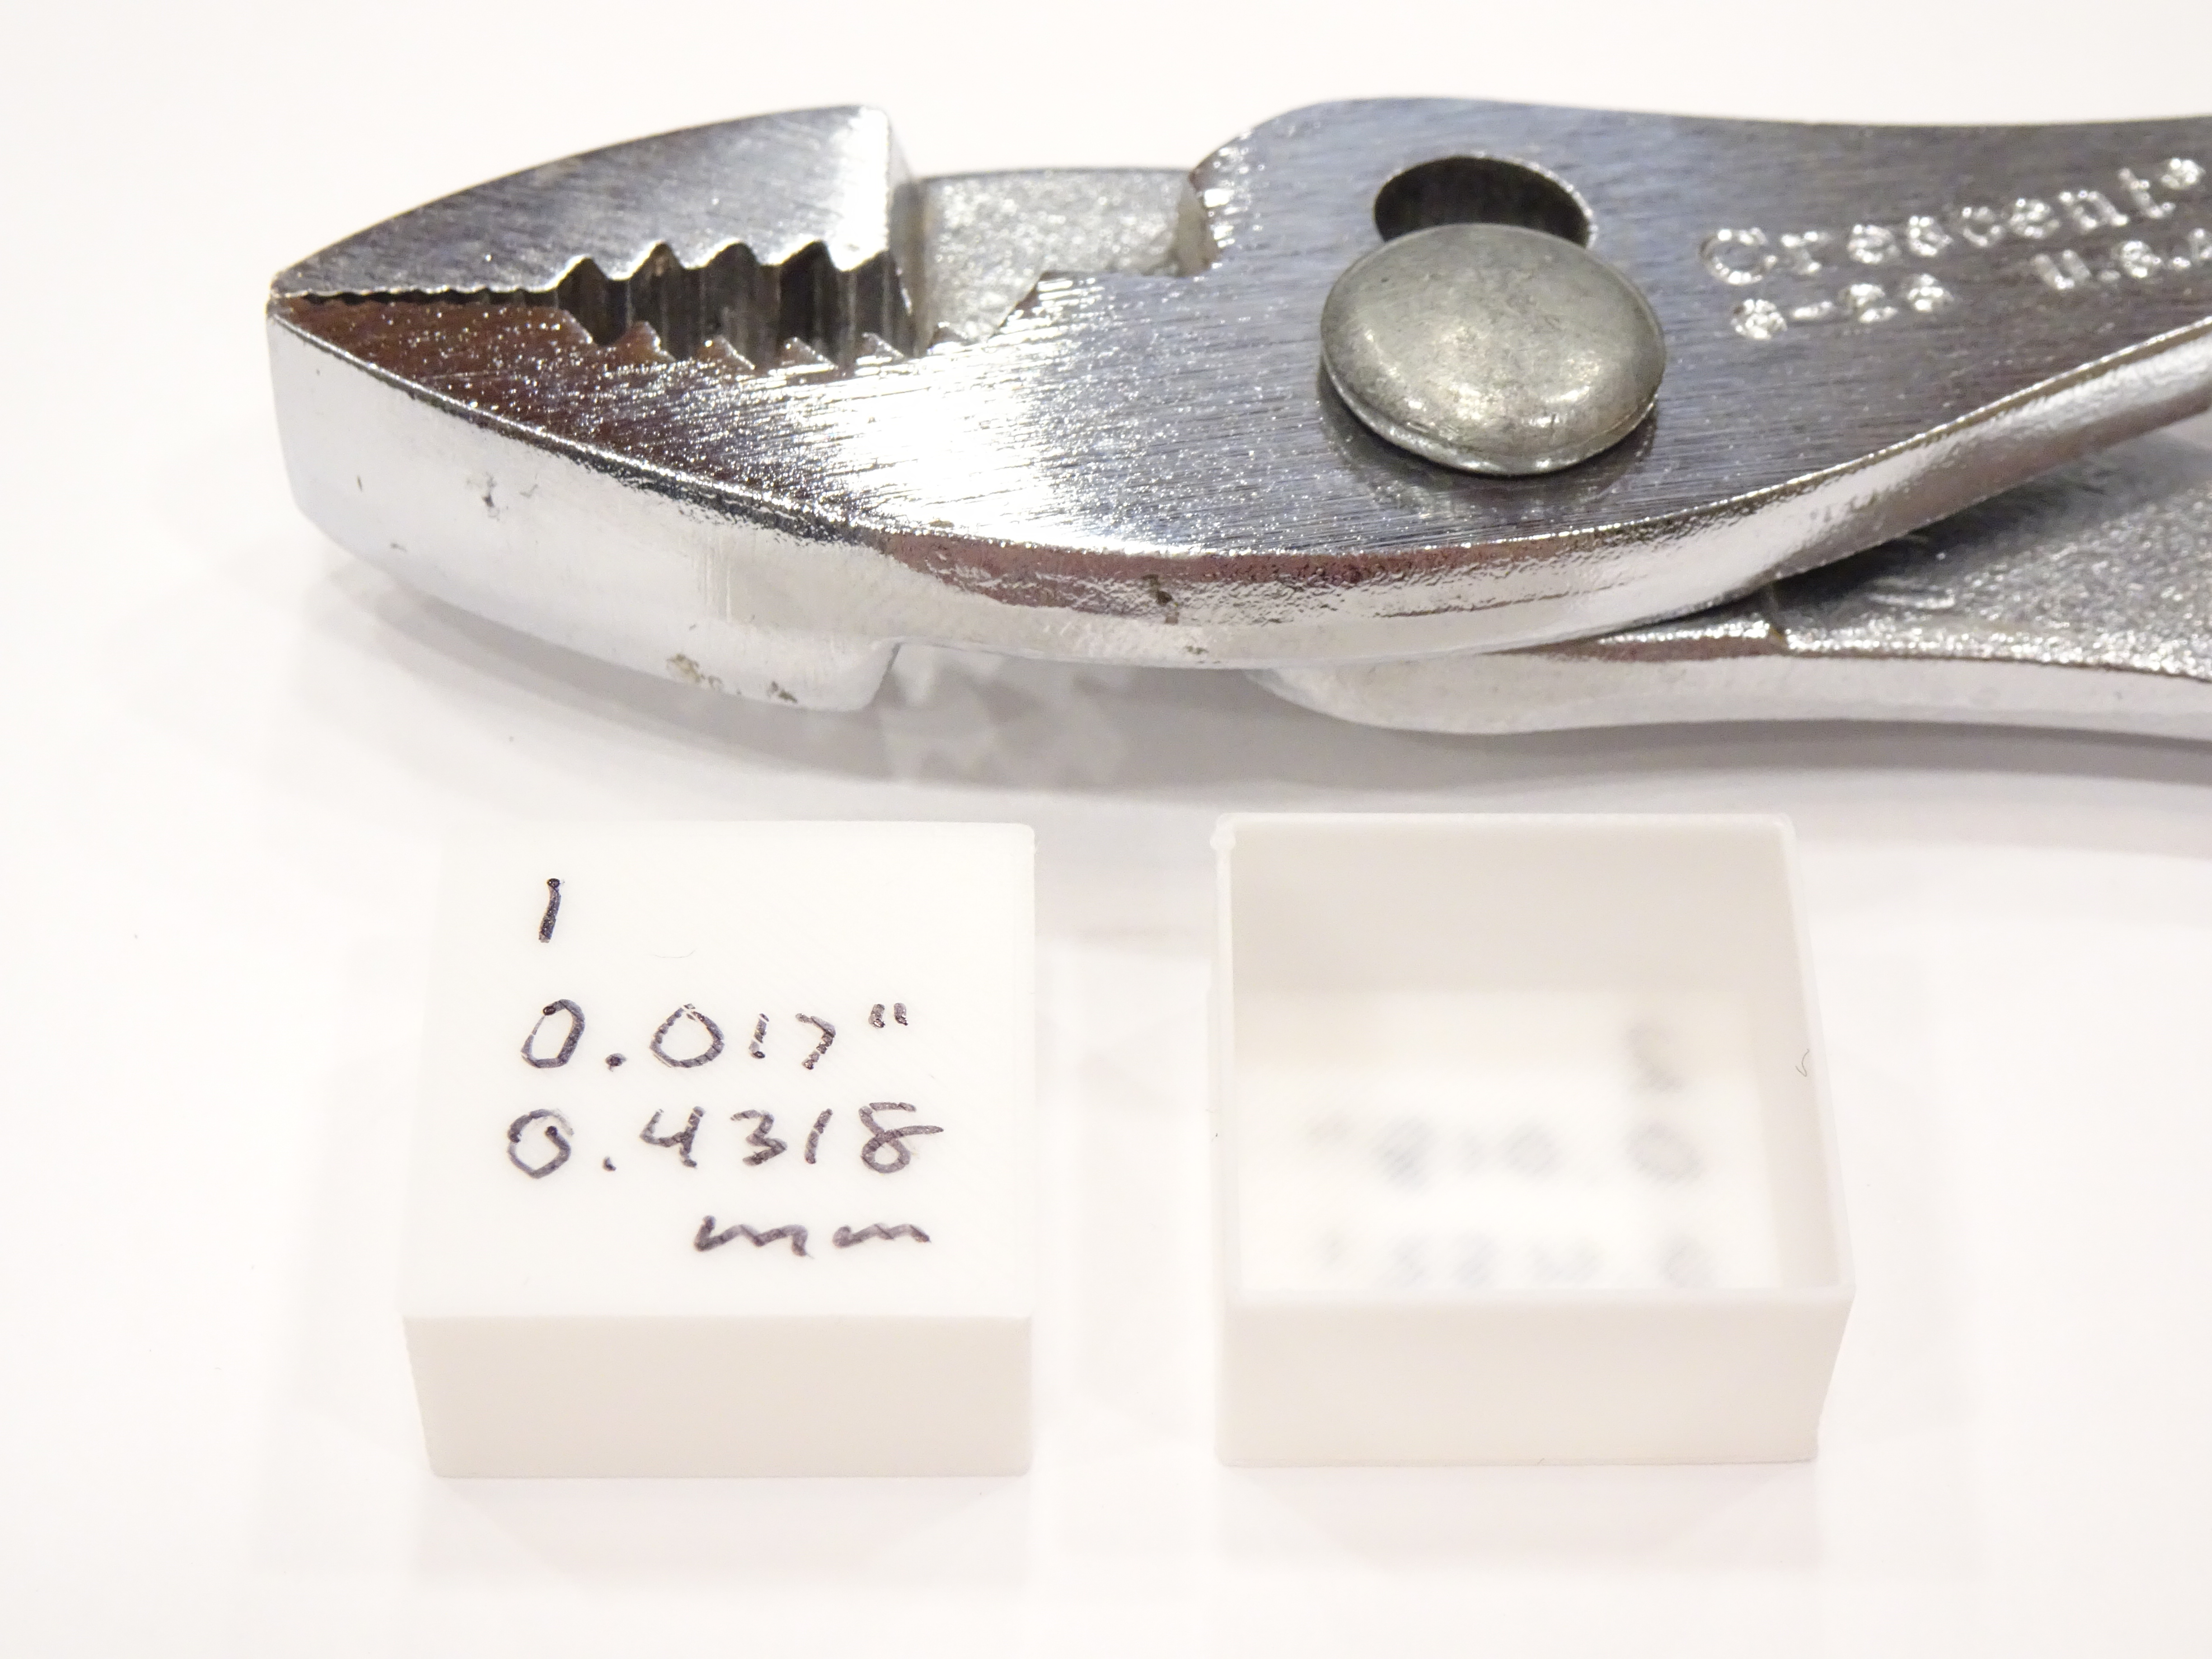
These notes are as much for me as for thee, as I expect to run through this again with more filaments in the future.
Yup, went ahead and did it. I’d been holding off because I really want to fix the printer I have and I was afraid that getting a new printer would remove my interest in doing that. But I’m happy to say that my insight into my own psyche after I’d given it more thought turned out to be correct — having a working 3D printer makes me feel more motivated to get my CupCake working, not less.
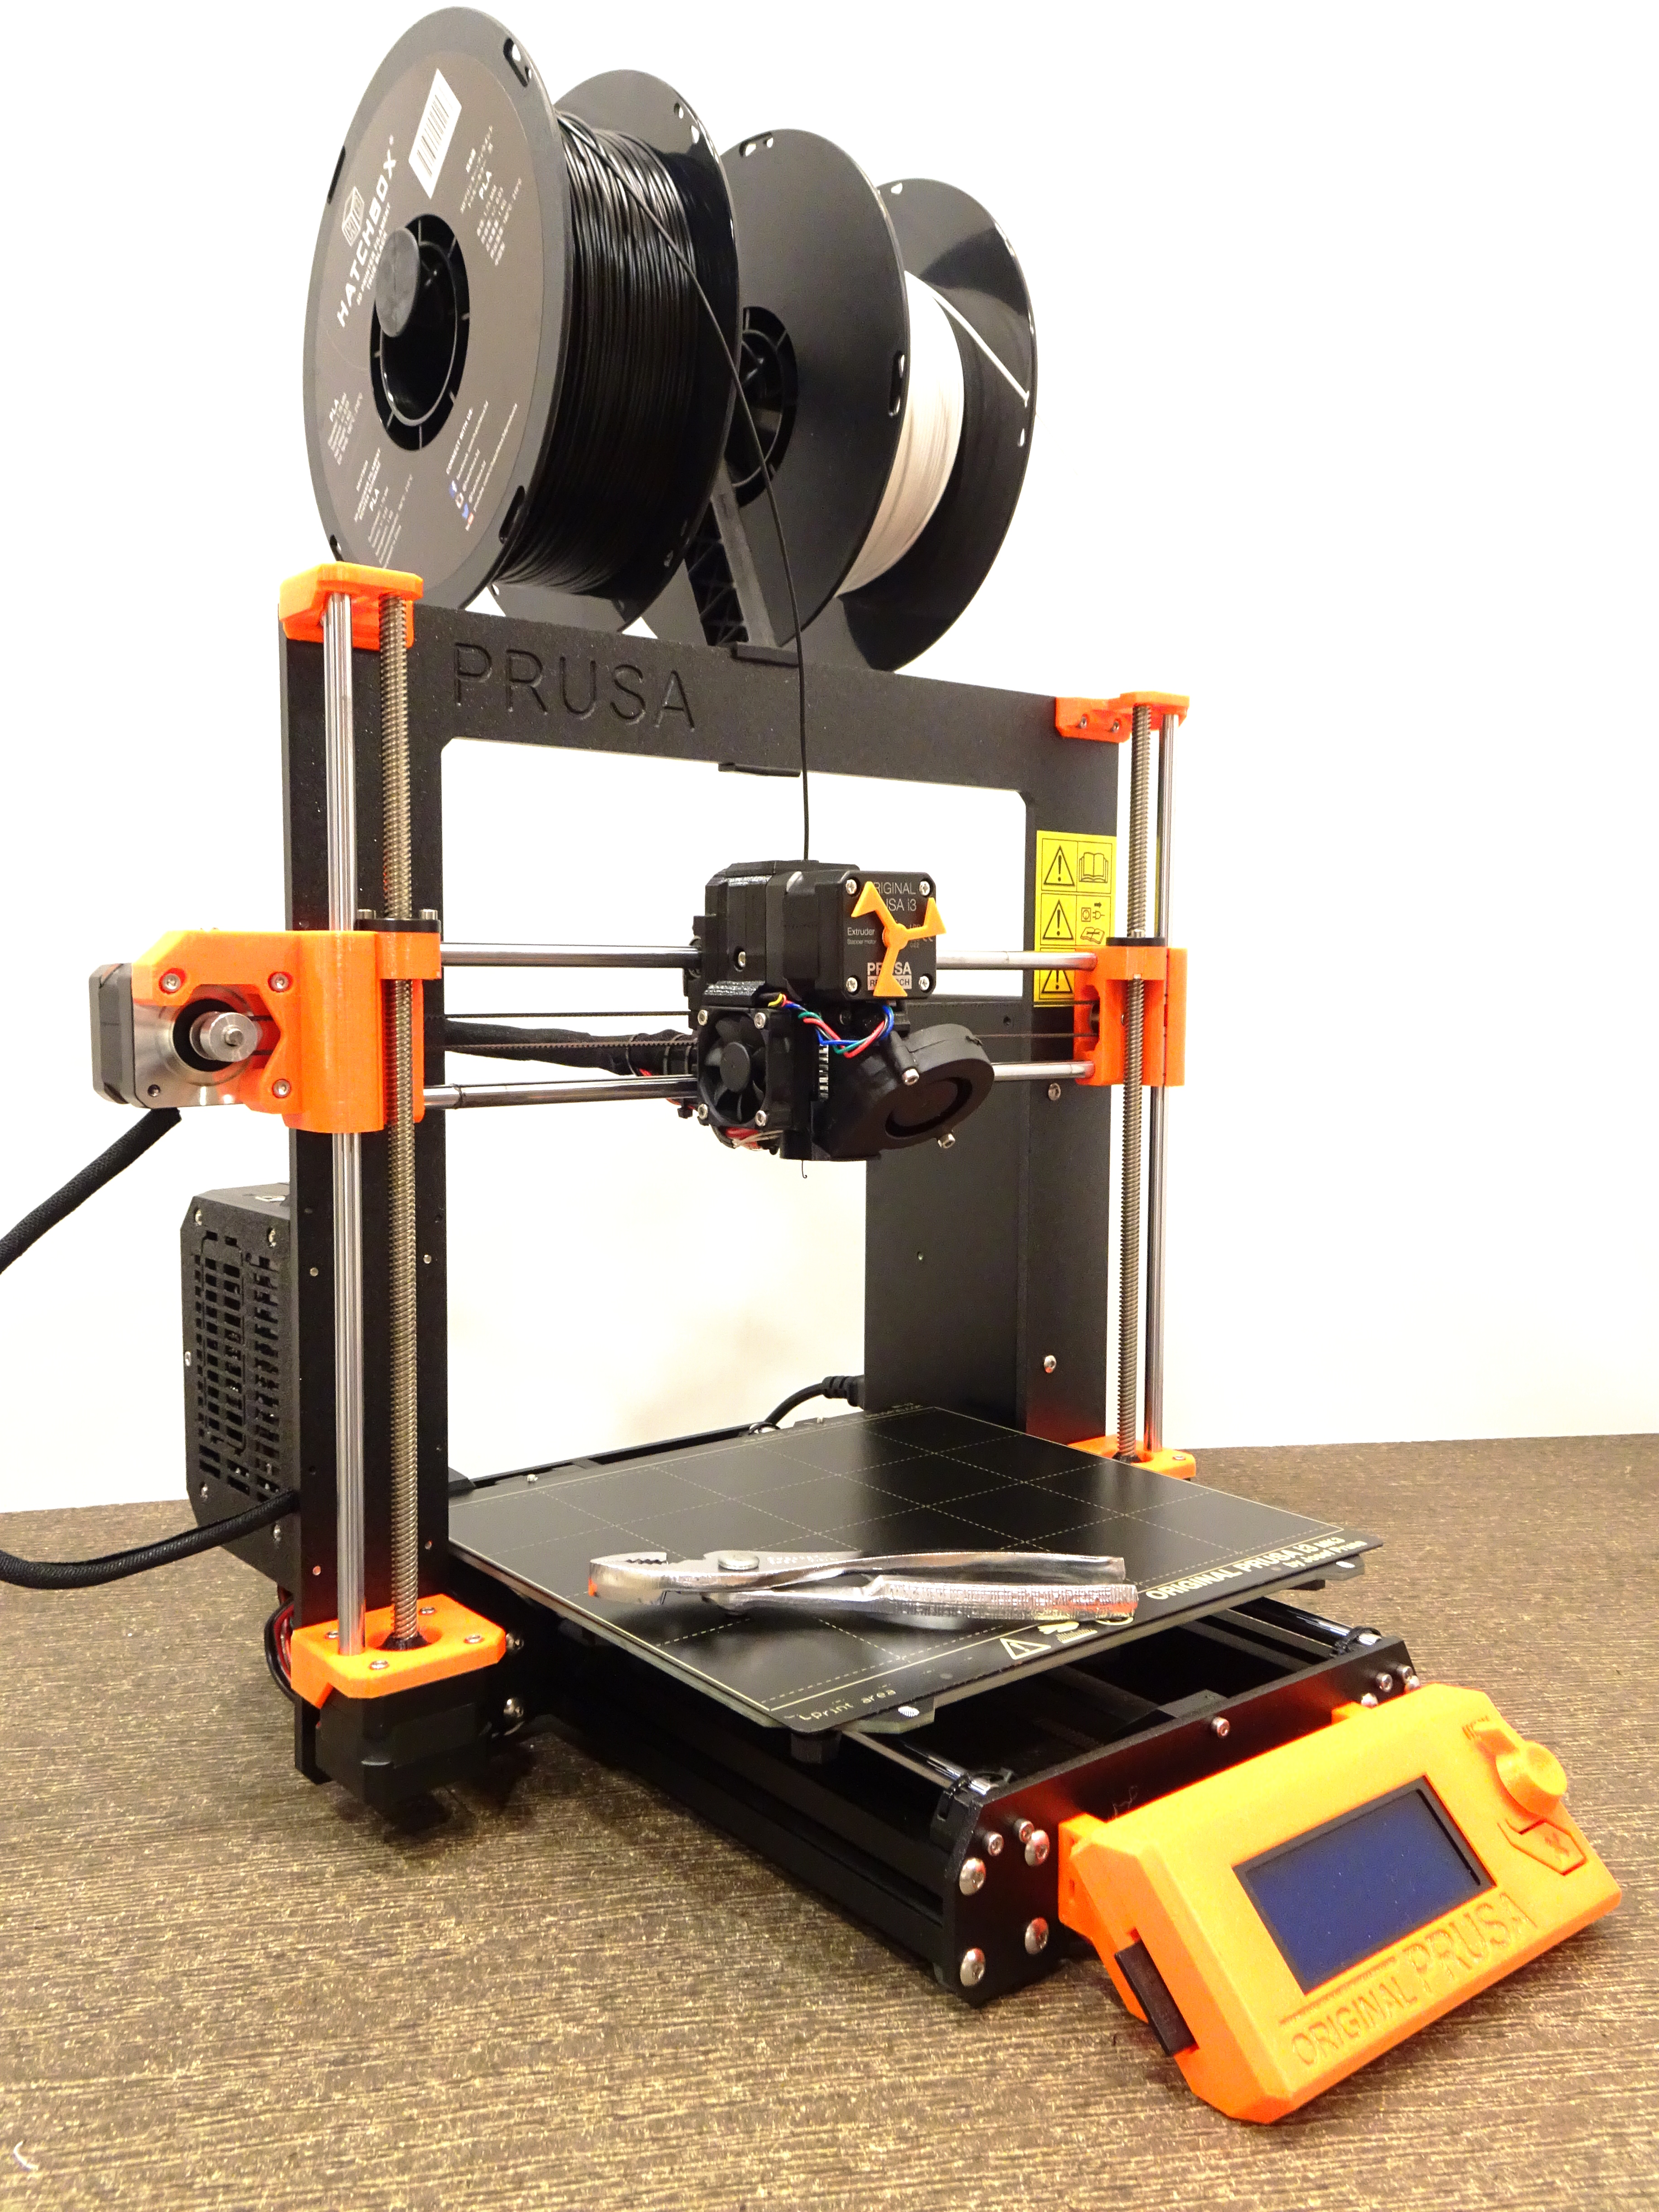
While shopping and looking at pictures and videos, I had a hard time envisioning exactly what the Prusa’s build capacity was. Some pictures looked like the build platform was huge; some looked like it was scarcely larger than the CupCake’s. I think there’s a lot of wide-angle lensing going on in the world of 3D printing videos. So here’s a shot for you with a reference standard, for your size-interpreting convenience.
I might even write posts about it from time to time.
I just designed and printed a battery holder and I’m shamelessly reusing this image from the blog post about it to illustrate fillets in 3D design:
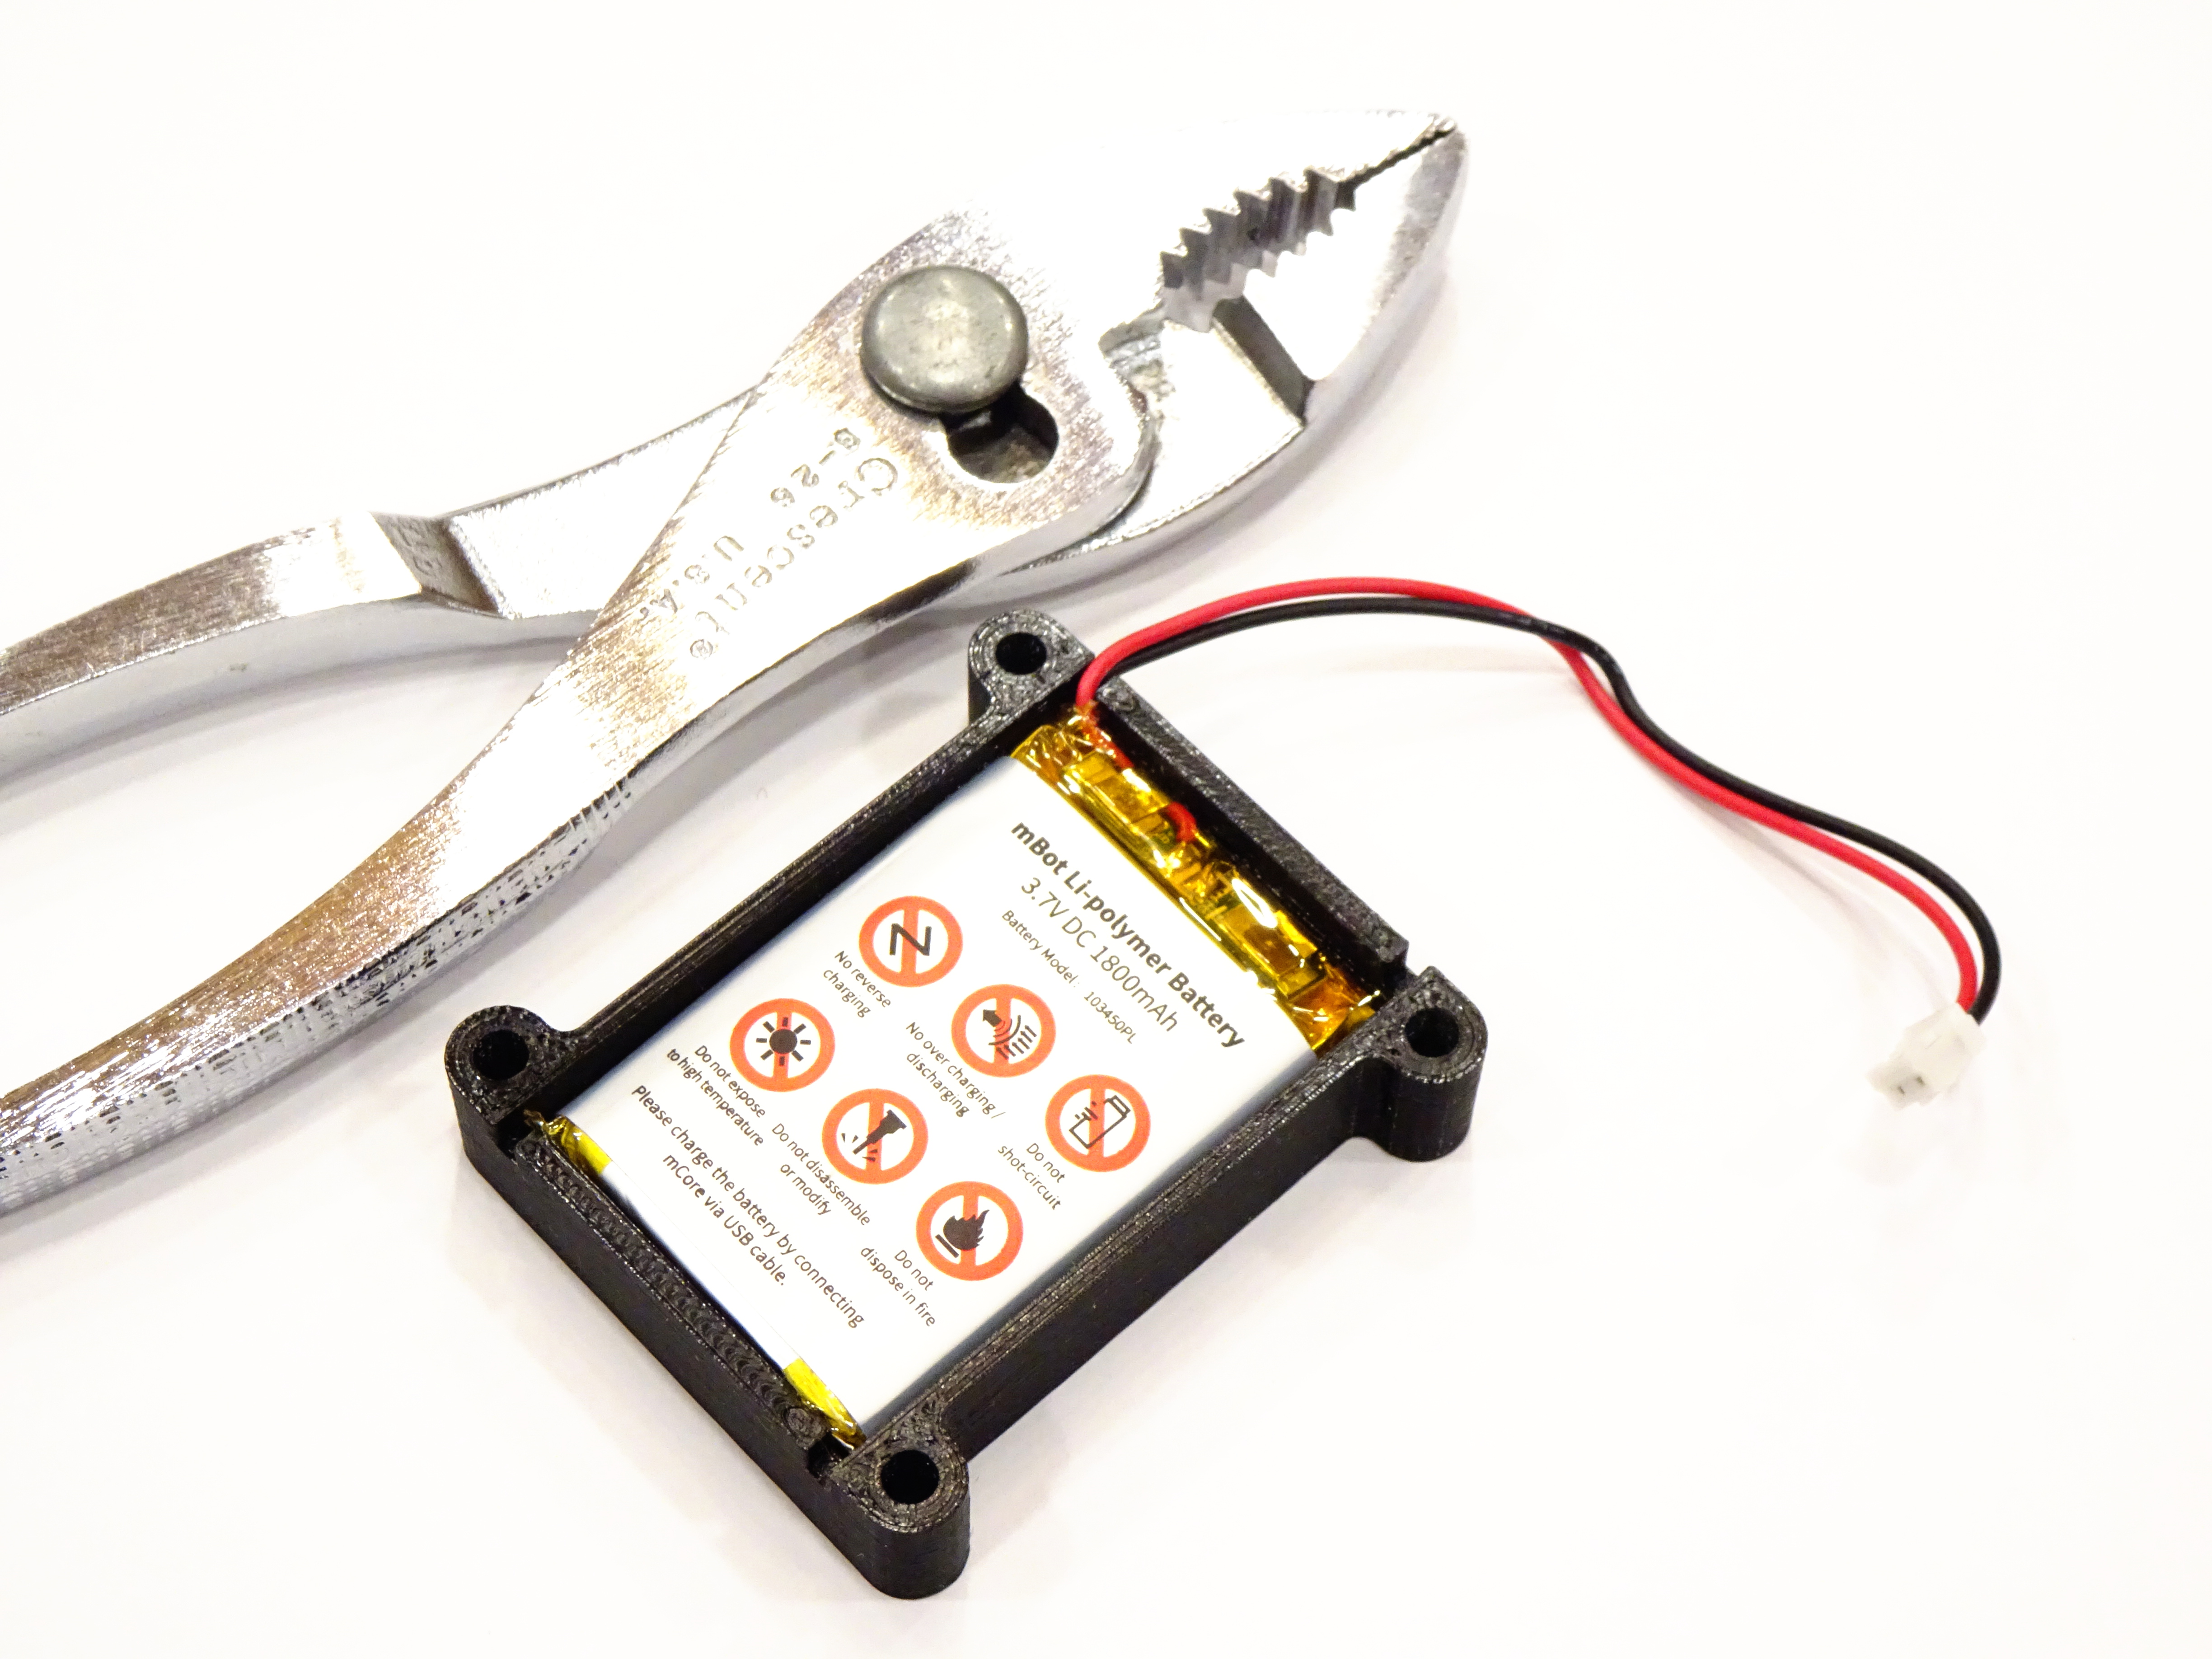
You might notice that the holder’s mounting bosses have nice roundy fillets that are standard in professional CAD packages and have been a wee bit difficult to achieve in OpenSCAD until fairly recently. The ability to design them now is one of two observations in the last week that have really driven my interest in OpenScad’s 2D subsystem. If you’re not interested in OpenSCAD, you’ll probably want to stop reading now. (Who am I kidding — I’m sure that the two of you still reading are interested in OpenSCAD.)
I’ve assembled a couple of Makeblock mBot robots I picked up a few years back and intend to start programming soon. They come with a 4xAA battery holder, but I’m not a fan of single-use batteries and Makeblock’s LiPo is only $10 on Amazon [no affiliation and not an affiliate link, just a happy customer], so I ordered a couple.
The LiPo batteries came in clear plastic cases with tabs that looked like they should latch into the slots on the robot chassis, but the spacing was off. The robot kit came with hook-and-loop tape to fasten down the battery holder, but yuck. So I designed this holder, which is good enough to use after a single pass of dimensional refinement.
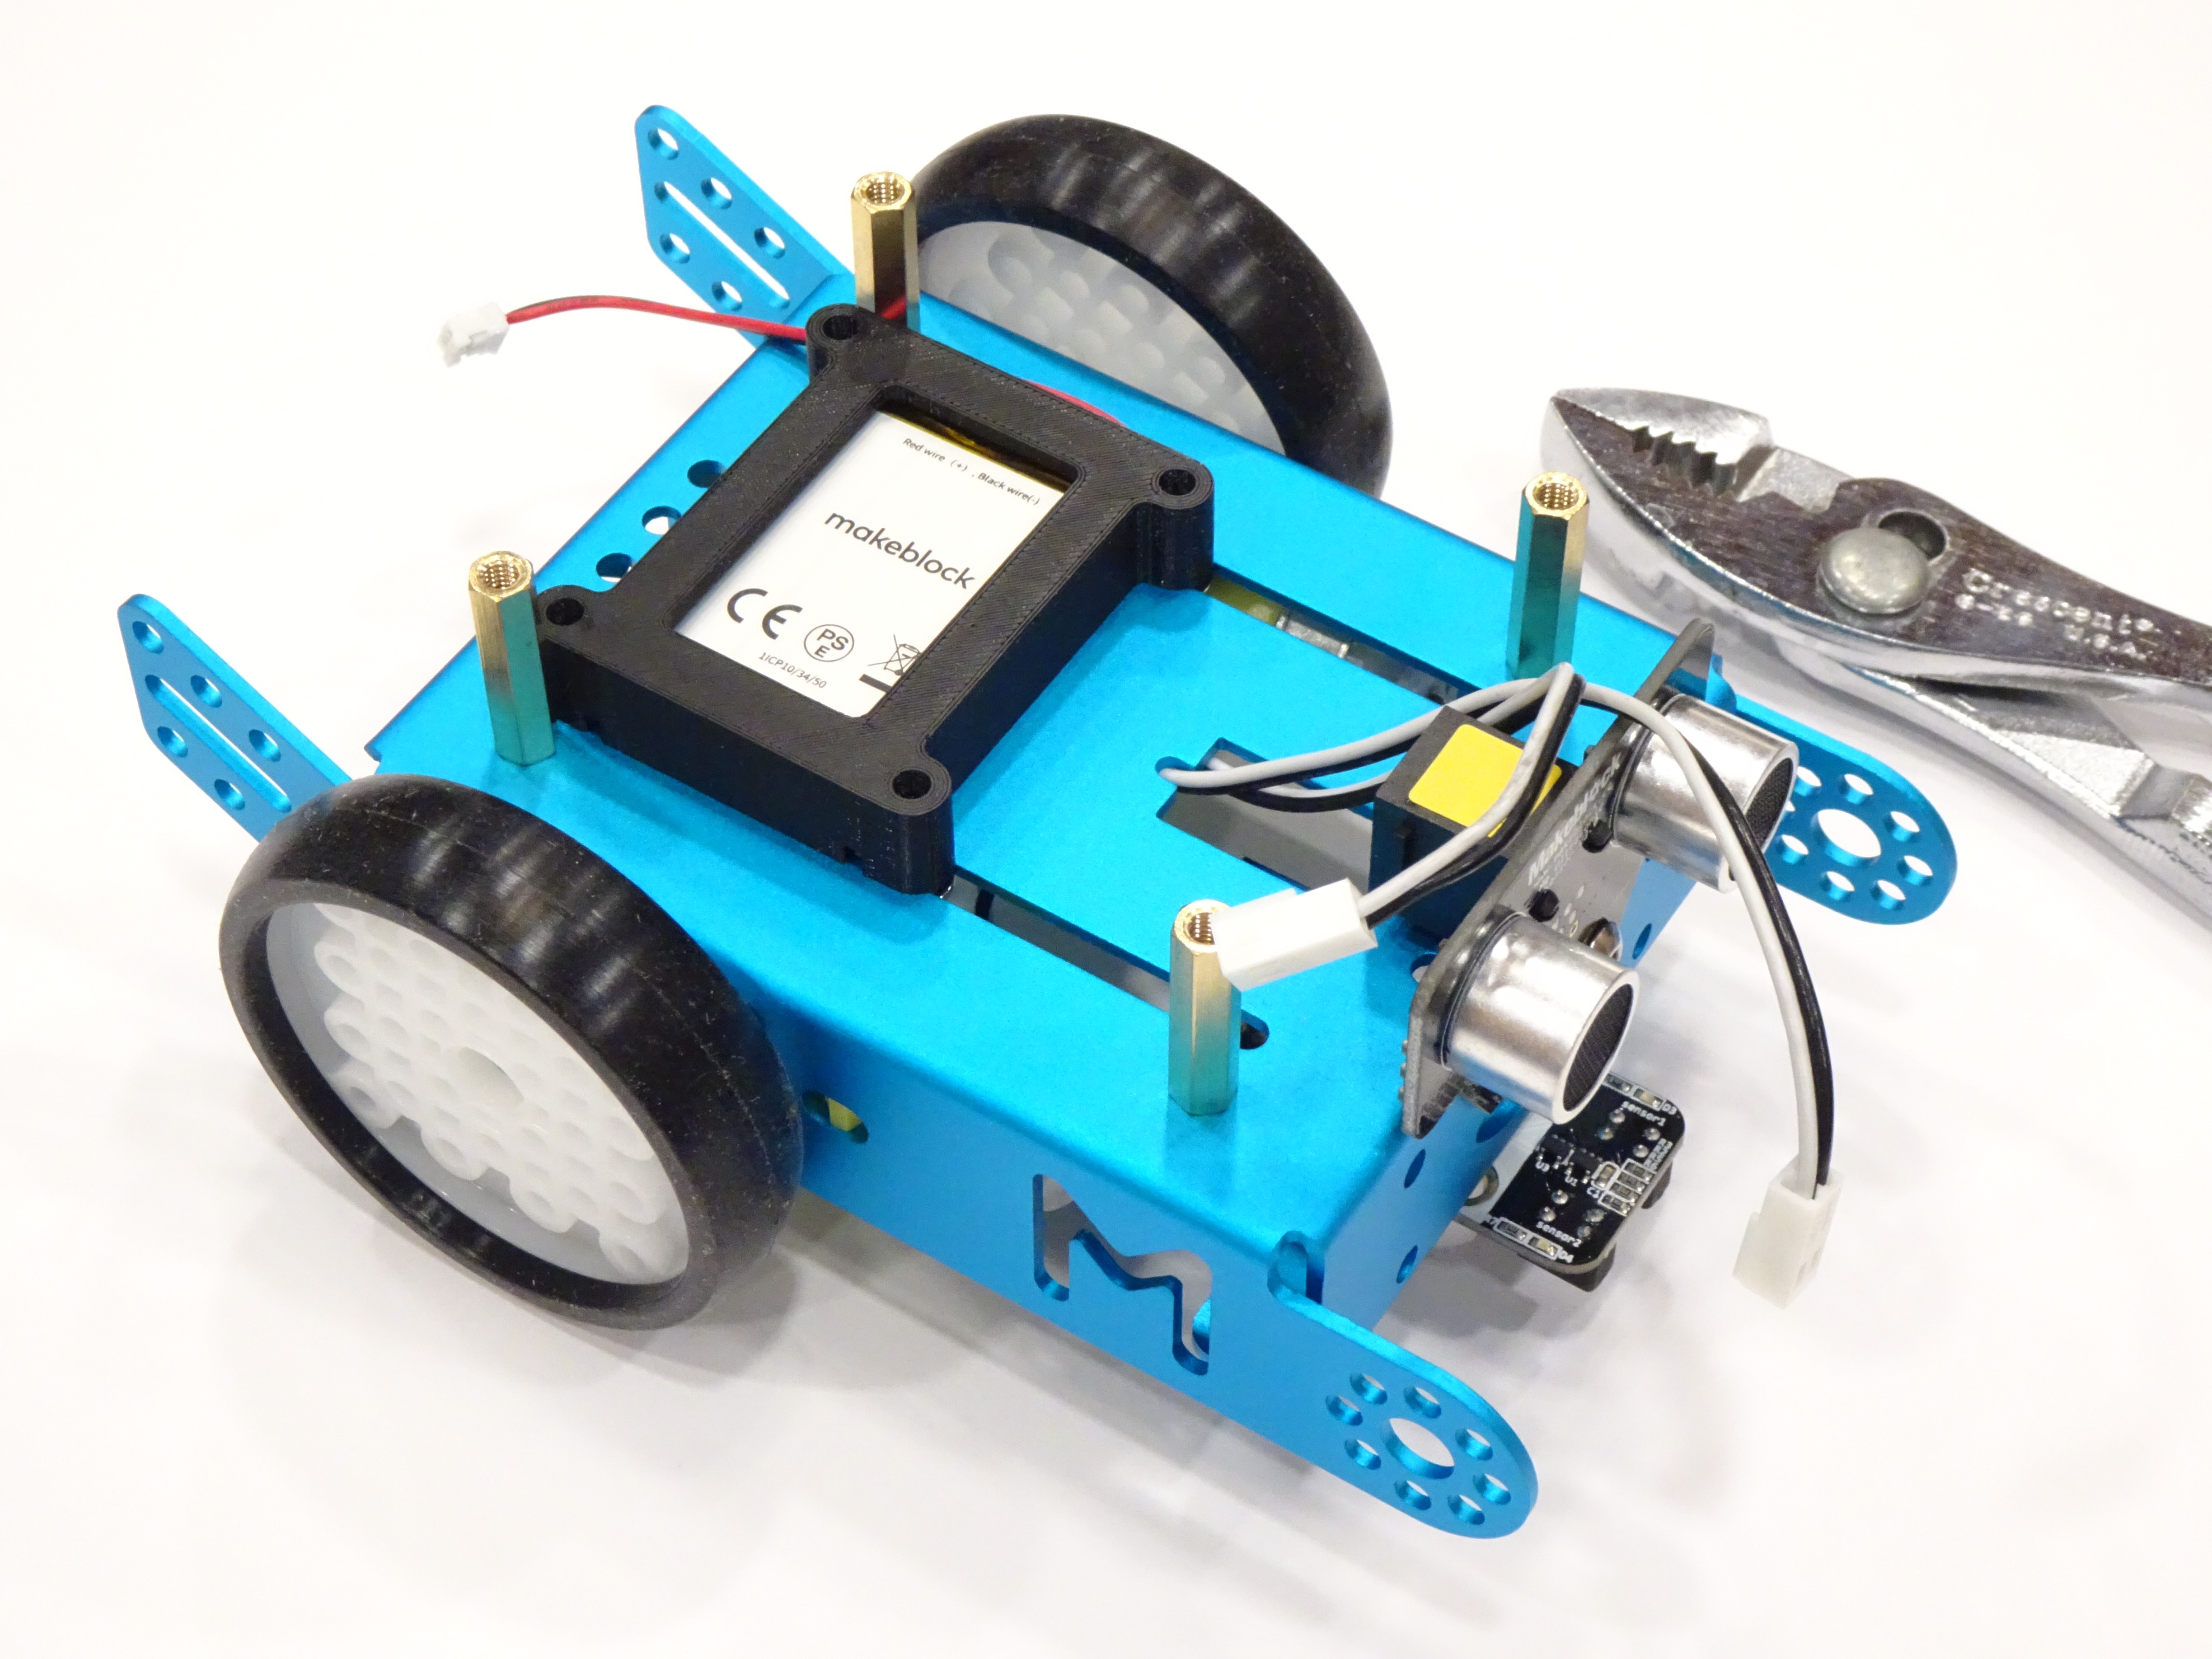
Many thanks to my student employee Kip for printing the battery holder on his Prusa I3 MK2s. The quality is outstanding.
I’ll upload the design to Thingiverse after a bit of code cleanup.